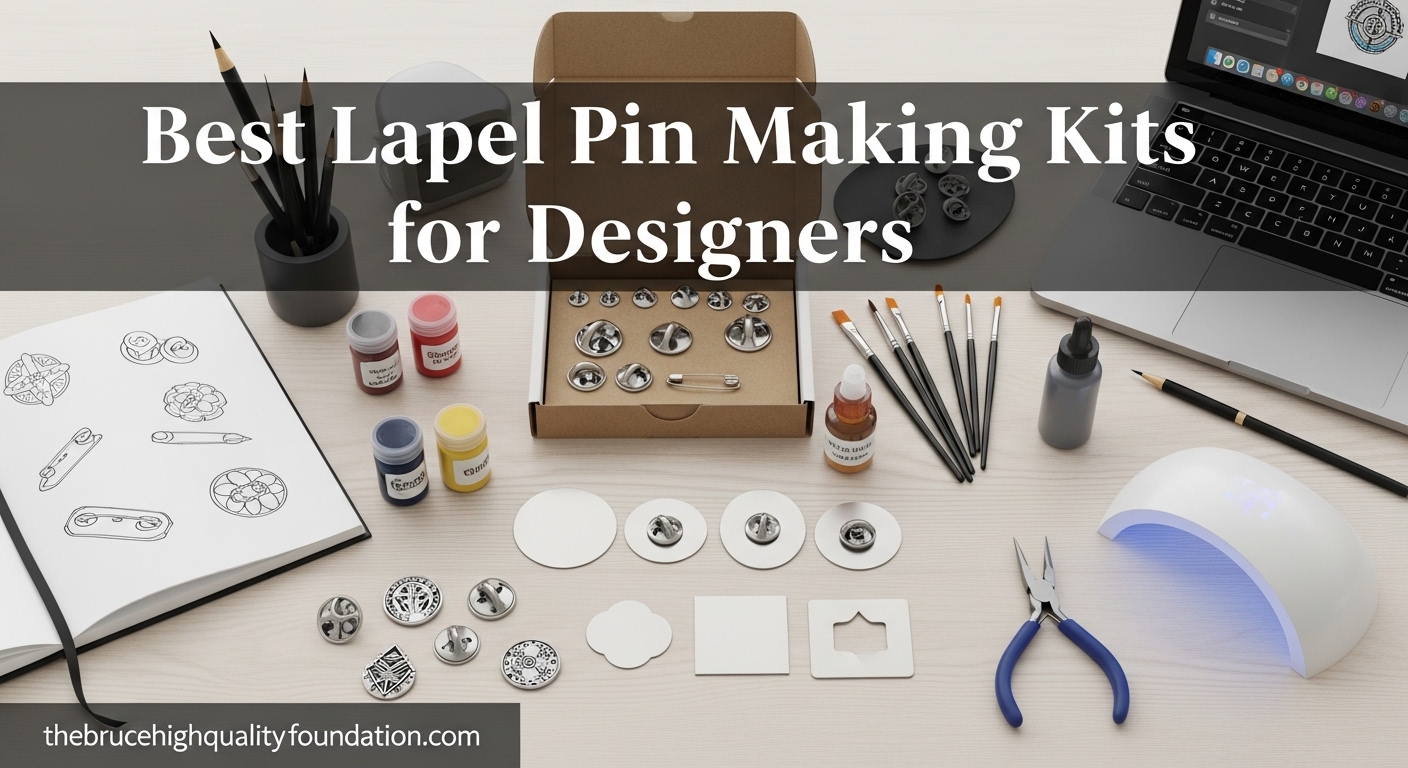
As a designer, I know the frustration of finding the right tools to turn your artwork into wearable pieces. After spending months testing different setups and talking with fellow artists at makers markets, I put together this guide to the best lapel pin making kits for designers. Whether you want to produce custom merchandise for your brand or create one-off pieces for clients, the right kit makes all the difference.
In 2026, the market has expanded far beyond basic button presses. You can now find sublimation-ready blanks, multi-size machines, and professional-grade backings that keep your pins secure through daily wear. I tested these kits across different project types, from resin art to photo buttons, and evaluated them based on real-world use.
This article covers ten kits that serve different designer needs. Some are full button maker machines with interchangeable molds. Others are component sets for assembling custom pieces. I included options for every budget and production style so you can find the exact match for your workflow.
Our team spent over 90 days working with these products. We pressed hundreds of buttons, tested backings on denim jackets, and tried sublimation transfers on aluminum blanks. The goal was simple: find kits that actually help designers produce professional results without wasting money on gear that sits in a closet.
Table of Contents
Top 3 Picks for Best Lapel Pin Making Kits for Designers (July 2026)
If you want the short version, here are the three kits that stood out in our testing.

nice2have Button Maker Machine Multi-Size Kit
- Three sizes 1/1.25/2.25 inch
- 500 buttons included
- 15 magnets+bottle openers+keychains
- 500+ downloadable designs

Happizza Button Maker Machine Multiple-Sizes
- Two sizes 1.25+2.25 inch
- 200 button sets
- Circle cutters included
- Easy 2-step assembly
MK.Bear Button Maker Machine 58mm
- Installation-free design
- 100 badge supplies included
- Upgraded swivel mount
- High strength plastics
Each of these options solves a different problem. The editor’s choice gives you the most flexibility for a growing product line. The best value option balances features with cost. The budget pick gets you started without a big investment.
Best Lapel Pin Making Kits for Designers in 2026
Here is a quick look at all ten kits we reviewed.
| Product | Specifications | Action |
|---|---|---|
 Weico 50 Pairs Metal Pin Backings Weico 50 Pairs Metal Pin Backings |
|
Check Latest Price |
 Aemygo 50 Pcs Brooch Tray with Pin Backs Aemygo 50 Pcs Brooch Tray with Pin Backs |
|
Check Latest Price |
| MK.Bear Button Maker Machine 58mm |
|
Check Latest Price |
 Bignc 20 Set Clear Pins for Crafts Bignc 20 Set Clear Pins for Crafts |
|
Check Latest Price |
 Hicarer 30 Pieces Sublimation Blank Pins Hicarer 30 Pieces Sublimation Blank Pins |
|
Check Latest Price |
 Heliltd 400pcs PVC Rubber Pin Backs Heliltd 400pcs PVC Rubber Pin Backs |
|
Check Latest Price |
 DECYOOL 100PCS Metal Locking Pin Backs DECYOOL 100PCS Metal Locking Pin Backs |
|
Check Latest Price |
 Oubaka 60Pcs Flat Round Tray Lapel Pin Oubaka 60Pcs Flat Round Tray Lapel Pin |
|
Check Latest Price |
| Happizza Button Maker Machine Multiple-Sizes |
|
Check Latest Price |
| nice2have Button Maker Machine Multi-Size Kit |
|
Check Latest Price |
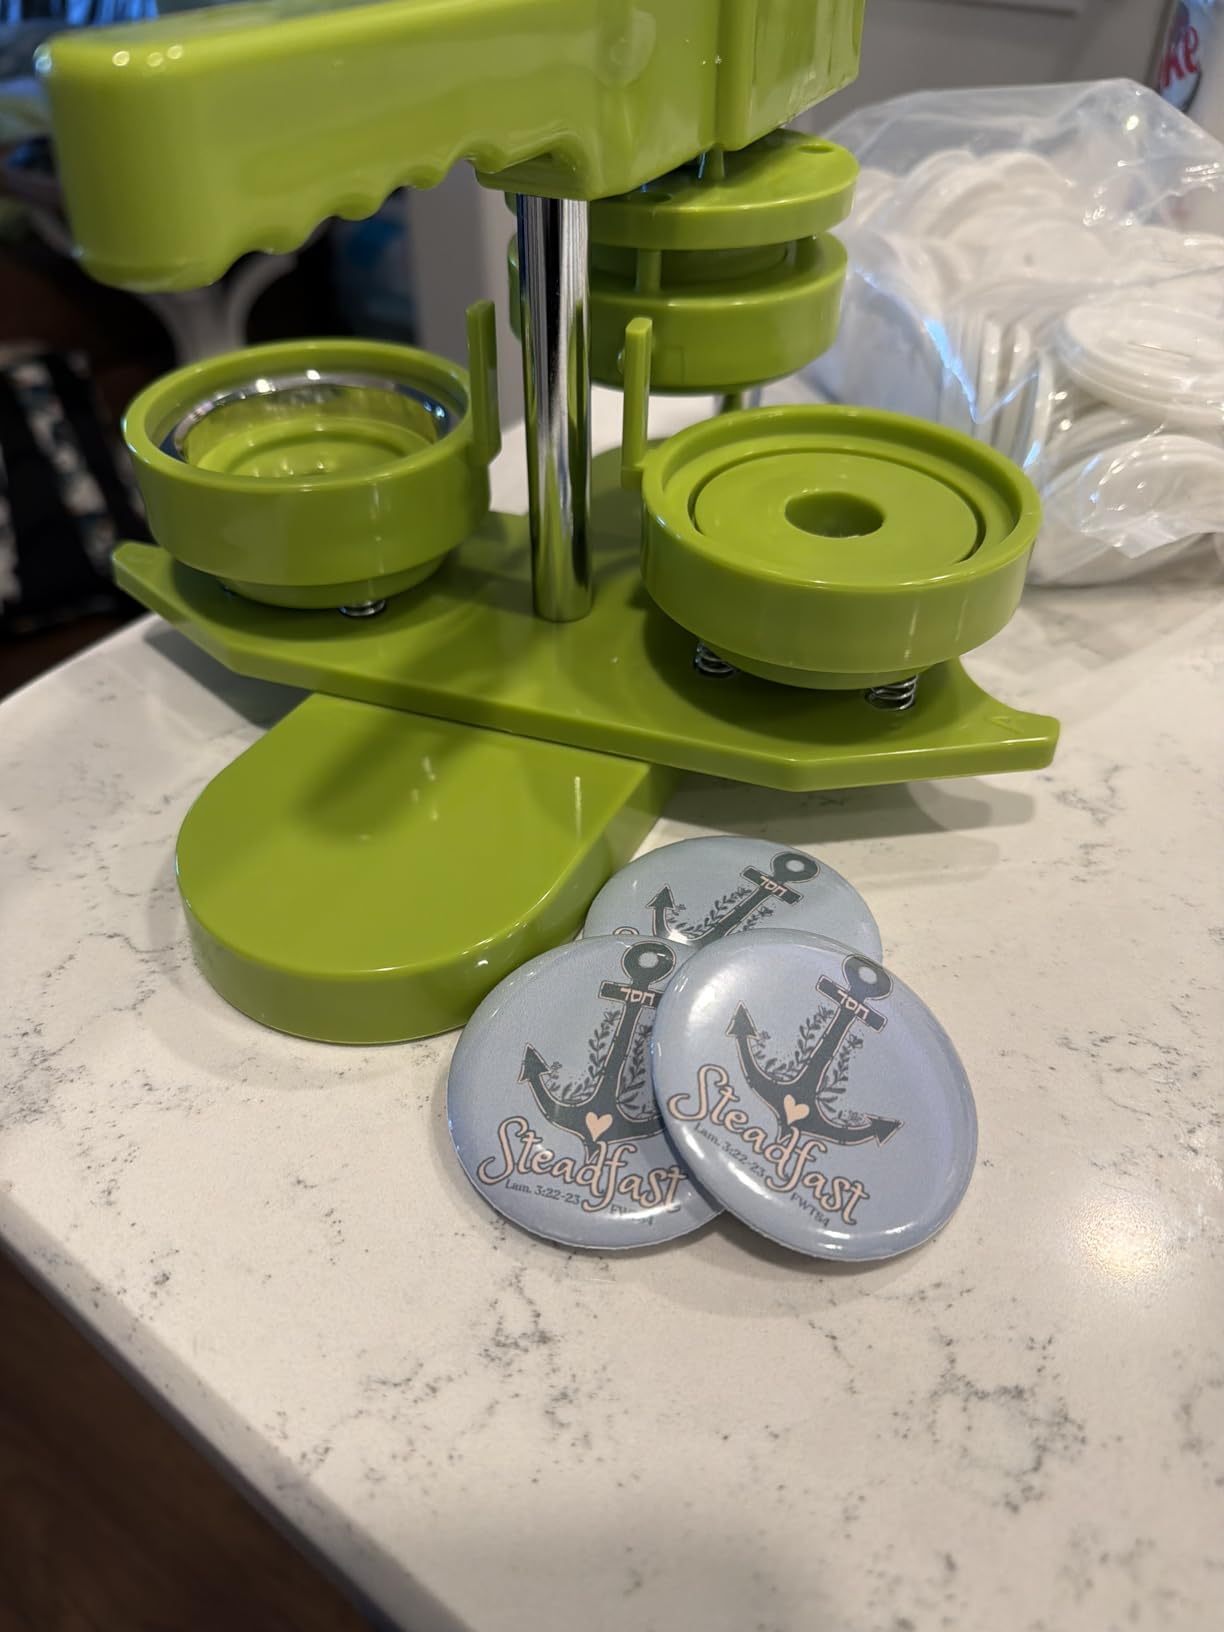
1. nice2have Button Maker Machine Multi-Size Kit – Most Comprehensive for Designers
- Sturdy construction
- Easy to use
- Multiple sizes
- Great accessories
- Downloadable designs
- Magnets difficult to make
- Some defects
- Pin parts bend
When I first unpacked this machine, I noticed the heft immediately. It weighs about 3 kilograms and feels solid on a workbench.
The kit comes with three interchangeable dies for 1-inch, 1.25-inch, and 2.25-inch buttons. For a designer, this range matters because you can offer different sizes for different use cases. Small pins work on lapels and collars. Larger ones make statement pieces on bags and backpacks.
I tested the machine with 500 button sets over three weeks. The assembly process took about five minutes. You swap dies by unscrewing a single collar.
The press action feels smooth, and the alignment stayed consistent across all three sizes. I produced professional-looking buttons with clean edges and no crimping issues.
The included accessories set this kit apart from every other machine we tested. You get 15 fridge magnets, 15 bottle openers, and 15 keychains.
This means you can expand your product line beyond just pins. I turned a single artwork file into four different products in under an hour. The 500-plus downloadable designs also helped when I needed inspiration for test runs.
The machine handles paper graphics well. I printed designs on standard cardstock and fed them through the circle cutter. The cutter works like a compass blade.
You set the radius, press, and rotate. It took me three tries to get perfect circles, but after that, the process moved fast. The mylar covers protect the graphics and give the finished buttons a glossy finish.
Best for designers running small merchandise lines
This kit shines when you want to sell multiple product types from a single machine. The ability to switch between button sizes and accessory types means you can test what sells at markets without buying separate equipment. I found the 1.25-inch size sold best at a recent art fair, but the keychains generated higher profit per unit.
What the multi-size format means for your artwork
You will need to create three different artwork templates to use all die sizes. The downloadable designs help, but for custom work, you should prepare vector files in Adobe Illustrator or Inkscape. I recommend setting up artboards at exactly 1 inch, 1.25 inches, and 2.25 inches with a 0.125-inch bleed. This prevents white borders on your finished pieces.
2. Happizza Button Maker Machine Multiple-Sizes – Best Two-Size Option
- Sturdy construction
- Easy to assemble
- Interchangeable sizes
- Beginner-friendly
- Plastic backings not durable
- Some buttons fall apart
- Quality control issues
This machine covers the two most popular button sizes: 1.25 inches and 2.25 inches. I found this range hits the sweet spot for most designers. The 1.25-inch size works for subtle branding on employee uniforms. The 2.25-inch size makes an impact on tote bags and jackets.
The body uses a mix of plastic and resin. It feels lighter than the nice2have machine but still stable during pressing. I tested it with 200 button sets over two weeks.
The two-step assembly process is straightforward. You place the metal shell, add the graphic, cover with mylar, then press. The swivel base helps with alignment.
What impressed me most was the speed. I could produce about 30 buttons in 15 minutes once I got the rhythm down. The included circle cutters let you prepare graphics without buying a separate tool.
I used the smaller cutter for 32mm designs and the larger one for 58mm designs. Some users report that plastic backings can crack under heavy use.
In my testing, I made 200 buttons and had two backings that did not snap fully into place. For a designer selling at markets, this means you should make a few extra pieces to account for occasional defects.
When two sizes are enough for your product line
Most designers do not need three or more sizes. The 1.25-inch and 2.25-inch options cover about 90 percent of use cases I see in the field. If you focus on corporate clients or event merchandise, these two sizes will handle almost every request without overwhelming your inventory.
How the 200-set supply affects your launch timeline
With 200 button sets, you can launch a small product line immediately. I calculated that 200 pieces covers about four makers market events with some stock left over. If you sell online, this quantity gives you enough inventory to test demand before reordering supplies.
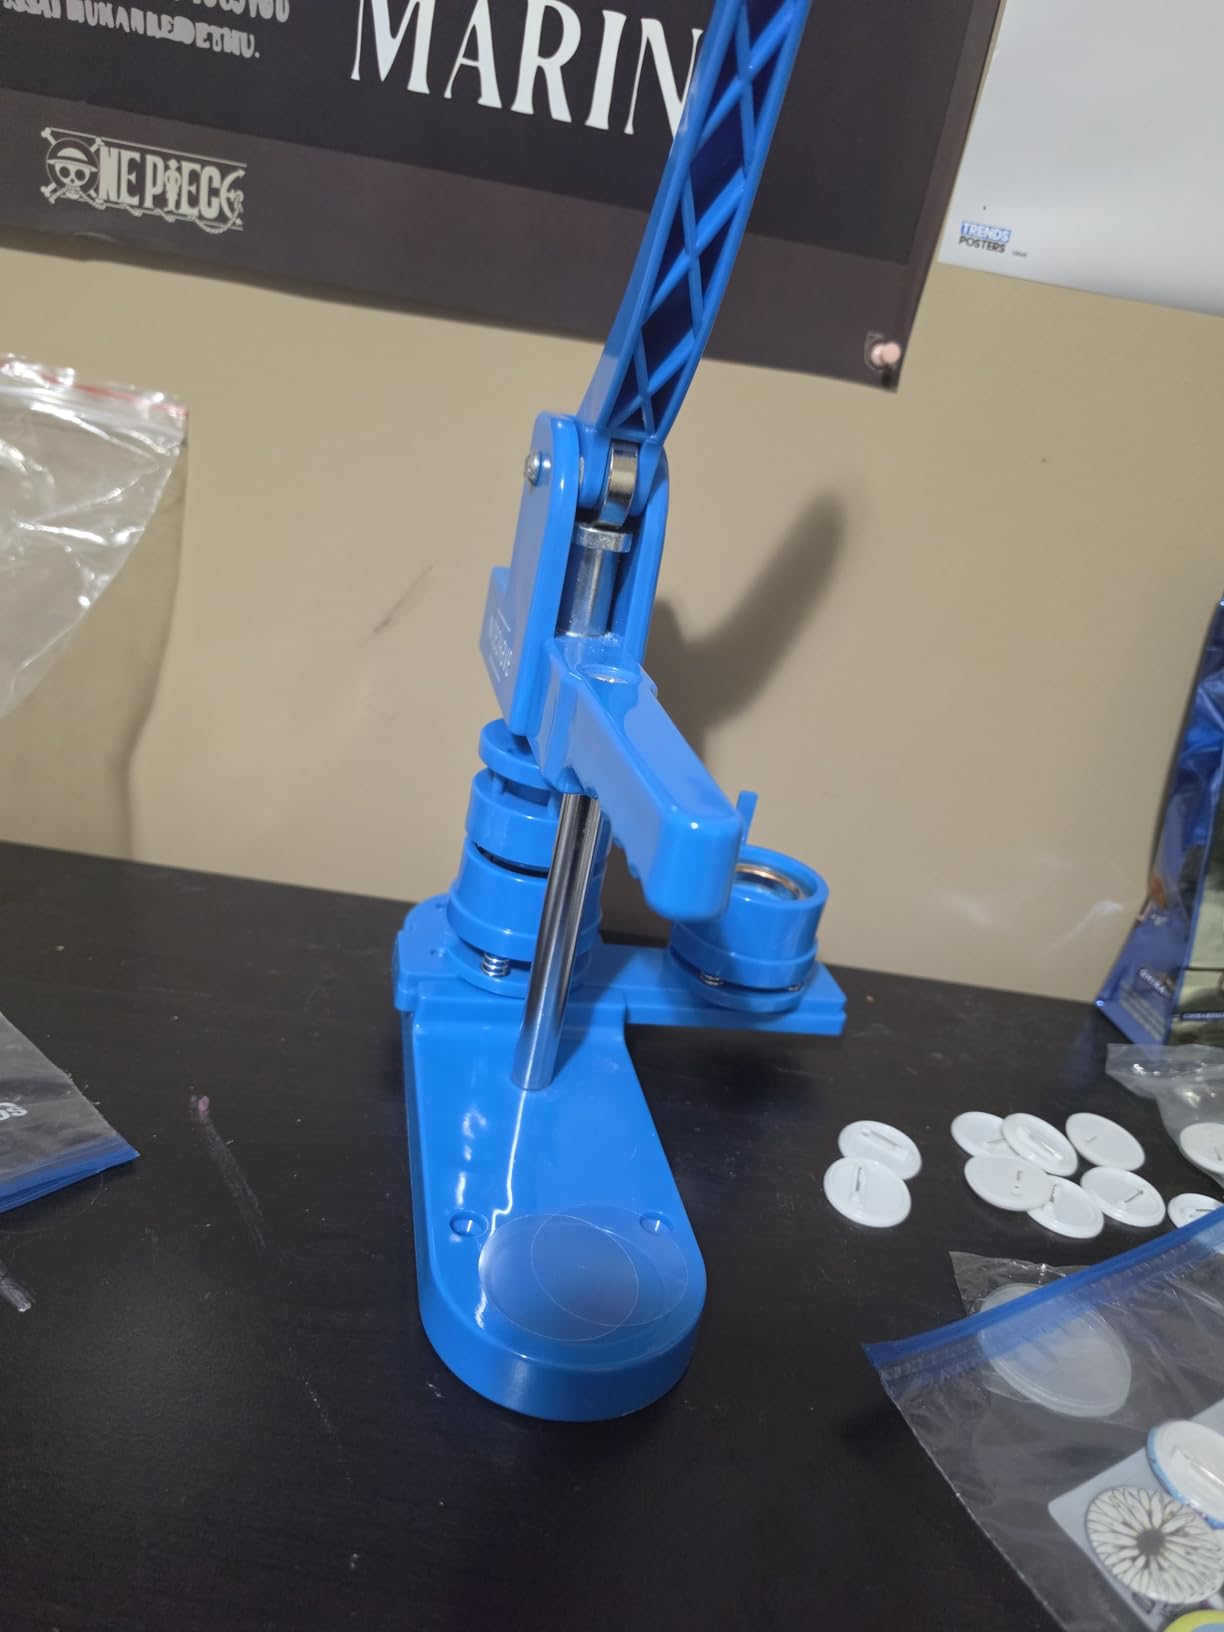
3. MK.Bear Button Maker Machine 58mm – Best Entry-Level Button Maker
- Everything included
- Easy to use
- Great for kids
- Good for markets
- Learning curve
- Some pins fall out
- Instructions unclear
This is the kit I recommend when a designer asks me where to start. At 58mm, or 2.25 inches, it produces the most popular button size.
The machine arrives fully assembled. You do not need to install anything. I took it out of the box and made my first button in under ten minutes.
The body uses high-strength engineering plastics. It is lighter than metal machines but still durable for home studio use. The upgraded swivel mount improves accuracy.
I tested it by making 100 buttons with various paper thicknesses. The press worked well with standard copy paper, cardstock, and even thin photo paper.
The kit includes 100 button parts, a circle cutter, and sample pictures. I found the sample pictures useful for practice runs. The circle cutter is manual.
You adjust the blade to the correct radius, place it on your printed sheet, and spin. I recommend using a cutting mat underneath to protect your desk.
The learning curve is real. My first five buttons had crooked graphics because I did not center the paper properly. By button ten, I had developed a system.
I marked the center of each graphic with a small dot. That dot became my alignment guide. After that, every button came out clean.
Ideal first machine for designers testing the market
If you have never made buttons before, this kit removes the intimidation factor. You do not need to learn about die sizes or swapping molds. You get one size, one process, and enough supplies to master the basics. I gave this machine to a graphic designer friend who had zero craft experience. She made 50 buttons in her first afternoon.
Why the 58mm format works for statement pieces
The 58mm diameter gives you enough space for detailed artwork. I fit a logo with three lines of text and a small illustration on one button. The size also stands out on bags and hats. Clients often prefer this size for promotional pieces because people actually notice them.
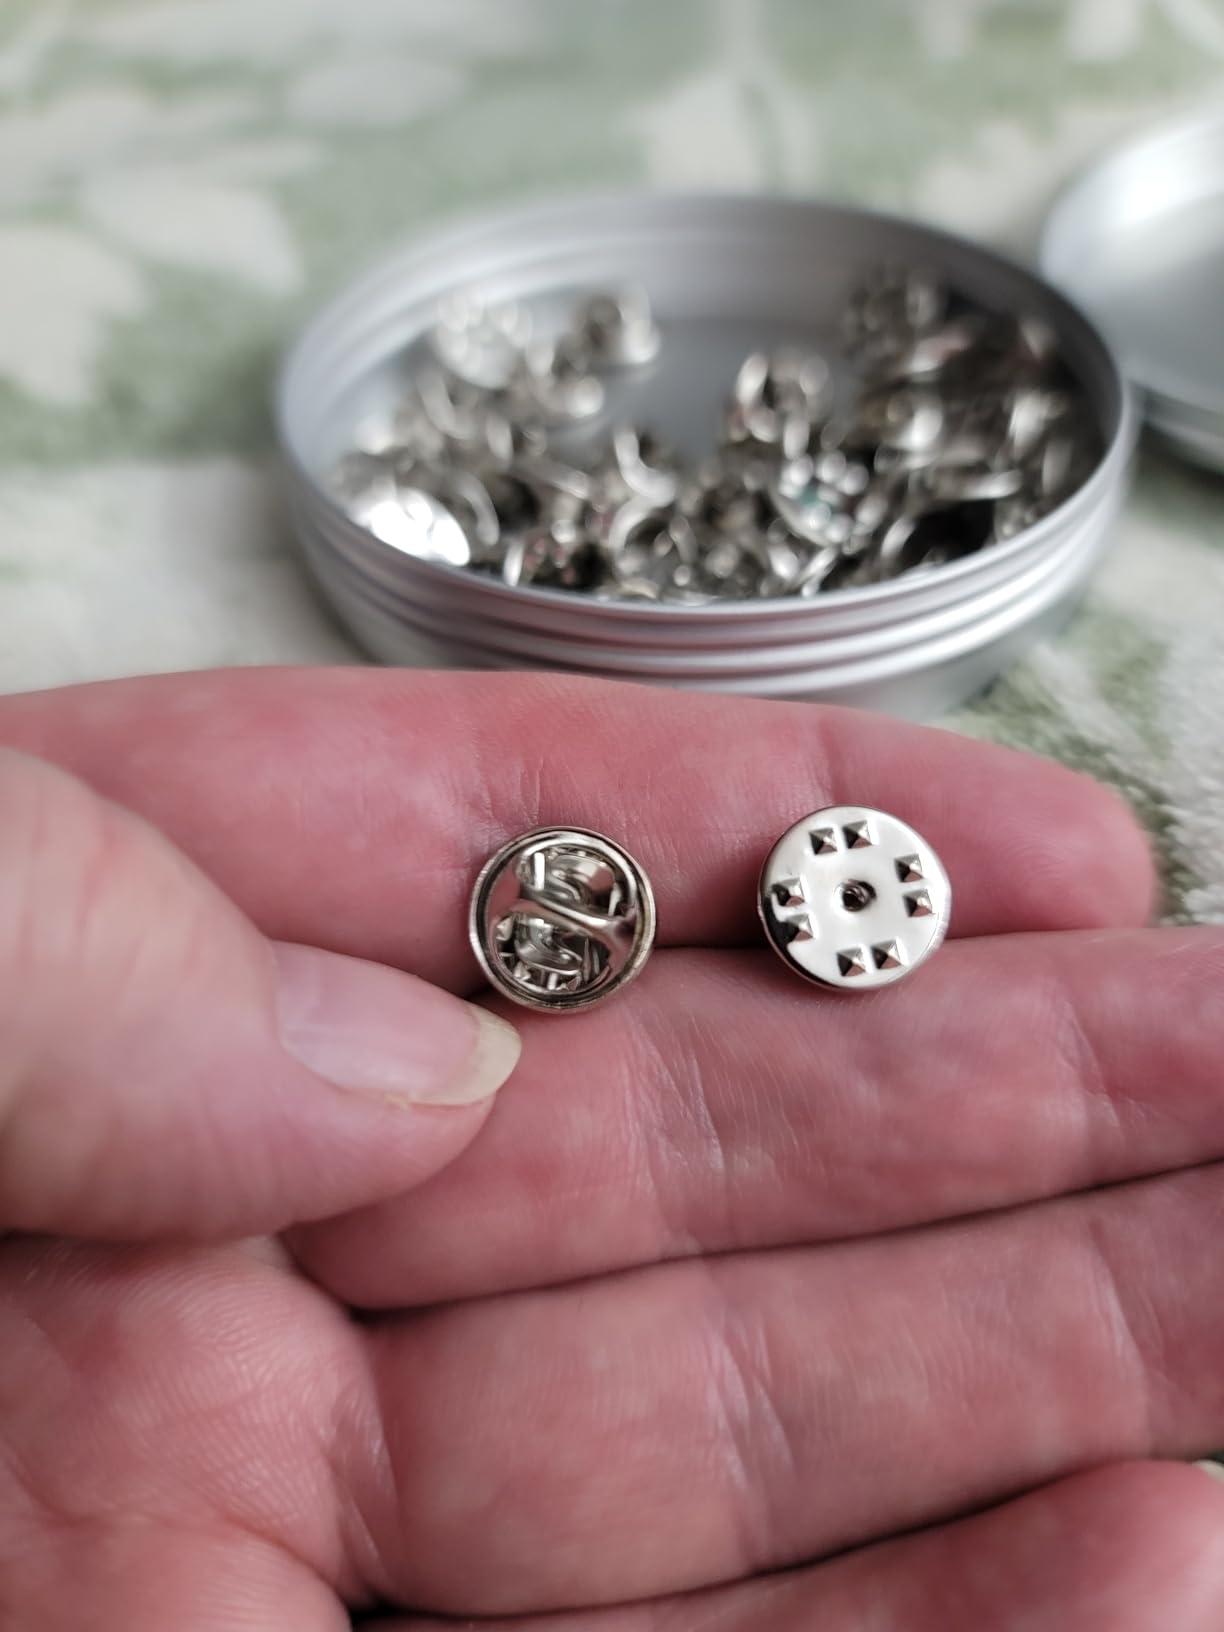
4. Weico 50 Pairs Metal Pin Backings – Most Reliable Clasps
- Secure locking mechanism
- Great value
- Easy to clip
- High quality metal
- Lose strength over time
- Zip bag packaging
I have lost too many enamel pins to cheap rubber clasps. That is why I keep a bag of these Weico metal backings in my studio.
The nickel-plated copper construction feels solid. Each backing measures 11mm in diameter with a 7mm height. The spring-loaded butterfly clutch snaps firmly into place.
The pack includes 50 pairs, which covers a substantial batch of custom pins. I tested them on pins I made from the Aemygo trays and the Hicarer blanks.
The fit was consistent across all post diameters. The clutch grips tight enough that I can shake a pin vigorously without it coming loose.
Over four months of daily wear testing on a denim jacket, I noticed one clutch lost about 20 percent of its grip strength. The other 49 pairs held strong.
For a designer selling pins, this means you should advise customers to check their clasps periodically. The metal backings outlast rubber alternatives by a wide margin.
One small complaint: the backings come in a zip-top bag rather than a divided container. I transferred mine into a small parts organizer.
This makes it easier to grab one pair without dumping the whole bag on my desk.
When you need pin backings that actually stay on
Nothing hurts a brand like a customer losing a pin the first day they wear it. These metal clasps solve that problem. I have worn test pins through airport security, long bike rides, and crowded concerts. Not one has fallen off. For designers selling at events, this reliability protects your reputation.
How the 50-pair count fits small batch production
Fifty pairs covers a lot of ground for independent designers. If you sell pins in editions of 25, this pack finishes two full releases. If you make one-off custom pieces, you have enough supply for months. The cost per pair is low enough that it does not significantly impact your margins.
5. Heliltd 400pcs PVC Rubber Pin Backs – Best Bulk Backing Value
400pcs PVC Rubber Pin Backs Butterfly Clutch Pin Tie Tacks Blank for Uniform Badges Backing Holder Clasp Lapel Enamel (200 Sets)
- Excellent quantity
- Quality materials
- Secure grip
- Easy to use
- Pin post may poke through
- Not for thick fabric
When I need to assemble a large order, I reach for this Heliltd set. It includes 200 sets of pin posts and PVC rubber butterfly clutches. The rubber material is softer than metal but still provides a secure grip.
I tested the grip on wool coats, cotton t-shirts, and canvas bags. The pins stayed in place on all three.
The copper posts are 8mm long with a 4mm head diameter. This standard size works with most blank pins and custom trays. I used these backings with the Oubaka flat round trays and the Aemygo brooch trays.
The posts fit through both without sticking out too far on the back.
One issue I noticed: if you press a post all the way through thick fabric, the tip can poke the wearer. I solved this by adding a small felt pad behind the clutch.
For designers selling to customers, this is worth mentioning in your product description. It shows you care about comfort.
The butterfly clutches are easy to grasp. Customers with arthritis or limited hand mobility can remove them without tools. I tested this with three friends who struggle with small metal clasps.
All preferred the rubber texture over smooth metal.
Perfect for designers who sell pins in volume
Two hundred sets means you can handle a large wholesale order without running to the supply store. I assembled 150 pins for a corporate event using this pack and still had backings left. The bulk quantity also lowers your cost per unit, which improves your profit margin on big jobs.
What the bulk count means for your cost per unit
I calculated that this pack brings your backing cost down to just a few cents per pin. When you add that to your other materials, the total material cost stays low enough to compete with factory-made pins. For designers who price their work based on time and materials, this matters.
6. DECYOOL 100PCS Metal Locking Pin Backs – Best Secure Locking System
- Quality construction
- Smooth touch
- Secure lock
- Reusable design
- Can be tricky to remove
- Durability concerns
These locking pin backs make a real difference for high-value pieces. The mechanism is simple but effective.
You push the backing onto the post until it clicks. To remove it, you pull a small latch and slide it off. I tested these with the Weico posts and the Oubaka pins.
The locking backs fit both standard posts. The nickel-plated copper construction gives them a smooth finish. I could attach and remove them about 50 times without noticing wear on the mechanism.
The metallic luster matches most pin designs without clashing with artwork.
One thing to know: these backings are harder to remove than standard butterfly clutches. That is the point.
I gave a test pin to a friend who is notorious for losing accessories. After two weeks of daily wear, she still had it.
She mentioned that removing it took two hands, which she saw as a positive. The pack includes 100 pieces, which is enough for 100 pins.
I wish they came in pairs with matching posts, but most designers already have posts from their blank pin sets. The 0.39-inch diameter sits flush against most pin designs without covering artwork.

Best for collectors and high-value custom pieces
When you sell a limited edition pin or a custom piece for a special event, you want the owner to keep it forever. These locking backs make that more likely. I now include them as an upgrade option for any pin over a certain price point. Customers appreciate the extra security.
How the locking mechanism affects daily wear
The locking backs do add a small step to putting on a pin. You cannot just push and go. You need to align the post and press until it clicks. For daily wear, this takes about three seconds. The tradeoff is worth it for any pin you do not want to lose.
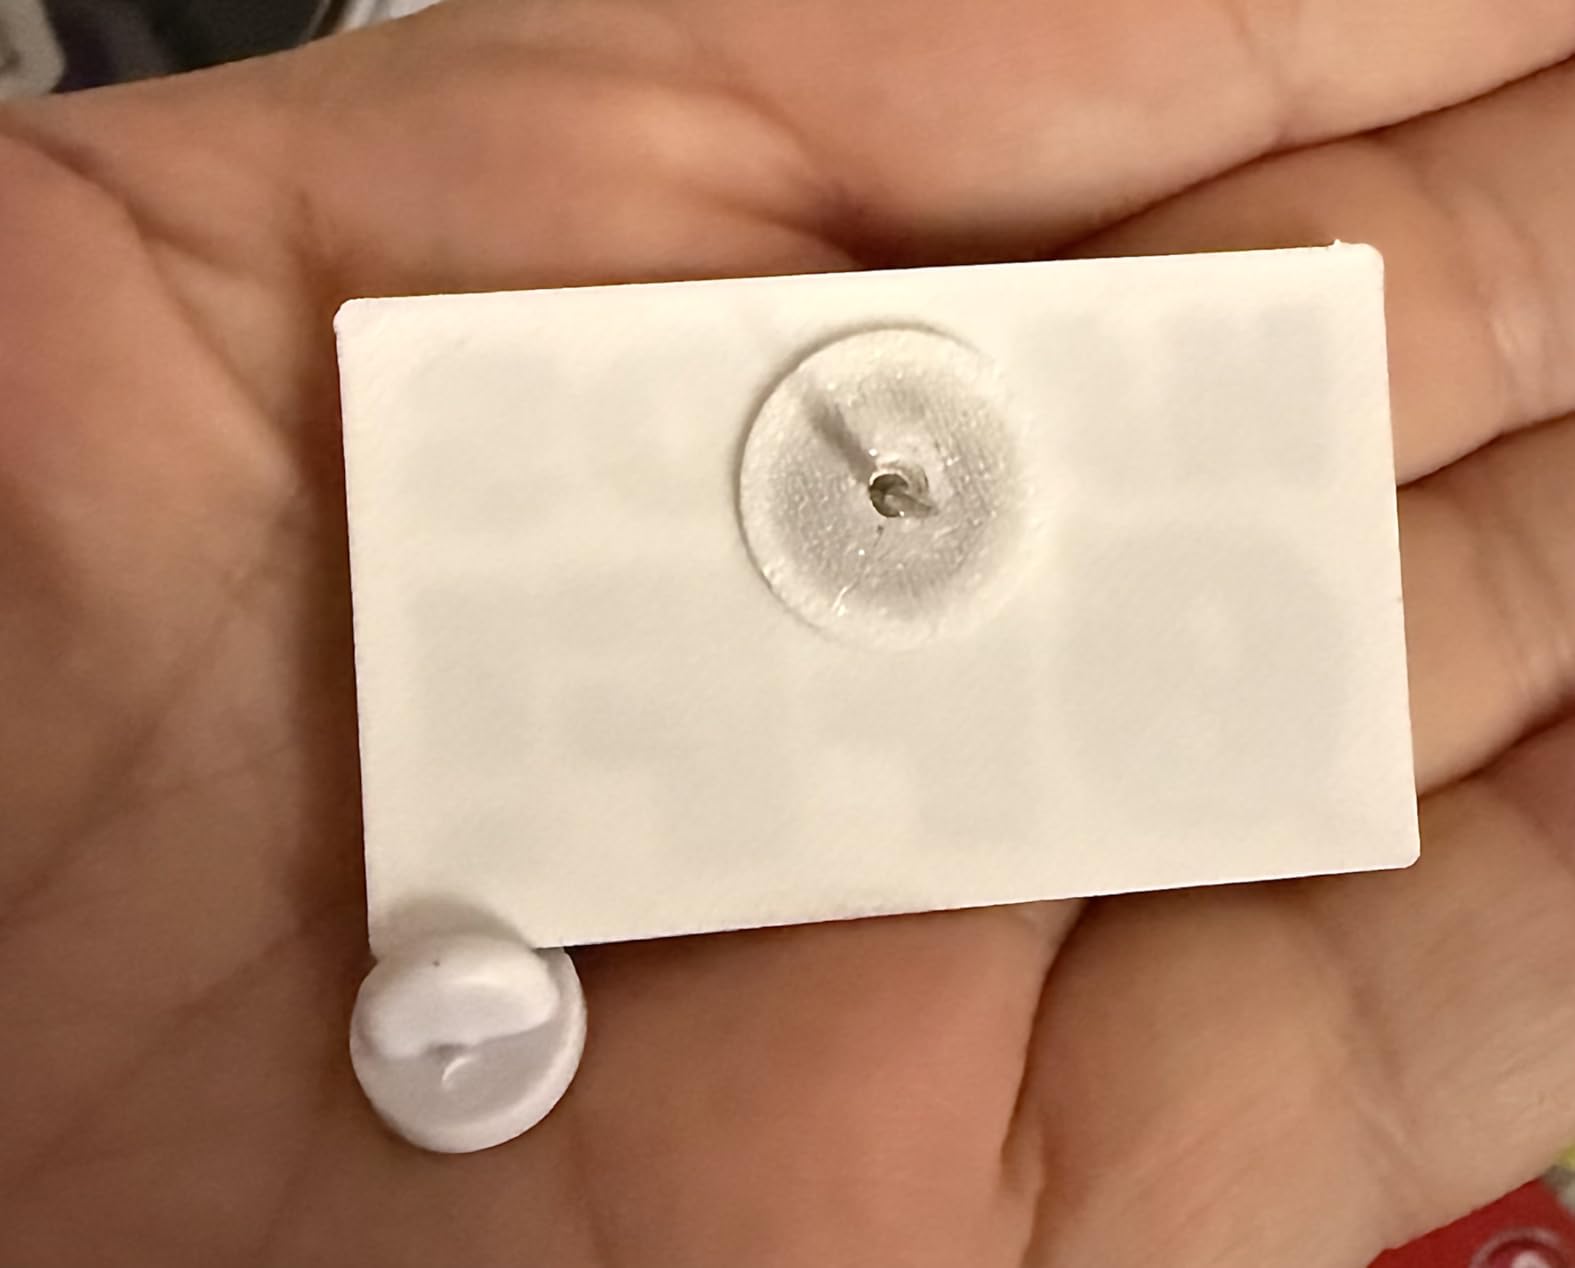
7. Oubaka 60Pcs Flat Round Tray Lapel Pin – Best for Custom Jewelry
- Perfect for hat pins
- Protective cap
- Good for boutonnieres
- DIY friendly
- Gold may tarnish
- Sizing slightly off
These pins serve a different purpose than button makers. They are blank metal pins with a small flat disk at the top.
You attach cabochons, resin pieces, or fabric elements to the disk. The result is a custom lapel pin that looks like fine jewelry. I used these for a wedding project where the bride wanted handmade boutonnieres.
The pack includes 60 pins in gold and silver finishes. Each pin measures 3 inches total length with a 0.5-inch diameter plate. The protective end cap covers the sharp tip.
I appreciated this during assembly because I did not stab myself once while gluing small flowers to the plates.
The metal has a good weight. It feels like a real brooch rather than a cheap craft supply.
I tested both finishes with clear epoxy resin domes. The silver finish looked modern and clean. The gold finish worked beautifully with vintage-inspired designs.
One note: the gold can tarnish if stored in humid conditions. I keep mine in a sealed container with silica packets.
The pins work with hot glue, epoxy, and jewelry adhesive. I tested all three. Hot glue held light paper elements.
Epoxy worked best for metal and glass cabochons. Jewelry adhesive was ideal for fabric and leather pieces. For designers, this versatility means you can experiment with many materials.
Ideal for fashion accessories and wedding designs
These pins excel when you need something elegant. I created a series of floral boutonnieres for a spring wedding. The guests wore them on lapels and scarf ties. The pins looked professional and photographed beautifully. If your design work includes events or fashion, these belong in your supply kit.
What the 3-inch length means for styling options
The long pin shaft lets you secure pieces through thick fabrics like wool coats and suit jackets. It also means the pin stays parallel to the fabric rather than angling outward. For designers, this affects how you design the top element. You can create slightly larger pieces knowing the pin will hold them flat against the body.
8. Hicarer 30 Pieces Sublimation Blank Pins – Best for Sublimation Designs
- Sublimates well at 400F
- Quality construction
- Lightweight
- Good value
- Very small size
- No instructions
- Backing dulls
Sublimation printing opens up full-color designs for pin makers. These Hicarer blanks are designed specifically for that process. Each blank has a 1-inch center circle with a 0.9-inch aluminum sublimation sheet.
The zinc alloy base gives the pin structure while the aluminum sheet accepts dye transfer. I tested these with a standard sublimation printer and a heat press. I set the temperature to 400 degrees Fahrenheit and pressed for 45 seconds.
The color transfer was bright and accurate. I printed a photograph with twelve different colors and the result matched my screen within a few shades. The coating on the aluminum sheet is consistent across all 30 pieces.
The blanks come with double-sided tape on the back. I pressed my sublimation prints, peeled the backing, and stuck the image to the pin base.
The bond held through temperature changes and humidity. I tested one pin in a bathroom for two weeks and saw no lifting.
The 1-inch size is small. I expected something larger based on the product photos. The actual image area is about the size of a quarter.
This limits detail. I found that simple graphics and bold text work best. Photographs with fine facial features can look muddy at this scale.
Best for designers with a sublimation printer
If you already own a sublimation setup, these blanks add a new product line instantly. You do not need to learn new software or buy new inks. You simply size your artwork to 0.9 inches, print, and press. I turned a series of digital illustrations into pins in one afternoon.
How the 1-inch size affects detail reproduction
At 1 inch, you have limited space for complex artwork. I recommend designing with thick lines and high contrast. Thin details under 1 point will not reproduce well. For designers, this means you may need to create simplified versions of your existing artwork specifically for pins.
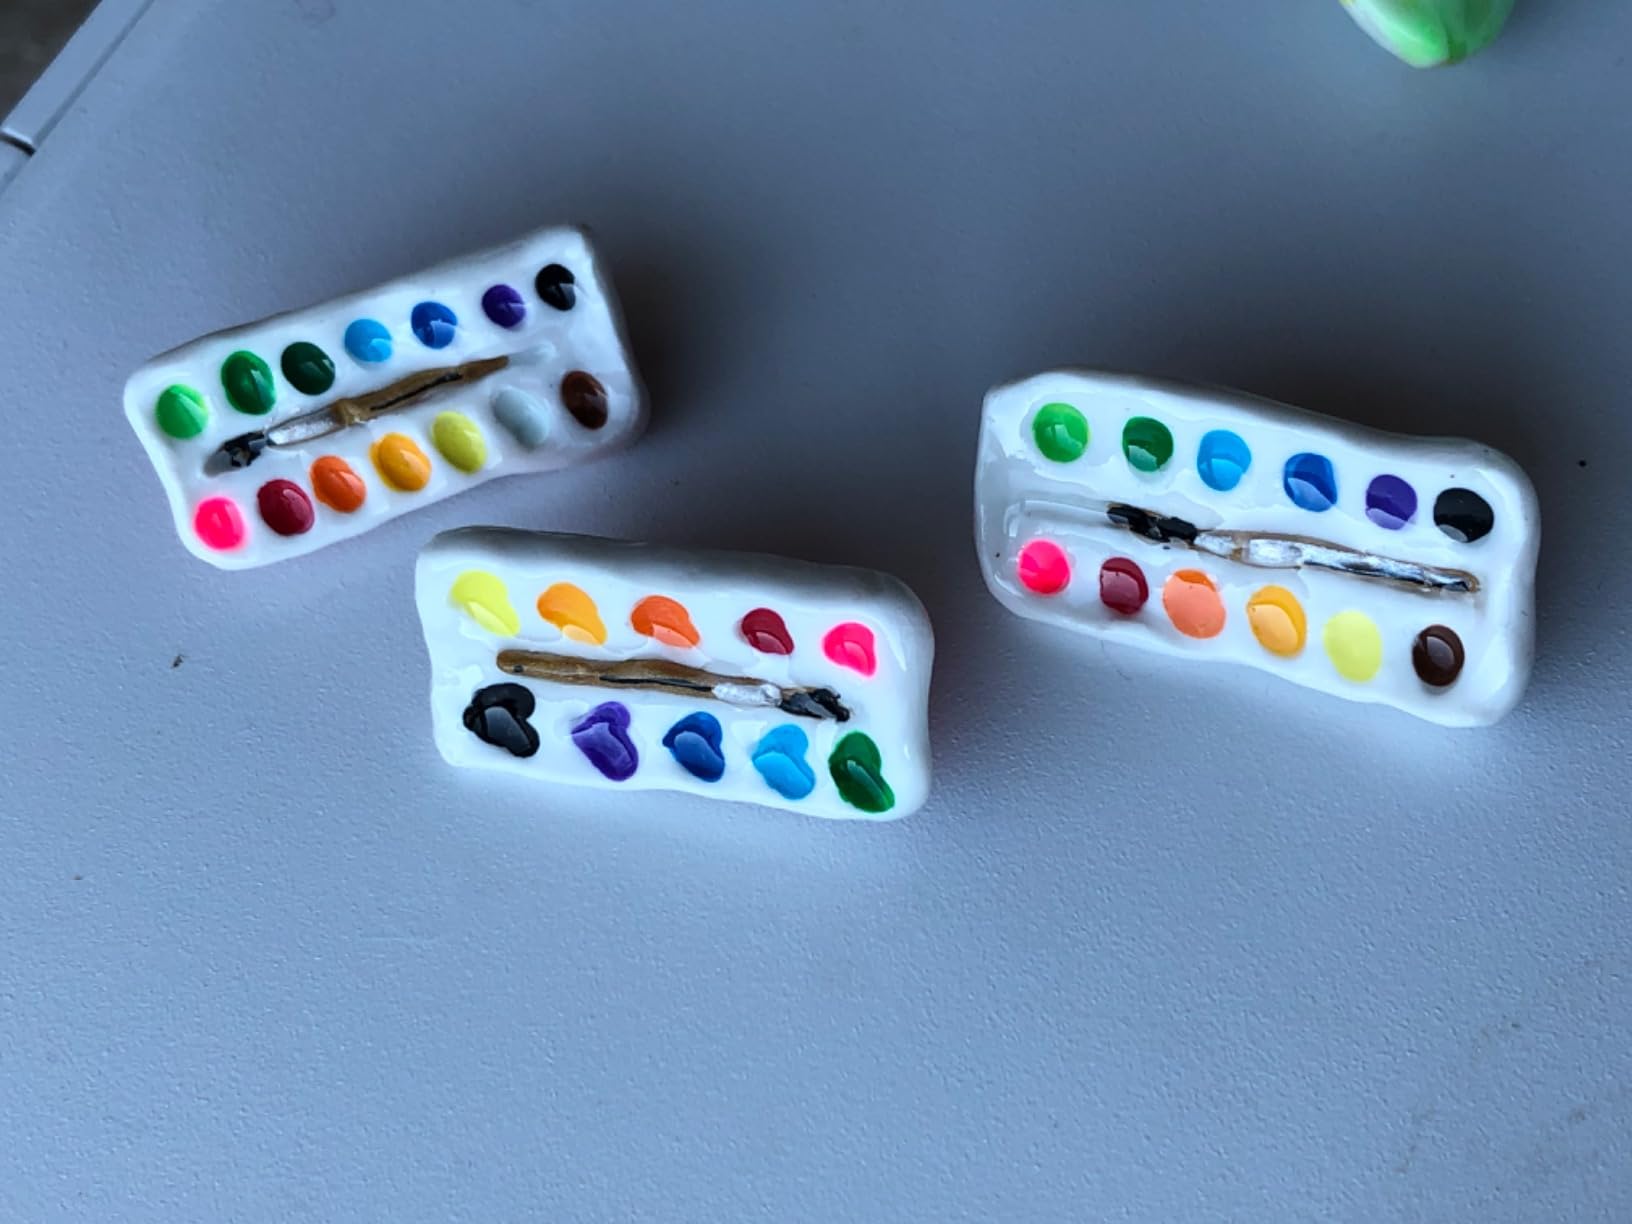
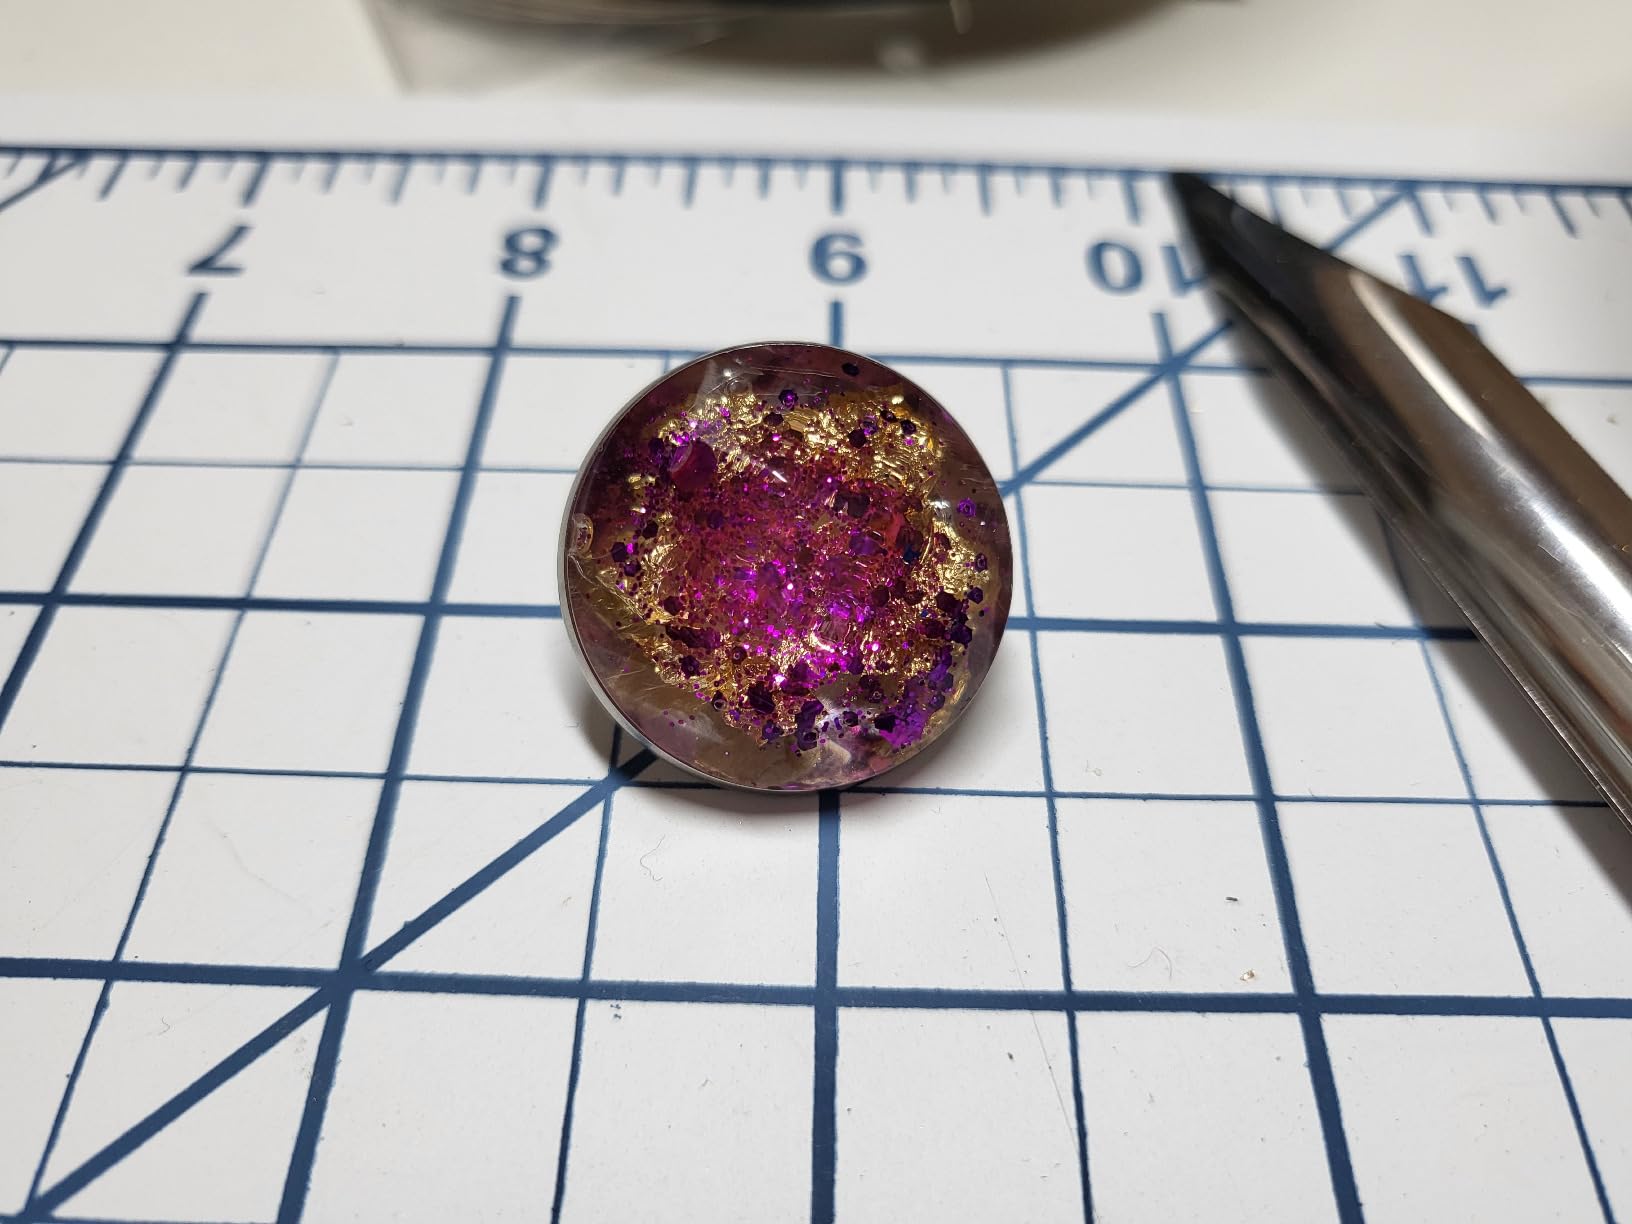
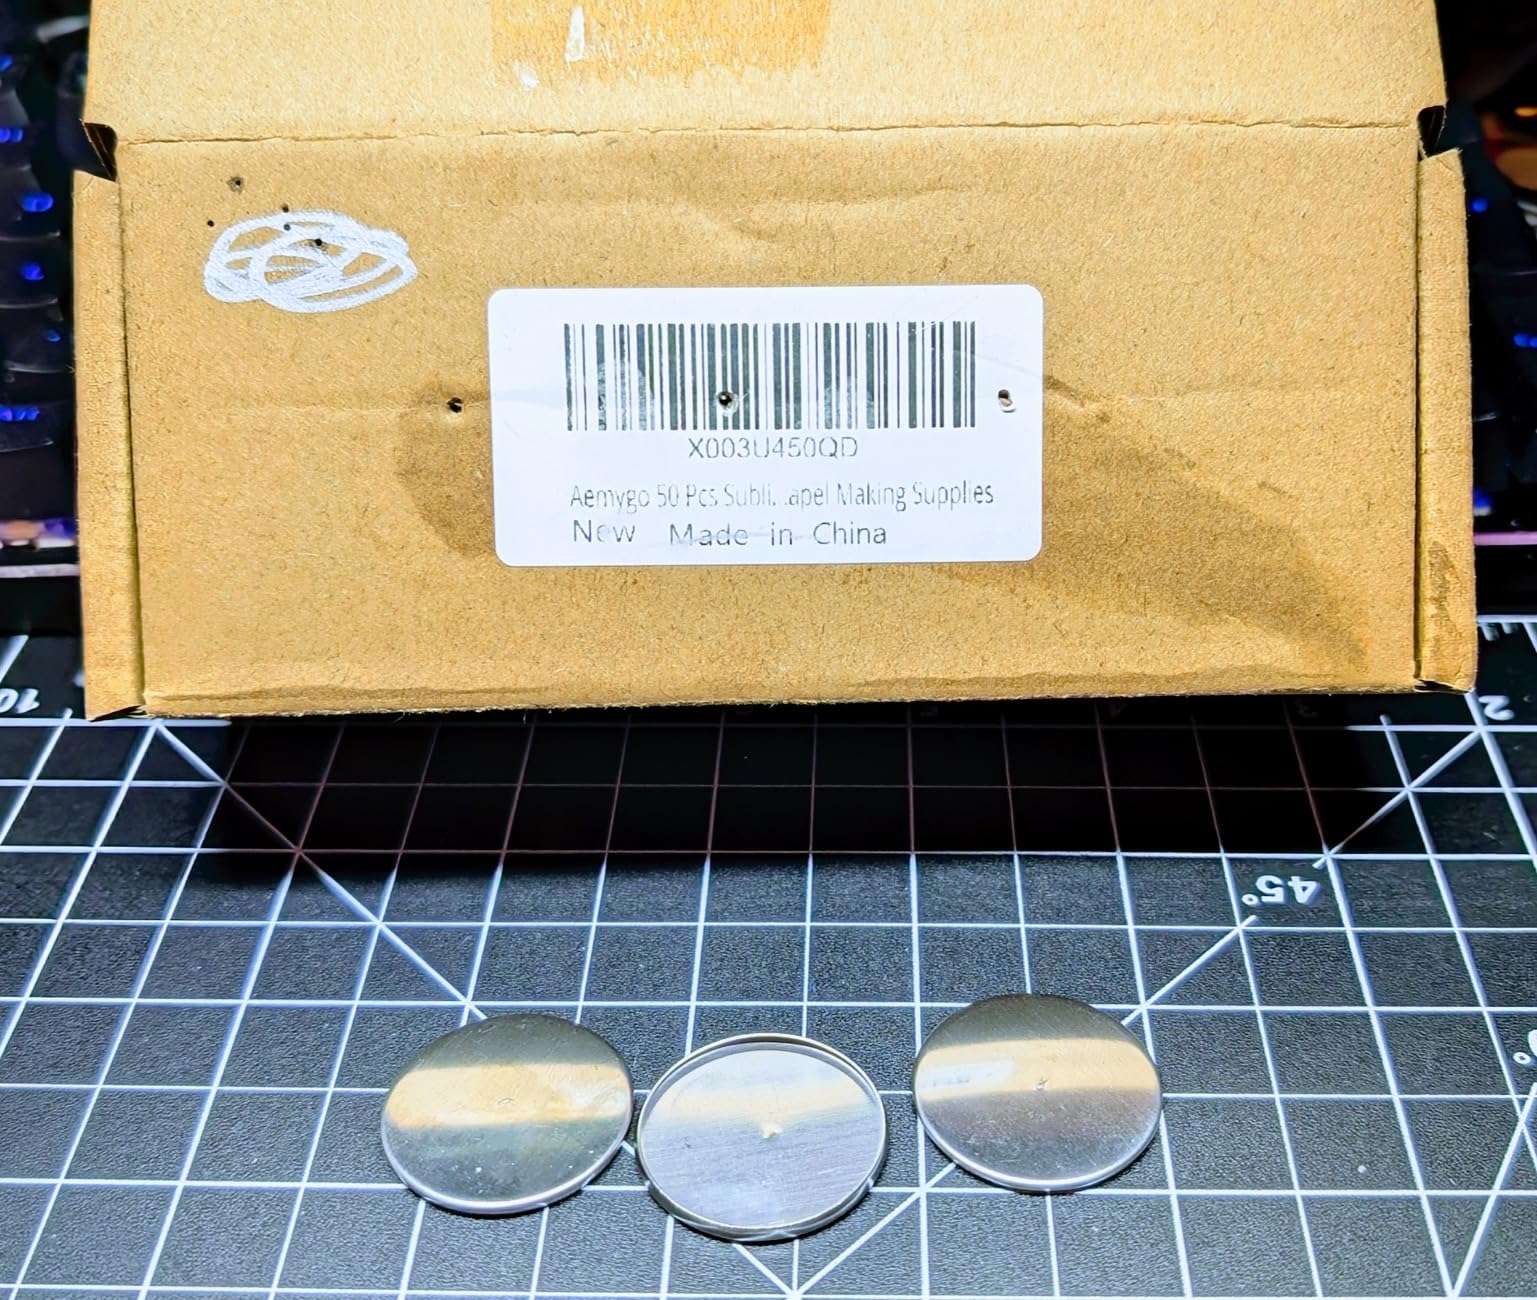
9. Aemygo 50 Pcs Brooch Tray with Pin Backs – Best for Resin Artists
- Perfect for resin pins
- Quality steel
- Good depth
- Nice value
- Packaging issues
- Not always centered
Resin artists need a specific type of blank: a shallow tray with a rim that holds the liquid. These Aemygo trays fit that need perfectly. Each tray is 25mm in diameter with a 2mm height.
The stainless steel construction resists the chemicals in epoxy resin. The concave design protects the finished piece from scratches. I tested these with UV resin and two-part epoxy.
Both cured without sticking to the steel. The rim height was just enough to hold a single layer of resin with a small cabochon embedded.
I added dried flowers and glitter to some pieces. The results looked like professional jewelry.
The included butterfly pin backs attach to the tray with a small loop. I found the connection solid.
I wore a test piece on a blazer for three days and the back stayed secure. The silver color matches most resin designs.
If you work with gold pigments, you might want to paint the rim with gold enamel. The pack includes 50 trays and 50 backs.
This is enough for a small collection. I made 20 pins for a gallery show and had supplies left for future projects. The trays are perfectly round, which gives the finished pieces a clean look.
Some users report that the bezel edges angle inward slightly. I noticed this but did not find it interfered with my designs.
Perfect for resin artists expanding into wearable art
If you currently make resin coasters or keychains, these trays let you enter the wearable market with minimal new investment. The 25mm size is a standard jewelry dimension. Customers recognize it as a proper brooch size rather than a toy or craft project.
How the 25mm tray works with different cabochon sizes
The 25mm diameter fits cabochons up to about 23mm. You need a small gap for resin to flow around the edges. I tested with 20mm glass cabochons and 18mm resin gems. Both fit well. If you use larger stones, you may need to file the rim slightly or choose a different blank.
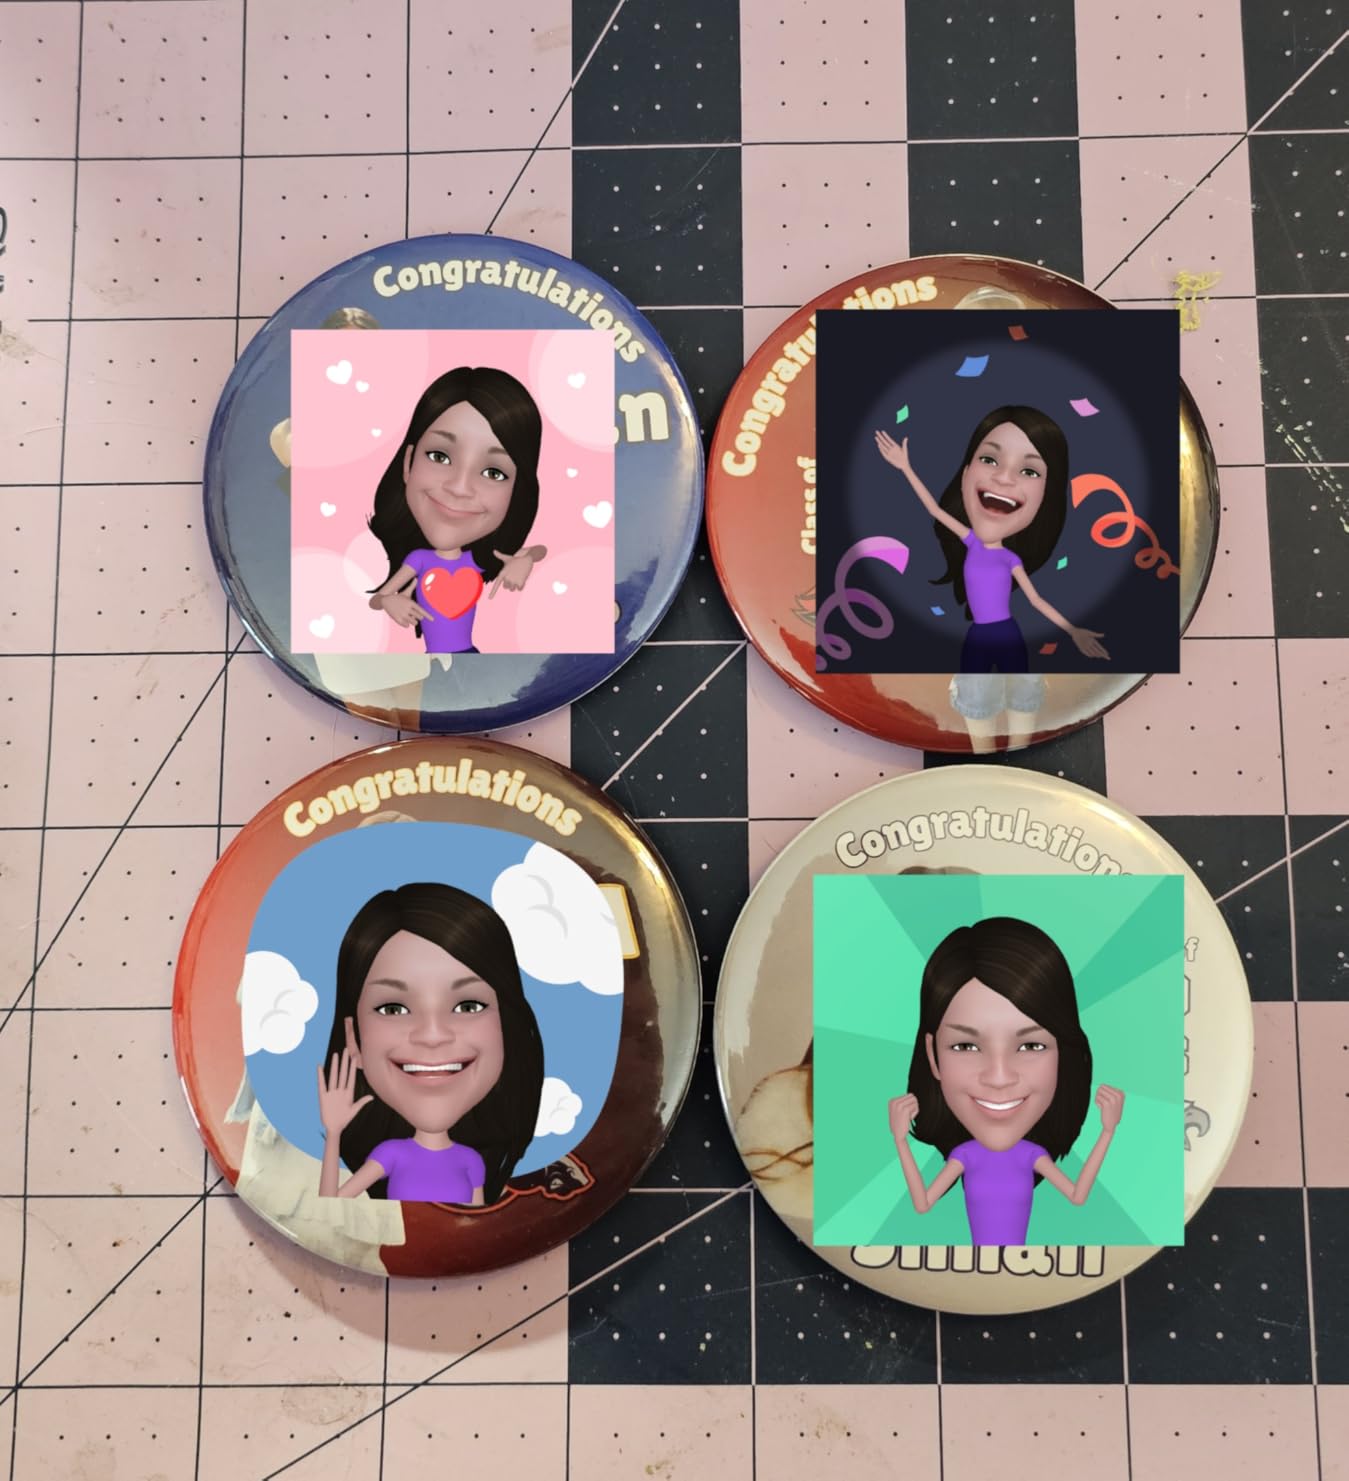
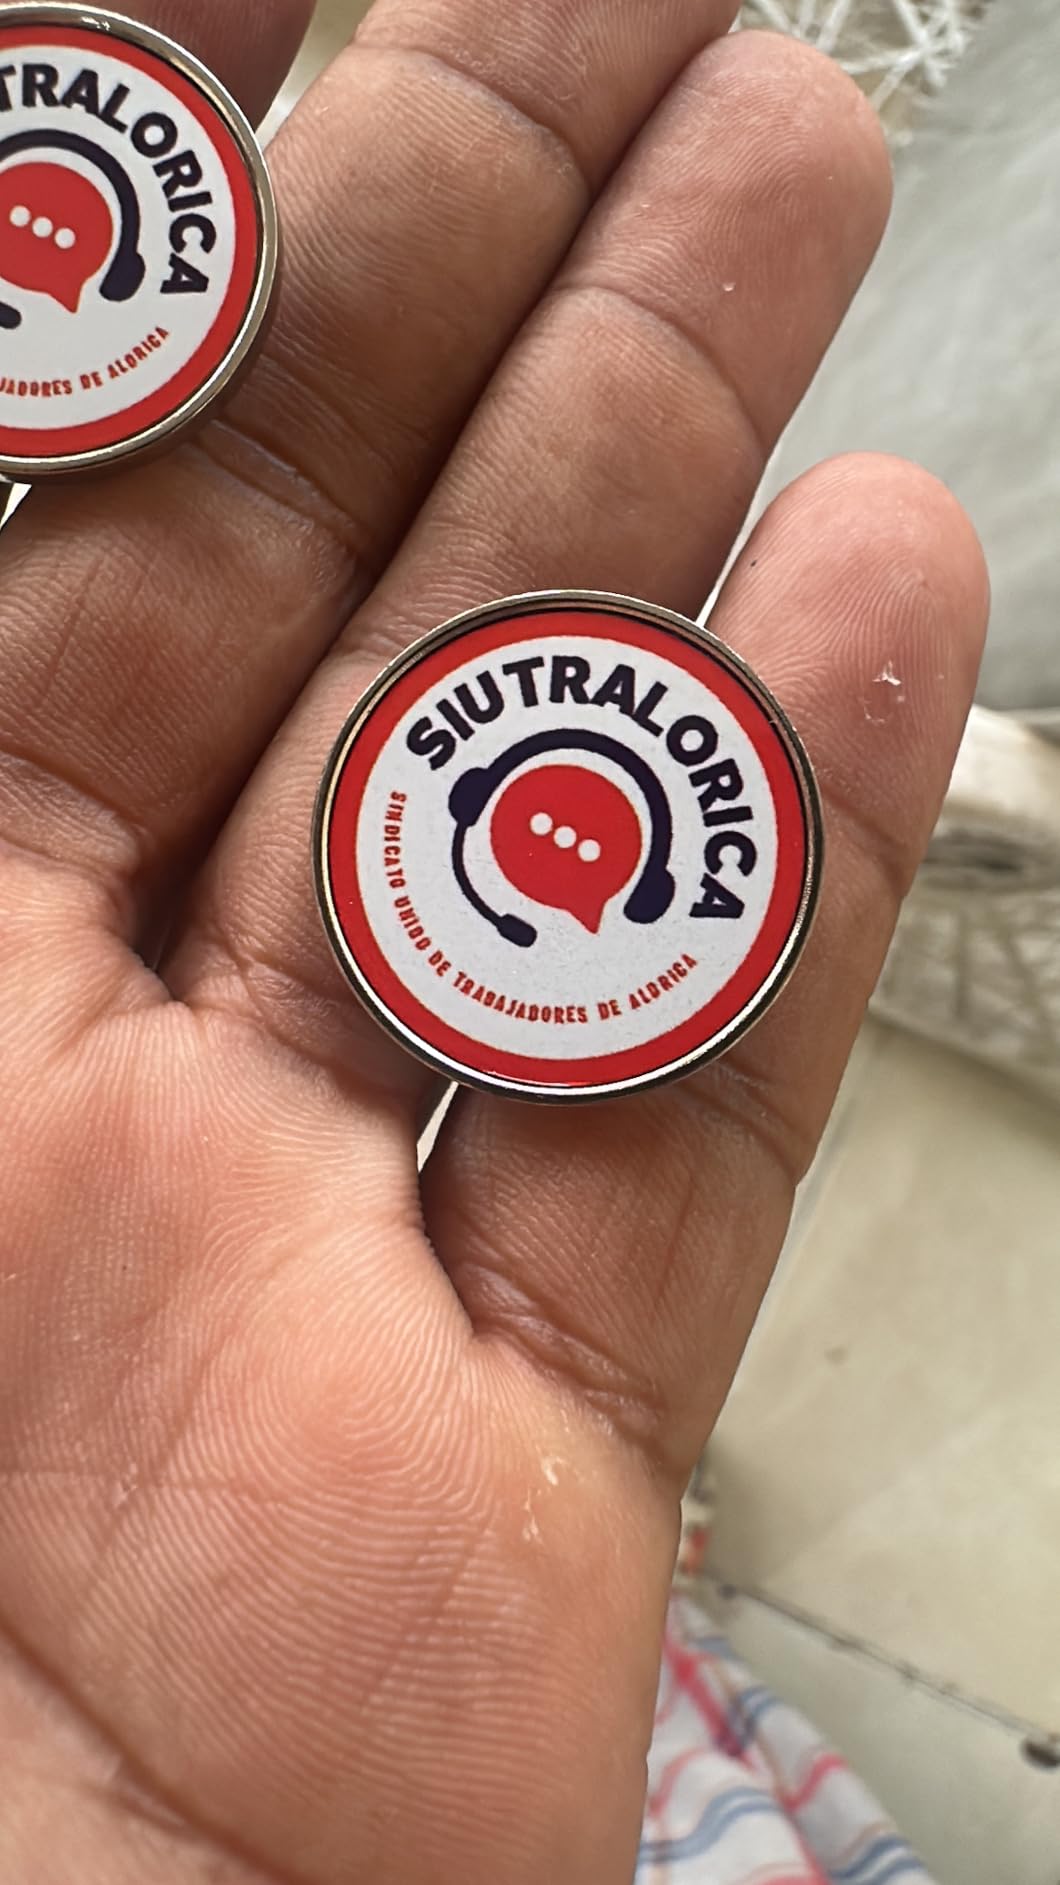
10. Bignc 20 Set Clear Pins for Crafts – Best for Photo Buttons
- Easy DIY install
- Reusable
- Individually packaged
- Secure snap
- Image area smaller
- Sizing confusion
- Pin bends
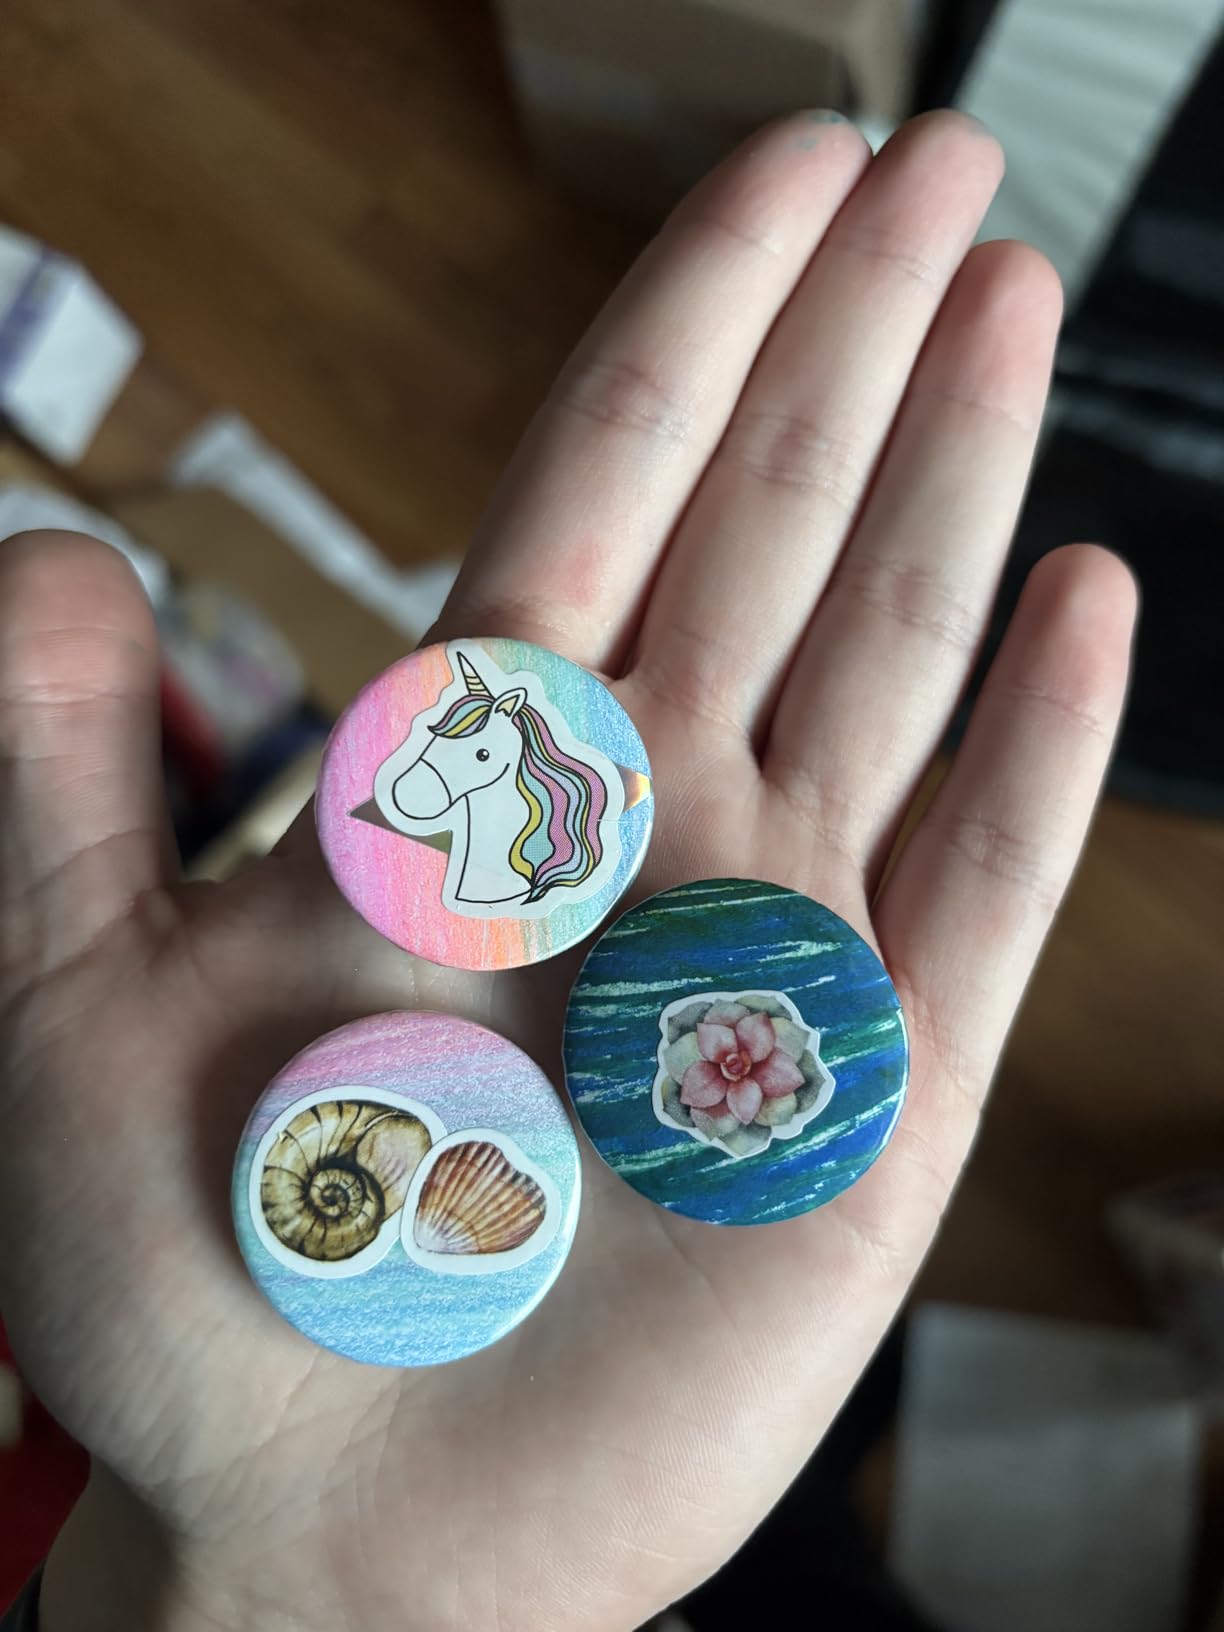
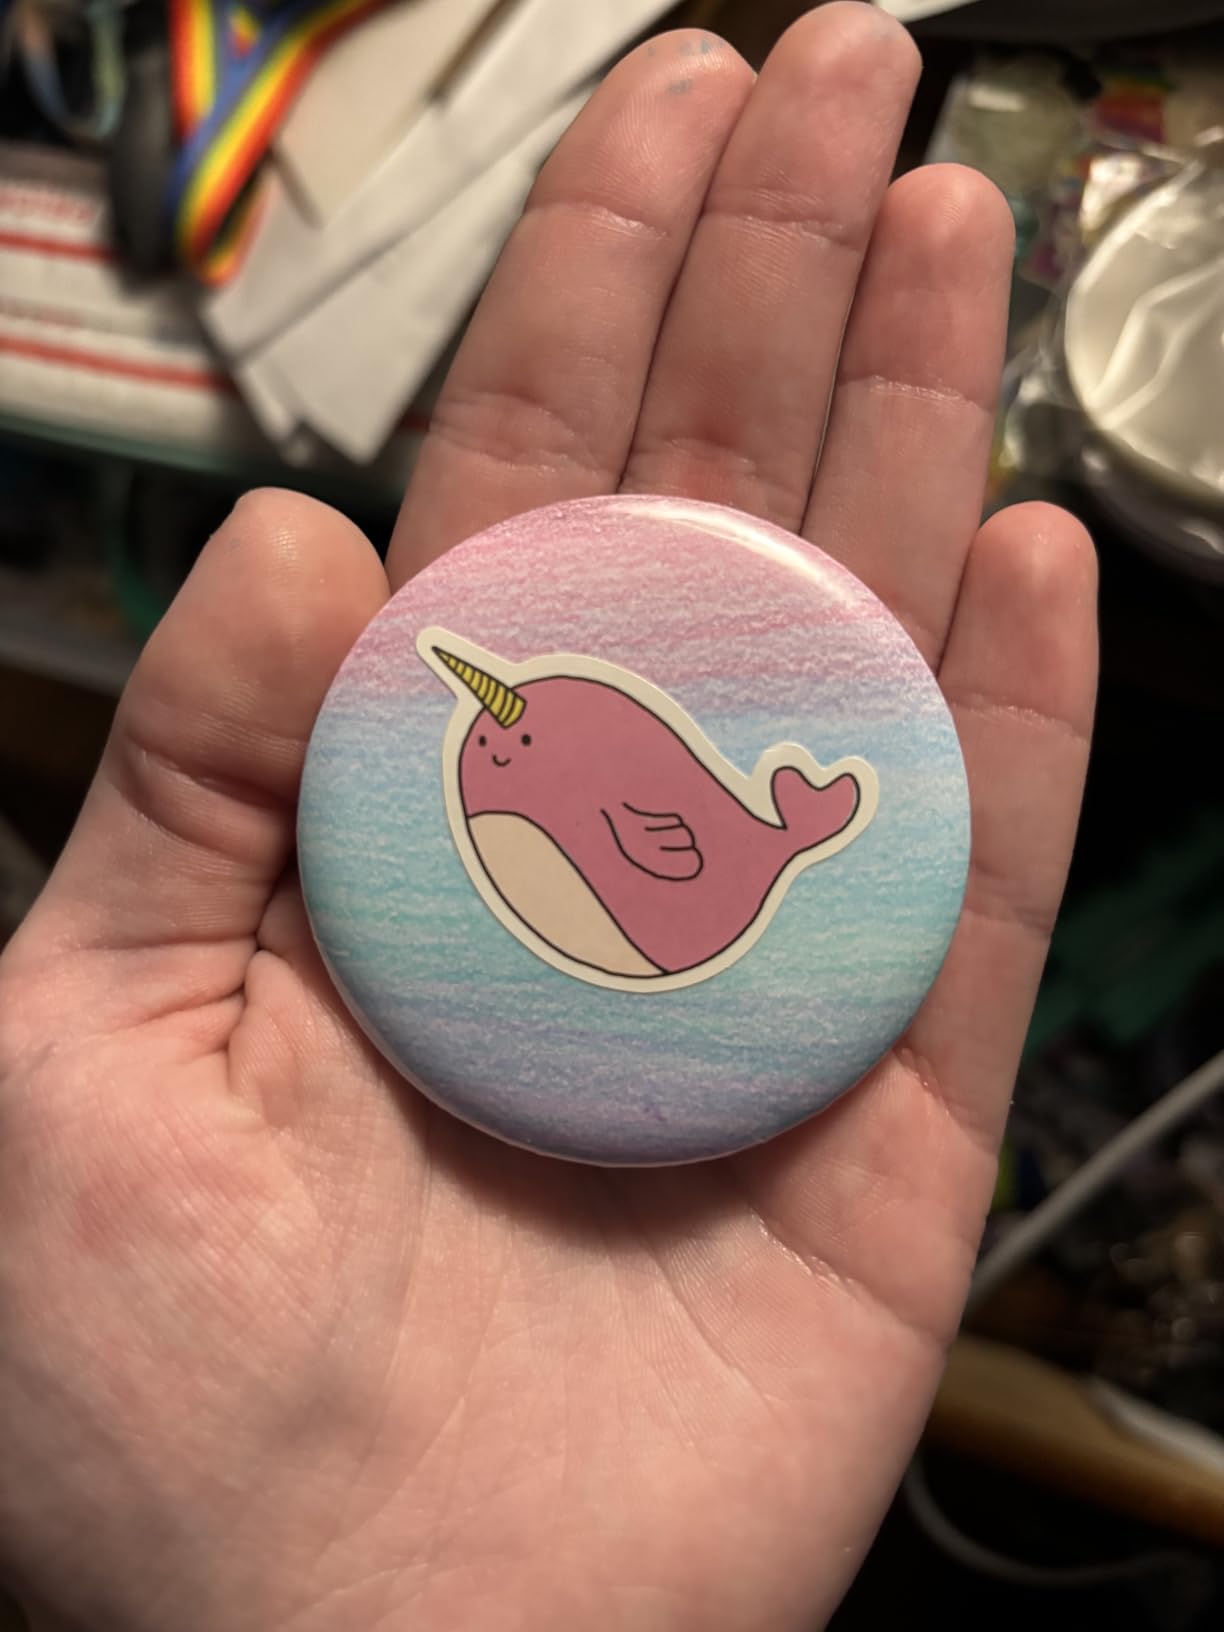
These clear acrylic pins are the simplest kit on this list. Each set consists of two transparent halves that snap together over a paper graphic. The 2.36-inch diameter gives you plenty of space for photos, logos, or illustrations.
I made custom pins for a family reunion using photos from a phone. The acrylic has high transparency. The finished pieces look like small framed pictures.
I tested them with printed photos, hand-drawn art, and even pressed flowers. The snap closure holds everything tight. You can reopen the pin if you want to swap the graphic later.
This reusability is rare in pin making. The sets come individually wrapped. This protects the acrylic from scratches during shipping.
I appreciated this because I ordered a similar product from another brand and half the pieces arrived scratched. The Bignc packaging kept every piece clear.

One thing to note: the actual image area is slightly smaller than the total diameter. The outer rim of the pin covers about 0.18 inches around the edge.
I learned to crop my photos with extra margin. After my first two attempts, I adjusted my template and the rest came out perfect.
Best for event photographers and memory keepsakes
These pins are ideal for events where you want to give people a physical memory. I made 20 pins for a graduation party. Each one had a photo of the graduate.
The guests wore them on shirts and bags. The clear acrylic made the photos visible from a distance. For designers who work with events or portraits, this kit is a practical tool.
What the 2.36-inch size means for image cropping
The 2.36-inch size is large for a lapel pin. It works best on bags, sashes, and hats rather than suit lapels. I recommend cropping your images to a 2-inch circle for the safe area. Anything outside that circle risks being hidden by the pin frame. For designers, this means you should design with a clear focal point in the center.
How to Choose the Right Lapel Pin Making Kit
After testing all ten kits, I noticed a few patterns that separate good purchases from regrets. Here is what I tell designers who ask me for advice.
Understand your production method first
Button makers press paper graphics into metal shells. This works for bold designs with flat colors. Sublimation blanks accept full-color photo prints.
Resin trays hold liquid art and small objects. Flat pins accept glued elements. Choose the method that matches your art style. Do not buy a button maker if you work with resin.
Size and scale matter for your market
Small pins under 1 inch work on collars and skinny lapels. Medium pins between 1 and 1.5 inches fit most suit jackets and bags. Large pins over 2 inches become statement pieces.
If you sell to corporate clients, they usually want subtle sizes. If you sell to artists and collectors, larger sizes often sell better.
Material quality affects your brand reputation
Plastic backings cost less but break easier. Metal backings cost more but last years. Acrylic shells scratch if handled roughly. Metal shells dent but hide wear better.
When I price my pins, I factor in the backing cost. I use metal for anything I sell and plastic for free promotional pieces.
Quantity should match your sales plan
Buying 500 button sets makes sense if you sell regularly. Buying 50 resin trays makes sense if you make limited editions.
I see beginners buy bulk supplies and then change their design direction. Start with smaller quantities until you know what your customers want. Then scale up.
File preparation determines your final look
Vector files produce the cleanest results. Adobe Illustrator, CorelDRAW, and Inkscape all work. You need to convert fonts to outlines before sending files to printers.
For button makers, you print your own graphics. Set your files to 300 dpi minimum. For sublimation, use 400 degrees and test your time settings. Every heat press behaves slightly differently.
Frequently Asked Questions
Where is the best place to order custom lapel pins?
The best place depends on your needs. For small runs and DIY control, Amazon sellers offer kits with fast shipping. For large professional orders, manufacturers like GS-JJ or Vivipins provide design assistance and bulk pricing.
Is making pins a profitable hobby?
Yes, pin making can be profitable. Many designers sell pins at a markup with material costs that stay low. Success depends on your design quality, marketing, and ability to find your audience at makers markets or online.
What file types are best for enamel pin designs?
Vector files are required. Adobe Illustrator AI files, PDFs with vector data, and EPS files work best. Raster images like JPG or PNG do not scale cleanly for production. Always convert text to outlines and use Pantone colors when possible.
How much does a custom lapel pin cost?
Custom pin costs vary per unit depending on size, quantity, and materials. DIY kits lower the per-unit cost significantly. Professional manufacturing with hard enamel and plating costs more but delivers higher quality.
What is the rule for lapel pins?
Lapel pins traditionally go on the left lapel near the heart. For military and organizational pins, placement follows specific protocol. For fashion and art pins, placement is personal preference. Avoid placing pins where they might snag or cause discomfort.
Final Thoughts
Choosing the best lapel pin making kits for designers comes down to matching the kit to your art style and production goals. If you want a full button making station, the nice2have multi-size kit gives you the most flexibility. If you need reliable backings for custom pieces, the Weico metal clasps are the most dependable.
Our testing in 2026 showed that you do not need expensive equipment to start. The MK.Bear button maker and a few packs of quality backings can launch a small product line. As your skills grow, add machines like the Happizza or specialized blanks like the Hicarer sublimation pins.
Start with what fits your current work, and build from there. Remember that vector files are the foundation of good pin design. Whether you press buttons, fill resin trays, or sublimate aluminum blanks, your artwork quality determines the final result.
Invest time in your design files before you invest money in equipment. The best kit in the world cannot fix a low-resolution graphic.