
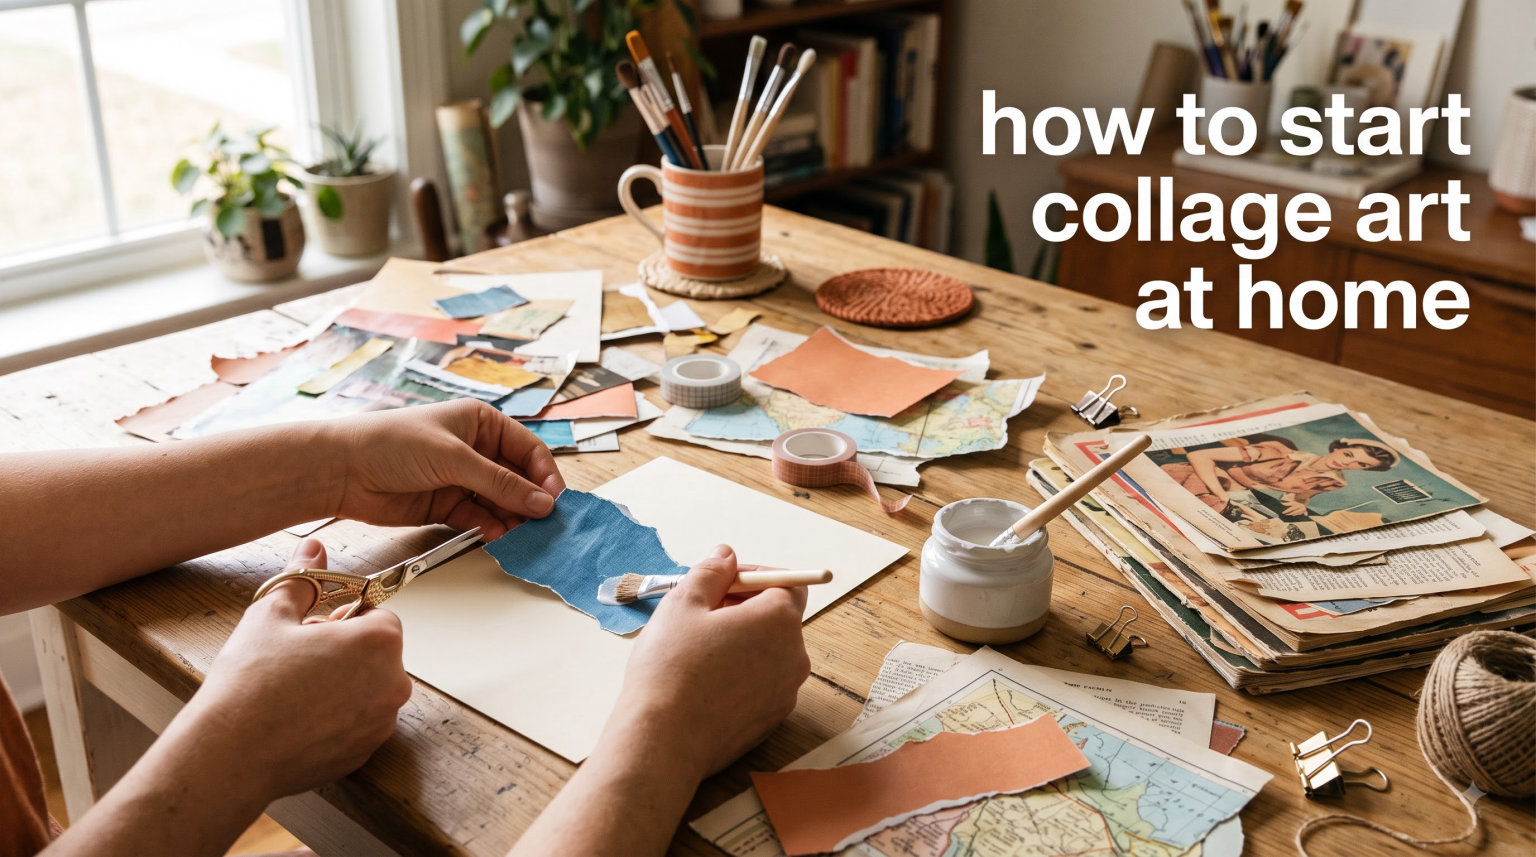
If you have been wondering how to start collage art at home, you are in the right place. Collage is one of the most approachable art forms you can try. You do not need formal training, expensive supplies, or even natural artistic talent. All you need is some source materials, a few basic tools, and a willingness to experiment.
Our team spent months testing different materials, adhesives, and techniques to find what actually works for beginners. We talked to experienced collage artists and surveyed community members on forums to understand the real challenges newcomers face. This guide will walk you through everything you need to know to create your first collage today.
Table of Contents
What is Collage Art?
Collage art is a technique where you collect, cut, tear, and glue images or materials together to create a new artistic composition. The word “collage” comes from the French word “coller,” which means to glue or stick. Artists have been creating collages for over a century, with pioneers like Picasso and Braque using the technique as part of their cubist explorations in the early 1900s.
The beauty of collage lies in its simplicity. You take existing images and materials and transform them into something entirely new. You can use magazine clippings, old photographs, newspaper articles, fabric scraps, or even ticket stubs. The only limit is your imagination.
Beyond the creative aspect, collage offers real therapeutic benefits. Many artists describe the process as meditative and calming. Focusing on cutting and arranging elements quiets the brain and provides a welcome break from daily stress. Research has shown that creative activities like collage can reduce cortisol levels and improve mental well-being.
One common misconception is that you need artistic skill to create meaningful collage work. This simply is not true. Collage is about curation, composition, and creative vision, not technical drawing ability. You are working with existing imagery rather than creating it from scratch, which makes the barrier to entry remarkably low.
Collage also offers exceptional flexibility in terms of budget and scale. You can spend nothing by using materials you already have at home, or invest in premium art supplies as your hobby develops. You can create miniature pieces that fit in a journal or large-scale works that dominate an entire wall.
If you are interested in how collage connects to broader art movements, you can learn more about appropriation art concepts and how artists have used found materials throughout art history.
Materials and Supplies Checklist
Before you start, you need to gather your materials. The good news is that you probably already have many of these items at home. Here is a complete checklist to get you started with collage art for beginners.
Base Surfaces
Your backing surface is where everything gets mounted. The most common options include:
Craft paper and cardstock work well for beginners because they are affordable and widely available. Look for acid-free options if you want your work to last without yellowing over time. Watercolor paper is a step up if you want something more durable that can handle wet adhesives without warping. Canvas boards offer a more finished look and last longer, making them good for pieces you want to display.
Many experienced collage artists recommend starting with something inexpensive so you feel free to experiment without worrying about mistakes or wasting expensive materials. A simple piece of cardstock from a craft store costs mere cents and gives you plenty of room to practice.
Source Materials
Source materials are the images, papers, and objects you will cut and arrange. The more diverse your collection, the more interesting your collages can become.
Magazines are the most popular choice, especially those with colorful photographs and interesting typography. Travel magazines, fashion publications, and home decor magazines work particularly well because they contain high-quality imagery with cohesive visual styles. Avoid magazines with mostly text and minimal imagery, as these are less useful for collage work.
Old books with interesting imagery are another excellent source. Look for outdated National Geographic, old encyclopedias, vintage textbooks, and out-of-print publications at thrift stores. These often contain striking imagery that cannot be found anywhere else.
Junk mail catalogs, old envelopes, and even sheet music can add unique textures to your work. Restaurant menus, vintage postcards, and old photographs from estate sales can add character and narrative quality to your collages.
If you want to explore collage ideas beyond paper, consider fabric scraps, wallpaper samples, ticket stubs, dried flowers, or lace. These mixed media elements add depth and visual interest that flat paper cannot achieve on its own.
Adhesives
The adhesive you choose matters more than most beginners realize. Different adhesives work better for different materials and techniques. Choosing correctly from the start will save you frustration and improve your results.
Glue sticks are perfect for lightweight papers and work cleanly without warping. They dry relatively quickly and are easy for beginners to control. Look for acid-free glue sticks if you want your work to remain stable over time. The UHU glue stick receives consistent praise from experienced collage artists for its clean application and reliable hold.
PVA craft glue works well for heavier materials but can take longer to dry and may cause thin papers to wrinkle if applied too heavily. Diluting PVA with a small amount of water can help with coverage on delicate materials.
Mod Podge and similar decoupage mediums are versatile options that serve multiple purposes. They bond materials to your surface, act as a protective sealer, and can be used to finish the entire piece with a cohesive coating. Matte Mod Podge preserves the original look of your materials while gloss versions add shine and depth.
Spray adhesives work well for large surface areas but require proper ventilation and careful application to avoid overspray. They are ideal for mounting photos or larger paper elements.
Budget-Friendly Sourcing Tips
One of the best things about collage art is how affordable it can be. Many beginners worry about the cost, but you can build a substantial material collection without spending much money at all.
Visit thrift stores and look for cheap magazine bundles. Many thrift stores sell bags of magazines for just a few dollars. Ask friends and family to save their old calendars, junk mail, and outdated papers. Most people are happy to clear out these items to someone who will put them to good use.
Print shops and office supply stores often discard misprints and sample papers that make excellent collage materials. Do not be shy about asking. Many businesses are glad to give away materials they would otherwise throw away.
Restaurant menus, vintage postcards, and old photographs from estate sales can add character to your work. Building a collection takes time, so start gathering materials weeks before you plan to create your first piece. You will be surprised how quickly a useful collection develops.
Essential Tools Guide
Having the right tools makes collage work easier and more enjoyable. Here is what you need to build your basic toolkit for starting with collage art at home.
Cutting Tools
A good pair of scissors is essential for cutting through paper and lightweight materials. Look for scissors with comfortable handles that fit well in your hand and sharp blades that cut cleanly. Many collage artists prefer spring-loaded scissors that reduce hand fatigue during extended cutting sessions.
Having multiple pairs of scissors in different sizes proves useful as your projects become more varied. A large pair handles big cuts through thicker papers while smaller embroidery scissors work well for detailed trimming and fussy cutting work.
An X-Acto knife offers more precision than scissors for detailed work. Fussy cutting, which involves cutting tightly around specific image elements to isolate them from busy backgrounds, is much easier with a sharp craft knife than with scissors. Always use a self-healing cutting mat beneath your work to protect your work surface and extend the life of your blades.
Replace your blades regularly. A dull blade tears rather than cuts and makes controlled work much more difficult. Most craft knife blades are inexpensive and changing them frequently takes only seconds.
Application and Organization Tools
A bone folder helps you create crisp folds and smooth out air bubbles when pressing materials onto your backing surface. This simple tool costs very little but makes a significant difference in the quality of your finished work.
Brayer rollers distribute adhesive evenly and help flatten materials onto your backing. They are especially useful when working with larger pieces where smooth, even coverage matters most. Small brushes for applying glue in detailed areas prove invaluable once you start working on more complex pieces with fine elements.
tweezers help with positioning small elements that are difficult to place with fingers alone. They are particularly useful when working with tiny pieces or placing elements in tight spaces.
If you find material selection overwhelming, which many beginners do, consider organizing your supplies into categories. Use labeled bins or envelopes for different material types. Group images by color, theme, or visual style. This approach works especially well for those with ADHD, as it reduces cognitive load and makes the creative process more manageable.
Step-by-Step: Your First Collage
Now comes the fun part. Follow these steps to create your first collage with confidence and learn how to make a collage that you will be proud to display.
Step 1: Find Inspiration
Before you start cutting, spend some time looking at other collages for inspiration. Browse Pinterest, visit art galleries, or search for collage artists online. Notice what attracts you to certain pieces. Are you drawn to certain colors, themes, or composition styles?
Look for collages that speak to you emotionally, not just visually. Consider what the artist was trying to communicate and how they achieved that effect. Understanding this helps you clarify your own creative direction.
You do not need to copy anyone elses work, but understanding what appeals to you helps inform your own decisions. Some artists prefer abstract compositions with no recognizable imagery while others gravitate toward narrative or thematic pieces that tell stories.
Step 2: Gather and Select Materials
Pull together all your source materials and spread them out where you can see them easily. This is where many beginners feel overwhelmed by too many choices. If this happens to you, do not panic.
Narrow your focus deliberately. Select a color palette of two or three colors that work well together. Choose materials that share a theme, mood, or visual quality. This constraint actually helps creativity by limiting your options to a manageable number.
Consider the overall feeling you want your collage to convey. Is it energetic and vibrant? Calm and serene? Mysterious and moody? Let this intended mood guide your material selection.
Step 3: Plan Your Composition
Resist the urge to start gluing immediately. Instead, arrange your materials on the backing surface while everything is still loose and moveable. Move pieces around until you find a composition that feels right.
Pay attention to the rule of thirds, a fundamental principle in visual composition. Place your most important elements along imaginary lines that divide your surface into thirds both horizontally and vertically. This creates visual tension and interest rather than placing everything dead center.
Leave some white space. A busy collage without breathing room can feel overwhelming and chaotic. Empty areas give the eye a place to rest and make your featured elements stand out more dramatically.
Some artists swear by the reveal and replace technique. They lay out all their pieces, photograph the arrangement from above, then remove everything and recreate it from memory. This method forces intuitive decisions and often yields more dynamic results than overthinking every placement.
Step 4: Start Gluing
Once you are satisfied with your arrangement, begin adhering elements permanently. Start from the center and work outward, or begin with your most important focal point. Apply adhesive to the material, not the backing surface for better control.
Press each piece firmly but gently. Use a bone folder or soft cloth to smooth out air bubbles and ensure good contact between the adhesive and both surfaces. Work slowly and deliberately. If something shifts out of place, you can usually lift it carefully before the adhesive sets.
Less adhesive is usually better than more. Too much glue creates wrinkles, warps thin papers, and makes a mess that is difficult to fix once it dries.
Step 5: Add Layers and Details
The magic of collage often happens in the layering. Add smaller elements on top of larger ones to create depth and dimension. Overlap edges intentionally rather than placing everything parallel to the edges of your backing.
Let some elements hang off the edge of your backing for a more dynamic composition that breaks conventional boundaries. This technique adds energy and makes the piece feel less contained and more expansive.
This is also the stage where you might add handwritten text, paint details, or other mixed media elements. Do not rush this process. Step back frequently to view your work from a distance and assess how it is developing.
Step 6: Finishing Touches
Once all your elements are adhered, examine your collage carefully. Look for areas that need more coverage or balance. Sometimes adding a simple border or frame ties everything together and gives the piece a finished appearance.
If you used liquid adhesive, allow sufficient drying time before moving or displaying your work. Most craft glues need at least several hours to cure fully, though glue sticks set almost immediately.
Consider applying a final seal coat of Mod Podge or similar product to protect your creation and give it a unified finish. This step is optional but can make your collage more durable and professional-looking.
Basic Techniques and Pro Tips
Understanding fundamental collage techniques helps you create more polished work from the very beginning. These are the building blocks that experienced artists use consistently.
Fussy Cutting
Fussy cutting means cutting closely around a specific element rather than cutting the image as a whole. This technique lets you isolate figures, objects, or patterns from busy source images without including the distracting background.
Use sharp scissors or an X-Acto knife with a fresh blade for the best results. Dull tools tear rather than cut and make controlled work frustrating rather than enjoyable.
The key to successful fussy cutting is patience. Cut slowly along your intended line, turning the material as you go rather than trying to make all cuts in one direction. With practice, you will develop a steady hand and the technique will become second nature.
Layering Strategies
Layering creates depth and visual complexity in collage work. Start with your largest elements as the foundation, then build upward with progressively smaller pieces. Leave some layers partially visible beneath others rather than covering them completely.
Vary the texture of your layers. Combine glossy magazine pages with matte book paper, add fabric or lace between paper layers, or include three-dimensional elements like buttons or small objects. This variety keeps the eye engaged and creates tactile interest that flat, uniform pieces lack.
Consider both positive and negative space when layering. The gaps and overlaps between elements are just as important as the elements themselves.
White Space and Composition
White space refers to areas of your collage that remain uncovered. Beginners often fear white space and try to fill every inch of their backing surface. This instinct usually backfires, making collages feel cluttered and busy.
Embrace white space as a design element. It provides visual rest for the viewer and makes your featured elements stand out more dramatically. Trust that empty space is not wasted space but rather a deliberate compositional choice.
Study composition principles like balance, symmetry, and visual weight. Think about how the eye moves through your piece and what path you want it to follow.
Common Mistakes to Avoid
Over-gluing is the most common beginner error. Too much adhesive creates wrinkles, warps thin papers, and makes a mess. Apply adhesive sparingly and evenly. A thin layer is almost always sufficient.
Another mistake is rushing the composition planning phase. Gluing prematurely leads to regret later when you cannot change the arrangement. Take time to experiment with different arrangements before committing anything permanently.
Do not compare your early work to finished pieces by experienced artists. Every artist starts somewhere, and the first attempts will naturally be less polished. The goal is learning and enjoyment, not perfection.
Avoid using materials that are too similar in color, texture, or scale. Variety creates visual interest. If everything looks the same, the piece will feel flat and boring.
Creative Ideas to Try
Once you have mastered the basics, experiment with these creative collage ideas to expand your skills and discover new approaches.
Theme-Based Projects
Create a collage around a specific theme like travel, nature, food, or fashion. Limiting yourself to a theme forces creative decisions that often yield interesting results that unrestricted work does not produce.
A travel-themed collage might combine ticket stubs, passport photos, maps, and destination images from magazines. A nature collage could include botanical illustrations, flower photographs, bird imagery, and leaf textures. The constraint of the theme actually helps creativity rather than limiting it.
Mixed Media Experiments
Branch beyond paper by incorporating fabric, washi tape, dried flowers, or small found objects into your collage work. Combine paint or ink with your collage elements for added visual complexity.
Try incorporating digital elements by printing images onto different substrates like transparency film, fabric sheets, or watercolor paper. This opens up entirely new possibilities for texture and finish.
Experiment with different adhesives on different materials. What works perfectly for paper may not work for fabric, and learning these differences through experimentation is part of the journey.
Upcycling Projects
Transform old books into collage art by altering their covers or pages. Decoupage entire surfaces with imagery that tells a story. Create collage art on reclaimed wood panels for a rustic, textured look.
Turn vintage frames into dimensional collage pieces by building up layers within the frame. The frame itself becomes part of the composition rather than just a border.
Scale Variations
Try working at different scales. Create miniature collages in a small notebook or art journal to practice portability and intimacy. Alternatively, go large with a piece that dominates an entire wall.
Working at different scales teaches you to adapt your composition and technique. Small pieces require different tools and materials than large ones. Learning both expands your capabilities significantly.
Frequently Asked Questions
How to get started with collage art?
To get started with collage art, gather basic supplies like a backing surface, source materials (magazines, papers), scissors or an X-Acto knife, and adhesive. Start by cutting out images and materials that appeal to you, arrange them on your backing surface without gluing, experiment with composition, then adhere elements permanently once you are satisfied with the arrangement.
What are the 7 elements of art in collage?
The seven elements of art are line, shape, color, value, texture, space, and form. Collage artists use all of these elements intentionally. Shape creates visual interest, color sets mood and harmony, texture adds tactile quality, space defines composition, and form gives dimensional depth.
What is the best free app for making collages?
Canva offers an excellent free tier for digital collage creation with templates, stock images, and easy-to-use design tools. Pixlr provides photo editing capabilities suitable for digital collage work. For those who prefer simplicity, Google Slides and PowerPoint also work well for basic digital collages.
What are the four types of collage?
The four main types of collage are paper collage, photo collage, digital collage, and mixed media collage. Paper collage involves cutting and assembling paper materials. Photo collage focuses on photographic images. Digital collage uses software to combine images electronically. Mixed media collage incorporates multiple different materials and techniques.
Conclusion
Learning how to start collage art at home opens up a world of creative possibilities that can last a lifetime. The barriers to entry are remarkably low. You likely already have some of the supplies you need, and the rest can be gathered inexpensively over time.
Remember that every experienced collage artist started exactly where you are now. The first piece you create will not be your best work, but it will teach you something valuable about the process. Focus on experimentation and enjoyment rather than perfection from day one.
Collage art rewards patience and play. Give yourself permission to make mistakes. Try new techniques. Build your material collection gradually. Most importantly, give yourself permission to create something that is uniquely yours rather than trying to replicate what others have done.
The journey of learning how to make a collage is as rewarding as the finished pieces themselves. Start today, and see where this simple, accessible art form takes you.