
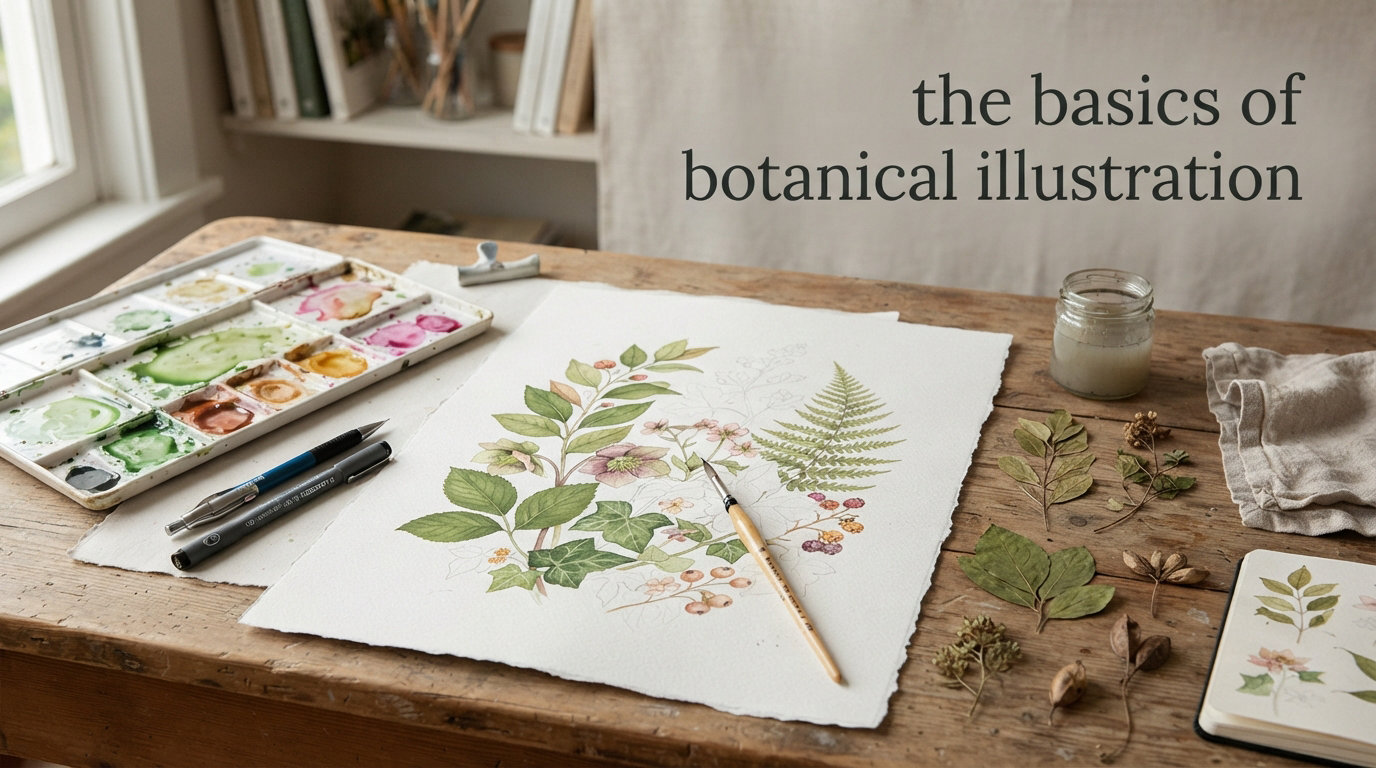
There is something deeply satisfying about capturing the intricate details of a plant on paper. Botanical illustration combines careful observation with artistic skill, creating images that reveal the hidden beauty of the natural world. Whether you want to document plants from your garden or develop a new creative practice, learning the basics of botanical illustration opens up a rewarding world of discovery that connects art, science, and nature in a unique way.
In this guide, you will learn everything you need to begin your journey into botanical illustration. We cover essential supplies, foundational techniques, observation methods, and practical tips that our team has developed through years of practice and study. By the end, you will have a clear roadmap for developing your skills and creating beautiful botanical works.
Table of Contents
What Is Botanical Illustration?
Botanical illustration is the detailed, scientifically accurate art of depicting plants. It combines artistic skill with botanical knowledge to capture the structure, texture, and beauty of flora in a way that serves both aesthetic and scientific purposes. Unlike general plant art or decorative botanical designs, botanical illustration prioritizes accuracy above all else.
The goal is to represent plants in a way that botanists, researchers, and plant enthusiasts can identify and study from the illustration alone. This means understanding plant anatomy becomes just as important as mastering drawing techniques. Every line, every shadow, every texture serves the purpose of accurate representation.
The tradition of botanical illustration stretches back centuries. Early herbals documented medicinal plants and rare specimens for scientific study. Florilegia (collections of flower paintings) showcased exotic specimens from around the world. Artists like Maria Sibylla Merian and Pierre-Joseph Redoute set standards for precision and beauty that still influence the craft today.
Key anatomical terms every botanical illustrator should know include the stamen (the male reproductive part of the flower), the stigma (the female part that receives pollen), petals (the colorful leaf-like structures that attract pollinators), and sepals (the protective leaves beneath the petals that once enclosed the flower bud). Understanding these terms helps you observe plants with greater accuracy and communicate about them clearly with botanical enthusiasts.
Essential Supplies for Botanical Illustration
You do not need expensive equipment to begin botanical illustration. Starting with quality art supplies makes a real difference, but you can build a functional kit without breaking the bank. Focus on getting the fundamentals right before expanding into specialized tools.
Drawing Tools
Quality graphite pencils form the foundation of your botanical illustration toolkit. We recommend starting with an HB for light construction lines, a 2B for standard sketching and shading, and a 4B for deeper tones and dramatic contrast. Mechanical pencils also work well for achieving consistently thin lines during detail work, giving you precise control over every mark.
Fine-tip pens with archival ink are essential for rendering permanent, detailed line work. Look for pens with nib sizes between 0.1 and 0.5 millimeters. These allow you to create the precise, confident lines that define professional botanical work. Archival ink ensures your illustrations remain vibrant for decades without fading or yellowing.
A smooth, quality sketchbook protects your work and encourages consistent practice. Look for paper with some tooth (texture) that holds graphite well without bleeding or smearing. Many artists prefer spiral-bound sketchbooks that lay flat during extended drawing sessions, making the experience more comfortable and the results more consistent.
Optional but Helpful Additions
Watercolor sets become relevant once you want to add color to your illustrations. Many botanical illustrators work in monochrome first, focusing purely on form and structure before introducing hue. This approach trains your eye to see values and shapes before worrying about color relationships.
Magnification tools like a jeweler’s loupe or desktop magnifier help you see fine details that are easy to miss with the naked eye. These prove invaluable when rendering complex structures like stamen arrangements, pollen grains, or leaf venation patterns that define different species.
Reference books and field guides serve double duty as both learning tools and subject sources. A good plant identification guide helps you understand the plants you are drawing, while also teaching you the correct botanical terminology to include in your work.
For more options on building your art supply collection, check out our guide to quality art supplies that includes sketchbooks, pens, and watercolor sets suitable for botanical work. The right supplies make a meaningful difference in your comfort and the quality of your finished pieces.
Getting Started: Observation and Sketching
Before you put pencil to paper, spend time simply looking at your subject. Observation is the backbone of all strong botanical illustration. Rushing to draw without understanding what you are seeing leads to superficial results that miss the essential characteristics that make each plant unique.
Choosing Your Subject
Start with plants you can examine closely over multiple sessions. Common garden flowers, houseplants, and herbs make excellent subjects because they are accessible and familiar. Avoid starting with complex exotic specimens or dried herbarium samples, as these present unnecessary challenges that can discourage beginners.
Fresh specimens work best for beginners. Look for plants with clear, undamaged leaves and visible reproductive structures like flowers, fruits, or seeds. The more complete your specimen, the more you have to study and learn from. Consider choosing plants that interest you personally, as genuine curiosity sustains practice through challenging moments.
Understanding Plant Anatomy Basics
Plants share common structural elements that every illustrator must learn to recognize. The stem supports the plant and transports water and nutrients between roots and leaves. Leaves attach to stems via petioles (stalks) and display characteristic shapes, edges (called margins), and vein patterns that help with identification.
Flowers contain the reproductive parts that botanical illustrators often focus on most intently. Petals attract pollinators and often display intricate patterns, gradients, and textures. Sepals protect the flower bud before it opens. Inside the flower, the stamen (male parts) and stigma (female part) facilitate reproduction and display fascinating structural variety across species.
Learning to identify these structures trains your eye to see details that non-botanists miss entirely. This knowledge translates directly into more accurate, more compelling illustrations that communicate not just appearance but botanical truth.
The Construction Line Approach
Professional botanical illustrators begin with light, loose construction lines before committing to permanent marks. This approach lets you establish proportions and composition without damaging the paper with excessive eraser marks or becoming too committed to early decisions.
Start by sketching the overall shape and direction of your plant. Place major elements like the main stem and largest leaves. Then, divide surfaces into quadrants or sections to help you place details accurately. Think of it as creating a map that guides your final rendering.
Work from general to specific, large to small. Establish the framework before adding any detail. This method reduces mistakes and builds confidence. Construction lines eventually get erased or drawn over, so keep them light and loose, focused on proportions rather than surface details.
Core Botanical Drawing Techniques
Technical skill develops through practice, but understanding fundamental techniques accelerates your progress significantly. These core skills form the vocabulary of botanical illustration that you will build upon throughout your creative journey.
Line Work Fundamentals
Botanical illustration demands precise, confident line work. Unlike sketching where loose lines work fine for capturing quick impressions, botanical drawings require clean, deliberate strokes that convey accuracy and scientific authority. Every line should be intentional and purposeful.
Hold your pencil toward the back rather than close to the tip. This position promotes lighter touch and better control over mark quality. Draw from your shoulder rather than your fingers for longer, more consistent lines. This technique creates smoother strokes and reduces the hesitation marks that appear when drawing from finger movement alone.
Strive for continuous lines whenever possible. Lifting your pencil creates marks that viewers read as hesitations or uncertainties in your understanding of the subject. Practice drawing entire leaf outlines in single, confident strokes. When you must lift, plan the break so it occurs at a natural turning point in the outline.
Stippling and Hatching
Stippling creates texture and tone through carefully placed dots. This technique works beautifully for representing the subtle surface variations on leaves and petals. The density of dots determines the darkness of value, with closer spacing creating deeper tones.
Hatching uses parallel lines to build tone and texture. Closer lines mean darker values, while widely spaced lines suggest subtle shadow or texture. Cross-hatching adds a second direction of lines for deeper shadows and more complex textures, giving you a full range of tonal options.
Both techniques require patience and steady hands. Resist the urge to rush. Small, deliberate marks accumulate into rich, believable textures that bring your botanical work to life. Practice building tone gradually rather than trying to achieve full contrast immediately.
Capturing Leaf Serrations and Vein Patterns
Leaf edges (margins) display characteristic patterns that help with plant identification. Some leaves have smooth edges, while others feature serrations (tooth-like projections), lobes, or other distinctive margin types. Study your subject carefully to capture the correct margin type.
Vein patterns are equally distinctive and botanically important. Some leaves show parallel venation (common in grasses and lilies), while others display netted or pinnate patterns (like oak leaves) or palmate arrangements (like maples). Study these patterns carefully and represent them accurately in your work.
Real specimens rarely display perfectly uniform margins or textbook-perfect venation. Part of botanical illustration involves interpreting what you see, noting natural variations, and deciding how to render them faithfully while maintaining clarity and accuracy.
Petal Structure and Texture
Petals present unique challenges due to their thin, translucent quality and often intricate surface patterns. Begin by establishing the overall shape and any folds or creases that occur naturally in the petal structure.
Many petals show subtle gradient coloring from base to tip. You can suggest this with light pencil shading rather than attempting full color work. Pay close attention to how petals overlap and interact with one another, as these relationships create the visual complexity that makes flower illustrations compelling.
Surface textures vary widely across species. Some petals feel smooth; others have visible veins, bumps, wrinkles, or hair-like structures called trichomes. Use appropriate techniques to suggest these qualities without overworking the surface or losing the essential character of the petal.
Shading and Texture in Botanical Work
Shading transforms a flat line drawing into a three-dimensional representation of a plant. It communicates form, depth, and the way light interacts with surfaces to create convincing botanical illustrations that feel alive and dimensional.
Understanding Light Source
Before you shade anything, decide where your light comes from and maintain that direction consistently throughout the piece. A consistent light source (typically upper left or upper right for right-handed artists) ensures your shadows fall predictably and your illustration reads as coherent and three-dimensional.
Form shadows follow the contours of leaves, stems, and petals. They communicate the three-dimensional shape of plant structures by showing where surfaces curve away from or toward the light. Cast shadows appear when one part of the plant blocks light from another, adding depth and spatial relationships between elements.
Building Depth with Layered Shading
Start shading with light applications of graphite, building darkness gradually through multiple layers rather than applying heavy pressure immediately. This approach gives you more control and produces smoother transitions between light and dark areas.
Pay attention to how shadows behave on curved surfaces. The darkest values typically appear where surfaces turn away from light, while highlights occupy areas facing the light source directly. Understanding this relationship helps you render any plant part convincingly.
On textured surfaces, shadows nestle into recesses created by surface variation. Stippling works particularly well for capturing this effect on rough leaves or textured stems, allowing you to suggest complex surfaces through careful dot placement.
Common Shading Pitfalls
One mistake beginners make is over-shading, creating mud rather than convincing form. When values become too similar across the illustration, nothing reads as shadow or highlight, and the drawing flattens. Step back from your work regularly to evaluate the overall effect. It is easier to add darkness than to remove it, so build gradually.
Another issue is inconsistent light direction. If one leaf shows shadows on the right while an adjacent leaf shows them on the left, the illustration loses coherence and appears confused about its three-dimensional nature. Establish your light direction early and maintain it throughout every element of the piece.
Remember that many plant surfaces are naturally waxy or reflective. Small highlight marks suggest this quality without requiring full color representation. Study how light behaves on real plants to inform your shading decisions.
Tips for Beginner Botanical Illustrators
We have seen many beginners struggle with the same challenges over the years. These insights can help you avoid common pitfalls and progress more quickly than learning through trial and error alone.
Start simpler than you think you should. A single, well-rendered leaf teaches more than a rushed attempt at an entire flowering plant. Master fundamental skills with achievable subjects before challenging yourself with complex compositions that overwhelm your developing abilities.
Practice little and often rather than attempting marathon sessions. Twenty minutes of focused work daily produces better results than occasional hours-long drawing marathons. Consistency builds skill more effectively than intensity, and daily practice trains your observation abilities more efficiently.
Do not compare your beginning work to others’ finished pieces. Social media showcases highlight reel results, not the months or years of practice those results required. Every skilled botanical illustrator started exactly where you are now, facing the same uncertainties and struggling with the same fundamental challenges.
Seek feedback from communities who appreciate botanical work. Reddit communities like r/BotanicalIllustration and r/learntodraw offer constructive criticism that helps you identify blind spots and improve more quickly than working in isolation. Sharing your work and receiving thoughtful critique accelerates growth remarkably.
Address the overwhelm by focusing on one technique at a time. Trying to master line work, shading, and texture simultaneously leads to frustration and mediocre results across all three. Isolate individual skills, practice them separately, then gradually integrate them into unified compositions.
Frequently Asked Questions
What is botanical illustration?
Botanical illustration is the detailed, scientifically accurate art of depicting plants. It combines artistic skill with botanical knowledge to capture the structure, texture, and beauty of flora in a way that serves both aesthetic and scientific purposes.
How do I start learning botanical illustration?
Start by observing plants closely without drawing. Choose a simple specimen and practice light construction lines to map out proportions. Work on developing precise, continuous strokes with your pencil. Begin with basic shapes before attempting detailed work, and practice little and often to build your observation skills gradually.
What supplies do I need for botanical drawing?
Begin with quality graphite pencils (HB, 2B, 4B), a smooth-sketched sketchbook, fine-tip pens for detailed work, and good lighting. Optional supplies include watercolor sets for color work, magnification tools for tiny details, and reference books for plant anatomy. Start simple and add supplies as you advance.
How to draw botanical illustrations step by step?
First, observe your plant specimen and identify key parts like stems, leaves, and reproductive structures. Second, sketch light construction lines to establish proportions. Third, develop outlines with precise, confident strokes. Fourth, add shading to create depth and dimension. Finally, refine details like vein patterns and textures to bring your illustration to life.
Start Your Botanical Illustration Journey
The basics of botanical illustration provide a foundation for a lifetime of creative exploration. Each plant you encounter offers new opportunities to develop your observation skills and refine your artistic techniques. No two plants are exactly alike, and that endless variation keeps the practice fresh and engaging for decades.
You do not need natural talent or years of art training to begin this journey. Starting with simple subjects, practicing consistently, and approaching each plant with curiosity will carry you further than any innate ability alone. The craft of botanical illustration rewards patience, attention, and genuine interest in the natural world.
Grab a pencil, find a plant, and start looking. That first mark on paper is the beginning of your botanical illustration journey. Every expert was once exactly here, ready to discover what lies ahead through dedicated practice and genuine curiosity about the plant world.