
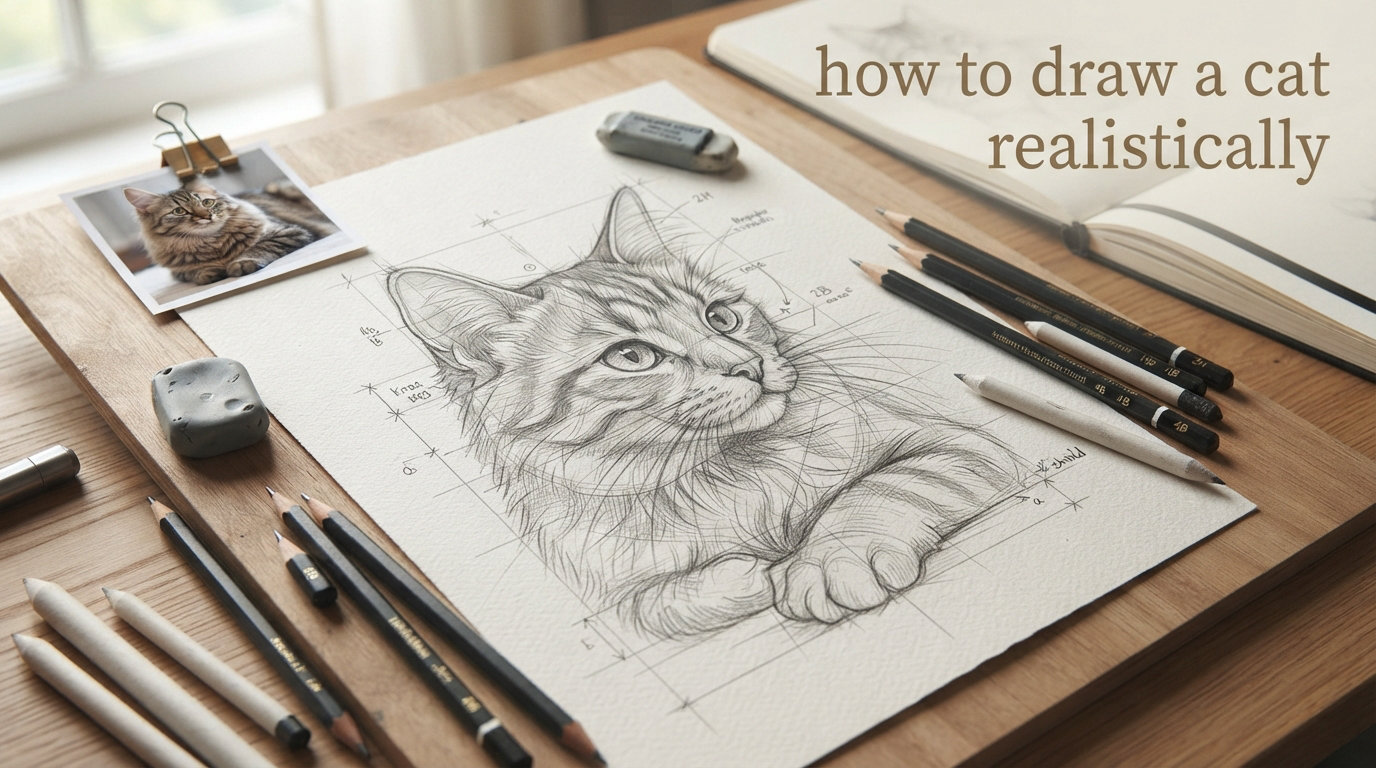
Drawing a cat that looks alive and lifelike might seem impossible when you are just starting out. I remember staring at my first attempt and thinking something looked off, but I could not figure out why. The secret is that realistic cat drawing follows a step-by-step process anyone can learn. This guide on how to draw a cat realistically will take you through every stage, from setting up your materials to adding those final fur details that make a drawing come alive.
What makes cat drawing so challenging is combining proper proportions, understanding fur direction, and mastering shading all at once. The good news is that breaking it down into smaller steps makes the whole process manageable. By the end of this guide, you will have a clear roadmap for creating cats that look dimensional rather than flat.
Table of Contents
What You Need Before You Start Drawing
Having the right materials matters more than you might think. Using the correct pencil grade makes blending easier and gives you better control over your values.
For realistic cat drawing, you need a range of pencil grades. A 2H pencil works well for light construction lines that you will erase later. HB provides a good middle ground for sketching. I recommend having 2B, 4B, and 6B pencils for your shading layers. The softer pencils (4B and 6B) glide smoothly for fur textures and dark areas.
Choose drawing paper with a slight tooth or texture. Smooth paper works for detailed work, but textured paper helps your pencil grip better for fur strokes. Avoid standard printer paper for final work because it smudges easily and does not hold up to erasing.
Your eraser selection matters. A kneadable eraser lets you lift graphite gently for highlights without damaging the paper. A vinyl eraser removes construction lines completely when you are ready. Having both on hand gives you flexibility as you build up your drawing.
A blending stump or tortillon helps smooth your shading and creates that soft, realistic transitions cats need. You also want a good reference photo of the cat you want to draw. Drawing from imagination rarely produces realistic results for beginners.
Start With Basic Shapes: The Foundation of Realistic Cats
Every realistic cat drawing begins the same way, with simple shapes that establish proportions. This construction phase is where most beginners rush or skip ahead, and it is exactly why their cats end up looking cartoonish.
Begin with a vertical guideline down the center of your paper. This line helps you place features symmetrically and maintain balance. Without it, cats often end up with one eye higher than the other or a lopsided face.
Draw a large oval for the body. Position this oval slightly off-center since cats rarely sit perfectly square to the viewer. The body oval should be about one and a half times the height of the head for a typical domestic cat.
Add a circle for the head above the body oval. This circle does not need to be perfect. It is a starting point you will refine as you build features. Leave some space above the circle for ears that sit on top of the head.
Using the tab measurement system helps with proportions. Hold your pencil at arm’s length and measure against your reference. The cat’s head (excluding ears) should measure about one tab. The body length typically equals three to four tabs depending on the pose.
Sketch four small ovals for the paws where they connect to the body. These ovals help you place legs correctly before adding muscle and fur over them. Keep your construction lines light because you will erase them later.
Adding Facial Features Step by Step
With your basic shapes in place, you can now build out the facial features that give your cat character and realism. Each feature requires careful observation and incremental building.
Drawing Realistic Cat Eyes
Cat eyes are arguably the most important feature for creating a lifelike drawing. They carry emotion and bring the entire portrait together. Start by drawing the basic almond shape for the eye outline. Cats have slightly curved upper lids and smoother lower lids.
Add the iris and pupil inside each eye. Cat irises typically show rich color gradients, so avoid flat shading. The pupil should be a vertical slit, but it may appear more oval depending on the lighting in your reference. Work around the highlights you want to preserve by drawing them in last or lifting graphite with your kneadable eraser.
Add the catchlight, that bright reflection point that makes eyes look wet and alive. Place this highlight at roughly the ten o’clock or two o’clock position within the eye. Without catchlights, eyes look flat and lifeless.
The Cat Nose and Mouth
The cat nose is a soft triangle shape with a slight curve at the bottom. Do not make it too sharp or too rounded. Most beginners draw the nose too small, so compare it to the eye size in your reference. The nose should be roughly the same width as the space between the eyes.
The mouth consists of two curved lines that extend from the nose sides. These lines curve downward slightly before curving back up toward the outer edge of the mouth. Add subtle vertical lines around the mouth area to suggest the texture around the muzzle.
Whiskers grow from the muzzle area and extend well beyond the face. Draw each whisker as a single directional stroke, not multiple back-and-forth strokes. The whiskers should appear to grow from specific points on the muzzle, not random locations.
Ears and Their Inner Details
Cat ears start as triangle shapes positioned on top of the head circle. The inner ear detail is what separates cartoon cats from realistic ones. Add the inner triangle shape within each ear, using slightly curved lines rather than straight ones.
The inner ear shows pinkish or grayish tones depending on the cat. You can suggest this with light pink or gray pencil strokes. The fur direction on ears points upward, so your strokes should follow that direction toward the ear tips.
Mastering Fur Texture Techniques
Fur texture is where most aspiring cat artists struggle the most. Getting that soft, lifelike quality requires understanding stroke direction, layering, and knowing when to stop adding detail.
Map out the fur direction before adding any strokes. Fur grows from specific points on the face and body, called grain points. All strokes should follow the natural direction of growth from these points. Fur on the cheeks grows downward and outward. Fur on the forehead grows upward and outward toward the ears.
Use short, directional strokes for the fur outline around your drawing. These strokes should not all point the same direction. They should follow the contours of the body and face where they occur. Long, uniform strokes make fur look like grass rather than fur.
Build up fur texture through layering rather than trying to get it perfect in one pass. Start with light pressure using your 2H or HB pencil. Add a second layer with slightly darker pressure from your 2B. Save the darkest areas for your 4B or 6B pencils.
Create highlights by lifting graphite with your kneadable eraser. Squeeze the eraser to a point and carefully remove pencil from highlight areas like the bridge of the nose, the forehead, and the edges of ears catching light. These highlights give fur its soft, luminous quality.
For tabby cats and cats with stripes, map out your stripe pattern before adding individual fur strokes. Stripes follow the body contour and should curve naturally around the form rather than appearing as flat marks across the surface.
Shading and Blending for Depth
Shading creates the illusion of three-dimensional form on a flat surface. Without proper shading, your cat will look flat and lifeless, no matter how good your linework is.
Establish your light source before you begin shading. This single decision affects every value decision you make. The side of the cat facing your light source receives highlights, while the opposite side falls into shadow. Mark which side receives light and stick to that decision throughout.
Use hatching for shadow areas, drawing parallel lines that follow the form. Cross-hatching adds another layer of lines at different angles for darker shadows. This technique builds up value gradually and gives you control over the darkness of each area.
Blend your shading with a stump or tortillon for smooth transitions. Circular motions or gentle stroking along the form direction works well. Do not over-blend, or you will lose the texture of your paper and create a muddy mess.
Build layers of value rather than pressing hard for dark areas. Multiple light layers create smooth gradients, while heavy pressure flattens the paper tooth and makes corrections difficult. Remember that you can always add darker values, but removing graphite damages the paper.
Common Mistakes to Avoid
Learning what not to do is just as important as learning correct techniques. These common mistakes cause frustration and hold artists back from improving.
Skipping construction lines is the number one mistake I see with beginners. Your brain wants to jump to the fun part, the detailed linework, but without construction shapes, your proportions will be off. Force yourself to spend five to ten minutes on shapes before adding anything else.
Ignoring fur direction makes drawings look flat and stiff. Every stroke you add to the fur should follow the natural growth pattern. If a stroke does not feel natural when you look at your reference, it probably is wrong.
Placing features incorrectly often comes from not checking your proportions against your reference. Hold your drawing up to a mirror. Flipping it horizontally reveals problems you might miss when staring at it daily.
Flat shading happens when artists use a single value for shadow areas. Realistic shadows have gradients and variation. Study your reference closely and notice how shadows are not uniform in color or intensity.
Rushing detail work produces sloppy results. Realistic cat drawings take time. A first attempt might take ten to twelve hours for a beginner, and that is completely normal. The goal is not speed but understanding and accuracy.
How Long Does It Take to Draw a Realistic Cat?
Time expectations vary based on experience and complexity, but beginners should plan for multiple sessions. A simple front-facing cat portrait might take three to four hours for a complete beginner. More complex poses with full bodies and challenging lighting can take twelve or more hours on your first attempts.
The goal is not finishing quickly but learning the process. Each drawing teaches you something about proportion, fur direction, or shading that speeds up your next attempt. Most artists see significant improvement after ten to fifteen completed drawings.
Practicing anatomy and skeleton studies between cat drawings builds foundational knowledge that transfers to every future drawing. Understanding bone structure under fur helps you place features correctly without relying purely on references.
Reference photos of your own cats can be highly motivating and lead to faster improvement than generic references. When you draw a cat you see daily, you notice mistakes more easily and correct them more effectively.
FAQs
How to realistically draw a cat?
Start with a vertical guideline and basic shapes (circle for head, oval for body). Build features incrementally, add construction lines for proportions, then layer fur texture using directional strokes that follow natural growth patterns. Finish with shading and blending for depth.
What are common cat drawing mistakes?
The main mistakes are skipping construction lines, ignoring fur direction, placing features incorrectly, using flat shading instead of gradients, and rushing detail work. Following a structured process prevents these issues.
How long does it take to draw a realistic cat?
A beginner portrait can take 3-4 hours for a simple front-facing cat. More complex drawings may take 10-12 hours or more on your first attempts. Improvement comes with practice, and most artists see significant progress after 10-15 completed drawings.
What pencils do I need to draw a cat?
You need a range of pencil grades from 2H for light construction lines to 4B and 6B for dark shading. Having HB, 2B, 4B, and 6B covers most needs. A kneadable eraser and blending stump are also essential for realistic results.
Practice Exercises to Improve Your Cat Drawing
Deliberate practice accelerates your improvement more than random drawing sessions. These exercises target specific skills that cat artists need to develop.
Practice basic shapes daily for one week. Draw circles and ovals until they become automatic. This builds the muscle memory you need for construction sketching. Time yourself and aim for accuracy over speed.
Draw cat eyes repeatedly, varying the expression and angle. Eyes carry so much of the portrait that mastering them alone dramatically improves your work. Study the variations in your references and notice how slight changes in shape or size affect the mood.
Map fur directions on reference photos without adding fur strokes. Draw arrows showing which way fur grows at different points on the body. This trains your eye to see direction before you attempt strokes.
Try simplified sketches using only shapes and construction lines. Spending five minutes on construction without detail reinforces the habit of establishing proportions first. Compare these quick sketches against your references to check accuracy.
Draw the same cat multiple times from the same reference. Your first attempt will be rough, but each repetition reveals what you missed and helps information stick. Improvement becomes visible by the fifth or sixth repetition.
Where to Go From Here
Now you have a complete roadmap for how to draw a cat realistically. The process breaks down into manageable steps that build on each other. Start with your materials and construction shapes, then move through features, fur, and shading systematically.
The key to improvement is patient practice. Do not expect perfection on your first attempt or even your tenth. Each drawing teaches you something new about proportions, fur direction, or value relationships. Drawing cats you love from reference photos keeps motivation high during the learning curve.
If you found this guide helpful, experiment with different cat breeds and poses as you advance. Long-haired cats present new challenges with their fur texture, while different angles test your understanding of anatomy. The skills you build here transfer to all subjects, making you a more capable artist overall.
Grab your pencils, find a reference photo, and start drawing. Your first realistic cat awaits.