
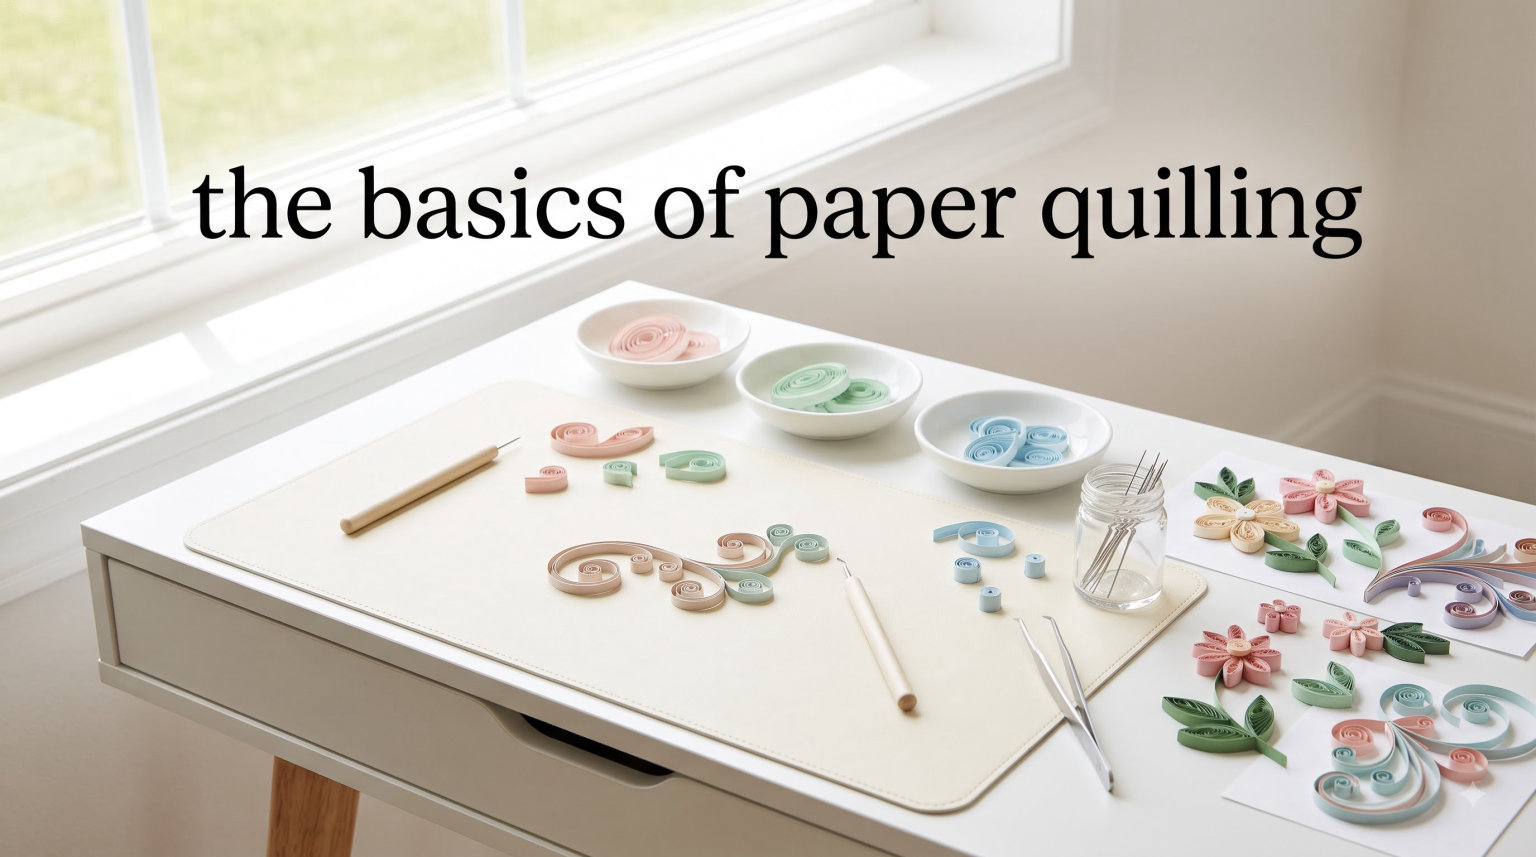
Paper quilling is one of those crafts that looks incredibly complex but is surprisingly accessible to beginners. I remember the first time I saw a quilled card, I assumed it took years of practice to create those delicate spirals and shapes. Within a few hours of trying it myself, I realized that anyone can learn the basics of paper quilling with minimal supplies and a bit of patience.
This guide covers everything you need to know to start paper quilling 2026. Whether you want to make handmade cards, create jewelry, or simply try a relaxing new hobby, you will find step-by-step instructions for the fundamental techniques and shapes. By the end, you will understand how to roll tight coils, create loose spirals, and shape them into teardrops, squares, and other essential forms.
Learning paper quilling basics is easier than you might expect. Most beginners can create their first tight coil within 15 minutes of picking up a slotted tool. The real skill comes from consistency and learning how to control tension, both of which improve dramatically with practice.
Table of Contents
What Is Paper Quilling
Paper quilling, also known as paper filigree, is the art of rolling narrow strips of paper into coils and then shaping those coils into decorative designs. The technique dates back to the 15th century when nuns and monks used gilded edges from book pages to create religious artwork. They discovered that rolling these thin paper strips created elegant, lace-like patterns that resembled ironwork.
The craft gained popularity during the Renaissance among upper-class ladies in England. They would decorate boxes, screens, and furniture with intricate quilled designs. Today, paper quilling has evolved into a versatile art form used for greeting cards, wall art, jewelry, and three-dimensional sculptures.
What makes quilling so appealing is its accessibility. You do not need expensive equipment or specialized training to begin. A simple slotted tool, some paper strips, and glue are enough to create beautiful pieces. The technique relies on repetitive motions that many people find meditative and relaxing, making it an excellent stress-relieving hobby.
Essential Tools and Materials
Starting paper quilling requires only a handful of supplies. While you can technically begin with household items like a toothpick and cut paper, investing in proper tools makes the learning process significantly smoother and more enjoyable.
Must-Have Tools
The Slotted Quilling Tool is the most important piece of equipment for beginners. This tool has a small metal slot at the end where you insert the paper strip. It grips the paper firmly and allows you to roll consistently tight coils. A basic slotted tool costs around five dollars and will last for years.
The Needle Tool features a sharp metal tip that you wrap the paper around. Some experienced quillers prefer this tool because it creates a tighter center hole in the coil. However, it requires more coordination and can be frustrating for absolute beginners.
Tweezers with fine tips help you place and adjust small coils during assembly. Standard craft tweezers work fine, but quilling-specific tweezers with bent tips make positioning shapes much easier.
A Precision Glue Bottle with a fine tip is essential for controlling glue application. Regular craft glue bottles dispense too much adhesive, which can make your work messy and cause paper to warp.
Additional Helpful Tools
A Circle Sizer is a template with holes of various sizes that helps you create consistently sized coils. This tool is particularly useful when making pairs of items like earrings where symmetry matters.
A Cork Board and Pins provide a surface to arrange your designs and hold pieces in place while glue dries. Simply pin your coils to the board in your desired arrangement, apply glue, and let them dry in position.
Materials You Need
Quilling Paper Strips come pre-cut in various widths. For beginners, I recommend starting with 1/4 inch wide strips. The extra width gives you more to grip and makes the paper easier to manipulate. Standard quilling paper is about 17 to 21 inches long.
White Craft Glue that dries clear works best for quilling. Look for brands like Aleene’s Tacky Glue or Elmer’s School Glue. Avoid glue sticks as they do not provide a strong enough bond, and skip super glue which dries too quickly and can damage paper.
Cardstock or Background Paper provides a base for your quilled designs. White or light-colored cardstock works well for beginners since it shows off the quilled shapes clearly.
DIY Alternatives
If you want to try quilling before investing in tools, you can use a wooden skewer or toothpick as a makeshift slotted tool. Cut a thin slit in the end with a craft knife to grip the paper. For paper, cut standard printer paper or lightweight cardstock into 1/4 inch strips using a ruler and craft knife. These household alternatives work for learning the basics, though proper tools make the process much smoother.
Getting Started
Before you begin rolling, take a moment to set up your workspace properly. Good lighting is essential since you will be working with small pieces. A desk lamp positioned to eliminate shadows helps tremendously. Keep your tools within easy reach and have your glue bottle open and ready.
For your first attempts, use 1/4 inch wide paper strips in a light color. Dark papers are harder to see against the tool, and narrow strips require more precision than beginners typically have. Cut your strips to about 8 inches long for practice, shorter than the standard length, so you can complete coils faster while learning.
Hold your slotted tool in your dominant hand with the slot facing upward. Position it so you can see the small opening clearly. With your other hand, take one end of a paper strip and prepare to insert it into the slot. You are now ready to create your first coil.
Basic Rolling Technique
The fundamental skill in paper quilling is rolling a paper strip into a tight, even coil. Once you master this basic motion, you can create every shape in the quilling repertoire.
Step 1: Insert the Paper
Take the end of your paper strip and insert it into the slot of your slotted tool. Push it in about 1/4 inch to ensure a secure grip. The paper should sit firmly in the slot without slipping out.
Step 2: Start Rolling
Hold the paper strip between your thumb and index finger of your non-dominant hand, applying gentle tension. With your dominant hand, slowly turn the slotted tool away from you, rolling the paper around the tool’s shaft. Maintain consistent, gentle tension on the paper as you roll.
Keep your fingers close to the tool, guiding the paper as it rolls. The coil should form neatly without gaps between layers. If you see spaces developing, you are not maintaining enough tension.
Step 3: Complete the Roll
Continue rolling until you reach the end of the paper strip. Try to keep the coil centered on the tool as you work. When you reach the end, hold the coil firmly with your fingers so it does not unravel.
Step 4: Remove and Glue
Slide the completed coil off the tool while maintaining your grip to prevent it from expanding. Immediately apply a tiny amount of glue to the loose end and press it against the coil to secure it. Hold for a few seconds until the glue sets.
If you want a loose coil instead of a tight one, let the coil expand slightly before gluing the end. The amount of expansion determines the final size of your coil.
7 Basic Quilling Shapes
Once you can roll a basic coil, you can create seven fundamental shapes that form the building blocks of almost every quilling design. Each shape starts with either a tight coil or a loose coil that you then manipulate.
Tight Coil
The tight coil is the foundation shape for many quilling designs. Roll your paper strip and keep the coil compressed while you glue the end. Do not let it expand at all. The result is a solid, dense circle that holds its shape firmly.
Tight coils work well as centers for flowers, dots in borders, and structural elements that need rigidity. They are also the starting point for several other shapes. Practice making tight coils of consistent size by counting your rotations or using a circle sizer template.
Loose Coil
The loose coil starts the same way as a tight coil but is allowed to expand before gluing. Slide the rolled paper off your tool and let it relax to your desired size, then glue the end. The coil should look like a flat spiral with a small hole in the center.
Controlling the expansion is key to making consistent loose coils. Some quillers use a circle sizer by dropping the coil into a hole of the desired size, letting it expand to fit. Loose coils form the basis for most shaped quilling elements.
Teardrop
To make a teardrop, start with a loose coil. Hold the coil between your thumb and forefinger, then pinch one side firmly while leaving the other side rounded. The pinched end comes to a point while the opposite side remains curved like a teardrop.
Teardrops are incredibly versatile shapes used for flower petals, leaves, and decorative borders. They are one of the most common shapes in quilling because they are simple to make and look elegant in designs. Make sure to pinch firmly enough to create a distinct point, but not so hard that you crease the paper.
Marquise (Eye Shape)
The marquise, sometimes called an eye shape, starts with a loose coil that you pinch at two opposite points. Hold the coil gently and pinch both sides simultaneously, creating a diamond or eye-like shape with pointed ends and curved sides.
This shape works beautifully for leaves, petals, and abstract designs. The key is pinching directly opposite each other to maintain symmetry. If your marquise looks lopsided, you pinched at uneven points around the coil.
Square
Squares begin as loose coils that you pinch into four corners. First, pinch two opposite points to create a marquise. Then pinch the remaining two sides to form four distinct corners. The result is a square or diamond shape with slightly curved sides between the points.
Squares add geometric structure to quilled designs. They work well for borders, frames, and modern abstract pieces. Practice making the four pinches equidistant around the coil for the most professional appearance.
Triangle
Triangles follow the same principle as squares but with three pinches instead of four. Start with a loose coil and pinch three equidistant points around the edge to create a triangular shape with rounded sides.
Triangles are less common than squares but add nice variety to geometric designs. They work particularly well in repeating patterns and mosaic-style arrangements.
Scroll
Scrolls differ from coils because you do not roll the entire paper strip. Insert the paper into your slotted tool and roll about two-thirds of the length. Remove the tool and let the rolled portion expand slightly while leaving the tail unrolled.
You can curve the tail in various directions to create different scroll effects. S-scrolls curve in opposite directions at each end. C-scrolls curve in the same direction. Scrolls add elegant, flowing lines to designs and work beautifully for vines, filigree elements, and decorative borders.
Common Beginner Mistakes and Troubleshooting
Every quiller makes mistakes when learning. Here are the most common problems beginners encounter and how to solve them.
The Tornado Effect
If your coils look uneven and wavy rather than flat and neat, you are experiencing what quillers call the tornado effect. This happens when you roll the paper at an angle rather than straight around the tool. The solution is to watch your paper alignment as you roll, keeping it perpendicular to the tool shaft.
Coils Unraveling
When coils open up after you glue them, you are likely using too little glue or not holding the end long enough for the adhesive to set. Apply glue more generously to the end strip and hold it against the coil for 10 to 15 seconds. Make sure you are using paper designed for quilling, as thick or coated papers do not bond as well.
Uneven Coil Sizes
Creating consistent coil sizes takes practice. Use a circle sizer template to check your coils as you work. Drop each completed coil into the appropriate hole to ensure uniform sizing. This is especially important when making matching pairs like earrings.
Paper Tension Issues
If your paper keeps slipping or tearing, check your tension. You want firm, steady pressure but not so much that you strain the paper. If your paper tears repeatedly, you may be using paper that is too thin or too thick for quilling. Standard quilling paper weight works best.
Pro Tips for Better Results
After months of quilling, I have learned several techniques that dramatically improved my results. These tips will save you frustration and help your work look more professional.
Always work on a cork board or foam surface when assembling designs. Pin your shapes in place before gluing them down. This allows you to adjust positioning and ensures everything stays exactly where you want it while drying.
Use a minimal amount of glue. Apply it with the tip of your precision bottle or a toothpick rather than squeezing directly from the bottle. Excess glue creates messy edges and can warp your paper.
Store unfinished coils in a small box or organizer to prevent them from getting crushed. I keep my completed shapes sorted by type and size so I can easily find matching pieces when needed.
When making pairs like earrings, create both pieces in the same session rather than separately. Your tension will be more consistent within a single sitting, resulting in better matches.
Consider using a sealant spray on finished pieces, especially jewelry. Mod Podge works well as a sealant applied with a brush. It protects your work from moisture and handling damage. Apply thin coats and let each layer dry completely.
First Projects to Try
Once you have practiced the basic shapes, try these simple projects to build your skills.
A Simple Greeting Card makes an excellent first project. Create five to seven tight coils and arrange them in a flower pattern on a folded card. Add scrolls for stems and leaves. This introduces you to assembling multiple pieces into a cohesive design.
A Quilled Flower combines several teardrop shapes around a tight coil center. Make six to eight teardrops in one color and arrange them in a circle. Place a different colored tight coil in the center. This teaches you how different shapes work together.
Basic Earrings require making two identical shapes. Create matching tight coils or teardrops and attach them to earring hooks with jump rings. Start with simple shapes before attempting complex multi-element designs.
A Framed Monogram involves filling a letter outline with quilled shapes. Print a large letter on cardstock and fill it with tight coils, teardrops, or scrolls. This project helps you practice fitting shapes together and creating dense fills.
Frequently Asked Questions
How hard is it to learn quilling?
Learning quilling is surprisingly easy for most people. The basic rolling technique takes about 15 minutes to understand, and most beginners can create their first tight coil within an hour. Consistency and precision improve with practice, but the fundamental skills are accessible to anyone with patience and steady hands. Children as young as eight can learn quilling with supervision.
What kind of glue should I use for paper quilling?
White craft glue that dries clear works best for paper quilling. Aleene’s Tacky Glue and Elmer’s School Glue are popular choices among quillers. The glue should be thick enough to hold but not so thick that it creates lumps. Apply it sparingly with a precision bottle or toothpick. Avoid glue sticks, which do not provide a strong enough bond, and super glue, which dries too quickly and can damage paper.
Can I use Mod Podge for quilling?
Mod Podge works well as a sealant for finished quilling projects but is not ideal for the actual assembly. Use regular white craft glue to attach your coils and shapes. Once your project is complete and fully dry, apply thin coats of Mod Podge to seal and protect the surface. This prevents moisture damage and makes jewelry pieces more durable. Apply with a soft brush and let each coat dry completely before adding another.
What are the basic quilling techniques?
The five basic quilling techniques are: 1) Rolling – creating tight or loose coils by rolling paper strips, 2) Pinching – shaping coils into points to create teardrops and marquises, 3) Gluing – attaching shapes together and to backgrounds, 4) Scrolling – rolling partial strips to create curved elements, and 5) Shaping – manipulating coils into squares, triangles, and other geometric forms. Mastering these five techniques allows you to create almost any quilling design.
Who is the famous quilling artist?
Yulia Brodskaya is the most famous contemporary quilling artist. She transformed quilling from a craft into fine art, creating large-scale portraits and illustrations that have been commissioned by major brands including Starbucks, Hermes, and The New York Times Magazine. Her work features intricate typography and figurative designs that demonstrate the artistic potential of paper quilling. Other notable quillers include Sena Runa and Lisa Rodden.
How to quill paper for beginners?
To quill paper as a beginner, start by inserting a paper strip into a slotted quilling tool. Hold the paper with gentle tension between your fingers and slowly turn the tool away from you, rolling the paper evenly. Keep the coil tight as you work. When you reach the end, slide the coil off the tool, apply a small amount of glue to the loose end, and press it against the coil to secure. Practice making tight coils first, then learn to let them expand for loose coils.
The Basics of Paper Quilling
Mastering the basics of paper quilling opens up endless creative possibilities. From simple greeting cards to intricate wall art, the techniques you have learned here form the foundation for any quilling project you can imagine. The seven basic shapes, tight and loose coils, teardrops, marquises, squares, triangles, and scrolls, combine in countless ways to create flowers, animals, patterns, and abstract designs.
The key to improving your quilling skills is consistent practice. Spend time each week rolling coils and perfecting your shapes. Pay attention to tension, symmetry, and glue control. As these fundamentals become automatic, you will find yourself focusing more on design and creativity rather than technique.
Remember that every expert quiller started exactly where you are now. The beautiful pieces you see online are the result of patience and practice, not innate talent. Start with simple projects, celebrate small improvements, and do not be afraid to make mistakes. Each coil that unravels or shape that looks uneven teaches you something valuable.
Paper quilling rewards those who stick with it. Within a few months of regular practice, you will create pieces that surprise you with their beauty and complexity. The skills you have learned in this guide will serve you for years to come. Now it is time to pick up your slotted tool and start rolling.