
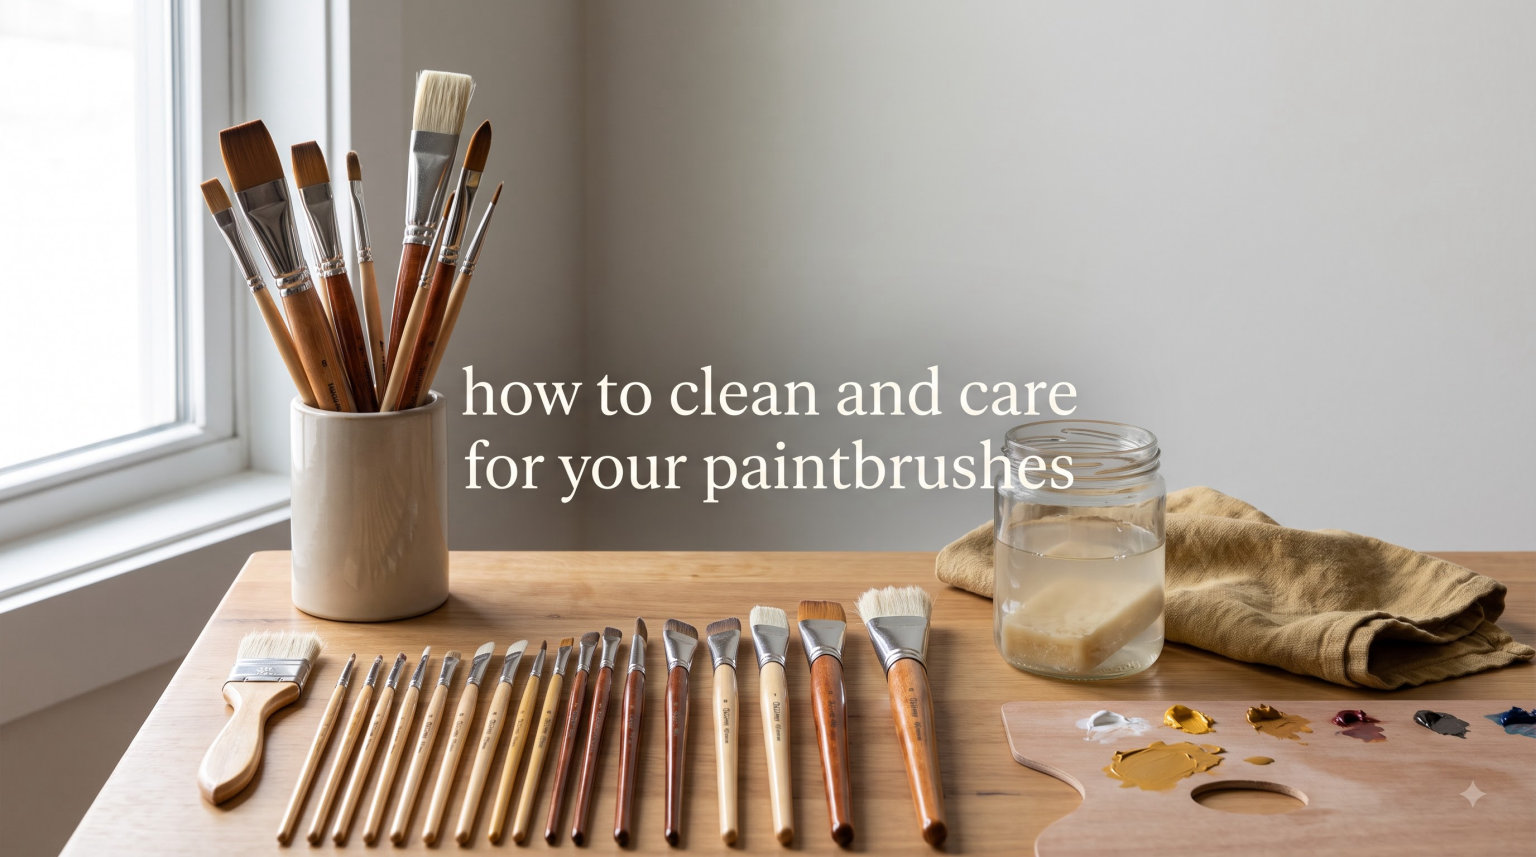
Bruce High Quality Foundation.com | Category: Artist Resources | Last Updated: May 2026
Table of Contents
Introduction to Paintbrush Care
Your paintbrushes are among the most valuable tools in your artistic arsenal. Whether you work with watercolors, acrylics, or oils, the quality of your brushes directly impacts the quality of your work. Yet many artists neglect proper brush care, leading to premature deterioration, poor performance, and unnecessary expenses.
Learning how to clean and care for your paintbrushes properly is one of the most important skills any artist can develop. Not only does good maintenance extend the life of your brushes significantly, but it also ensures consistent paint application, better edge retention, and improved overall painting experience.
This comprehensive guide covers everything you need to know about paintbrush maintenance, from basic cleaning techniques to advanced restoration methods. Whether you are a beginner just starting your artistic journey or an experienced artist looking to optimize your brush care routine, you will find practical, actionable advice to keep your brushes in peak condition.
Why Proper Brush Care Matters
Understanding why proper brush care matters will motivate you to establish good habits that protect your investment. Quality art brushes can be expensive, with some professional-grade brushes costing fifty dollars or more each. Neglecting proper maintenance can destroy an expensive brush in a single painting session.
Key Insight: With proper care, a high-quality brush can last for many years, while a neglected brush may become unusable within months. The small amount of time spent on maintenance saves significant money over time.
Beyond the financial aspect, well-maintained brushes simply perform better. When paint dries in the ferrule (the metal band connecting the bristles to the handle), it creates a hardened barrier that prevents the bristles from flexing properly. This leads to streaky application, compromised edges, and frustration during painting sessions.
Proper brush care also affects your painting quality. A clean brush holds paint more evenly and releases it more smoothly than one contaminated with dried residue. The difference is especially noticeable when working on detailed pieces or when you need precise control over paint application.
Furthermore, maintaining clean brushes contributes to better hygiene in your studio space. Dried paint particles can become airborne or contaminate fresh paint mixes, affecting color accuracy and creating unnecessary mess.
Supplies You Need for Paintbrush Care
Before diving into cleaning techniques, let us review the essential supplies that every artist should have on hand for proper brush maintenance. Having these items readily available makes it much easier to establish a consistent cleaning routine.
Basic Brush Care Supplies
-
Mild dish soap or brush cleaner: For general cleaning of water-based paints
-
Mineral spirits or turpentine: Required for oil paint removal
-
Paper towels or clean rags: For wiping excess paint and moisture
-
Brush cleaning palette or container: To safely contain solvents during cleaning
-
Brush comb or old toothbrush: For gently cleaning between bristles
-
Water containers: Two containers for rinsing (for water-based cleaning)
-
Soft cloth or paper: For reshaping and drying brushes
Advanced Restoration Supplies
-
Rubbing alcohol or specialized brush restorer: For dissolving dried paint
-
Conditioning oil or brush balm: To soften and protect bristles
-
Wooden dowel or pencil: For reshaping brushes on curved surfaces
Pro Tip: Invest in a quality brush cleaning system or “paint puck” with silicone cleaning balls. These reusable products help remove paint efficiently and can significantly extend brush life, especially during long painting sessions.
How to Clean Water-Based Paintbrushes (Acrylic and Watercolor)
Cleaning water-based paints from your brushes is generally simpler than cleaning oil paints, as water is the primary solvent. However, acrylic paints present unique challenges because they dry quickly and can form a plastic-like film on your brushes if not cleaned promptly.
Step-by-Step Acrylic Brush Cleaning
-
Rinse immediately after use: Do not let acrylic paint dry on your brush. As soon as you finish painting, rinse the brush under warm running water.
-
Work the paint out: Gently work the bristles with your fingers under running water, moving from the ferrule toward the bristle tips. Never pull hard on the bristles.
-
Use soap if needed: For stubborn paint, apply a small amount of mild dish soap to the bristles and work it into a lather. Continue rinsing until all soap and paint are removed.
-
Clean the ferrule: Use your fingers or a soft brush to clean the area where the bristles meet the ferrule. Paint tends to accumulate here and cause bristle splaying if not removed.
-
Rinse thoroughly: Continue rinsing until the water runs completely clear with no trace of color.
-
Shape the bristles: Gently reshape the brush bristles to their original form using your fingers or a clean cloth.
-
Dry properly: Lay the brush flat or hang it with the bristles pointing downward to dry. Never stand brushes upright in a container while wet, as this can loosen the ferrule over time.
Watercolor Brush Cleaning
Watercolor brushes require gentler treatment than acrylic brushes, especially if they are made from natural fibers like sable. The cleaning process is similar but emphasizes preservation of the brush shape and softness.
-
Quick rinses between colors: During painting sessions, a quick dip in clean water and gentle blotting on a paper towel is often sufficient between color changes.
-
Complete rinse at session end: At the end of your painting session, give your brushes a more thorough cleaning with cool water and mild soap if necessary.
-
Handle with extra care: Watercolor brushes, especially those with pointed tips, should be reshaped immediately after cleaning to maintain their delicate shapes.
-
Avoid harsh soaps: Use only mild, gentle cleansers specifically formulated for watercolor brushes to preserve the natural oils in fine bristles.
Warning: Never leave acrylic brushes soaking in water for extended periods. The water can cause the wooden handle to swell and crack, and it can also weaken the adhesive holding the bristles in the ferrule.
How to Clean Oil-Based Paintbrushes
Oil paint cleaning requires solvents to break down the oil and pigment properly. This process demands more attention to safety and ventilation, but following the right steps will keep your oil brushes in excellent condition for years.
Step-by-Step Oil Brush Cleaning
-
Remove excess paint: Wipe your brush on a rag or paper towel to remove as much wet paint as possible. Work the brush against the cloth to pull paint from the bristles without damaging them.
-
First solvent bath: Dip your brush in mineral spirits, turpentine, or an alternative solvent. Work the brush against the bottom of your container to loosen the paint. You will see the color bleeding into the solvent.
-
Repeat in fresh solvent: Transfer to a second container of clean solvent and repeat the process. Continue until the brush appears clean.
-
Wash with soap: Once most of the paint is removed, wash the brush in warm water with mild dish soap. Work the soap into the bristles thoroughly to remove all solvent residue.
-
Rinse completely: Rinse under warm running water until all soap and solvent are removed.
-
Deep clean the ferrule: Use your fingers or a soft brush to clean around the ferrule area, removing any accumulated paint or residue.
-
Reshape and dry: Gently reshape the bristles and lay flat or hang to dry completely before storing.
Solvent Safety Considerations
When working with solvents for oil paint brush cleaning, proper ventilation is essential. Open windows, use exhaust fans, and consider wearing a respirator mask rated for organic vapors. Many artists now prefer low-odor alternatives to traditional turpentine, which can cause respiratory irritation with prolonged exposure.
Important: Never pour used solvents down the drain. Collect them in a sealed container and dispose of them according to your local hazardous waste regulations. Many communities have designated drop-off locations for used art materials.
Solvent-Free and Natural Cleaning Alternatives
With growing awareness of environmental and health concerns, many artists are seeking solvent-free alternatives for cleaning oil paint brushes. Several effective methods can reduce or eliminate the need for harsh chemicals.
Biodiesel and Vegetable Oil Methods
Some artists have found success using biodegradable cleaning products made from natural oils. These products can effectively break down oil paint without the strong odors and potential health risks of traditional solvents.
Eco-Friendly Brush Cleaners
Several manufacturers now produce plant-based brush cleaning solutions that are specifically designed for artist use. These products offer the cleaning power of solvents while being safer for both the user and the environment.
The Paint Puck Method
Paint pucks with textured surfaces or silicone cleaning balls provide mechanical cleaning action that can remove significant amounts of paint with minimal solvent use. The brush is worked against the textured surface, and paint collects in the chamber below. While not completely solvent-free, this method drastically reduces the amount of solvent needed for cleaning.
Pro Tip: For artists working in studios with limited ventilation, consider keeping a small container of dedicated brush cleaning solution at your easel. This allows you to do quick clean-ups during long sessions without making multiple trips to a separate cleaning area.
How to Restore Dried Paintbrushes
Even with the best intentions, brushes sometimes get neglected and the paint dries in them. Before giving up on a valuable brush, try these restoration techniques that many artists have found effective.
Method 1: Rubbing Alcohol Soak
For water-based paints like acrylics, soaking the brush in rubbing alcohol (isopropyl alcohol) for several hours can help dissolve dried paint. After soaking, work the bristles gently to loosen the paint, then wash with soap and water.
Method 2: Hot Water Method
For more stubborn cases, you can try boiling water. Place the brush in the water and let it cool. The heat can soften dried paint significantly. Use pliers or a brush cleaning comb to carefully work the paint loose once it has softened.
Method 3: Commercial Brush Restorers
Several products on the market are specifically formulated to restore dried brushes. These concentrated solutions are often more effective than home remedies and are designed to be less damaging to brush bristles.
Preventing Future Damage
Prevention is always better than cure when it comes to brush care. Keep a cleaning routine where you at least do a quick rinse between painting sessions, even if you do not have time for a complete cleaning. This simple habit prevents paint from hardening in the ferrule and preserves the brush shape.
Caution: Be extremely careful when using heat methods on brushes with wooden handles, as boiling water can crack or damage the wood. Never use sharp tools to dig paint out of a brush, as this can permanently damage or remove bristles.
Proper Paintbrush Storage Techniques
How you store your brushes when not in use is just as important as how you clean them. Proper storage protects your investment and ensures your brushes are ready to perform at their best whenever you need them.
Horizontal Storage
The best way to store brushes is horizontally, laying flat on a clean surface or in a drawer. This prevents pressure on the bristles and avoids the common problem of brushes Warping or bending when stored upright.
Hanging Storage
Hanging brushes with the bristles pointing downward is acceptable for short-term storage. This method allows brushes to dry properly after cleaning and keeps them off surfaces where they might collect dust. However, for long-term storage, horizontal is preferred to avoid any stress on the ferrule attachment.
Protecting Bristle Shape
Always store brushes with their original shape in mind. Pointed round brushes should be stored in brush guards or carefully positioned so the point is protected. Flat brushes should be laid flat to maintain their squared edges.
Climate Considerations
Avoid storing brushes in areas with extreme temperature changes or high humidity, as these conditions can damage wooden handles and affect the adhesive in the ferrules. A climate-controlled studio environment is ideal, but a dry, room-temperature closet will suffice for most artists.
Long-Term Storage
If you need to store brushes for extended periods without use, consider applying a light coat of brush conditioner or hair conditioner to the bristles before storage. This helps prevent bristles from becoming brittle and maintains some flexibility in natural hair brushes.
Common Mistakes to Avoid
Understanding what NOT to do is just as valuable as knowing the correct techniques. Here are the most common mistakes artists make when caring for their brushes.
Letting Paint Dry Completely
The single biggest mistake is allowing paint to dry completely in the brush. Dried paint in the ferrule is extremely difficult to remove and will permanently damage the brush over time. Make cleaning a brush part of your routine immediately after finishing painting.
Soaking Brushes Too Long
While thorough rinsing is important, extended soaking is counterproductive. Leaving brushes submerged in water or solvent for hours or overnight can cause the wooden handle to swell, the ferrule to rust, and the bristles to weaken and fall out.
Using Harsh Soaps
Dish soaps with heavy degreasers or fragrances can be too harsh for delicate brush bristles, especially natural fibers. Over time, these harsh soaps can strip natural oils from the bristles, making them brittle and less effective.
Improper Reshaping
Never reshape your brush bristles when they are wet and pliable in unnatural ways. This can cause the bristles to set in the wrong shape as they dry. Instead, gently coax them back to their original form without forcing them.
Storing Brushes Upright While Wet
Standing wet brushes in a jar or container allows water to run down into the ferrule, loosening the adhesive and eventually causing bristle loss. Always dry brushes flat or hanging before returning them to any container storage.
Using Wrong Solvents
Using inappropriate solvents for your paint type can damage both the bristles and the ferrule. Always use appropriate cleaning agents for the specific medium you were using.
Remember: A few extra minutes of proper care after each painting session can add years to the life of your brushes. Developing good habits is the best investment you can make in your artistic tools.
Signs It Is Time to Replace Your Brush
Even with excellent care, brushes have a finite lifespan. Knowing when to retire a brush is important for maintaining painting quality. Here are clear indicators that it is time to replace your brush.
Visible Damage to Bristles
If bristles are missing, bent permanently, or falling out consistently, the brush has reached the end of its useful life. A brush missing even a few bristles will not perform properly and can affect your painting technique.
Ferrule Problems
The ferrule should be firmly attached and free of rust or corrosion. If the ferrule is loose, the brush will not perform correctly. Rust on the ferrule can also contaminate your paint with brown streaks.
Loss of Shape
When a brush no longer holds its intended shape, even after proper reshaping, the bristles have lost their elasticity. This commonly happens with natural hair brushes that have been over-cleaned or exposed to harsh conditions.
Paint Buildup That Will Not Budge
If you have tried restoration methods and there is still dried paint lodged deep in the ferrule area that you cannot remove, the brush will never perform properly again.
Splaying Bristles
Bristles that consistently spread outward and will not return to their proper alignment indicate structural damage to the brush. This is often caused by paint buildup in the ferrule or improper cleaning techniques.
Brush Lifespan by Type
With proper care, synthetic brushes typically last 1-3 years of regular use, while quality natural hair brushes like sable can last 5-10 years or longer. Hog hair brushes for oil painting are extremely durable and can last decades with good care.
Frequently Asked Questions
How often should I clean my paintbrushes?
You should clean your brushes thoroughly after every painting session, no matter how short. During extended sessions, clean brushes thoroughly at least every few hours, especially when working with fast-drying acrylics. Quick rinses between colors during painting are also beneficial.
Can I use dish soap to clean paint brushes?
Yes, mild dish soap can be used to clean water-based paint brushes. However, avoid dish soaps with heavy degreasers or strong fragrances, as these can be too harsh for delicate bristles over time. Use only a small amount and rinse thoroughly.
How do I prevent paint from drying in the ferrule?
Never let paint go all the way up to the ferrule while painting. When loading your brush, leave a small gap between the paint and the ferrule. Clean your brush before paint can dry in this critical area. During painting sessions, periodically spin your brush in clean water to prevent paint from accumulating near the ferrule.
How long do paint brushes typically last?
The lifespan varies greatly depending on brush quality, frequency of use, and maintenance. Synthetic brushes typically last 1-3 years with regular use, while quality natural hair brushes can last 5-10 years or longer. Professional-grade oil brushes made from hog hair can last decades with proper care.
How do I reshape paint brush bristles?
After cleaning, while the bristles are still damp, gently reshape them using your fingers or a clean, soft cloth. For pointed round brushes, roll the bristles gently between your fingers. For flat brushes, smooth the bristles to maintain their squared edge. Allow brushes to dry in this reshaped position.
Is it bad to soak brushes overnight?
Yes, soaking brushes overnight is generally bad for them. Extended soaking can damage wooden handles, weaken ferrule adhesives, and cause natural bristles to become overly saturated and lose their shape. If you need to remove stubborn paint, a shorter soak of 15-30 minutes in appropriate solvent is usually sufficient.
What is the best way to clean brushes between color changes?
For water-based paints, a quick dip in clean water followed by blotting on a paper towel is usually sufficient between colors. For oil paints, a dip in fresh solvent followed by wiping on a rag works well. Having multiple brushes dedicated to different colors can also minimize cleaning needs during detailed work.
How should I clean miniature painting brushes?
Miniature painting brushes require extra gentle care due to their delicate size. Use minimal water and gentle dabbing motions rather than rubbing. Never submerge small brushes; instead, dip the bristles briefly and blot immediately. Store them protected in a brush roll or individual caps to prevent damage to their fine tips.
Conclusion
Proper paintbrush care is a fundamental skill that every artist should develop. By following the techniques and guidelines in this comprehensive guide, you will extend the life of your brushes significantly, improve your painting quality, and ultimately save money by reducing the need for frequent brush replacements.
Remember that the key to successful brush care is consistency. A few minutes of proper cleaning and storage after each painting session will reward you with tools that perform beautifully for years to come. Your brushes are an investment in your art, and taking care of them is taking care of your creative future.
Final Thought: If you are looking for more resources to improve your artistic practice, check out our guide on the Best Gifts for Artists for additional tools and supplies that can enhance your studio experience.