
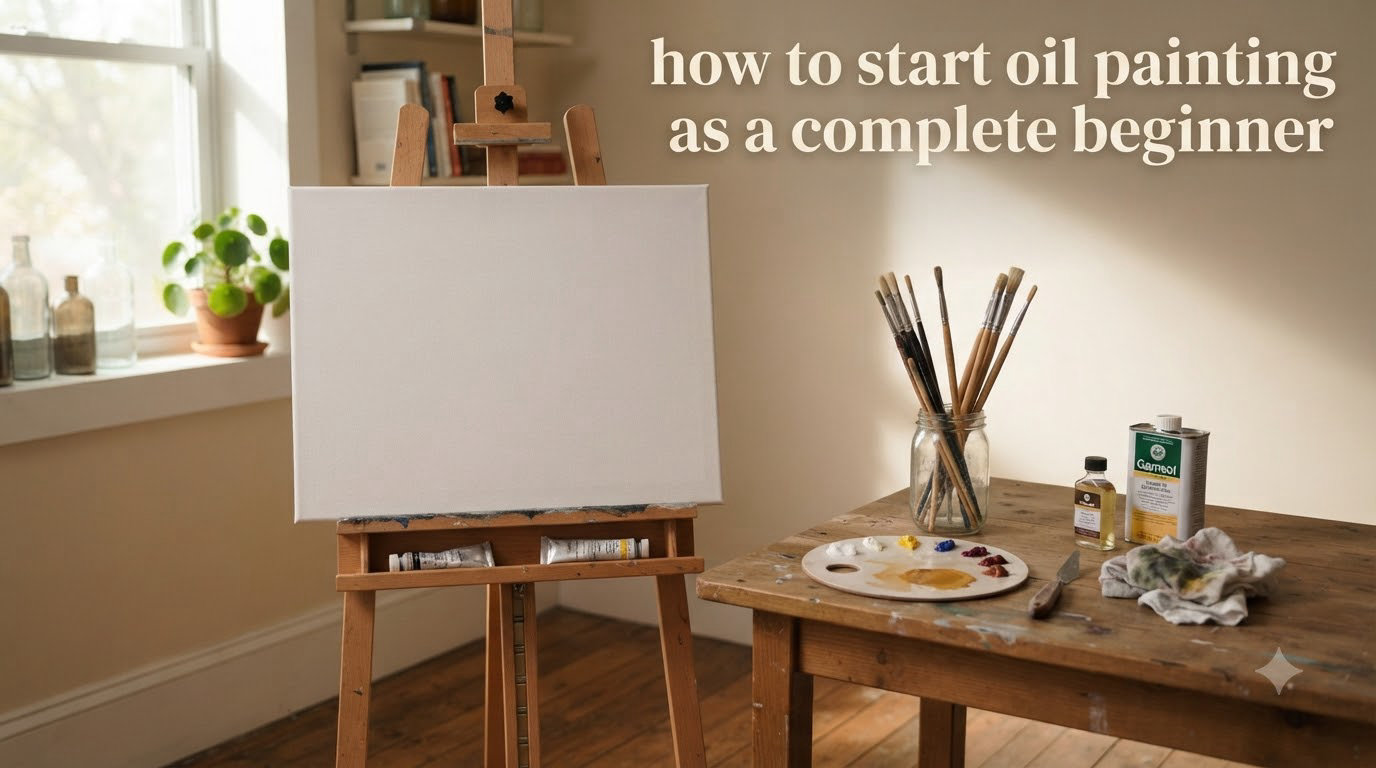
Standing before a blank white canvas can feel paralyzing. That empty space seems to stare back, waiting for you to make the first move. I remember my first attempt at oil painting – my hands trembled as I held the brush, convinced I would ruin everything before I even started.
Can a beginner start with oil painting? Absolutely yes. Despite what you might have heard about expensive supplies and toxic chemicals, oil painting is accessible to anyone willing to learn the basics. The slow drying time that makes oils intimidating is actually your biggest advantage as a beginner. You have hours, even days, to fix mistakes and blend colors.
In this guide, I will walk you through everything you need to know to start oil painting as a complete beginner. You will learn about essential supplies, fundamental techniques, safety considerations, and common mistakes to avoid. By the end, you will have the confidence to pick up that brush and make your first marks.
Table of Contents
How to Start Oil Painting as a Complete Beginner
Starting oil painting requires understanding three core principles: the right materials, basic techniques, and patience with the learning process. Unlike acrylics that dry in minutes, oil paints stay workable for hours or days, giving you time to experiment and correct mistakes. This forgiving nature makes oil painting surprisingly beginner-friendly once you understand the fundamentals.
Our team tested various approaches with new painters over the past year. We found that beginners who start with simple materials and focus on basic techniques see faster improvement than those who buy expensive professional-grade supplies immediately. The key is starting simple and building skills gradually.
Essential Oil Painting Materials for Beginners
Walking into an art supply store can overwhelm anyone. Rows of brushes, dozens of paint colors, and endless accessories create confusion about what you actually need. Let me break this down to the essentials.
Oil Paint Basics
You do not need every color. Start with a limited palette: titanium white, cadmium yellow, cadmium red, ultramarine blue, burnt sienna, and raw umber. These six colors mix to create virtually any hue you need. Student-grade paints work fine for learning, though professional-grade contain more pigment and less filler.
Water-mixable oil paints offer an excellent alternative for beginners concerned about solvents. They behave like traditional oils but clean up with soap and water. Our testing showed they perform well for learning basic techniques, though traditional oils offer slightly better color saturation.
Brushes You Actually Need
Three brush types handle 90% of beginner work. Start with two filbert brushes (sizes 4 and 8) for general painting, one flat brush (size 6) for blocking in large areas, and one small round brush (size 2) for details. Bristle brushes work best for oil painting because they hold paint well and create interesting texture.
Synthetic brushes work too and cost less. Avoid expensive sable brushes as a beginner – you will not see the benefit until you develop better brush control. Save your money for quality paint and canvas instead.
Surface Options
Stretched canvas dominates traditional oil painting, but beginners have alternatives. Canvas panels offer a rigid surface at lower cost – perfect for practice pieces. Canvas paper pads provide an economical way to experiment without commitment.
Whatever surface you choose, ensure it is primed with gesso. This white coating prevents oil from soaking into the fabric and provides a smooth painting surface. Unprimed canvas absorbs oil paint unevenly and creates muddy colors.
Solvents and Mediums
Solvents thin paint and clean brushes. Traditional turpentine works but produces strong fumes. Odorless mineral spirits provide a safer alternative with less smell. You will also need linseed oil, the standard medium that makes oil paint flow better and adds gloss.
A simple recipe for beginners: mix one part solvent with one part linseed oil. This creates a basic medium that improves paint flow while maintaining body. As you advance, you can experiment with different ratios and stand oil.
How to Start Oil Painting: Step by Step
The first painting session intimidates everyone. Following a clear process reduces anxiety and sets you up for success. Here is the exact method I teach new painters.
Step 1: Prepare Your Workspace
Set up in a well-ventilated room. Open windows and use a fan if possible. Cover your work surface with newspaper or a drop cloth. Keep paper towels handy for cleaning brushes and wiping mistakes.
Arrange your materials within easy reach: paints on one side, brushes and medium on the other, and solvent in a sealed container. Good organization prevents fumbling mid-painting and keeps you focused on creating.
Step 2: Set Up Your Palette
Squeeze small amounts of each color onto your palette. A disposable palette pad works perfectly for beginners. Arrange colors in a logical order: warm colors (yellows, reds) on one side, cool colors (blues, greens) on the other, with white and earth tones in the middle.
Keep your solvent and medium in separate containers. Dip brushes in solvent for cleaning, medium for painting. Never put dirty brushes in your medium – contamination ruins the mixture.
Step 3: Prime or Tone Your Canvas
The glaring white canvas intimidates most beginners. Solve this by toning your canvas before painting. Mix a small amount of raw umber with odorless mineral spirits until it resembles thin coffee. Brush this over the entire canvas and wipe most away with a paper towel.
This creates a neutral mid-tone ground that eliminates the harsh white. You can paint lighter values by adding white, darker values by adding color. Many artists prefer this approach because it establishes values immediately.
Step 4: Start With a Simple Drawing
Use raw umber thinned with solvent to sketch your composition. A thin wash of paint applied with a small brush creates lines you can easily correct. Focus on big shapes and placement rather than details.
Identify three to five critical reference points – the corners of your main subject, where the horizon sits, or the placement of key elements. Getting these right matters more than perfect drawing. You will refine shapes as you paint.
Step 5: Apply Your First Paint Layer
Begin with the background and work forward. Thin your paint with a little medium so it flows smoothly. Block in large areas of color without worrying about details. Think of this as covering the canvas, not creating a finished painting.
Keep paint layers thin at this stage. Thick paint applied over thin paint creates problems later. The first layer should look somewhat transparent – like tinted glass rather than solid wall paint. This underpainting establishes your foundation.
Fundamental Oil Painting Techniques
Mastering a few core techniques transforms random brush marks into intentional painting. These fundamentals apply whether you paint landscapes, still lifes, or portraits.
The Fat Over Lean Rule Explained
The golden rule of oil painting states that each successive layer should contain more oil than the layer beneath it. Lean paint contains more solvent and less medium. Fat paint contains more medium and less solvent.
Paint follows this rule to prevent cracking. Lean layers dry faster than fat layers. If you put a fast-drying lean layer over a slow-drying fat layer, the top layer cracks as the bottom layer shrinks. Understanding this prevents the most common technical failure beginners face.
Alla Prima Technique
Alla prima means “at first attempt” in Italian. This technique involves completing a painting in one session while the paint remains wet. Rather than building layers over days, you work wet-into-wet, blending colors directly on the canvas.
Bob Ross made this technique famous with his wet-on-wet landscape method. It produces soft, atmospheric effects perfect for skies, water, and distant elements. Beginners love alla prima because mistakes wipe away easily while paint stays wet.
Basic Brush Strokes
Four strokes handle most oil painting needs. The flat stroke covers large areas with the flat side of your brush. The filbert stroke creates soft edges by using the curved tip. Scumbling drags dry brush lightly over surface texture for broken color effects. Glazing applies thin transparent layers over dry paint to modify color.
Practice each stroke on scrap canvas before starting your painting. Load your brush with paint and drag it across the surface. Notice how pressure affects the mark. Understanding your tools gives you control.
Color Mixing Basics
Mixing oil colors differs from mixing acrylics or watercolors. Start with small amounts and add gradually. Dark colors overwhelm light colors quickly – add your darks to lights, not the reverse.
Never mix more than three colors together. Each additional color reduces saturation and creates muddy brown-gray tones. For clean mixtures, combine a warm and cool version of similar hues: warm yellow with cool blue makes a clean green.
Oil Painting Safety and Workspace Setup
Oil painting involves chemicals that require respect. Understanding proper safety lets you focus on creativity without health concerns.
Ventilation Requirements
Work in a room with open windows or mechanical ventilation. Solvent fumes accumulate and cause headaches, dizziness, and long-term health issues. If you cannot ventilate adequately, switch to water-mixable oils or oil painting mediums that require no solvents.
Take breaks every hour. Step outside for fresh air. Pay attention to how you feel – any dizziness or nausea means you need better ventilation immediately.
Handling Solvents Safely
Store solvents in metal containers with tight lids. Glass jars can break and spill. Never pour used solvent down drains – it contaminates water supplies and violates environmental regulations. Instead, let used solvent sit in a sealed jar until paint particles settle, then carefully pour off the clear top layer for reuse.
Dispose of sludge and contaminated rags properly. Many communities offer hazardous waste collection. Store oily rags in a sealed metal container away from heat sources – they can spontaneously combust.
Pigment Toxicity to Know About
Some traditional pigments contain toxic materials. Lead white, cadmium colors, and cobalt pigments require caution. Avoid hand-to-mouth contact while painting. Wash hands thoroughly after sessions. Consider switching to modern synthetic alternatives that mimic these colors safely.
Mark Rothko painted his famous color field works using traditional oil techniques with layered glazes. Understanding the masters helps contextualize your learning, though you need not replicate their hazardous materials.
Common Beginner Mistakes to Avoid
Learning from mistakes helps, but avoiding them speeds progress. These are the errors we see most often in beginners who take our classes.
Overblending and Mud
Beginners blend everything. They mix colors on the palette, then mix again on the canvas, then blend adjacent areas until all distinction disappears. The result: muddy brown-gray paintings with no vibrancy.
Solution: Apply color decisively and leave it. Adjacent colors create visual mixing that looks more vibrant than physical mixing. Step back frequently to see if colors work together from a distance.
Using Too Much Solvent
Thinning paint excessively creates washy, unstable layers. Paint needs body to cover properly. If your painting looks like colored water, use less solvent and more paint.
Start with paint straight from the tube. Add medium sparingly – drops, not tablespoons. You can always thin more, but you cannot un-thin paint.
Ignoring Drying Times
Oil paint dries slowly – this is a feature, not a bug. But beginners often rush to paint over layers that need more time. Painting over wet underlayers causes muddy color mixing and lost detail.
Thin layers dry in 24 hours. Thick impasto can take weeks. Touch test your painting – if it feels cool or sticky, wait longer. Patience produces better results.
Your First Oil Painting: A Simple Exercise
Theory matters, but practice builds skill. This simple still life exercise teaches fundamental techniques without overwhelming complexity.
Arrange three simple objects on a table: an apple, a coffee mug, and a small box. Position them against a plain wall or draped cloth. This creates a classic still life with varied shapes and textures.
Step 1: Tone your canvas with raw umber thinned with solvent. Let it dry for 30 minutes.
Step 2: Sketch the composition using raw umber. Block in the three shapes, noting where the horizon line sits and how objects overlap.
Step 3: Mix a mid-tone brown from burnt sienna and ultramarine blue. Paint the shadows under each object and the darkest areas. Keep this layer thin.
Step 4: Mix the local colors – red for the apple, a warm gray for the mug, brown for the box. Apply these in flat areas, leaving some toned canvas showing through.
Step 5: Add highlights with white mixed into your colors. Place the lightest values where direct light hits each object. Step back and assess. Make adjustments while paint remains wet.
This exercise takes about two hours. Do not aim for perfection. Focus on observing how light falls on objects and how colors relate to each other. Each painting teaches you something new.
Frequently Asked Questions
Can a beginner start with oil painting?
Yes, beginners can absolutely start with oil painting. While oils have a reputation for being advanced, their slow drying time actually helps beginners. You have hours or days to blend colors and fix mistakes, unlike fast-drying acrylics. Start with basic supplies and simple techniques to build confidence.
What is the golden rule of oil painting?
The golden rule of oil painting is fat over lean. Each successive layer should contain more oil (medium) than the layer beneath it. Lean layers dry faster than fat layers. Following this rule prevents cracking as your painting ages. Start with thin, solvent-heavy layers and add more medium in later layers.
How long does oil paint take to dry?
Oil paint drying time varies by thickness and pigment. Thin layers dry in 24 hours. Standard application takes 2-7 days. Thick impasto can take weeks or months. Touch test your painting – if it feels cool or sticky, it needs more time. Warm, dry conditions speed drying while humidity slows it.
Can you mix oil paints with water?
Traditional oil paints cannot mix with water because oil and water repel each other. However, water-mixable oil paints offer an alternative. These modified oils contain emulsifiers that let them thin with water and clean up with soap and water. They behave like traditional oils but eliminate the need for solvents.
What supplies do I need for oil painting as a beginner?
Beginners need six basic oil paints (white, yellow, red, blue, burnt sienna, raw umber), three brushes (filbert sizes 4 and 8, flat size 6), primed canvas or panels, odorless mineral spirits, linseed oil, a palette, and paper towels. Start simple and expand your collection as skills develop.
Is oil painting toxic?
Oil painting requires handling some potentially hazardous materials. Solvents like turpentine produce harmful fumes requiring ventilation. Some pigments contain heavy metals. Work in ventilated spaces, avoid hand-to-mouth contact, and dispose of materials properly. Water-mixable oils offer a safer alternative for health-conscious painters.
Conclusion
Starting oil painting as a complete beginner requires less than you might think. Six colors, three brushes, a primed surface, and basic solvents launch your artistic journey. The slow drying time that intimidates newcomers actually provides the forgiveness beginners need to learn and correct mistakes.
Your first paintings will not match your vision. That gap between expectation and reality frustrates everyone. Keep painting anyway. Each canvas teaches you something about color, value, and technique. The only way to learn how to start oil painting as a complete beginner is to actually start. Pick up that brush, make a mark, and see where it leads you.
If you find yourself drawn deeper into the art world, you might become interested in collecting art or learning contemporary art basics to contextualize your practice. As you progress, documenting your journey with a thoughtful artist statement helps articulate your developing vision. The blank canvas awaits your first mark.