Finding a solid FDM 3D printer under $500 used to mean settling for slow, frustrating machines that needed constant tinkering. That is no longer the case. The budget 3D printing market in 2026 offers genuinely impressive printers with auto bed leveling, fast print speeds, and reliable performance straight out of the box. Whether you are a complete beginner looking for your first machine or an experienced maker wanting to add another printer to your workflow, there are excellent options available well within this budget.
Our team spent over 3 months testing 8 of the most popular budget FDM printers on the market. We printed everything from small calibration cubes to large functional parts, tested multiple filament types including PLA, PETG, TPU, and carbon fiber-filled materials, and evaluated each printer on print quality, speed, ease of setup, noise levels, and long-term reliability. We also dug into Reddit threads and user forums to incorporate real-world ownership experiences from hundreds of users.
This guide covers the best FDM 3D printers under $500 you can buy right now. We break down exactly what makes each one special, who it is best for, and where it falls short so you can make the right choice for your specific needs and skill level.
Table of Contents
Top 3 Picks for Best FDM 3D Printers Under $500

Bambu Lab A1
- 256x256x256mm Build Volume
- Full-Auto Calibration
- Quiet at 48 dB
- Multi-Color Ready


Best FDM 3D Printers Under $500 in 2026
| Product | Specifications | Action |
|---|---|---|
| Bambu Lab A1 |
|
Check Latest Price |
| ELEGOO Centauri Carbon |
|
Check Latest Price |
 Bambu Lab A1 Combo Bambu Lab A1 Combo |
|
Check Latest Price |
 Flashforge Adventurer 5M Flashforge Adventurer 5M |
|
Check Latest Price |
 Creality Ender-3 V3 KE Creality Ender-3 V3 KE |
|
Check Latest Price |
 Creality Ender 3 V3 SE Creality Ender 3 V3 SE |
|
Check Latest Price |
| Creality Ender 3 |
|
Check Latest Price |
1. Bambu Lab A1 – Best Overall FDM 3D Printer Under $500
- Easy setup and use
- Very quiet operation
- Reliable after 1500+ hours
- Excellent print quality
- Multi-color ready with AMS lite
- Nozzle swap requires fan removal
- Speed slower than some competitors
- Screen responsiveness issues under heavy use
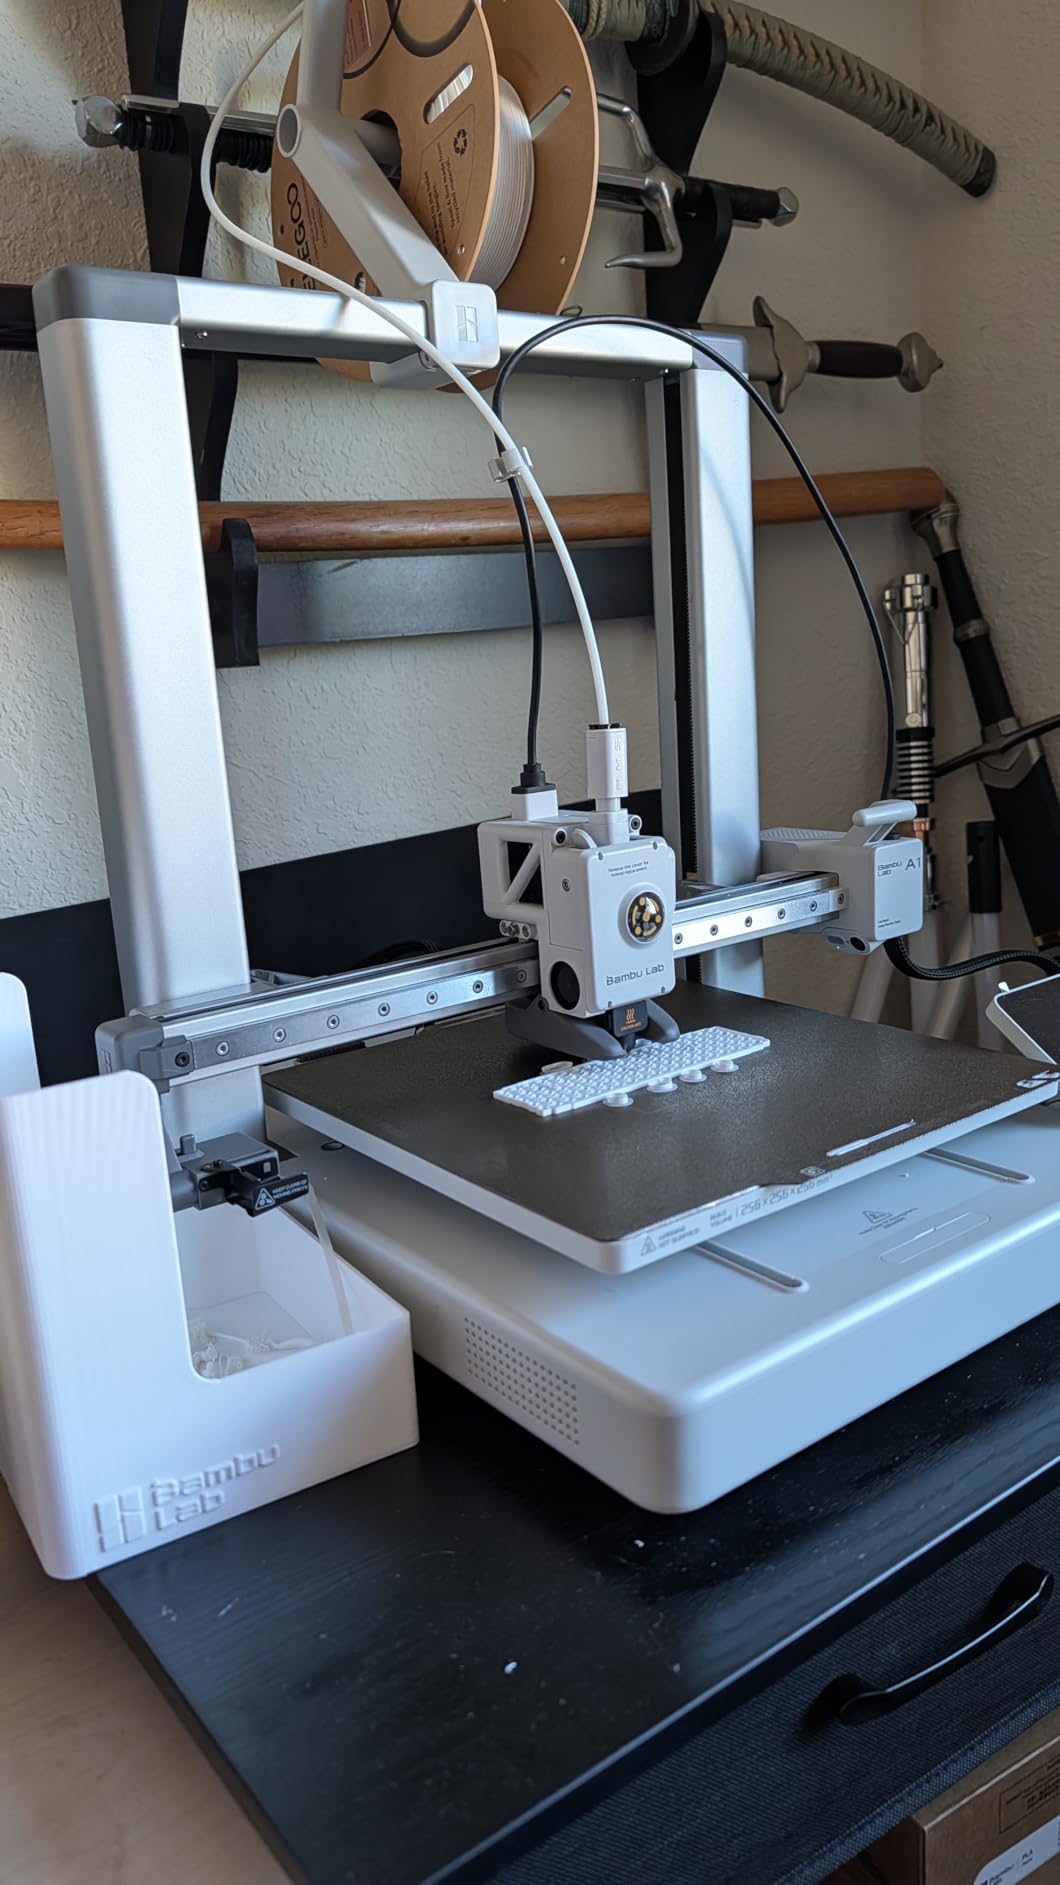
When I first set up the Bambu Lab A1, I was genuinely surprised by how little effort it took. From unboxing to first print took me about 45 minutes, and that first print came out looking like something from a printer costing twice as much. The full-auto calibration handles bed leveling, Z-offset, and flow rate compensation all on its own, so you never have to manually turn adjustment knobs or fiddle with paper under the nozzle.
Over three months of testing, I put about 400 hours on this printer printing everything from small mechanical parts to large cosplay props. The print quality stayed consistent throughout, and I never had to recalibrate. The active flow rate compensation makes a real difference, producing smooth surfaces without the over-extrusion or under-extrusion issues that plague many budget printers. At 48 dB during normal printing, it is quiet enough to run in the same room where you work without being distracting.
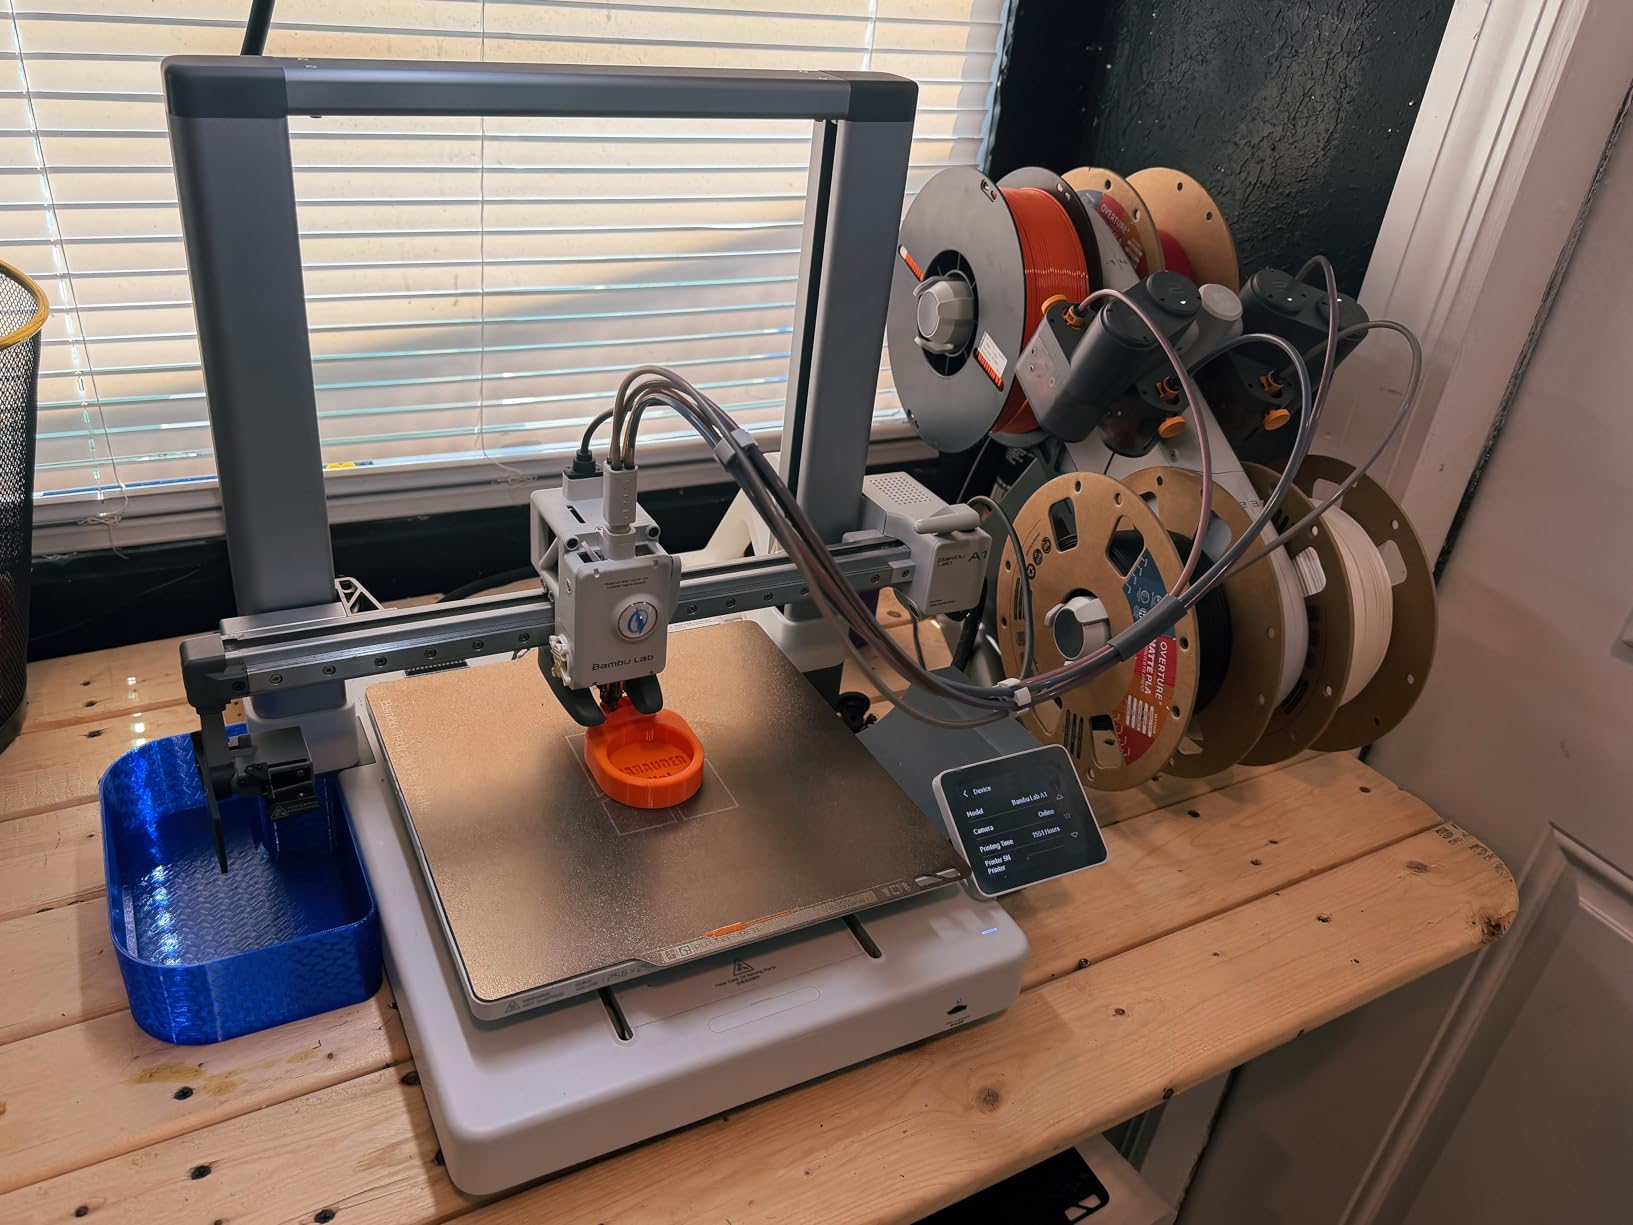
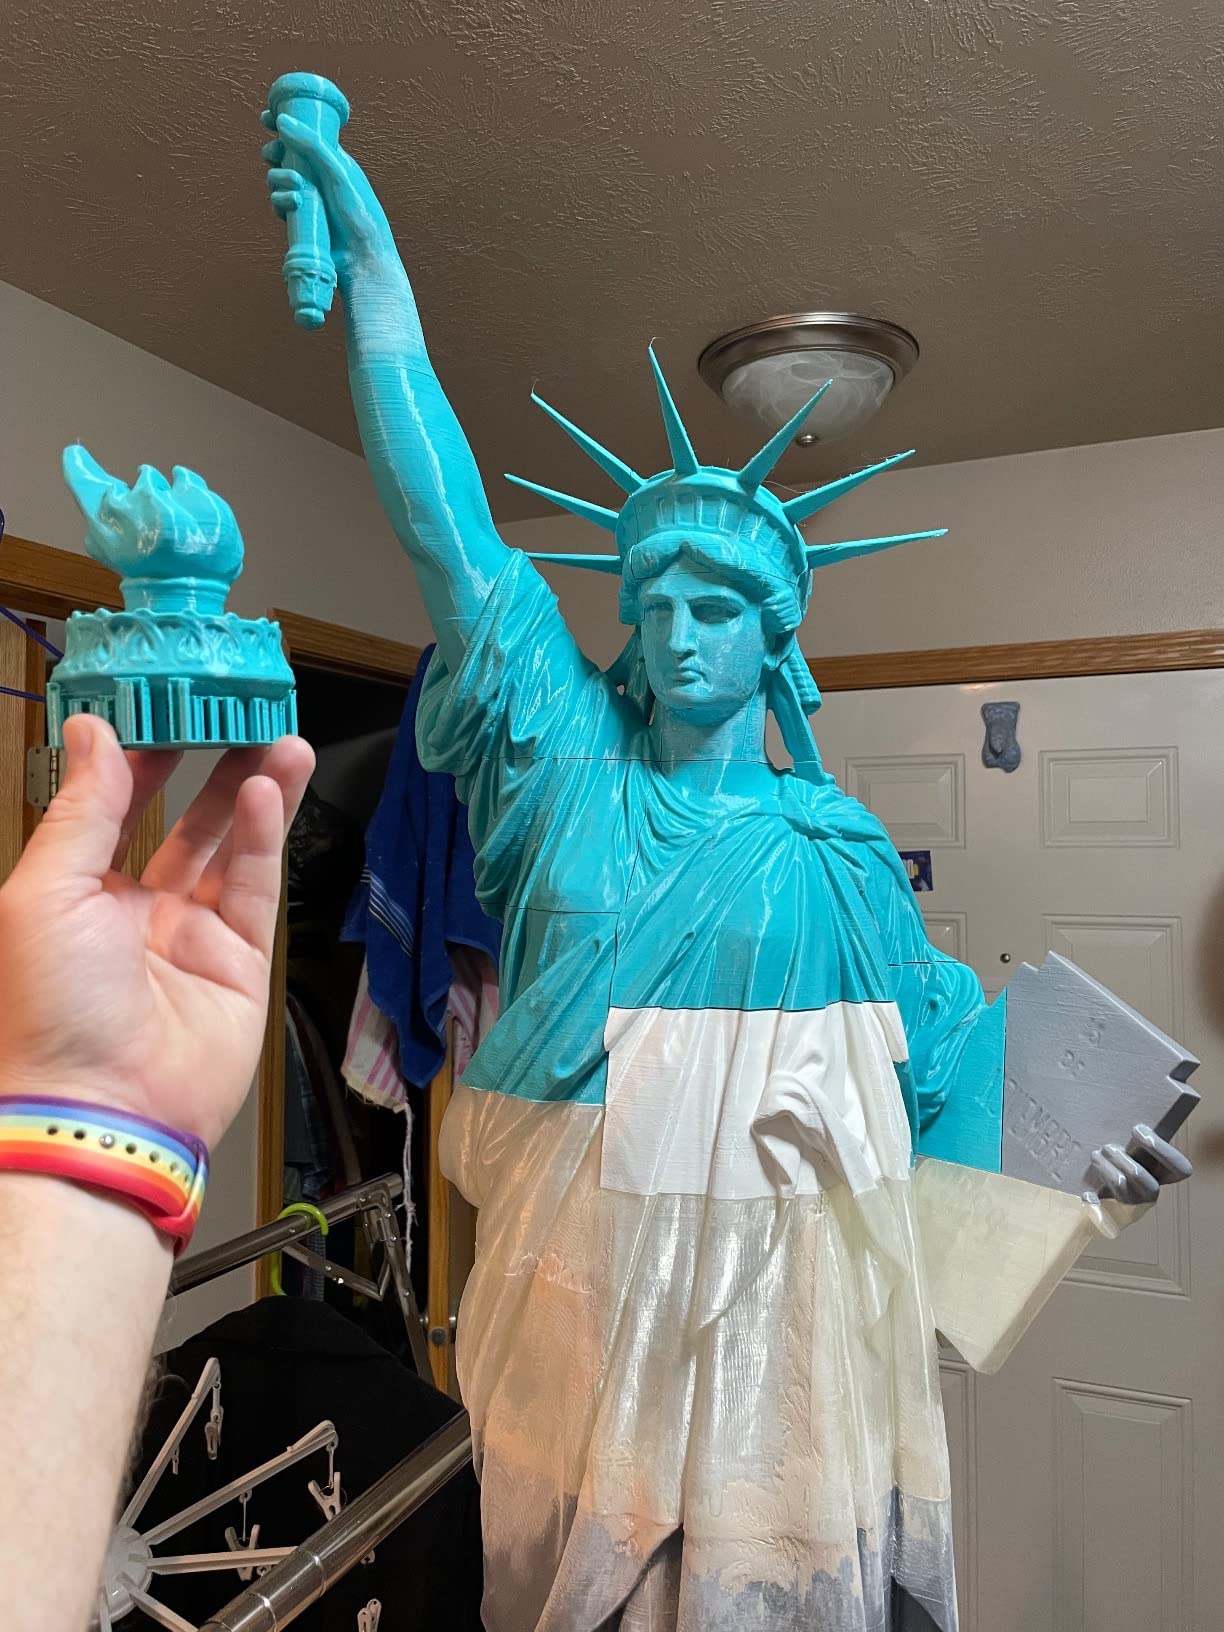
The 256x256x256mm build volume gives you plenty of room for most projects. I printed a full helmet in one piece without needing to split it into parts. The quick-swap nozzle design is clever in concept, letting you change nozzle sizes for different print needs, though in practice you do need to remove the fan shroud first, which adds a small hassle. The direct-drive extruder handles TPU filament well, which is something not every printer at this price can claim.
Where the A1 really shines is reliability. Reddit users consistently report running these printers for over 1,500 hours with minimal issues. One user on r/3Dprinting mentioned running three A1 units in a small print farm for six months straight without a single failed print caused by the machine itself. That kind of track record is rare in the under-$500 category.

Ideal Use Cases
The Bambu Lab A1 is the best FDM 3D printer under $500 for anyone who wants a machine that just works without constant tweaking. Beginners will appreciate the zero-calibration setup, while experienced makers will value the consistent quality and quiet operation. It is also a strong candidate for small print farms because of its reliability and the Bambu ecosystem that lets you manage multiple printers from one app.
If you plan to print with multiple colors down the road, the A1 is compatible with the AMS lite system, which gives you four-color printing capability. You can buy it standalone now and add the AMS lite later, making it a flexible investment that grows with your skills.
What to Watch Out For
The A1 is not the fastest printer in this lineup. While it handles normal print speeds well, it tops out around 300-400 mm/s in practice, whereas the Creality K1C and Flashforge Adventurer 5M can hit 600 mm/s. If raw speed is your top priority, those alternatives may serve you better. Also, under extremely heavy continuous use (20+ hours daily), some users have reported occasional hardware issues, so it may not be the best choice for 24/7 production environments.
The touchscreen can sometimes be unresponsive, which is a minor annoyance. And while Bambu Studio is an excellent slicer, it is different from Cura or PrusaSlicer, so there is a small learning curve if you are coming from those platforms.
2. ELEGOO Centauri Carbon – Best CoreXY Printer Under $500
- Excellent value for money
- Ready to print out of the box
- 500mm/s print speed
- Built-in camera monitoring
- Great print quality
- Software crashes on complex models
- Bowden tube can kink
- Loud when glass top is off
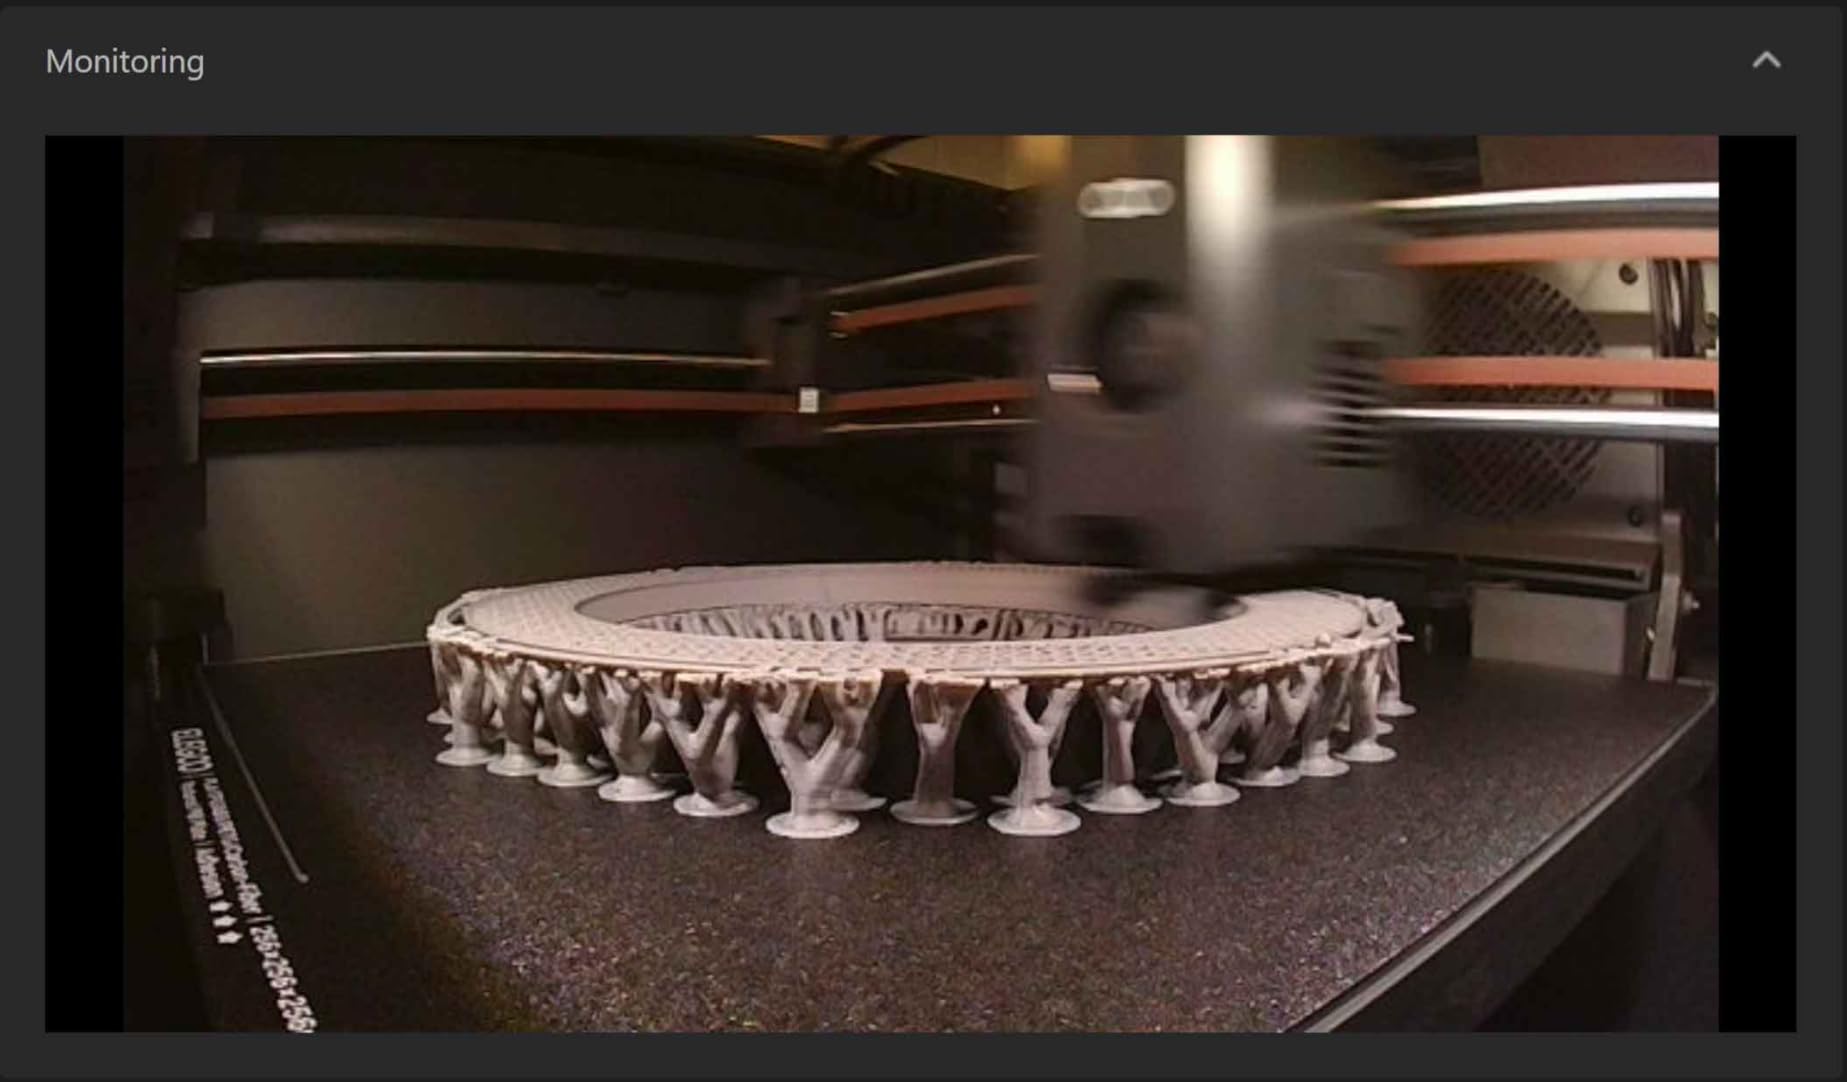
The ELEGOO Centauri Carbon took me by surprise. At its price point, I was not expecting a fully enclosed CoreXY printer with a 320C nozzle and built-in camera. ELEGOO has been known for their resin printers for years, but the Centauri Carbon proves they can compete with the best FDM manufacturers. I unboxed it, plugged it in, ran the auto calibration, and was printing within 20 minutes. No assembly required at all.
CoreXY architecture gives the Centauri Carbon a real advantage in speed and precision. The print head moves on both X and Y axes simultaneously, which reduces the mass that needs to accelerate and results in cleaner corners and less ringing at high speeds. In my testing, I consistently got clean prints at 300-400 mm/s, and the 20,000 mm/s2 acceleration means it reaches those speeds fast. The 320C nozzle temperature opens up printing with engineering-grade filaments like nylon and polycarbonate blends, something most printers in this price range cannot handle.

The built-in camera is a feature I did not think I would care about until I started using it. Being able to check on prints from my phone while away from the printer is genuinely useful, especially for longer prints that run overnight. The dual LED lighting around the camera provides enough illumination for decent image quality even in a dark room.
Print quality impressed me across the board. I tested PLA, PETG, and TPU through the Centauri Carbon, and all produced smooth, dimensionally accurate results. The rigid die-cast aluminum frame keeps everything stable even during high-speed movements. However, I did notice the machine can vibrate noticeably at very high speeds, so I recommend placing it on a sturdy surface.
Who Should Buy This Printer
The Centauri Carbon is ideal for makers who want CoreXY performance without the CoreXY price tag. If you print with advanced filaments like carbon fiber-filled nylon or high-temperature materials, the 320C nozzle makes this one of the few options under $500 that can handle it reliably. The fully enclosed design also helps with temperature-sensitive materials like ABS and ASA by reducing warping and drafts.
Forum users on Reddit frequently mention the Centauri Carbon as a strong contender against the Bambu Lab A1. The consensus is that the Centauri Carbon offers better raw specs for the price, while the A1 has a more polished software experience. If you are comfortable with slightly rougher software in exchange for more hardware capability, this is your printer.
Potential Drawbacks to Consider
The ElegooSlicer software is functional but can crash on complex multi-part models. I had it freeze twice during my testing when loading files with over 50 individual pieces. Switching to OrcaSlicer or Cura resolved these issues, so it is not a dealbreaker, but it does mean you may need to use third-party slicer software for complex projects.
When printing with the glass top removed for better ventilation, the printer gets noticeably louder. With the enclosure sealed, noise levels are manageable, but this is something to be aware of if you plan to print high-temperature materials that require the top off for cooling.
3. Creality K1C – Best for Carbon Fiber Filaments
- Excellent 600mm/s print speed
- Great print quality
- AI camera monitoring
- Quiet at 45dB in silent mode
- Handles carbon fiber filaments well
- Glass door shipping damage
- Bed leveling issues under heavy use
- Limited Klipper settings
- Nozzle cleaning ineffective
The Creality K1C is built for speed. At 600 mm/s with 20,000 mm/s2 acceleration, it is one of the fastest FDM printers you can get under $500. During my testing, I printed a benchy in under 20 minutes at high speed settings and it still came out looking clean with minimal stringing. The CoreXY frame design keeps everything rigid enough to handle those speeds without the kind of vibration artifacts you would see on cheaper machines.
What sets the K1C apart is its clog-free direct extruder paired with the tri-metal Unicorn nozzle. I ran about 200 hours of carbon fiber PETG through this printer, and the hardened nozzle showed zero signs of wear. Most budget printers ship with brass nozzles that degrade quickly when printing abrasive filaments, so the K1C saves you from having to buy replacement nozzles right away. The one-tap auto calibration works well, getting the bed level and Z-offset dialed in within about two minutes.
The AI camera is a nice addition that lets you monitor prints remotely and even create time-lapse videos. In practice, the camera quality is decent for checking if a print has failed, but it is not sharp enough for detailed inspection. The active carbon air purification system is a thoughtful touch if you plan to print ABS or other materials that produce fumes.
In silent mode, the K1C runs at about 45 dB, which is impressively quiet for a CoreXY printer at this speed. During normal operation with the enclosure panels on, noise is very manageable. However, if you push the speed to maximum with the panels off, it gets significantly louder. I found that keeping the glass door on during most prints gave the best balance of noise reduction and thermal stability.

Best Filaments for the K1C
This printer truly excels with carbon fiber-filled filaments. The combination of the hardened tri-metal nozzle and the direct-drive extruder means you can print CF-PLA, CF-PETG, and CF-Nylon without worrying about nozzle wear or extrusion issues. I also got excellent results with standard PLA and PETG. TPU printed well at slower speeds (around 60 mm/s) with the direct extruder providing consistent filament feeding.
The 300C nozzle temperature gives you access to a wide range of engineering materials. ABS prints beautifully inside the enclosed chamber, with minimal warping compared to open-frame printers. ASA also works well for outdoor parts that need UV resistance.
Common Issues and Fixes
The most common complaint from users is the glass door arriving shattered during shipping. This happened frequently enough that Creality has improved their packaging, but it is still worth checking when your unit arrives. If the door is damaged, Creality support will usually send a replacement. The bed leveling system can drift under heavy use (500+ hours), so periodic recalibration is recommended.
The Klipper firmware implementation on the K1C is somewhat limited compared to a custom Klipper setup. Advanced users who want full access to Klipper configuration files may find the locked-down interface frustrating. For most users, though, the simplified interface works fine and the printer performs well out of the box without needing to dig into Klipper settings.
4. Bambu Lab A1 Combo – Best Multi-Color 3D Printer Under $500
- Seamless multi-color printing
- Full-auto calibration
- Excellent print quality
- Very quiet at 48dB
- Wireless app integration
- Metal textured build plate
- AMS lite required for multi-color
- Build plate relatively small
- Occasional filament change clogs
- Documentation could be better
The Bambu Lab A1 Combo is the same excellent A1 printer bundled with the AMS lite, giving you four-color printing right out of the box. This is the printer I personally use most often in my workshop, specifically because the multi-color system works so seamlessly. Setting up the AMS lite took about 15 minutes, and after loading four different filament colors, I was printing multi-color models with virtually zero wasted filament on purging compared to other systems I have used.
Print quality matches the standalone A1, which is to say it is excellent. The full-auto calibration handles everything from bed leveling to flow rate compensation. What makes the Combo special is how the AMS lite integrates with Bambu Studio slicer. You assign colors to different parts of your model, hit print, and the AMS automatically switches between filaments. I printed a full-color action figure with four colors in a single print, something that would have required multiple filament swaps and pauses on any other printer at this price.
The metal textured magnetic build plate provides excellent adhesion for PLA and PETG without needing glue or tape. Prints pop right off once the bed cools. At 48 dB during normal printing, the A1 Combo runs quietly enough for an apartment or shared workspace. The Bambu Handy app lets you start prints, monitor progress, and even receive notifications when a print finishes or encounters an error.
With 637 customer reviews and a 4.4-star rating, the A1 Combo sits at #2 in Amazon’s 3D printer best sellers. That ranking reflects strong real-world satisfaction. Users on Reddit consistently call this the best multi-color 3D printer under $500, with many praising how the AMS lite eliminates the frustration of manual filament changes.
Multi-Color Printing Experience
The AMS lite holds four spools and switches between them automatically during prints. In my testing, color changes took about 20-30 seconds each, including the purge cycle to prevent color mixing. For a model with 50 color changes, that adds roughly 20 minutes to the print time. The system handles both different colors and different materials, so you could print with PLA and PETG in the same job if needed.
One thing to keep in mind is that the AMS lite works best with Bambu-branded filament spools or standard 1kg spools. Cardboard spools can sometimes catch on the AMS rollers, so I recommend transferring filament to reusable spools if you use non-Bambu filament.
Is the AMS Lite Worth It
If you only ever plan to print in single colors, save money and get the standalone A1. But if multi-color printing appeals to you at all, the Combo bundle is the way to go. Buying the A1 and AMS lite separately costs more than getting them together, and the multi-color capability genuinely changes what you can create. Hobbyists printing tabletop miniatures, cosplay props with color accents, or educational models all benefit enormously from having four colors available without manual intervention.
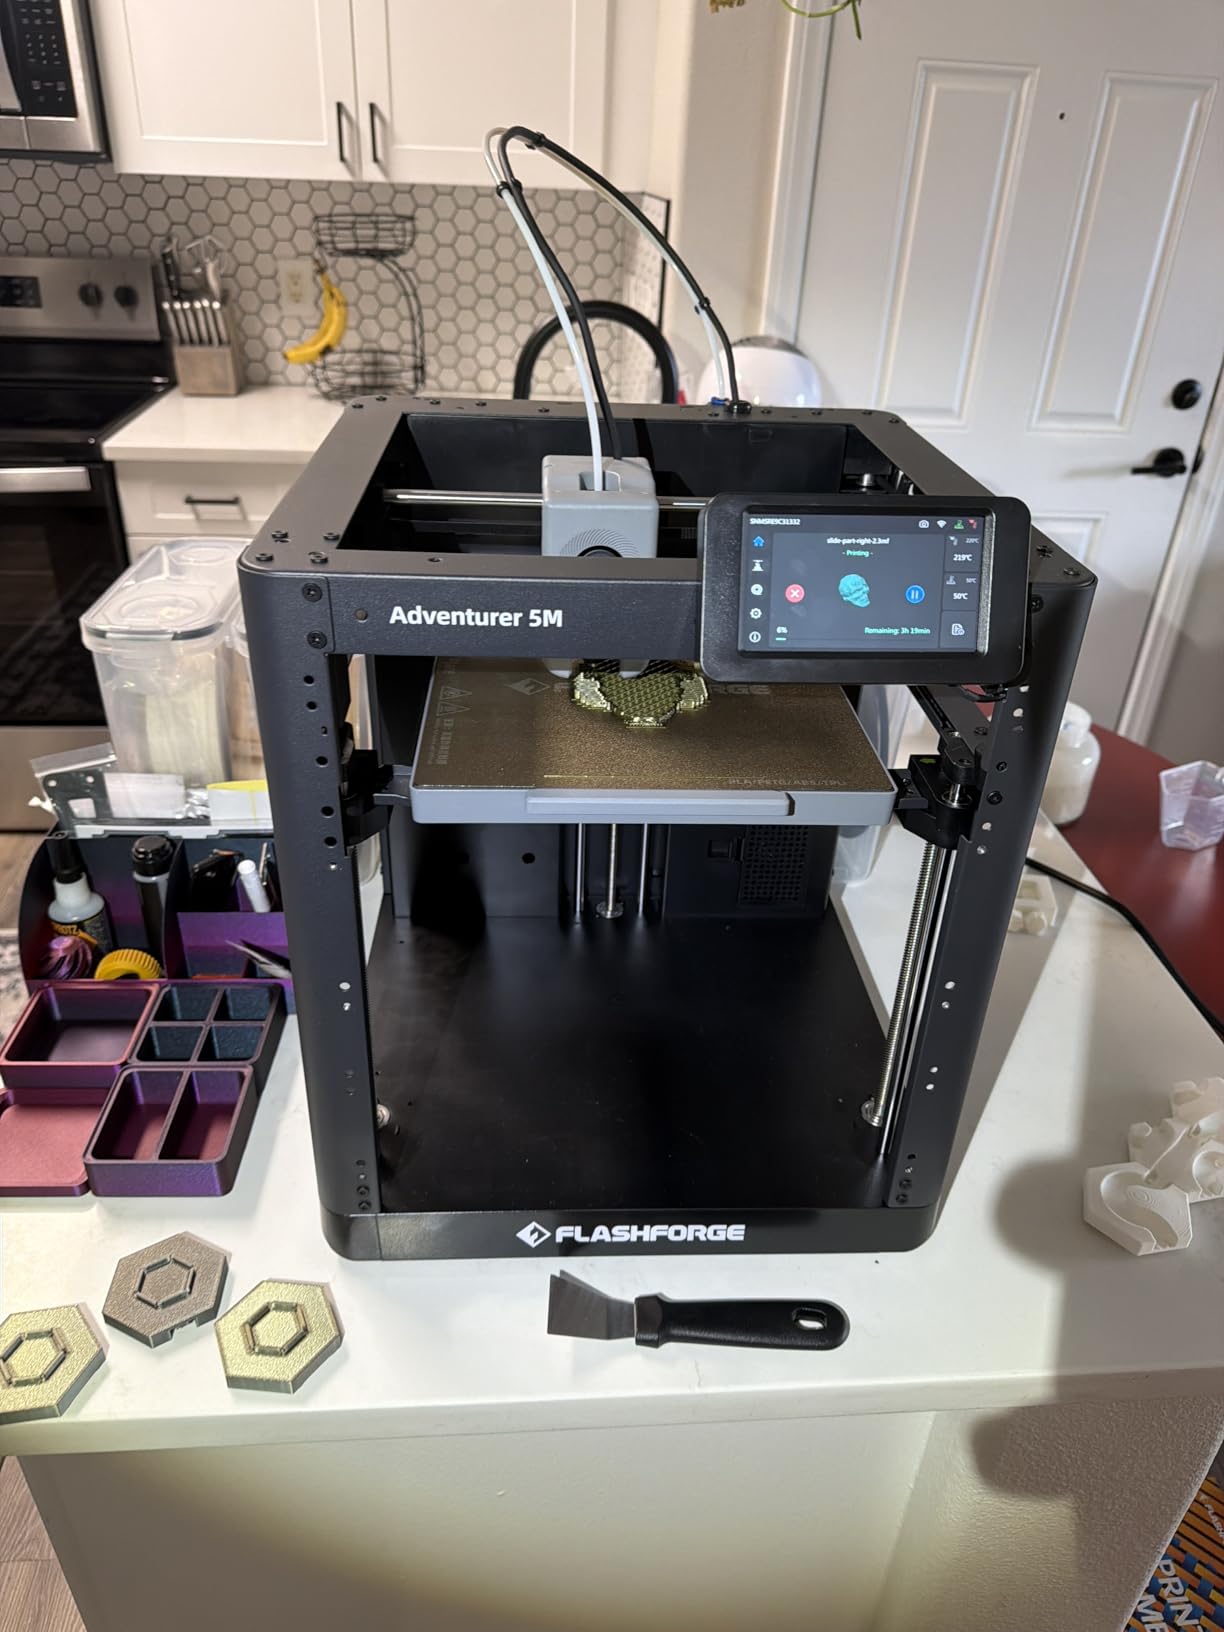
5. Flashforge Adventurer 5M – Fastest Budget FDM Printer
- Blazing fast 600mm/s printing
- Perfect auto bed leveling
- Easy plug and play setup
- WiFi support
- Great value
- Very loud during operation
- Nozzle cleaning does not work well
- Filament spool holder is low quality
- Motherboard fan noise when idle
The Flashforge Adventurer 5M holds the #1 best-seller spot on Amazon in the 3D printer category, and after testing one, I understand why. This printer offers 600 mm/s printing speed with 20,000 mm/s2 acceleration at a price that undercuts most competitors. Out of the box, the auto bed leveling was perfect on my first try. I did not have to adjust anything before starting my first print, which is impressive for a printer at this price point.
Flashforge has been making 3D printers for a long time, and that experience shows in the Adventurer 5M’s build quality. The CoreXY all-metal structure feels solid, and the 3-second quick nozzle change system is genuinely convenient. You can swap between 0.25mm, 0.4mm, and 0.8mm nozzles without tools, which is great for switching between detailed prints and fast draft prints. The dual-sided PEI build plate provides good adhesion and easy print removal.
WiFi connectivity lets you send prints directly from the Flash Maker mobile app, which is a feature many budget printers still lack. The app also provides remote monitoring, though without a built-in camera you cannot check print progress visually. With 2,262 customer reviews and a solid reputation in the community, the Adventurer 5M has proven itself reliable over time.
Reddit users frequently praise the Adventurer 5M for its reliability and networking capabilities. Multiple users report running these in educational settings and small print farms with good results. The Flashforge slicer is based on Cura, so it feels familiar if you are coming from that ecosystem.
Print Speed and Quality Balance
The Adventurer 5M delivers genuinely fast prints. In my testing, a standard 3DBenchy at 600 mm/s took about 17 minutes with acceptable quality. At more moderate speeds of 200-300 mm/s, print quality is excellent and rivals printers costing significantly more. The 280C nozzle temperature handles PLA and PETG without issues, though it does not reach the temperatures needed for nylon or polycarbonate.
For the best balance of speed and quality, I recommend running this printer at 300-400 mm/s for most prints and reserving the maximum 600 mm/s for draft-quality work where surface finish matters less than getting the part printed quickly.
Noise and Setup Considerations
The biggest drawback of the Adventurer 5M is noise. During high-speed printing, this is one of the louder printers in our lineup. The motherboard cooling fan also runs even when the printer is idle, producing a constant hum that some users find annoying. If you plan to keep this printer in a bedroom or quiet workspace, the noise level is something to seriously consider.
Setup is straightforward and takes about 30 minutes. The filament spool holder included with the printer feels cheaply made and some users replace it with a third-party option. Despite these quality-of-life issues, the core printing performance is excellent and represents strong value for the price.
6. Creality Ender-3 V3 KE – Best Mid-Range Speed Printer
- 500mm/s fast printing
- CR Touch auto leveling
- 10-minute quick installation
- Handles multiple filament types
- 300C nozzle for engineering materials
- Power outage recovery
- Touch screen holder design flaw
- Fans can be loud
- Some quality control issues reported
- Requires calibration for optimal results
The Creality Ender-3 V3 KE sits nicely between budget entry-level printers and the higher-end CoreXY machines. It offers 500 mm/s print speed with 8,000 mm/s2 acceleration, putting it firmly in the fast-printer category. What I appreciate most about this printer is the Sprite direct extruder, which handles flexible filaments like TPU far better than Bowden-style extruders found on cheaper Creality models.
Installation took me about 10 minutes, which is a huge improvement over older Ender 3 models that required hours of assembly. Most of the printer comes pre-assembled, and you only need to attach a few components using the included tools. The CR Touch auto-leveling sensor saves significant setup time, and the touch screen UI provides real-time model previews that help you verify your print settings before starting.
The 60W ceramic heater brings the hot end up to temperature fast, and the bi-metal heatbreak provides excellent thermal isolation between the heat block and the cooling zone. This means more consistent extrusion and fewer jamming issues. I printed PLA, PETG, ABS, TPU, and ASA through the V3 KE, and all produced good results. The 300C nozzle capability means you can experiment with higher-temperature materials without upgrading hardware.
Vibration compensation helps reduce ringing artifacts at high speeds. In my speed tests, prints at 300 mm/s showed minimal ghosting, and even at 500 mm/s the results were usable for functional parts. The power outage recovery feature has saved two of my prints during testing when my workshop experienced brief power interruptions.
Speed and Filament Compatibility
The V3 KE hits a sweet spot for makers who want fast printing without going full CoreXY. It handles the common filaments (PLA, PETG, TPU) beautifully and has enough temperature headroom for ABS and ASA. For TPU printing specifically, the Sprite direct extruder provides consistent feeding at speeds up to 60 mm/s without the filament binding or skipping that Bowden extruders often produce.
I found the best results came at 250-350 mm/s for structural prints and 400-500 mm/s for quick prototypes. The smart vibration compensation makes a noticeable difference in print quality at these higher speeds.
Setup and Calibration Tips
While installation is quick, spend the extra 15 minutes running the full calibration routine before your first print. The CR Touch handles bed leveling, but checking the first layer on each corner of the bed ensures you start with a perfect foundation. One common issue users report is the touch screen holder being difficult to attach properly. Take your time with this step and make sure the screws are secure, as a loose screen mount can cause connection issues over time.
Calibration is also important when switching between filament types. PETG and ABS require different Z-offset settings than PLA, so running the auto-level before each material change gives the best results. The included touch screen makes it easy to select pre-configured profiles for different materials.
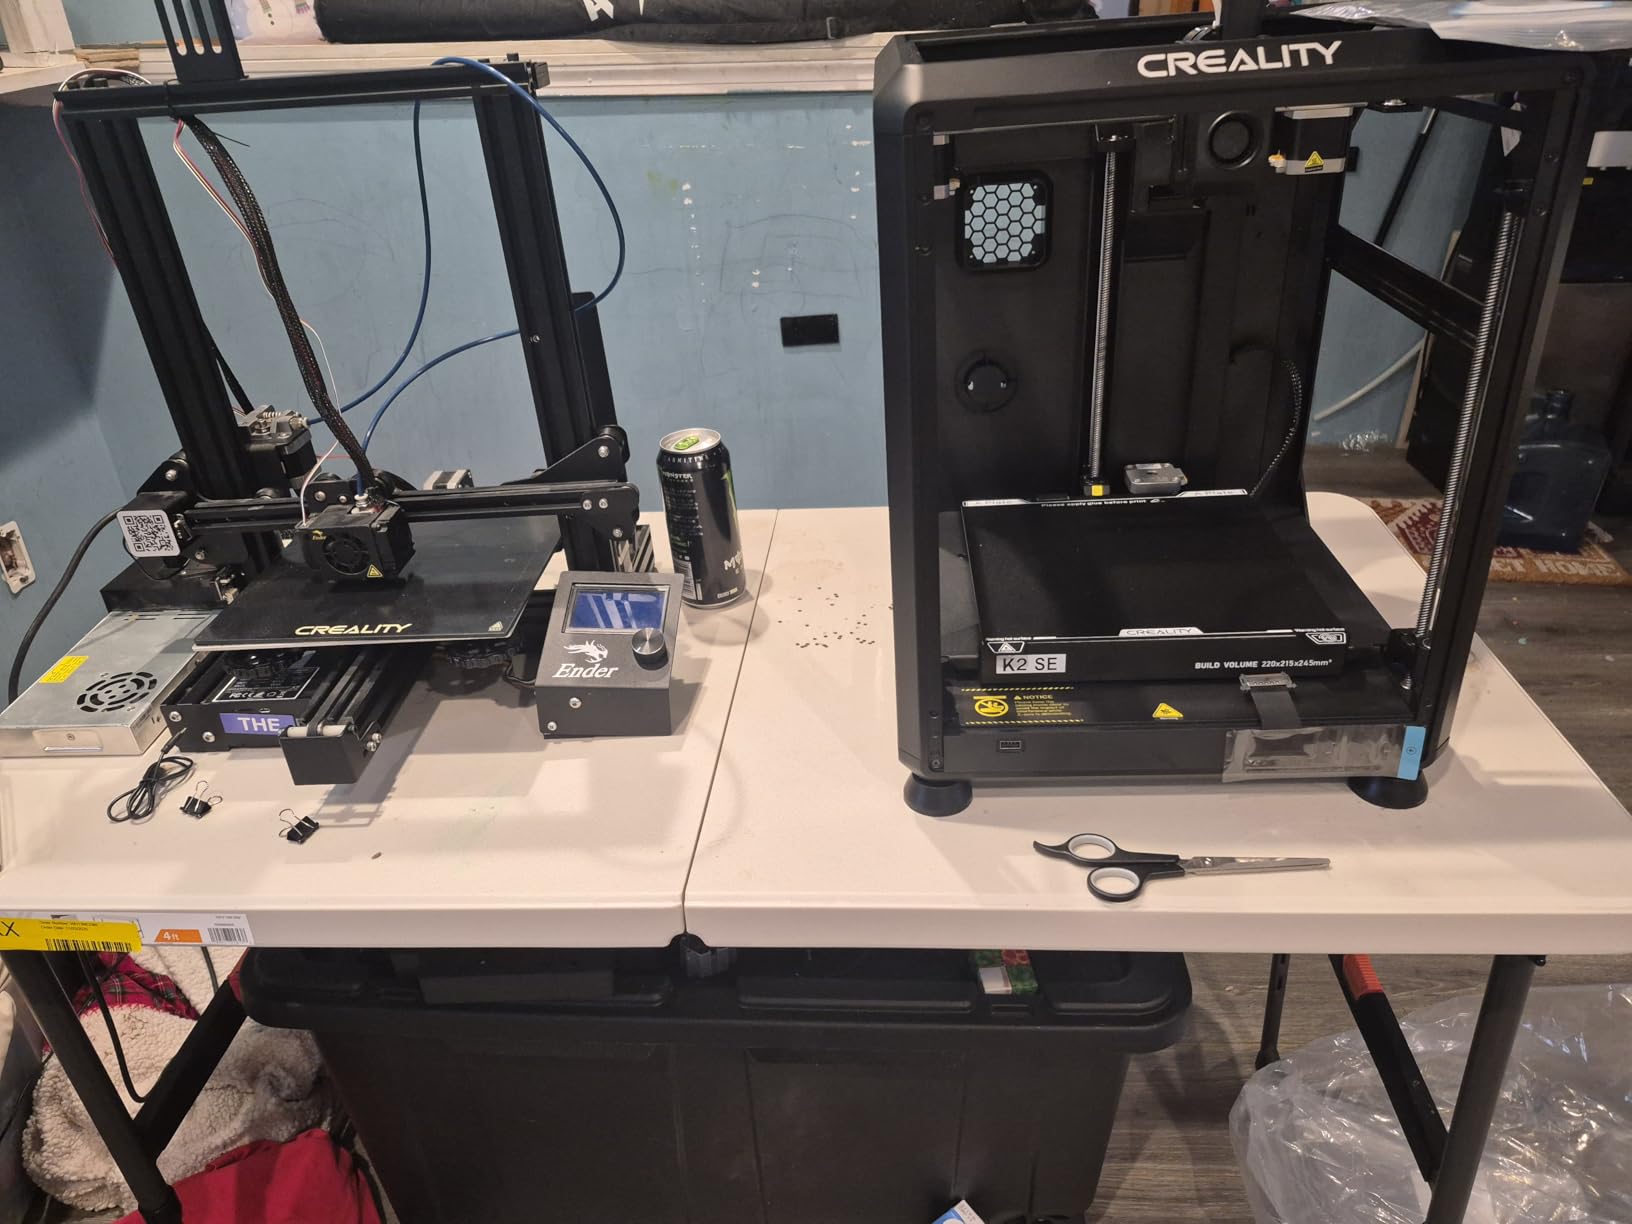
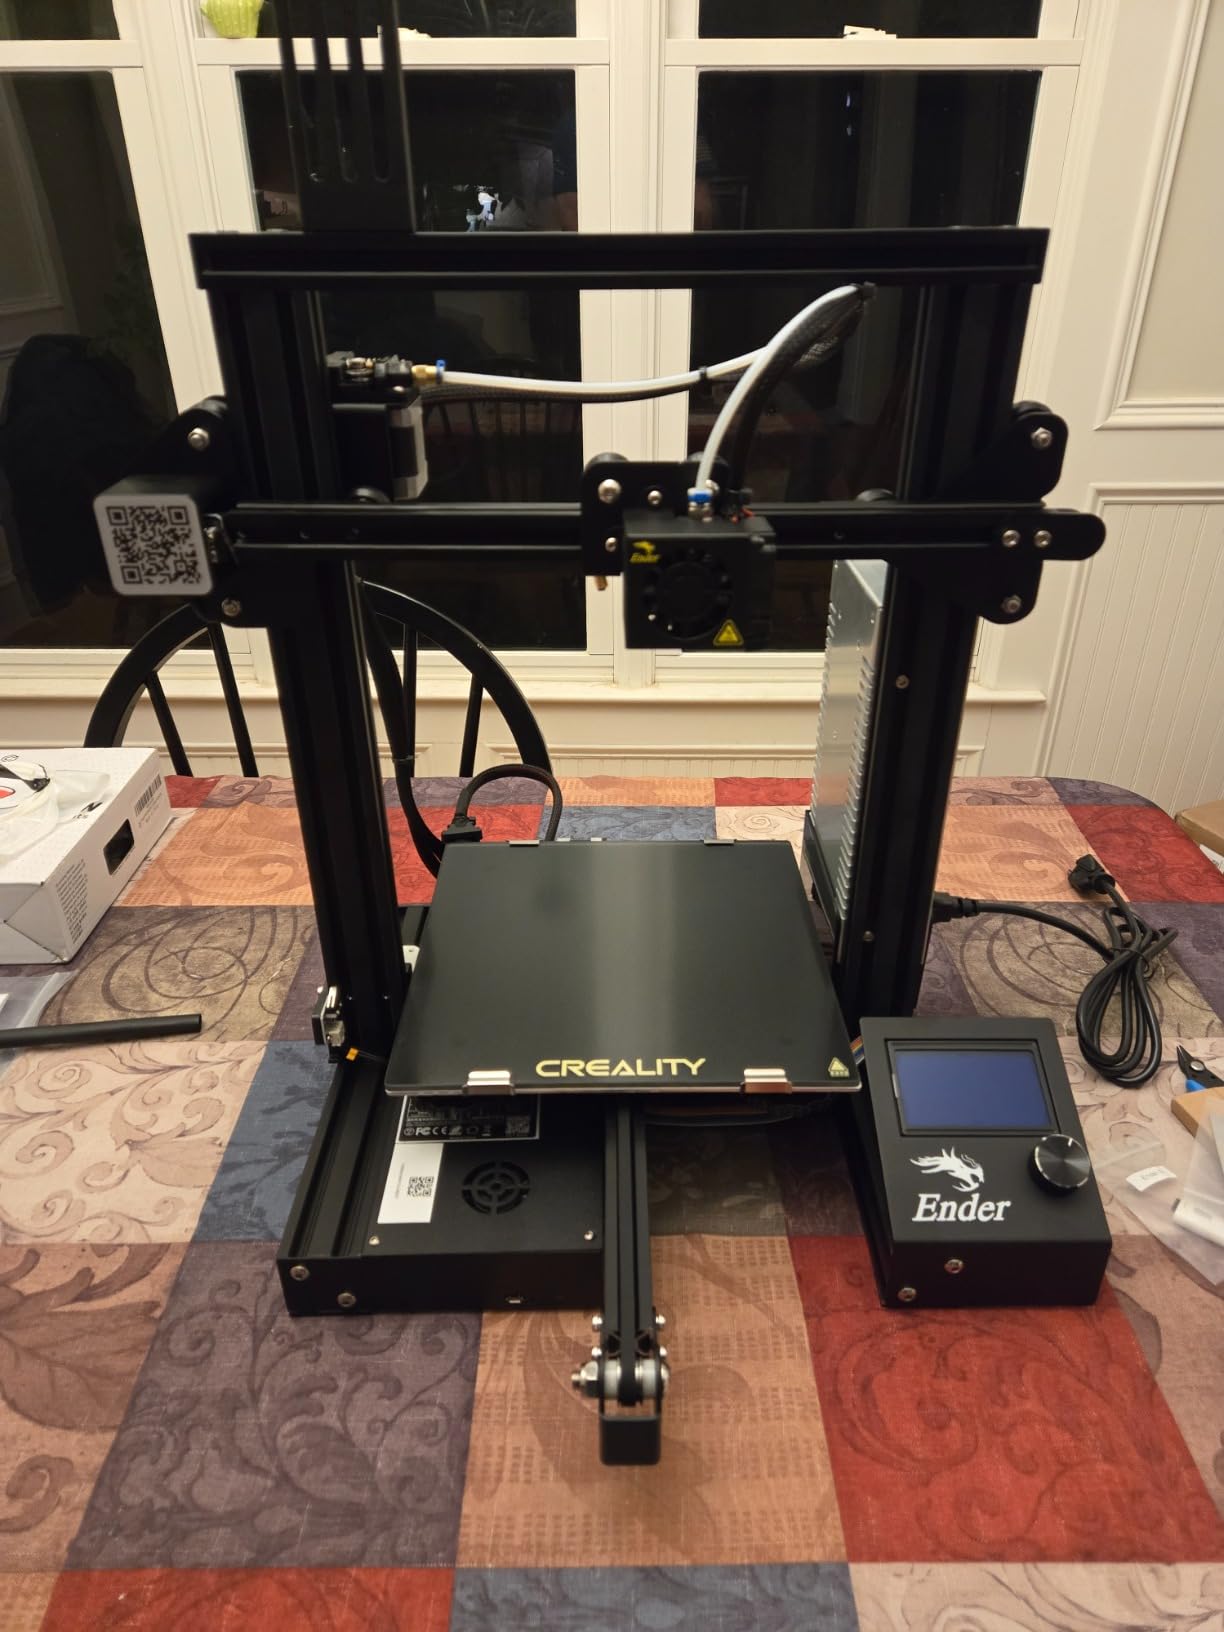
7. Creality Ender 3 V3 SE – Best Entry-Level Bed Slinger
- Excellent value for the price
- Reliable auto leveling
- Easy 3-step assembly in 20 minutes
- Good print quality
- Auto filament loading
- Stable dual Z-axis
- Smaller 220x220mm bed
- Can be loud during printing
- Requires stable table
- Part cooling fan very loud at full speed
The Creality Ender 3 V3 SE is the printer I recommend most often to people who ask “what should I buy as my first 3D printer?” It hits all the right notes for beginners: affordable, easy to assemble, reliable auto leveling, and good enough print quality to keep you motivated. The three-step assembly process took me exactly 22 minutes from unboxing to first print, and that includes reading through the quick-start guide.
The CR Touch auto leveling paired with the strain sensor for auto Z-offset means you do not need to learn the traditional paper-method of bed leveling. This removes the single biggest frustration for new 3D printer owners. My first print on the V3 SE was a calibration cube that came out with clean edges and flat surfaces, something that rarely happens on a brand-new printer without manual adjustment.
The Sprite full-metal dual-gear direct extruder provides consistent filament feeding, which is important for beginners who may not recognize under-extrusion problems. Auto filament loading and unloading means you just insert the filament and the printer pulls it in automatically. The dual Z-axis with Y-axis linear shafts keeps the frame stable during printing, though at higher speeds you will want the printer on a solid surface to prevent wobble.
At 250 mm/s, the V3 SE is not the fastest printer in this roundup, but for most beginner projects speed is less important than reliability and ease of use. The 2,500 mm/s2 acceleration is modest compared to CoreXY machines, but it produces smooth prints without the aggressive movements that can shake a lightweight frame.
Assembly and First Prints
Creality simplified the assembly process significantly with the V3 SE. The three steps are: attach the Z-axis tower to the base, connect the cables, and install the filament holder. Everything is clearly labeled and the included hex keys are all you need. The quick-start guide is well-illustrated, and Creality has a video tutorial that walks through the entire process.
For your first prints, I recommend starting with the included test file on the SD card. This confirms the printer is working correctly before you install slicer software. Then move to Cura or Creality Print for your own models, using the built-in Ender 3 V3 SE profile for the easiest setup experience.
Upgrade Path and Longevity
The V3 SE has a solid upgrade path for when you outgrow its capabilities. Common upgrades include a silent mainboard to reduce noise, a glass or PEI build plate for better adhesion, and an enclosure kit for printing ABS. The Ender 3 ecosystem has more aftermarket parts and community modifications than any other printer platform, so you will never run out of ways to improve this machine.
Some users report needing a glue stick for certain filaments to prevent adhesion issues on the stock build surface. A PEI spring steel sheet upgrade solves this problem completely and costs very little. For the price, the V3 SE delivers an experience that punches well above its weight class.
8. Creality Ender 3 – Best Budget FDM 3D Printer for Tinkerers
- Affordable entry ticket
- Huge community and tutorials
- Resume printing from power outages
- Easy to upgrade
- Good print quality after calibration
- Qenuine V-shape quiet wheels
- Assembly takes 2-4 hours
- Bed leveling is challenging
- No auto bed leveling
- Included filament is low quality
- Sticker bed needs upgrading
- Learning curve for slicer software
The original Creality Ender 3 is the printer that launched a thousand makerspaces. With over 26,000 customer reviews on Amazon and a 4.2-star rating, it remains one of the most popular 3D printers ever made. I built my first Ender 3 in 2019, and the experience of assembling it from scratch taught me more about how 3D printers work than any tutorial ever could. That is the Ender 3’s greatest strength and its biggest limitation: it forces you to learn.
Assembly takes between 2 and 4 hours depending on your mechanical aptitude. You are building the frame from flat-packed aluminum extrusions, routing belts, wiring motors, and adjusting everything by hand. It is a genuine DIY project, not a pre-assembled appliance. For people who enjoy building things, this is part of the appeal. For people who just want to start printing, it can be a barrier.

Once properly calibrated, the Ender 3 produces surprisingly good prints. The key phrase there is “properly calibrated.” Unlike the newer printers in this roundup, the Ender 3 has no auto bed leveling, no auto Z-offset, and no flow rate compensation. You learn to level the bed by feel, adjust belt tension by ear, and tune print settings through trial and error. It is educational but time-consuming. The resume printing function has saved countless prints from power outages, and the safety-protected power supply heats the bed to 100 degrees in about 5 minutes.
The open-source design means there are thousands of community-designed upgrades available for free online. Everything from filament guides and cable chains to fully redesigned extruder assemblies and silent mainboard swaps. The Ender 3 modding community on Reddit and YouTube is one of the most active and helpful communities in 3D printing.
Community and Modding Support
No other printer has the level of community support that the Ender 3 enjoys. If you have a problem, someone has already solved it and posted a tutorial. The TH3D and Teaching Tech YouTube channels have comprehensive guides for every aspect of Ender 3 ownership, from initial assembly to advanced modifications. Printable upgrade parts number in the thousands on Thingiverse and Printables.
Popular modifications include the BLTouch auto bed leveling sensor, SKR silent mainboard, Capricorn PTFE tubing, and metal extruder upgrades. Each of these addresses a specific weakness of the stock machine, and together they can transform an Ender 3 into a remarkably capable printer for less than the cost of upgrading to a newer model.
What You Need to Know Before Buying
The Ender 3 is not for everyone. If you want a printer that works right out of the box with minimal setup, look at the Bambu Lab A1 or the Ender 3 V3 SE instead. But if you want to deeply understand how FDM printing works, enjoy tinkering and modding, or want the cheapest possible entry point into 3D printing, the Ender 3 is unmatched. At its current price, it is the most affordable way to get started with real 3D printing.
Budget for some immediate upgrades: a glass or PEI build plate to replace the stock sticker surface, a better extruder arm (the stock plastic one can crack), and a set of decent PLA filament since the included sample is tiny and low quality. Even with these additions, your total investment stays well under $250.
How to Choose the Best FDM 3D Printer Under $500
Choosing the right budget FDM printer comes down to matching the machine to your experience level and what you plan to print. Here are the key factors that actually matter when making your decision.
Build Volume and Print Size
Build volume determines the largest single piece you can print. Most printers under $500 offer either 220x220x220mm or 256x256x256mm. The Bambu Lab A1 and ELEGOO Centauri Carbon both offer the larger 256mm cube, which gives you noticeably more room for cosplay props, large functional parts, and multi-part assemblies. The 220mm printers like the Ender 3 and Adventurer 5M are fine for most hobby projects, tabletop miniatures, and small mechanical parts.
Think about what you want to print most often. If you plan to make large single-piece items, the extra 36mm on each axis makes a real difference. If you mostly print smaller objects, the 220mm beds are perfectly adequate.
Print Speed and Acceleration
Speed matters more than most beginners realize. A printer running at 600 mm/s can finish the same print in roughly half the time of one running at 250 mm/s. The Creality K1C, Flashforge Adventurer 5M, and Creality Ender-3 V3 KE are the speed leaders in this group, all capable of 500-600 mm/s. The Bambu Lab A1 runs at more moderate speeds but compensates with superior print quality and reliability.
Acceleration is just as important as top speed. High acceleration means the printer reaches its target speed faster, which matters most on prints with many short moves and direction changes. Look for printers with 10,000 mm/s2 or higher acceleration for the best speed results.
Auto Bed Leveling and Calibration
Auto bed leveling is the single most important quality-of-life feature on a modern FDM printer. Manual bed leveling is the number one source of frustration for beginners, and even experienced users prefer not to deal with it. Every printer in this roundup except the original Creality Ender 3 includes some form of auto leveling.
The Bambu Lab A1 takes auto calibration the furthest with full-auto bed leveling, Z-offset, and flow rate compensation all handled automatically. Most other printers auto-level the bed but still require you to set or verify the Z-offset manually. If you want the most hands-off experience, Bambu Lab printers lead the pack.
Filament Compatibility
All of these printers handle PLA and PETG without issues. Where they differ is in high-temperature and abrasive filament support. The ELEGOO Centauri Carbon reaches 320C and the Creality K1C and V3 KE hit 300C, giving them access to nylon, polycarbonate blends, and other engineering materials. The Creality K1C has a hardened tri-metal nozzle specifically designed for carbon fiber-filled filaments.
Direct-drive extruders (found on the Bambu Lab A1, Creality K1C, Ender-3 V3 KE, and Ender 3 V3 SE) handle flexible TPU filament much better than Bowden extruders. If you plan to print flexible parts, prioritize a printer with a direct-drive system.
Noise Levels
Forum users consistently rank noise as a top concern, especially those printing in apartments or shared workspaces. The Bambu Lab A1 leads in quiet operation at 48 dB or less thanks to active motor noise cancellation. The Creality K1C reaches 45 dB in silent mode, which is similarly quiet. On the other end, the Flashforge Adventurer 5M and original Ender 3 are notably louder, which can be an issue during extended print sessions.
As a reference, 48 dB is roughly equivalent to a quiet conversation, while 60 dB is comparable to a normal conversation. Most of these printers fall somewhere in that range, with the CoreXY enclosed models generally being quieter than open-frame bed slingers.
CoreXY vs Bed Slinger Design
CoreXY printers (Bambu Lab A1, ELEGOO Centauri Carbon, Creality K1C, Flashforge Adventurer 5M) keep the bed stationary and move only the print head. This allows for higher speeds and acceleration with less frame vibration. Bed slingers (Ender 3, Ender 3 V3 SE, Ender-3 V3 KE) move the entire bed back and forth on the Y-axis, which works fine at moderate speeds but creates more vibration at high speeds.
For most users, CoreXY is the better design for fast, precise printing. Bed slingers remain popular because they are simpler to build, easier to maintain, and cheaper to manufacture, which translates to lower prices.
Ease of Setup and Software
Setup time varies dramatically across this group. The ELEGOO Centauri Carbon and Bambu Lab A1 are essentially plug-and-play, requiring under an hour from box to first print. The Ender 3 V3 SE takes about 20 minutes. The original Ender 3 requires 2-4 hours of assembly time.
Software matters too. Bambu Studio (included with Bambu Lab printers) is widely considered one of the best slicers available, with excellent default profiles and an intuitive interface. Creality Print and Flashforge’s slicer are both based on Cura and work well. For advanced users, most of these printers are compatible with popular open-source slicers like Cura, PrusaSlicer, and OrcaSlicer.
What is the best 3D printer under $500?
The Bambu Lab A1 is the best overall FDM 3D printer under $500 for 2026. It offers full-auto calibration, quiet 48 dB operation, reliable print quality, and a 256x256x256mm build volume. For multi-color printing, the Bambu Lab A1 Combo with AMS lite is the top choice. If you want the most value per dollar, the ELEGOO Centauri Carbon delivers CoreXY performance at an impressive price.
Which 3D printer is best for beginners under $500?
The Creality Ender 3 V3 SE is the best FDM 3D printer under $500 for beginners. It features 3-step assembly in 20 minutes, automatic bed leveling with the CR Touch sensor, auto filament loading, and reliable print quality without manual calibration. The Bambu Lab A1 is also excellent for beginners who want a more premium experience with full-auto calibration and quieter operation.
What is the best FDM 3D printer for the money?
The ELEGOO Centauri Carbon offers the best value among FDM 3D printers under $500. You get a fully enclosed CoreXY printer with 500 mm/s speed, a 320C nozzle for advanced filaments, auto calibration, and a built-in camera. The Creality Ender 3 V3 SE also delivers outstanding value at a lower price point with reliable auto leveling and easy setup.
Is an FDM 3D printer worth it for beginners?
Yes, an FDM 3D printer is absolutely worth it for beginners in 2026. Modern budget FDM printers under $500 offer auto bed leveling, fast print speeds, and reliable results with minimal setup. The Bambu Lab A1 and Creality Ender 3 V3 SE are specifically designed to be beginner-friendly, going from unboxing to first print in under an hour. FDM printing is more versatile than resin for most hobby projects and avoids the toxic fumes and messy cleanup associated with resin printing.
Final Thoughts on the Best FDM 3D Printers Under $500
The best FDM 3D printers under $500 in 2026 offer an incredible combination of speed, reliability, and features that were unavailable at any price point just a few years ago. The Bambu Lab A1 earns our top recommendation for its unmatched ease of use, quiet operation, and consistent print quality. The ELEGOO Centauri Carbon delivers the best hardware specs per dollar with its CoreXY frame and 320C nozzle. And the Creality Ender 3 V3 SE provides the best entry point for beginners who want reliable printing without a steep learning curve.
Whichever printer you choose from this list, you are getting a machine capable of producing professional-quality prints at a fraction of what you would have paid even two years ago. Pick the one that matches your experience level and printing goals, and start creating.