
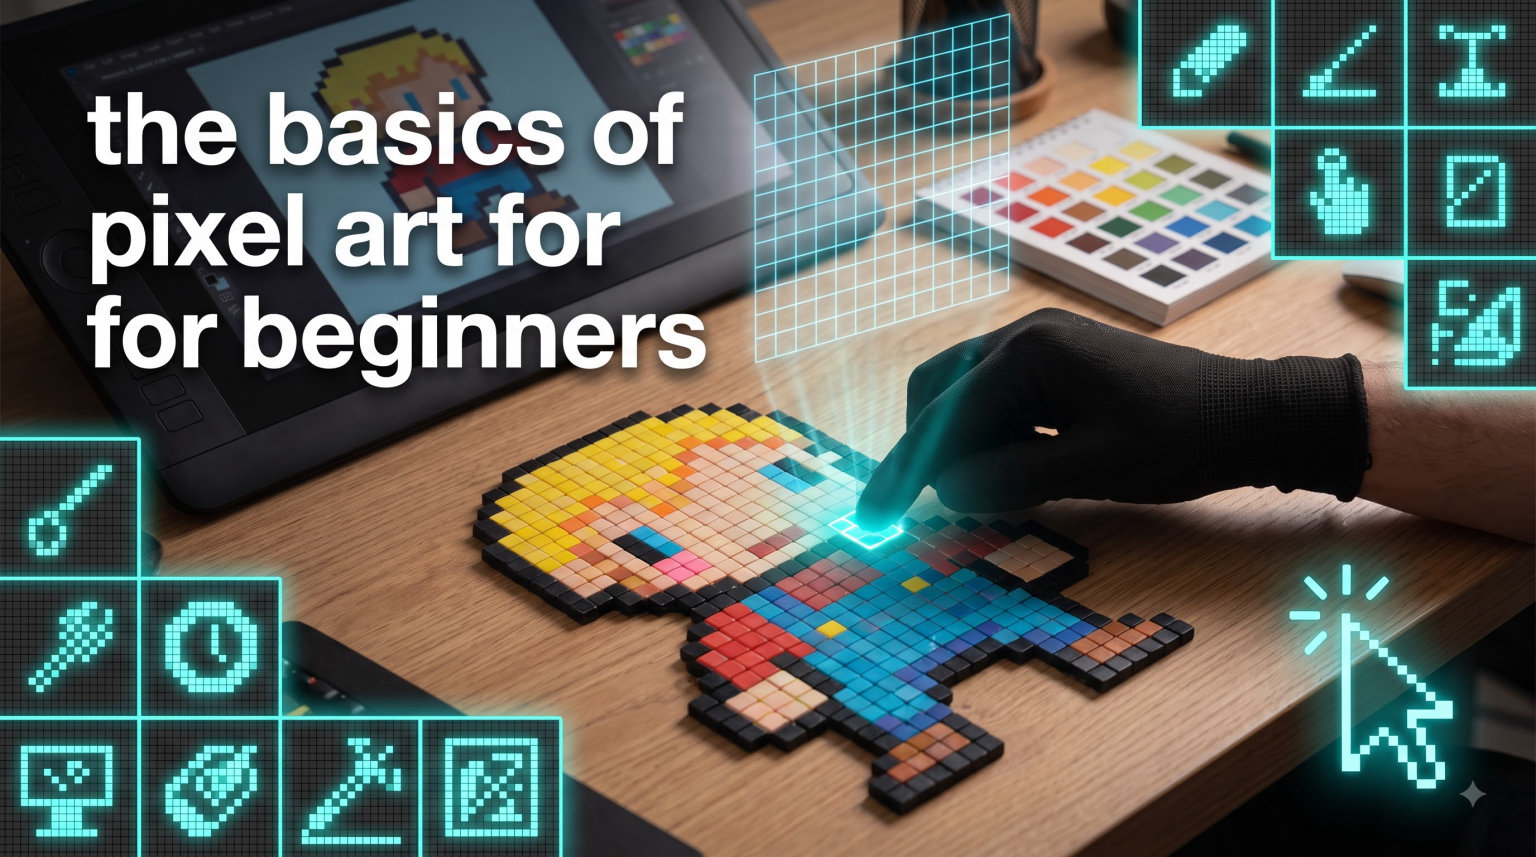
If you have ever looked at a retro video game and thought, “I wish I could make something like that,” you are in the right place. Pixel art is one of the most approachable forms of digital art, and you do not need expensive software or a fancy drawing tablet to get started. All you need is a computer, a free program, and a willingness to learn.
In this guide, we are going to walk through the basics of pixel art for beginners from the ground up. We will cover what pixel art actually is, which tools matter most, how to pick the right canvas size, how color palettes work, and a full step-by-step process for creating your first sprite. By the end, you will have everything you need to sit down and start making pixel art today.
I have spent years experimenting with pixel art, and I remember how overwhelming it felt at first. The good news is that pixel art rewards simplicity. The constraints of working with a small grid and limited colors actually help you improve faster than working on a massive blank canvas. Let’s get into it.
Table of Contents
What Is Pixel Art?
Pixel art is a form of digital art where images are created and edited one pixel at a time on a fixed grid. Unlike other types of digital painting where you can blend and brush freely, pixel art is built by placing individual colored squares in deliberate positions. Every single pixel is an intentional choice.
The art form traces back to the early days of computing and video games. In the 1980s and 1990s, hardware limitations meant game developers could only display small numbers of pixels and colors on screen. Artists working within those tight constraints developed techniques that turned limitations into a distinct visual style. Games like Super Mario Bros., The Legend of Zelda, and Space Invaders were all built using pixel art out of necessity, but the aesthetic endured long after hardware caught up.
What makes pixel art different from regular digital art is the level of control. When you work on a 16×16 grid, every pixel matters. Move one pixel out of place and the whole character can look off. That precision is what gives pixel art its charm and also what makes it such a great teacher. You learn to communicate visually with the fewest possible elements.
Even if your goal is not to become a pixel art specialist, the fundamentals you pick up, things like color theory, contrast, and composition, carry over to every other type of digital art. That is why so many art teachers recommend starting with pixel art before moving to larger canvases.
Essential Pixel Art Tools You Need
One of the best things about pixel art is that the barrier to entry is incredibly low. You do not need a $500 drawing tablet or professional software to start creating. Here is what you actually need.
Software Options
The most popular dedicated pixel art editor is Aseprite. It is purpose-built for pixel art with features like onion skinning for animation, custom grid overlays, and palette management. Aseprite is paid software, but it is affordable and widely considered worth the investment if you plan to stick with pixel art long-term.
If you want to start free, Piskel is a browser-based tool that requires zero installation. You can open it right now and begin drawing. It handles both static sprites and basic animations. LibreSprite is another free option, originally a fork of Aseprite’s open-source version. For beginners who already have general art software, GraphicsGale (Windows) and even Photoshop or GIMP can work, though they are not optimized for pixel-level editing.
The software you choose matters less than you think. The community on Reddit’s r/PixelArt consistently emphasizes that daily practice matters far more than having the perfect tool. Start with whatever is easiest to access.
The Four Core Tools
No matter which program you use, pixel art comes down to four basic tools:
Pencil Tool: This is your primary drawing instrument. It places one pixel at a time. In pixel art, you should always use the pencil tool with a 1-pixel brush size. Never use soft brushes or anti-aliased lines.
Eraser: Removes pixels. Simple but essential. Use it to correct mistakes or carve out shapes by erasing negative space.
Fill Bucket: Fills an enclosed area with a single color. This saves enormous amounts of time when filling in base colors on larger shapes.
Eyedropper (Color Picker): Click any pixel on your canvas to select its color. You will use this constantly, especially when shading, to grab colors you have already placed.
Hardware: Mouse vs. Drawing Tablet
You can absolutely make pixel art with a mouse. Many experienced pixel artists prefer a mouse because pixel art involves clicking individual grid squares rather than drawing fluid strokes. The precision of a mouse actually works well for this art form.
A drawing tablet is not required, but some artists find it more comfortable for extended sessions. If you already own a tablet, feel free to use it. Just know that it will not give you a significant advantage in pixel art the way it would in digital painting. I started with a mouse and switched to a tablet years later, and honestly, the difference for pixel-level work is minimal.
Choosing the Right Canvas and Grid Size
Canvas size is one of the most important decisions you will make as a beginner, and it is also one of the most common places people go wrong. When you are new to pixel art, the instinct is to pick a large canvas because it feels like more freedom. In reality, a large canvas works against you.
Here are the common canvas sizes and what they are good for:
8×8 pixels: Extremely tiny. Think old-school console icons or favicon-sized art. Great for learning absolute economy of pixels, but too small for most practical work.
16×16 pixels: This is the sweet spot for beginners. It is small enough to finish a sprite in one sitting, but large enough to create recognizable characters and objects. Most retro game assets were built at this size. If you are just starting out, spend your first few weeks working exclusively at 16×16.
32×32 pixels: The next step up. Gives you four times the space of a 16×16 canvas. You can add more detail, more colors, and more complex shapes. This is a good size for game characters that need to read clearly on screen.
64×64 pixels: Suitable for larger sprites, portraits, or environmental elements. I would not recommend starting here, but it is a natural progression once you feel confident at 32×32.
128×128 and beyond: At this scale, you are getting into illustration territory rather than traditional sprite work. These larger sizes are great for scenes and landscapes but require a solid grasp of fundamentals first.
One critical concept to understand is pixel ratio. Pixel art is designed to be viewed at a scaled-up size. A 16×16 sprite is never displayed at 16 actual screen pixels. Instead, it is scaled up by 2x, 4x, 8x, or more. Always create your art at the native small size and scale it up for display. Never draw at the display size. Most pixel art software handles this scaling automatically, but it is worth understanding why it works that way.
The reason starting small is so important comes down to discipline. On a 16×16 grid, you cannot hide mistakes behind detail. Every pixel is visible, so you learn to make every pixel count. That habit stays with you as you move to larger canvases.
Understanding Color Palettes for Pixel Art
Color is where a lot of beginners get into trouble. When you have access to millions of colors in a digital color picker, the temptation is to use dozens of them. Resist that urge. Limited color palettes are a core principle of pixel art, and working within those limits will make you a better artist.
As a beginner, I recommend starting with no more than 4 to 6 colors in your palette. That might sound impossibly restrictive, but consider this: the original Game Boy displayed only four shades of green, and developers created iconic, recognizable characters with that limitation.
A basic pixel art palette typically includes:
One dark color: For outlines and deep shadows.
One or two mid-tones: For the main body of your subject.
One light color: For highlights and areas hit by direct light.
One accent color: For small details like eyes, buttons, or markings.
Working with fewer colors forces you to think about contrast and readability. If your sprite looks like a blob at 1x scale, you probably need stronger contrast between your colors. This is the single most common color-related problem beginners face.
One technique that elevates pixel art color work is called hue shifting. Instead of simply darkening a color by moving toward black, you shift the hue as you go darker or lighter. For example, a warm orange might shift toward red in the shadows and toward yellow in the highlights. This creates more vibrant, natural-looking shading. It takes practice to get right, but even small hue shifts make a noticeable difference.
For palette inspiration, check out Lospec. It hosts thousands of community-made palettes designed specifically for pixel art. You can search by color count, theme, or popularity. Starting with an established palette removes the guesswork from color selection so you can focus on drawing.
Step-by-Step: How to Make Pixel Art for Beginners
Here is the process I follow every time I create a new sprite. This is the same workflow recommended across pixel art communities, and it works whether you are drawing a character, an item, or a small scene.
Step 1: Choose Your Canvas Size
Start with a 16×16 canvas. Open your software, create a new file, and set both width and height to 16 pixels. Make sure the grid is visible so you can see individual pixel boundaries. Most pixel art editors show the grid by default or have a toggle in the view menu.
Step 2: Sketch the Outline
Using your darkest color (usually black or a very dark version of your main color), draw the outline of your subject. Keep it simple. If you are drawing a character, start with a basic silhouette. Do not worry about detail yet. Focus on making the shape recognizable from the outline alone.
This is also where you need to watch for jaggies. Jaggies are jagged, uneven edges that happen when pixels are placed in an irregular pattern along a diagonal line. Clean pixel art has smooth, consistent line patterns. A diagonal line should use an even pixel progression, like one pixel right, one pixel down, repeated evenly. Jagged lines have irregular transitions that catch the eye in a bad way.
Step 3: Fill in Base Colors
Use the fill bucket tool to flood-fill each section of your outline with a base mid-tone color. This establishes the major color areas of your sprite. Think of it as laying down a flat background color for each part of the design. At this stage, the sprite should be fully readable even though it has no shading.
Step 4: Add Shading and Highlights
Decide on a light source direction. For most beginner work, top-left or straight top works well. Add your darker colors to the side opposite the light source and your lightest colors where the light hits directly. We will cover shading techniques in more detail in the next section.
Step 5: Clean Up and Refine
Zoom out and look at your sprite at 1x or 2x scale. Does it read clearly? Are there stray pixels that look out of place? Are the lines smooth or jagged? This is your polish pass. Fix any jaggies, remove noise pixels that do not contribute to the design, and make sure the overall shape is clean.
Step 6: Export and Scale Properly
Export your sprite at its native resolution (16×16 or whatever you chose). Then export a scaled version at 4x or 8x for sharing and display. Most pixel art editors have a nearest-neighbor scaling option, which scales pixels up without blurring them. Never use bilinear or bicubic scaling, as these will blur your crisp pixel art and ruin the aesthetic.
Pixel Art Shading Basics
Shading is what turns a flat, colored shape into something with depth and dimension. For pixel art beginners, shading can feel intimidating, but it follows a handful of straightforward principles.
Choose a Light Source
Every shaded piece needs a consistent light source. For beginners, I recommend picking one direction and sticking with it. Top-left is the most common choice because it mimics natural overhead lighting from the left side, which feels comfortable to most viewers. Once you pick a direction, every shadow and highlight on your sprite must follow that same source.
Shadows and Highlights
Shadows go on the side of your subject that faces away from the light. Highlights go on the side facing toward the light. In pixel art, you typically use two or three shades of each base color: a shadow tone, a mid-tone (which you already placed), and a highlight tone. Place shadows underneath overlapping forms and in crevices. Place highlights on top surfaces and along edges that face the light.
The contrast between your shadow and highlight colors matters more than the number of shades. Two shades with strong contrast will always look better than five shades with weak contrast.
Dithering
Dithering is a technique where you create a checkerboard-like pattern of two colors to simulate a smooth transition or gradient between them. Instead of a hard edge between a shadow and a mid-tone, you alternate pixels of both colors in a progressively changing pattern. Dithering was essential on old hardware with limited color counts, and it is still used as a stylistic choice in modern pixel art.
As a beginner, try dithering on a simple sphere or cylinder to get a feel for it. Do not overdo it though. Heavy dithering across an entire sprite can look noisy. Use it sparingly to soften specific transitions.
Avoid Pillow Shading
The most common shading mistake beginners make is pillow shading, where the darkest colors ring the outside edges of a shape and the lightest color sits in the center. It creates a puffy, inflated look that reads as amateur. Pillow shading happens when you shade based on the outline rather than the light source. Always shade from your light source direction, not from the center of the shape outward.
Common Pixel Art Mistakes Beginners Make
Knowing what not to do is just as valuable as knowing the right techniques. These are the mistakes I see over and over in beginner pixel art, and avoiding them will immediately level up your work.
Using too many colors. Beginners often reach for a new color every time they need a slight variation. This creates visual noise and makes the sprite harder to read. Stick to your palette. If you need a new shade, ask yourself whether you can achieve the effect by repositioning existing colors.
Starting with a canvas that is too large. A 64×64 canvas gives you over 4,000 pixels to fill. For a beginner, that is overwhelming. Work at 16×16 until you can consistently create clean, readable sprites at that size. Then move up gradually.
Pillow shading. As covered above, this is the number one giveaway of beginner pixel art. Always shade from a consistent light source, never from the outline inward.
Ignoring jaggies. Jagged lines break the clean aesthetic that makes pixel art appealing. Take the time to smooth out your diagonals. The effort you invest in clean lines pays off enormously in the final result.
Using anti-aliased brushes. Pixel art requires crisp, hard-edged pixels. Any brush that creates semi-transparent or blurred pixels is working against you. Always use the pencil tool at 1-pixel size with no anti-aliasing.
Over-relying on symmetry tools. While symmetry tools can speed up your workflow, relying on them too heavily creates stiff, artificial-looking sprites. Practice drawing organic, asymmetrical shapes to develop a more natural eye for form.
Practice Tips: How to Improve Your Pixel Art
The pixel art community on Reddit and Lospec echoes the same advice: practice consistently, even if it is just 15 minutes a day. Daily effort beats occasional marathon sessions every time. Here are the practice strategies that have helped me and countless others improve.
Start with daily challenges. Give yourself a prompt each day and create one small sprite. A piece of fruit, a sword, a simple house. The subject matters less than the repetition. You are building muscle memory for clean lines, good color choices, and effective shading.
Study existing pixel art. Open sprites from games you admire and zoom in to see how the pixels are arranged. Look at how few colors they use and where shadows and highlights are placed. Reverse-engineering professional pixel art teaches you techniques that no tutorial can fully convey.
Join a community. Share your work and ask for feedback. The r/PixelArt subreddit is welcoming to beginners and has a weekly critique thread. Constructive criticism from more experienced artists accelerates your growth enormously.
Use references. Drawing from imagination is a skill that takes years to develop. As a beginner, use photo references for proportions, shapes, and lighting. Translate real-world forms into pixel art rather than trying to invent them from scratch.
Limit your scope. Finish what you start. A completed 16×16 sprite is worth more than ten abandoned 64×64 projects. Completing work, even simple work, builds confidence and teaches you to see projects through to the end.
FAQs
What is the basics of pixel art?
Pixel art is a form of digital art where images are created one pixel at a time on a fixed grid. Each pixel is placed deliberately to build shapes, characters, or scenes. The basics include understanding grid-based canvas sizes, using a small set of colors, and mastering core tools like the pencil, eraser, fill bucket, and eyedropper. Pixel art originated from early video game graphics where hardware limitations restricted resolution and color counts.
How do you start pixel art for beginners?
To start making pixel art, download a free editor like Piskel or LibreSprite, set your canvas to 16×16 pixels, choose a limited color palette of 4 to 6 colors, and draw a simple outline using the pencil tool. Fill in base colors with the bucket tool, add shading from a consistent light source, and clean up any jagged edges. The key is starting small and practicing daily rather than investing in expensive software or hardware.
What tools do you need for pixel art?
You need four core tools: the pencil tool for placing individual pixels, the eraser for removing pixels, the fill bucket for flooding enclosed areas with color, and the eyedropper for sampling colors from your canvas. Free software like Piskel, LibreSprite, or GraphicsGale provides all of these. A mouse works perfectly well for pixel art, and a drawing tablet is optional but not necessary.
What is the process of making pixel art?
The pixel art process follows six steps: choose a small canvas size like 16×16 or 32×32, sketch the outline of your subject with a dark color, fill in base colors for each section, add shading and highlights based on a consistent light source, clean up jagged lines and stray pixels, and export at native resolution with a scaled-up version using nearest-neighbor scaling for display.
How big should a beginner pixel art canvas be?
A 16×16 pixel canvas is the ideal starting size for beginners. It is small enough to complete a sprite in one sitting but large enough to create recognizable characters and objects. Once you can consistently produce clean, readable sprites at 16×16, move up to 32×32. Avoid starting at 64×64 or larger, as the extra space can be overwhelming and slows down the learning process.
Wrapping Up: The Basics of Pixel Art for Beginners
Pixel art is a discipline built on simplicity and intention. You learned that it means creating images one pixel at a time on a fixed grid, that four core tools are all you need to get started, and that small canvas sizes like 16×16 build better habits than large ones. We covered how limited color palettes teach you about contrast and hue shifting, walked through a six-step creation process, and broke down shading fundamentals including dithering and the importance of avoiding pillow shading.
The most important thing you can do right now is open a pixel art editor and draw something. It does not have to be good. Your first sprite will probably look rough, and that is completely normal. Every experienced pixel artist started exactly where you are. The basics of pixel art for beginners come down to one principle: practice consistently, keep your canvases small, limit your colors, and finish what you start.
Once you feel comfortable with static sprites, the natural next steps are exploring pixel art animation, creating tilesets for game environments, or pushing into larger canvas sizes with more detailed scenes. The fundamentals you learned here will serve as the foundation for all of it. Now go make something.