
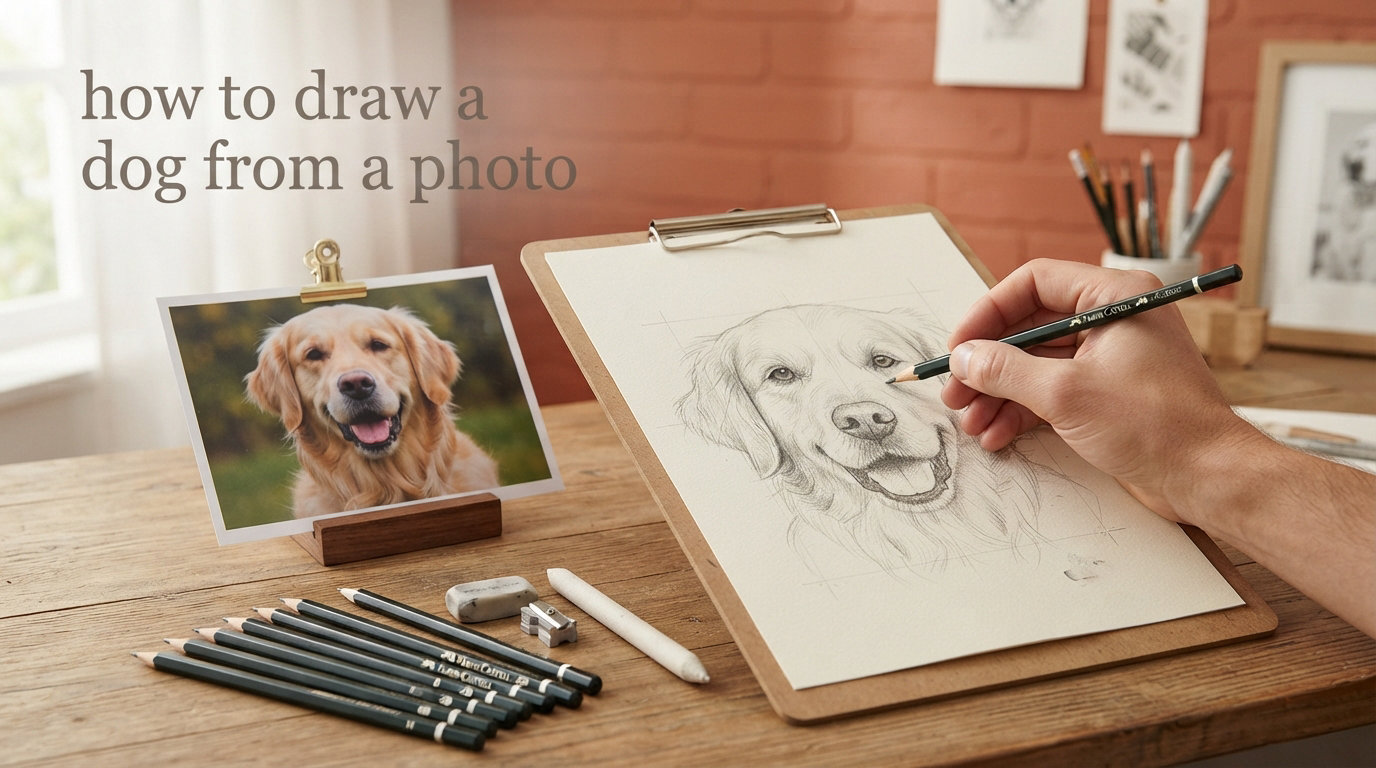
Turning a favorite photo of your dog into a hand-drawn artwork is one of the most rewarding drawing projects you can tackle. This guide walks you through every step of how to draw a dog from a photo, from choosing the right reference image to adding those final fur texture details that make your portrait come alive.
You do not need years of art experience to create a meaningful pet portrait. I learned this process as a beginner, and our team has since helped thousands of artists capture their dogs on paper. The key is breaking the process into manageable steps and understanding why each stage matters.
Table of Contents
What You Need to Get Started
Before you begin learning how to draw a dog from a photograph, you need the right supplies. Using quality materials makes a significant difference in your results and your learning experience.
Drawing paper: Choose a weight of at least 80lb or 170gsm. Lighter paper pills and tears when you erase repeatedly. Good paper handles the multiple layers this process requires.
Pencil set: A range from 2H to 6B gives you the full tonal spectrum. I recommend starting with an HB, 2B, 4B, and 6B. The softer pencils (2B and above) create the dark tones you need for fur shadows and eyes.
Blending stumps or tortillons: These paper torches smooth pencil marks into natural-looking gradients. You will use them constantly for fur texture and shadow transitions.
Erasers: You need two types. A kneaded eraser lifts graphite softly and works wonders for creating fur highlights. A battery eraser (or eraser refill) creates sharp, bright highlights on shiny areas like eyes and the wet nose.
Reference photo: More on this below, but your photo needs good lighting and clear visibility of the dog face. A photo where the dog is looking at the camera works best for beginners.
How to Draw a Dog From a Photo Step by Step
This step-by-step process for how to draw a dog from a photo works for any breed. I have tested these steps with dozens of different dogs, from short-haired beagles to long-haired collies. Each stage builds on the previous one.
Step 1: Choose the Right Reference Photo
The quality of your reference photo determines the quality of your finished drawing. Look for an image with strong, directional lighting where you can clearly see the separation between light and shadow on the fur.
Your photo should have good resolution so you can zoom in on details like the eyes and nose. Avoid photos where the dog is in deep shadow or where the fur texture is obscured by lighting glare.
For beginners, I recommend starting with a photo taken at eye level to the dog. This angle shows the face most clearly and makes proportions easier to capture.
Step 2: Block In Basic Shapes
Blocking in means drawing the main shapes of your dog face before adding any details. This stage is about capturing the overall proportions, not accuracy.
Start with a light HB pencil. Draw the largest shape first, usually the head as an oval or slightly squared shape depending on the breed. Add shapes for the ears, the oval of the snout, and the overall outline of the neck.
Think of this as a connect-the-shapes exercise. You are building a framework that all your subsequent work attaches to. If the shapes feel wrong at this stage, erase and adjust now. It is far easier to fix proportions early than after you have added fur texture.
One tip from our team: look at your drawing through a mirror. Flipping the image reveals proportion problems your eyes gloss over when looking at it normally.
Step 3: Map Your Light and Shadows
Before you start shading, spend time really looking at where light hits your dog and where shadow falls. This step separates good dog drawings from great ones.
Using your 2B or 4B pencil, identify the main shadow masses. These are typically under the ears, under the jaw, in the eye sockets, and along the sides of the face. The light areas are the top of the skull, the bridge of the nose, and the forehead.
Sketch these shadow areas as simple shapes first. Do not worry about edges yet. You are creating a map that tells you where your darkest darks go and where your brightest highlights must remain untouched.
Many beginners rush this stage and start adding fur immediately. Resist that urge. A strong shadow map makes everything else fall into place naturally.
Step 4: Build Up the Tones
With your shadow map in place, you now build up the tonal foundation. Work from mid-tones toward the extremes, dark and light.
Use your blending stump to smoothly apply graphite in the shadow areas. Build the darkness gradually, comparing constantly to your reference photo. Shadows are not flat, so look for subtle variations within the shadow mass.
Leave the brightest highlight areas completely clean. This means planning ahead and knowing where light hits before you fill in the surrounding tones. I keep a small piece of drafting film over my highlights to protect them while working.
The tonal foundation does not need to look like fur yet. It needs to read as correct value relationships. When you squint at your drawing, you should see the same light and dark pattern you see when squinting at your reference photo.
Step 5: Add Fur Texture
Now comes the part that most beginners find intimidating. Fur texture is built stroke by stroke, and the direction of each stroke matters more than any individual mark.
Follow the natural direction of the fur growth. This means strokes radiate from the eyes outward, flow down the neck, and curve around the ears. Fur does not grow randomly. It follows the contours of the dog anatomy.
Use short, deliberate strokes for short fur. Let your pencil ride the paper lightly for whispery strokes. Do not press hard and do not try to draw every single hair. You are suggesting texture, not copying it hair for hair.
For longer fur, use flowing strokes that follow the coat direction. Vary the stroke length and pressure to create depth. Darker strokes go into shadow areas; lighter, more spaced strokes sit in the light.
One technique that works well: draw strokes in the shadow areas first, denser and darker. Then add fewer, lighter strokes in the mid-tone areas. The highlight areas get sparse, wispy strokes or none at all.
Step 6: Draw the Details (Eyes, Nose, Whiskers)
The eyes and nose carry the emotional impact of your drawing. These details deserve focused attention and good reference visibility.
For the eyes, start by getting the shape correct before adding detail. Dogs eyes are not perfectly round. They are slightly almond-shaped with a curved upper lid. The catchlight (reflection) in the eye is crucial for liveliness.
Use your battery eraser to place the catchlight after establishing the basic eye tone. Work the graphite around it rather than trying to draw around it. This keeps the highlight clean and bright.
The nose has its own intricate detail. The surface is slightly shiny even on matte-coated dogs. Build the nose shape with smooth graphite, then use the battery eraser to create the nostril holes and the central highlight line. The nose edge should be crisp, not fuzzy.
Whiskers are easier than they look. Draw them as single strokes, not multiple lines. Use your sharpest pencil. Each whisker is a clean, tapered line from root to tip.
Step 7: Add Final Highlights and Finishing Touches
The final stage is where your drawing transforms from a sketch into a finished piece. Highlights are the most impactful finishing element.
Kneaded eraser comes into play here. Gently stretch and shape it to a point. Dab it softly on areas where light hits the fur to lift graphite and create soft highlight texture.
For the crispest highlights on shiny areas (eyes, nose, any wet-looking spots), use the battery eraser. Touch it to those areas carefully. A little goes a long way.
Step back and look at your drawing as a whole. Check that the overall impression matches your reference photo. Look for any areas that feel flat or unresolved. Add a few more fur strokes where needed to tie the drawing together.
Common Mistakes to Avoid
Having watched beginners struggle with how to draw a dog from a photo, I have identified the mistakes that show up most often. Avoiding these will save you frustration and improve your results faster.
Mistake 1: Skipping the Blocking Stage
New artists often want to jump straight to fur and details. This is a trap. Without correct proportions, no amount of detail work fixes the underlying drawing. Spend real time on blocking in, checking proportions before moving forward.
Mistake 2: Drawing Every Hair
Your photo shows thousands of individual hairs. Your drawing does not need to. Trying to replicate every hair makes your drawing look fussy and overworked. Suggest texture with strategic strokes and let the viewers brain complete the picture.
Mistake 3: Ignoring Fur Direction
Fur flows in specific directions based on the dogs anatomy. Strokes that go against the grain look unnatural. Before drawing any fur, study your photo long enough to understand how the coat lies.
Mistake 4: Forgetting to Preserve Highlights
Highlights are easier to protect than to recover. Once graphite fills a highlight area, you cannot fully erase it without damaging your paper. Guard your brightest lights from the beginning.
Mistake 5: Comparing Yourself to Professional Work
Every professional started where you are now. The first dog portrait you draw will not look like a gallery piece. It will look like a first attempt, and that is exactly right. The goal is learning, not perfection on the first try.
Different Coat Types and How to Approach Them
Different dog breeds have fundamentally different fur textures. Adjusting your approach to the coat type you are drawing makes a significant difference in your results.
Short Fur
Short-coated dogs like beagles, boxers, and labradors have tight, sleek fur. Use small, dense strokes in shadow areas. In light areas, let the paper show through more. The surface is relatively smooth, so focus on the tonal transitions rather than elaborate texture work.
Long Fur
Long-haired breeds like collies, golden retrievers, and shelties require longer, flowing strokes. The fur moves and layers, creating complex patterns. Work from large shapes down to smaller details. Do not try to define every hair strand; focus on the overall flow and direction.
Curly Fur
Curly breeds like poodles and doodles present unique challenges. The curls create their own shadow patterns. Rather than drawing individual curls, suggest them with small, curved strokes that cluster together. Dark areas between the curls create the illusion of depth.
Double Coats
Dogs with double coats, like huskies and German shepherds, have a soft undercoat beneath the outer fur. Layer your approach: establish the undercoat texture first (short, soft, dense strokes), then add the longer outer coat strokes on top.
Digital Alternatives: Apps and Tools
If traditional pencil and paper feels intimidating, digital tools offer a different path to creating dog art from photos. Several apps can help you get started.
AI-powered portrait generators like Adobe Firefly can create artistic interpretations of your dog photos. These tools handle the translation from photo to art automatically, giving you a finished piece in seconds.
ProCreate and similar drawing apps let you work on a tablet with digital pencils. The advantage is unlimited undo, easy color options, and no supplies to manage. Many artists find the digital workflow more approachable for their first pet portrait attempts.
However, learning to draw with traditional materials builds skills that transfer to any medium. I recommend at least trying the pencil approach once, even if you ultimately prefer digital tools for regular work.
Frequently Asked Questions
How can I turn my pet picture into art?
You can turn a pet picture into art by using it as a reference photo for hand-drawn artwork. Choose a clear, well-lit photo, then follow a step-by-step process: block in basic shapes, map shadows, build tones, and add fur texture. Alternatively, use AI art apps or digital drawing tools that accept photo input.
What is the easy way to draw a dog?
The easy way to draw a dog from a photo is to start with the blocking-in method. Draw simple shapes for the head, ears, and snout using light pencil strokes. This framework makes it easy to adjust proportions before committing to details. Working from dark areas to light areas and building up texture gradually also simplifies the process for beginners.
What is the app that makes pet portraits?
Several apps create pet portraits from photos. PortraitArt specializes in transforming pet photos into sketch drawings. Adobe Firefly and similar AI tools can generate artistic interpretations of your dog photos. ProCreate is a popular drawing app where artists work from their own reference photos.
How do I create an AI picture of my dog?
To create an AI picture of your dog, upload a photo to an AI art generator like Adobe Firefly, DALL-E, or Midjourney. Use prompts like draw my dog as a pencil sketch or dog portrait in classical style. The AI processes your photo and generates artistic interpretations based on your description.
Final Thoughts on How to Draw a Dog From a Photo
The process of how to draw a dog from a photo is ultimately about observation as much as technique. The more carefully you look at your reference photo, the more successful your drawing becomes.
Practice with your own dog if possible. You know their face intimately, which makes it easier to notice when something looks right. Plus, working from a beloved subject provides motivation to push through the frustrating moments.
Keep your early attempts. Looking back at your first dog drawings months later shows you exactly how much progress you have made. That progress is the real reward of learning this skill.
Grab your pencils, find a good photo, and start blocking in. Your dog is waiting to be captured on paper.