
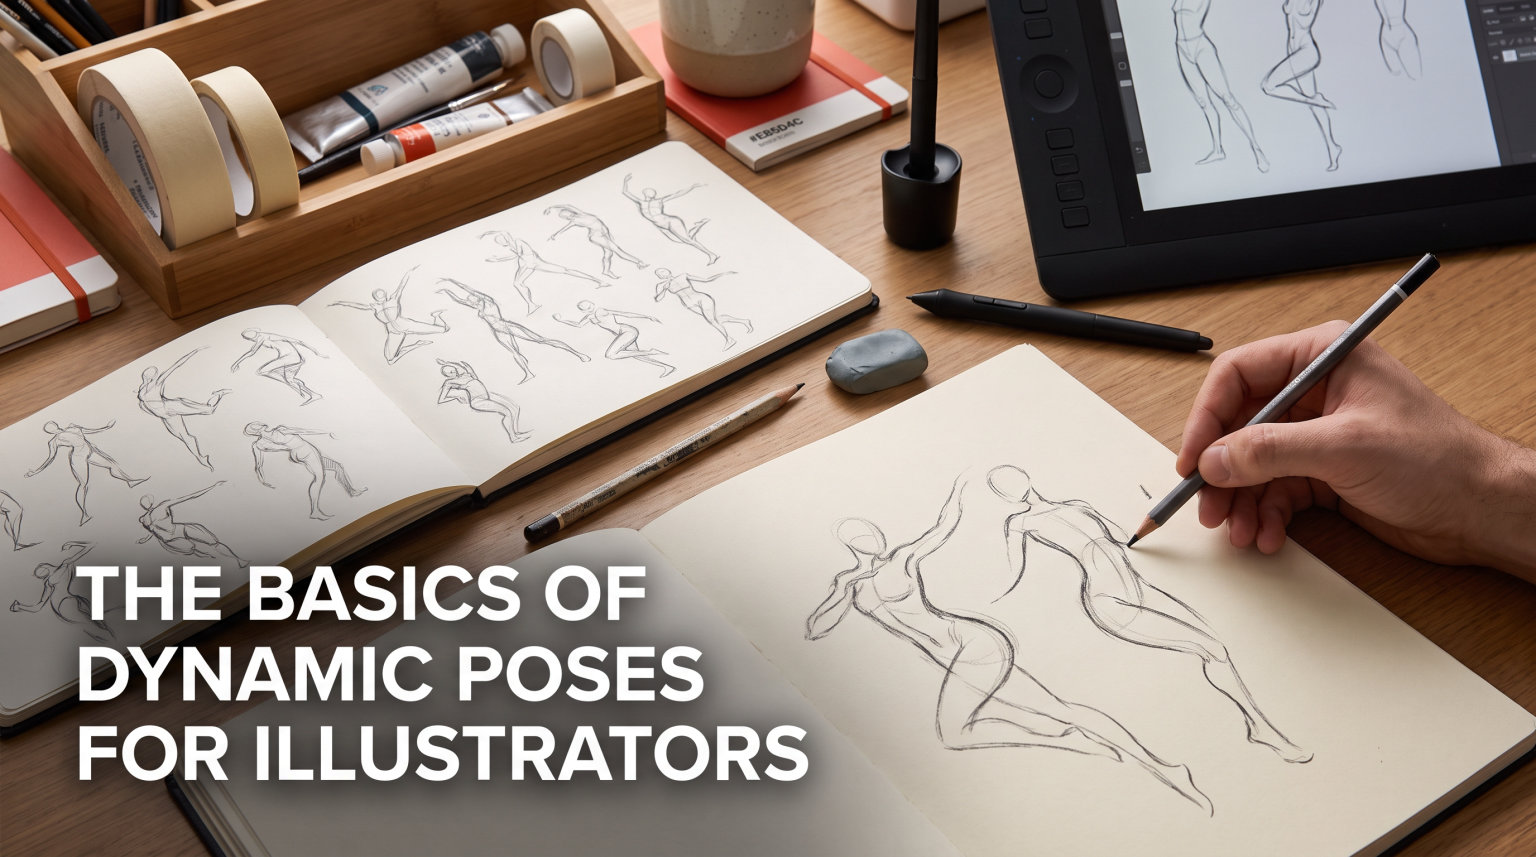
If you have ever looked at your own drawings and felt like every figure you create looks frozen in place, you are not alone. I spent years drawing characters that felt stiff, wooden, and lifeless before I understood what was missing. The basics of dynamic poses for illustrators come down to a handful of principles that can transform flat, boring figures into characters that look like they are about to leap off the page.
In this guide, I am going to walk you through exactly what makes a pose dynamic, from the line of action to foreshortening, contrast, silhouette, and construction. Whether you are drawing comic book heroes, manga characters, or concept art, these fundamentals apply to every style and skill level. By the end, you will have a clear framework you can use every time you sit down to draw.
I have pulled together insights from professional illustrators, anatomy resources, and my own trial-and-error over years of practice. Let us get into it.
Table of Contents
What Are Dynamic Poses?
A dynamic pose is any pose that captures a figure in motion or implies movement through its positioning, energy, and flow. Think of a sprinter mid-stride, a dancer in the middle of a spin, or a superhero throwing a punch. These poses feel alive because they convey action, tension, and weight rather than showing a person simply standing still.
Dynamic poses for illustrators are essential because they bring energy and storytelling into your artwork. A static figure standing straight with arms at its sides tells the viewer nothing about who that character is or what they are doing. A dynamic pose communicates emotion, intention, and narrative all at once. The difference between a forgettable drawing and one that grabs attention often comes down to how the figure is posed.
Here is a simple comparison to keep in mind. A static pose typically features symmetrical weight distribution, straight limbs, and a neutral spine. A dynamic pose uses asymmetry, curved lines, shifted weight, and varying levels of tension throughout the body. One looks like a photograph of someone waiting for a bus. The other looks like a frame from an action movie.
The good news is that dynamic poses are not some mysterious talent you either have or you do not. They are built from specific, learnable principles. The most important one is the line of action.
The Line of Action: Your Foundation
The line of action is the single most important concept in drawing dynamic poses. It is the imaginary curved line that flows through the main energy of the figure, usually running from the head down through the spine and into the supporting leg. Every dynamic pose has one, and if your line of action is weak, your entire pose will look stiff.
Think of the line of action as the spine of your drawing’s energy. It is not a literal anatomical line but rather a flowing curve that captures the main thrust of the pose. When you look at a reference photo, try to find that one sweeping curve that describes the entire movement. That is your line of action.
There are three main types of lines you will work with:
C-curves: A single gentle curve in one direction. These appear frequently in relaxed, elegant poses like a dancer leaning to one side or a figure in a casual contrapposto stance.
S-curves: Two curves flowing in opposite directions, creating an S shape. These are extremely common in dynamic poses because they create a natural sense of rhythm and flow through the body.
Straight lines: Used sparingly for contrast. A straight line next to a curve creates visual tension, but too many straight lines kill the dynamism.
How to Draw the Line of Action: A Step-by-Step Approach
Here is the process I use every time I start a new figure drawing:
Step 1: Observe the pose. Before your pencil touches the paper, spend five to ten seconds studying the reference or the pose in your mind. Where is the main energy flowing? Where is the weight concentrated? What direction is the movement heading?
Step 2: Draw one flowing curve. With a single, confident stroke, draw the line of action from the top of the head down through the body. This should take no more than two seconds. If you hesitate, erase and try again. Speed matters here because slow, cautious lines tend to be stiff.
Step 3: Build the torso and hips. Add simple shapes along the line of action. Use a bean shape, a box, or two overlapping ovals for the ribcage and pelvis. These shapes should tilt and twist to follow your line of action, not sit parallel to the ground.
Step 4: Add limbs as simple lines. Draw the arms and legs as single lines that flow out from the torso. Worry about volume and anatomy later. Right now, you are capturing the gesture, not the details.
Step 5: Refine and add volume. Once your gesture feels energetic and correct, start adding cylinders, spheres, and boxes to give the figure three-dimensional form.
Quick exercise: Set a timer for 30 seconds per pose and draw only the line of action for 10 reference photos. Do not add any detail. Focus entirely on capturing the flow. Repeat daily for one week and compare your first set to your last set. The improvement will be obvious.
Construction Basics: Building the Figure
Once you have your line of action, the next step is constructing the figure using simple three-dimensional shapes. This is where many artists lose the energy they captured in their gesture, so it is important to build on top of the line of action rather than replacing it.
Construction means breaking the human body down into basic forms: cylinders for arms and legs, a box or egg shape for the ribcage, a bowl or wedge for the pelvis, and a sphere for the head. These shapes are easy to draw in perspective and easy to rotate, which makes them perfect for building dynamic poses from imagination.
The key principle is that every shape you draw should follow the line of action. If your line of action curves to the left, the ribcage and pelvis should tilt along that curve. If the torso is twisting, the cylinders for the arms should reflect that twist. Never draw construction shapes in isolation. Always relate them back to the gesture.
Weight Distribution and Balance
A dynamic pose only works if the figure looks like it could actually hold that position. This is where weight distribution comes in. When a character is standing on one leg, the rest of the body needs to shift to compensate. The shoulders tilt opposite to the hips. The head adjusts. The arms move to counterbalance.
Contrapposto is the classic example. When a figure stands with most of its weight on one leg, the hip on the weight-bearing side pushes up, the opposite shoulder drops, and the spine curves into a natural S-shape. This is one of the oldest tricks in art for making a standing pose look natural and dynamic rather than rigid.
The 70/30 Rule in Drawing
The 70/30 rule is a compositional principle that applies directly to dynamic poses. It states that roughly 70 percent of a drawing should be restful or simple, while 30 percent should carry the visual interest and detail. In terms of posing, this means one part of the body should do most of the “talking” while the rest supports it.
For example, if a character is throwing a punch with their right arm, that arm carries the 30 percent of visual energy. The rest of the body braces and supports that action. This ratio keeps poses readable and prevents them from looking chaotic, where every limb is doing something equally dramatic and the viewer does not know where to look.
Quick exercise: Draw five figures using only cylinders, spheres, and boxes. No anatomy, no details. Focus on making each pose feel like the figure has real weight and balance. Try drawing one figure where the weight is 70 percent on one leg and another where the figure is falling forward.
Contrast and Balance in Poses
Contrast is what separates a dynamic pose from a stiff one. In drawing, contrast usually means pairing straight lines with curved lines, tense muscles with relaxed ones, and compressed forms with stretched forms. When every part of a pose has the same energy level, the result looks flat and monotonous.
The most effective way to create contrast is the straight-versus-curve principle. In a strong dynamic pose, one side of the figure will often be relatively straight or compressed, while the opposite side stretches into a long, sweeping curve. Think of a baseball pitcher mid-throw: the throwing arm side of the torso stretches long and open, while the other side compresses and folds.
This principle applies everywhere in the body:
Torso: One side stretched, the other compressed.
Arms: One arm reaching out in a curve, the other pulled back and tense.
Legs: The weight-bearing leg straight and strong, the free leg bent and relaxed.
Fingers: Some extended, some curled. Never all doing the same thing.
Exaggeration Techniques
One of the biggest mistakes beginners make is being too cautious with their poses. Dynamic poses thrive on exaggeration. Real human bodies do not move in perfect arcs, and drawing them too accurately can actually make them look less dynamic. Pushing the pose slightly beyond what is anatomically correct often makes it feel more energetic.
Try these exaggeration techniques in your next drawing:
Push the line of action further than the reference shows.
Make the stretching side of the torso even longer.
Widen the stance to create a stronger base.
Tilt the head more dramatically to follow the energy of the pose.
Overlap limbs to create depth even when the reference does not show it clearly.
I have found that exaggerating a pose by about 20 percent beyond the reference usually hits the sweet spot. Too little exaggeration looks stiff. Too much looks cartoonish or broken. That 20 percent zone is where dynamic poses come alive.
One practical tip: try physically mimicking the pose yourself. Stand up and put your body into the position you are drawing. You will immediately feel where the tension is, where the weight sits, and which muscles are engaged. Your body is a reference tool you always have with you, and many professional artists use this technique daily.
Silhouette and Character Recognition
A great dynamic pose is one you can recognize just from its silhouette. If you fill in your figure with solid black, can you still tell what the character is doing? Can you identify who the character is? If the answer is yes, you have a strong pose. If the silhouette is a confusing blob, the pose needs work.
Silhouette testing is one of the most powerful tools for improving your dynamic poses. It strips away all the surface details and shows you the raw shape of the pose. Professional character designers use this constantly. Pixar, for example, requires that every character design be recognizable from its silhouette alone.
Consistency Keys for Characters
If you are drawing the same character across multiple illustrations, consistency keys are the design elements that make that character instantly recognizable regardless of the pose. These might include a distinctive hairstyle, a unique silhouette shape, signature clothing features, or a characteristic posture.
When you plan a dynamic pose for a specific character, check whether the consistency keys are still readable. If a dramatic twist hides the character’s signature cape or their distinctive hair disappears behind the body, the pose might be dynamic but it fails at its primary job: showing who this character is.
The best dynamic poses work on two levels. They communicate action and energy through their flow and contrast, and they communicate identity through the character’s consistency keys. Always design your poses with both goals in mind.
Quick exercise: Take three of your character designs and draw each one in a dramatic action pose. Then fill each drawing with solid black. Ask a friend if they can tell which character is which from just the silhouettes. If they cannot, adjust the poses until the consistency keys read clearly.
Foreshortening and Perspective
Foreshortening is the visual effect that occurs when a part of the body is pointed directly toward or away from the viewer. A fist punching toward the camera appears much larger than a foot pointed away. This size distortion creates an incredible sense of depth and drama, and it is one of the most powerful tools for making poses feel dynamic.
Many artists avoid foreshortening because it is challenging to draw accurately. The proportions feel wrong, the anatomy gets confusing, and it is easy to end up with a figure that looks broken rather than dramatic. But the payoff is enormous. A well-foreshortened pose has more visual impact than almost anything else you can do with a figure.
Tips for Drawing Foreshortened Figures
Draw through the forms. When a limb is pointed toward you, imagine what is happening on the far side of that limb. Drawing the hidden side lightly helps you understand the volume and orientation of the form, which makes the visible side more accurate.
Use overlapping shapes to your advantage. In a foreshortened pose, closer forms overlap more distant ones. A hand reaching toward the viewer will overlap the wrist, which overlaps the forearm, which overlaps the elbow. Emphasize these overlaps to sell the depth.
Think in three dimensions, not two. When you draw a cylinder in foreshortening, the end closest to you is a full ellipse, and the far end is narrower. Apply this to every limb. The cylinder of a forearm pointed at you has a large circle at the wrist and a smaller one at the elbow.
Start with simple forms. Before adding any anatomy, block in the pose using basic cylinders, spheres, and boxes in perspective. Get the foreshortening right on the simple forms first, then add muscles and details on top. Trying to draw detailed anatomy in foreshortening without a solid underlying structure usually leads to frustration.
Use reference photos taken from extreme angles. Hold your phone at a low angle and photograph your own hand or arm reaching toward the lens. These personal references are more useful than generic pose photos because they match exactly what you need to draw.
Common Mistakes When Drawing Dynamic Poses
After years of teaching and mentoring artists, I see the same mistakes come up over and over again. Recognizing these patterns in your own work is the fastest way to improve.
Drawing too slowly. The number one cause of stiff poses is drawing too cautiously. When you spend five minutes carefully outlining a figure, you lose the energy that makes it dynamic. Try using a timer and give yourself 60 seconds for the initial gesture. Speed forces you to focus on the big picture rather than details.
Ignoring the line of action. Some artists skip straight to construction without establishing a line of action first. Without that foundation, the figure has no internal flow and every shape you add will feel disconnected. Always start with the line of action, even if it takes extra discipline.
Using too many straight lines. The human body is built from curves. When every line in your drawing is straight or angular, the result looks mechanical and rigid. Look for opportunities to replace straight lines with gentle curves, especially in the torso, arms, and legs.
Copying references too literally. Reference photos are tools, not templates. A photo captures a single frozen moment, and translating it exactly to paper often results in a pose that looks stiff because the camera freezes motion that our eyes would perceive as fluid. Use references to understand the pose, then inject movement back into your drawing by pushing the curves and exaggerating the gesture.
Fearing exaggeration. Many beginners are afraid to push poses beyond what is realistic. But illustration is not photography. A slightly exaggerated pose almost always reads as more dynamic than a perfectly accurate one. Trust your instincts and push the pose further than you think is necessary. You can always pull it back, but it is much harder to add energy to a pose that is already too cautious.
Forgetting to draw without erasing. Erasing kills momentum and breaks the flow of your gesture. Try doing warm-up sketches with a pen or a marker, where you cannot erase. This trains you to commit to your lines and build confidence. Many experienced gesture drawers use non-erasable tools specifically to force themselves to be bold.
FAQs
How do I draw poses more dynamically?
Start by establishing a strong line of action with a single curved stroke. Build the figure using simple 3D shapes like cylinders and spheres that follow that line. Add contrast by pairing straight lines with curves on opposite sides of the body. Push the pose beyond what the reference shows by exaggerating the gesture by about 20 percent. Practice with 30-second gesture drawings daily to build speed and confidence.
What is the 70/30 rule in drawing?
The 70/30 rule states that about 70 percent of a drawing should be simple or restful while 30 percent carries the main visual interest. Applied to poses, it means one part of the body should lead the action while the rest supports it. This ratio keeps poses readable and prevents them from looking chaotic, giving the viewer a clear focal point.
Why do my drawings look stiff?
Stiff drawings usually come from drawing too slowly, using too many straight lines, skipping the line of action, or copying references too literally. To fix stiffness, try doing fast 30-second gesture sketches, replacing straight lines with curves, always starting with a line of action, and exaggerating your poses slightly beyond what the reference shows.
How do I practice gesture drawing effectively?
Use timed reference photos from sites like Line of Action or Croquis Cafe. Start with 30-second poses and draw only the line of action and basic gesture, no details. Gradually increase to 60 seconds and 2 minutes as you improve. Practice daily for at least 15 minutes. Use a pen or marker to prevent erasing, which builds confidence and commitment in your lines.
What are good resources for dynamic pose references?
Line of Action (line-of-action.com) offers free timed gesture drawing sessions with photo references. Croquis Cafe provides professional model photos for figure drawing. Pinterest boards dedicated to dynamic poses are useful for collecting inspiration. For 3D reference, programs like Design Doll and Magic Poser let you pose digital mannequins from any angle. Life drawing classes at local art centers remain one of the best ways to study dynamic poses from real models.
Putting It All Together
The basics of dynamic poses for illustrators come down to a few interconnected principles. Start every pose with a strong line of action that captures the main flow of energy. Build the figure with simple 3D construction shapes that follow that line. Use contrast between straights and curves to create visual interest. Check your silhouette to make sure the pose reads clearly. Apply foreshortening for depth and drama. And always push the gesture slightly beyond what feels safe.
The artists who improve the fastest are the ones who practice consistently with purpose. Fifteen minutes of timed gesture drawing every day will do more for your dynamic poses than hours of careful, detailed figure studies. Grab a pen, set a timer, and fill pages with nothing but lines of action and gestures. Over time, that energy and confidence will carry over into your finished illustrations.
Dynamic poses are not a talent you are born with. They are a skill you build through understanding these principles and practicing them regularly. Start today, and in a few weeks you will look back at your old drawings and see the difference clearly.