
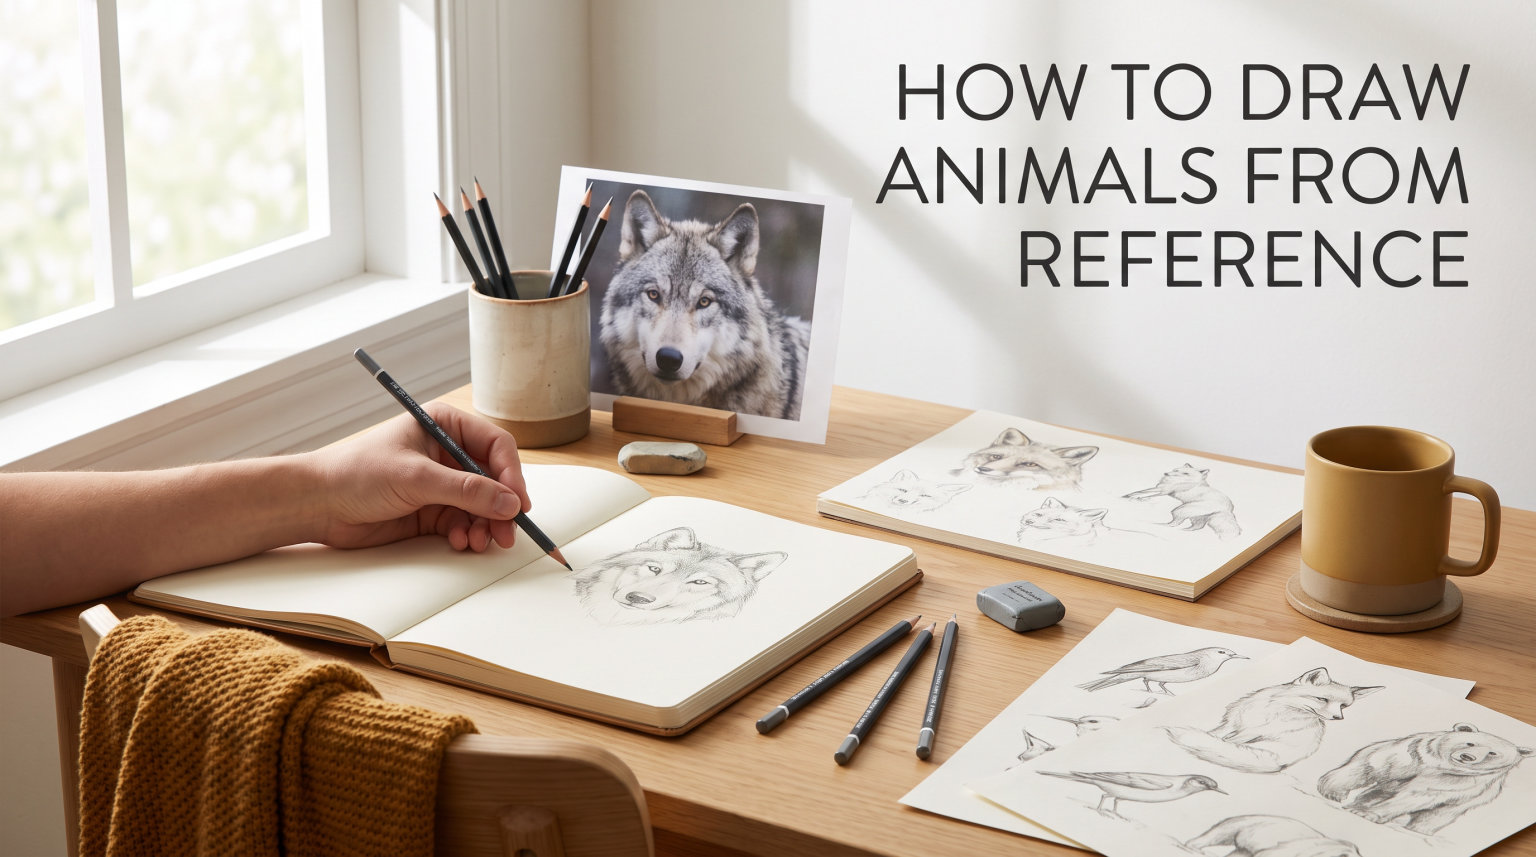
Learning how to draw animals from reference is one of the most valuable skills you can develop as an artist. Reference photos give you a foundation to work from, helping you capture accurate proportions, realistic anatomy, and believable poses that would otherwise take years to memorize.
In this complete guide, I will walk you through the entire process from gathering quality reference images to putting the final touches on your sketches. Whether you prefer working digitally in Procreate or keep things traditional with pencil on paper, these techniques will help you create more accurate and compelling animal illustrations.
Table of Contents
Understanding Reference Photos
Reference photos serve as your visual guide when learning how to draw animals from reference. They help you see what animals actually look like, rather than relying on simplified mental images that often end up being inaccurate. When you study a reference, you observe the actual shapes, shadows, and proportions that make that animal unique.
Many beginning artists struggle because they draw animals from memory, which tends to flatten forms and oversimplify anatomy. Reference photos solve this problem by showing you the real thing. You can see how muscles bulge on a running dog, how a cat’s spine curves when it stretches, or how bird feathers layer and overlap.
Understanding animal anatomy gives you a tremendous advantage when working from reference. Learning the basics of skeletal structure helps you predict how bones shape the outer form. Knowing major muscle groups explains why certain bumps and lines appear where they do. This knowledge transforms reference from simple copying into informed interpretation.
Proportions matter enormously in animal drawing. A wolf’s head looks different from a fox’s because of the ratio between snout length and skull size. Cats have larger eyes relative to their heads than dogs do. Horses stand tall with elongated legs while cows have a more grounded stance. Reference photos let you observe these differences directly.
Gathering Quality Reference Images
Finding good reference images is the first practical step in learning how to draw animals from reference. Not all photos work equally well for drawing purposes. You want images with clear lighting that shows form, multiple angles when possible, and animals in interesting poses or positions.
Several websites specialize in providing reference photos for artists. Unsplash and Pexels offer free high-quality photographs of animals in various settings. The Line of Action website provides timed drawing exercises with reference photos specifically designed for practice. Wildlife photography sites offer action shots that capture animals in dynamic poses.
Building your own reference library saves time and gives you go-to images for future projects. Collect photos that inspire you, organized by animal type. Screenshot images from nature documentaries when you see a useful pose. Take your own photographs at zoos or wildlife parks when the lighting works well.
3D models represent an underutilized resource for animal drawing reference. Programs like Sketchfab host thousands of free 3D animal models you can rotate and view from any angle. This lets you see the underside of a horse or the back of a bird’s head without needing a photo from that perspective. Some artists find 3D references particularly helpful for understanding volume and form.
Mood boards serve double duty when planning animal illustrations. Gather several references showing different aspects of your subject. A finished mood board might include a main reference for proportions, a close-up for fur texture, and an action shot for pose inspiration. This combination gives you a complete picture to work from.
Breaking Animals into Simple Shapes
The secret to translating reference into successful drawings lies in simplification. Before worrying about fur detail or individual features, break the animal down into basic geometric forms. This technique, often called construction, gives your drawing a solid foundation.
Most animals can be constructed from combinations of spheres, ovals, capsules, and cones. A cat’s body starts as an oval for the torso, spheres for the head and haunches, and thin capsules for the legs. A horse’s body uses a large oval for the ribcage, a smaller oval for the pelvis, and elongated capsules for the legs and neck.
Think in three dimensions when working from reference. The sphere has width, height, and depth. When you draw a sphere on paper, you are actually drawing a circle, but you understand it as a form with volume. This mindset helps you create drawings that look dimensional rather than flat.
Box forms and cylinders help with more angular animals or specific body parts. Bear muzzles, horse hooves, and bird beaks all have geometric qualities that lend themselves to cube and cylinder construction. Practice seeing these basic shapes in your reference photos until they become automatic.
Perspective plays a crucial role in making these simplified forms believable. When a sphere tips toward the viewer, you see more of its top surface. When a capsule rotates, the visible end ellipse changes shape. Reference photos let you study how these perspective shifts actually look, building your visual understanding.
Sketching Techniques from Reference
With your reference gathered and shapes identified, you are ready to start sketching. The approach you choose depends on your goals, time available, and preferred style. Both loose gestural sketches and detailed studies have their place in developing your animal drawing skills.
Gesture Drawing for Action Poses
Gesture drawing captures the essence of movement in quick sketches. The goal is not perfection but energy and flow. When learning how to draw animals from reference, gesture work trains your eye to see the overall action rather than getting lost in details.
Time yourself during gesture sessions for maximum effectiveness. Two-minute poses capture the big movement. Five-minute sketches allow slightly more structure while still keeping things loose. Ten-minute drawings introduce more detail without losing the energy of the initial observation.
Use your reference photo’s action line to start each gesture. The action line runs through the animal’s spine and direction of movement. Everything else branches from this central axis. A running dog curves its spine, creating an S-shape action line that dictates the entire pose.
Focus on weight distribution during gesture work. Which legs carry the animal’s weight? When a horse trots, diagonal pairs of legs support the body at any moment. Observing this from reference teaches you how to convey balance and movement convincingly.
Thumbnail Sketches
Thumbnail sketches are small compositional studies, typically two to three inches at most. They help you plan the overall composition before committing to a larger drawing. When working from reference, thumbnails let you experiment with cropping, angle, and framing.
Draw multiple thumbnails from a single reference to explore different approaches. One thumbnail might show the full animal, another crops to just the head and neck, a third emphasizes the environment around the subject. This exploration often reveals more interesting compositions than your first instinct.
Keep thumbnails extremely loose. A few sweeping lines establish the major masses. Shading remains minimal or nonexistent. The value is in the design decisions, not the finished appearance. Many professional artists swear by this practice for every major project.
Loose vs. Detailed Sketches
Loose sketching embraces suggestion over accuracy. Lines remain visible, forms connect and overlap, nothing gets fully rendered. This approach works beautifully for stylized illustrations, character design, and work where energy matters more than photorealism.
Detailed sketching smooths transitions, adds surface texture, and polishes values. This approach suits realistic animal portraits, finished illustrations, and studies meant to teach specific details like fur direction or muscle structure. Reference photos provide all the information you need for this level of finish.
Many artists alternate between loose and detailed work. Start with loose gestures to warm up and understand the pose. Move to thumbnails for composition. Execute a detailed final piece using everything you learned. This progression builds skills while producing portfolio-worthy work.
Tracing over reference, when done thoughtfully, serves as a legitimate learning tool. Lower the reference opacity to around thirty percent on a digital layer, then draw directly over it. You see exactly how your lines compare to the original while building muscle memory for correct forms. This technique works especially well for understanding complex areas like animal paws or bird wings.
Digital Approaches
Digital tools have transformed how artists approach drawing animals from reference. Software like Procreate, Photoshop, and Clip Studio Paint offer capabilities that speed up workflow and open new creative possibilities. The learning curve is gentler than you might expect.
Procreate has become particularly popular among illustrators. Its intuitive interface and affordable price point make it accessible to most artists. The ability to adjust reference opacity with a simple slider eliminates the need for light tables or carbon paper. Layers let you separate your sketch from the reference completely.
Setting up your Procreate workspace for reference work takes moments. Import your reference photo as the bottom layer. Create a new layer above it for your sketch. Reduce the reference opacity to somewhere between twenty and forty percent, depending on how much guidance you need. As you draw, the reference shows through enough to inform your lines without overwhelming your own work.
Layer management becomes essential for complex pieces. Keep your reference on its own locked layer so it stays visible but untouched. Put your main sketch on a separate layer. Create additional layers for different elements if needed. This organization lets you make changes without affecting other parts of your work.
Adding your own flair means departing from strict reference copying. Once you understand the forms and proportions, inject your artistic personality. Maybe you emphasize certain features, simplify others, or add dynamic angles the reference did not show. Reference guides you; it does not imprison you.
Brush choice affects the feel of your digital sketches. Brushes like the Peppermint brush in Procreate produce natural-looking line variation. Technical pens create precise clean lines. Ink pens add traditional character. Experiment to find brushes that match your style goals.
Analog Approaches
Traditional media offers its own unique satisfactions when drawing animals from reference. Pencil on paper has tactile qualities digital tools cannot fully replicate. The sound of graphite on toothed paper, the visible eraser marks, the physicality of the process all contribute to the experience.
Quality sketchbook paper makes a significant difference. Look for paper with some tooth, meaning surface texture that grabs graphite. Weight matters too. Sixty pound paper or heavier resists buckling when you work with heavier shading. Many artists prefer toned paper for animal studies, as mid-tone backgrounds simplify value work.
Traditional sketching from reference follows the same principles as digital work. Observe the reference to understand forms. Break the animal into shapes before adding detail. Keep early work loose and editable. Only commit to clean lines once the underlying structure feels correct.
Light tables serve traditional artists who want to trace or transfer reference. Place your reference photo on the light table, lay paper on top, and the image shows through clearly. This technique helps when you want to transfer a detailed reference sketch to better paper for final rendering.
Final sketches on quality watercolor paper or illustration board allow for finished work that rivals digital output. Many traditional illustrators complete their reference work in sketchbooks, then execute final pieces on better materials. This approach protects your good paper while developing your skills through quantity sketching practice.
Practice Tips and Resources
Practice requires intention to produce real improvement. Random sketching feels productive but rarely builds specific skills. Focused practice, where you target particular challenges repeatedly, produces measurable progress in how to draw animals from reference.
Timed drawings train you to see quickly and commit confidently. Set a timer for two minutes and sketch an animal from reference without stopping. The time pressure forces you to observe big shapes and ignore details. Review your timed drawings to identify patterns in your observational blind spots.
Line of Action offers free timed drawing exercises specifically designed for artists. Their website provides reference photos with countdowns, making practice sessions easy to run. Sessions range from thirty seconds to ten minutes, letting you train both quick gestures and more considered observations.
Several books have earned trusted status among animal drawing artists. Muybridge’s Animals in Motion remains a definitive reference for understanding animal movement. Preston Blair’s Animation book teaches principles of animal motion that apply to any style. Hultgren’s Art of Animal Drawing offers classical instruction in anatomy and form.
Common mistakes undermine otherwise promising work. Relying too heavily on tracing prevents you from developing independent observational skills. Drawing animals in the same generic pose repeatedly limits your range. Ignoring anatomy basics leads to forms that look structurally wrong even when they look generally correct.
Studying anatomy does not mean becoming a veterinary textbook. Learn the major landmarks and how they affect surface appearance. Where does the shoulder blade create visible bumps? How does the skull shape determine the animal’s profile? This practical anatomy knowledge separates competent animal drawings from truly convincing ones.
Draw the same animal repeatedly to accelerate your learning. A cat offers endless variety in pose and expression. Dogs come in countless breeds with different proportions. Working from the same reference multiple times teaches you subtleties you missed on first viewing.
Conclusion
Learning how to draw animals from reference opens up a world of possibilities for your art. Reference photos provide the accuracy and information you need while allowing space for your artistic voice to emerge. Start with quality references, break animals into understandable shapes, practice timed gestures, and build your skills through focused repetition.
Bookmark this guide and return to it as you develop your practice. Each section offers techniques worth revisiting as your skills grow. The artists who master reference work combine technical accuracy with personal style, creating animal illustrations that feel both true and unique.
FAQs
How do you sketch animals from reference photos?
Start by observing your reference photo to identify major shapes and proportions. Break the animal into simple geometric forms like spheres, ovals, and capsules. Do loose gesture sketches first to capture movement, then refine with more detailed lines. Use thumbnail sketches to explore compositions before committing to a final drawing.
What is the best way to learn drawing animals?
Practice consistently with timed gesture drawings, study animal anatomy basics, and build a reference library of quality images. Resources like Line of Action website, Muybridge’s Animals in Motion, and Preston Blair’s Animation book accelerate learning. Focus on one animal type at a time before expanding your range.
How do you draw animals realistically from reference?
Focus on accurate proportions, proper anatomy understanding, and convincing volume. Study the skeletal structure and major muscle groups to predict how forms appear on the surface. Pay attention to perspective shifts as animals rotate. Reference photos provide all this information if you know how to observe carefully.
What tools do you need to draw animals from photos?
Digital artists need software like Procreate or Photoshop and a stylus-compatible tablet. Traditional artists benefit from quality sketchbook paper, pencils ranging from 2H to 6B, erasers, and optionally a light table. Both approaches require good reference photos and intention to practice regularly.