
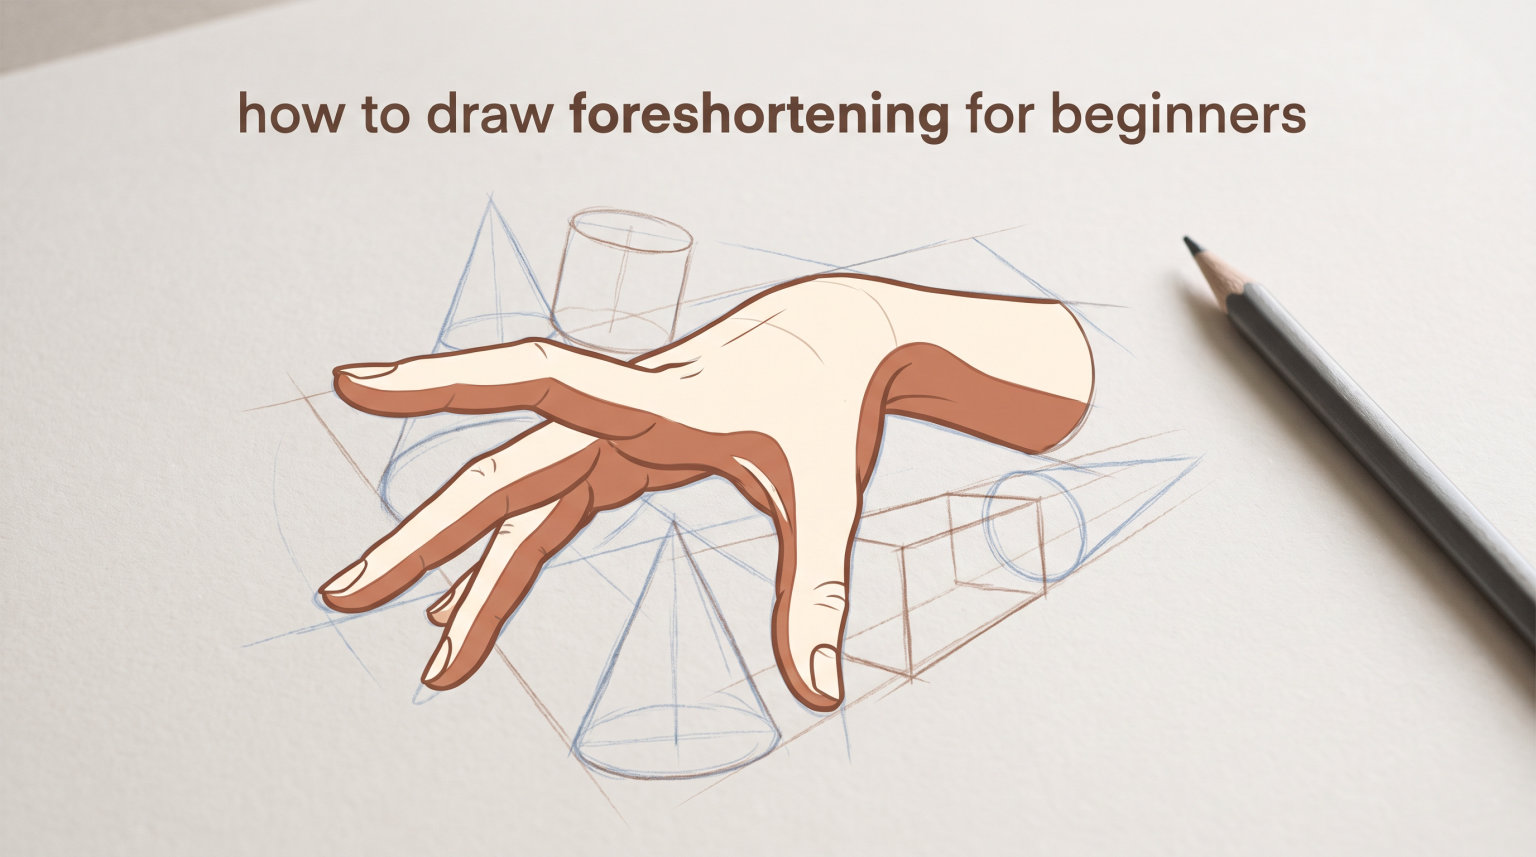
Foreshortening is one of those techniques that makes artists throw away their pencils in frustration. You know what you want to draw, you can see the reference perfectly, but somehow the result looks completely wrong. The arm that should be reaching toward you looks like it got squished. This happens to every artist who tries to learn how to draw foreshortening for beginners, and there is a specific reason why it feels so impossible.
The good news is that this technique becomes manageable once you understand what your brain is doing wrong. In this guide, I will walk you through the exact process I use to tackle foreshortened forms, starting with simple shapes and building up to more complex subjects.
Table of Contents
What Is Foreshortening?
Foreshortening is a drawing technique that creates the illusion of depth by depicting objects or body parts at extreme angles toward or away from the viewer. When you foreshorten a form, you are essentially compressing the visible length of that form to make it appear shorter than it actually is due to perspective.
This technique is essential for creating dynamic, realistic drawings. Without foreshortening, figures look flat and stiff. When you master how to draw foreshortening for beginners, your artwork gains the sense of three-dimensionality that makes viewers feel like they could reach into the page and touch the subject.
Foreshortening appears everywhere in art. A hand reaching toward you, a leg kicking forward, a body diving into water. These poses require foreshortened forms to communicate their energy and movement. Without this technique, action poses fall flat.
Why Foreshortening Feels Wrong to Your Brain
Here is what nobody tells you when you start learning this technique: your brain is working against you. The reason foreshortening looks so wrong when you first attempt it is that your brain expects parallel lines and consistent proportions.
When you look at a cylinder from the side, your brain knows the top and bottom should be roughly the same width. But when that cylinder points directly at you, the near end explodes in scale while the far end shrinks dramatically. Your brain screams that this looks distorted because it violates everything you have learned about how objects work.
This flattening problem is the core reason beginners struggle. You are essentially asking your brain to unlearn how three-dimensional space works so you can draw it correctly on a two-dimensional surface. Every artist goes through this phase. The artists who finally conquer foreshortening are the ones who understand that drawing is not about recording what your brain thinks it sees, but rather what is actually there.
The solution is not to fight your brain harder. It is to give your brain a new framework for understanding how foreshortened forms work. That framework starts with simple shapes.
Start With Simple Forms: Boxes and Cylinders
Before you attempt to draw a foreshortened arm or hand, you need to master the basic building blocks. All complex forms can be broken into boxes, cylinders, and combinations of the two. This principle is called constructive anatomy, and it forms the foundation for everything else.
Boxes are perfect for studying foreshortening because their corners and edges make the recession easy to see. A rectangular prism viewed at an extreme angle shows clearly how the near end dominates the composition while the far end compresses into almost nothing.
Cylinders are equally important, especially for figure drawing. Human arms and legs are essentially cylinders with complicated surfaces wrapped around them. When you learn to see arms as cylinders pointing in different directions, the foreshortening starts to make sense. Practice drawing cylinders from extreme angles where the circular tops seem to squash into ellipses and the sides compress dramatically.
Once you can draw simple forms in foreshortened positions, you have a framework for tackling more complex anatomy. You are not memorizing how to draw every possible pose. You are learning to see forms as basic shapes, then manipulating those shapes in space.
The Coil Technique for Foreshortening
One technique that appears frequently in YouTube tutorials but rarely in written guides is the coil technique. This method helps you visualize how contours wrap around a foreshortened form without getting lost in anatomical complexity.
To use the coil technique, you draw the form as if you were wrapping a continuous wire around it in a spiral pattern. This wrapped line follows the contours of the form, showing you exactly where the surfaces recede and advance. The coil touches on the near side, travels across the top, and wraps around to the far side before coming back.
This technique works especially well for cylindrical forms like arms and legs. When you coil a form, you start to see how the cross section changes as it comes toward you. The near end shows the full cross section, while the far end might show only a thin line or nothing at all depending on the angle.
Try this with a simple cylinder pointing toward you. Draw a spiral that starts at the near edge, wraps around one side, crosses the top, and exits on the other side. This single line tells you everything about how the form occupies space and where the light should hit to reinforce that recession.
Step-by-Step: How to Draw Foreshortened Forms
Step 1: Observe and Simplify
The first step is to look at your subject and identify the basic shape underneath. Is this a cylinder or a box? Is it a cone or a sphere? Do not worry about the complicated surface details yet. Your job is to find the underlying primitive form.
For a human arm, the underlying form is a cylinder. For a torso leaning back, you might see a box. The key is reducing complexity into simplicity. When you learn how to draw foreshortening for beginners, this simplification step separates the artists who improve from those who stay stuck.
Using reference is not cheating. In fact, beginners should use as much reference as possible. Some artists find that 3D action figures help bridge the gap between flat photos and real subjects. You can rotate a poseable figure to find the exact angle you want to study, and the three-dimensional reference helps your brain understand the spatial relationships in ways that flat photos cannot.
Step 2: Map the Angles
Once you have simplified the form, you need to map its angles in space. Find the horizon line if you are working with perspective. Identify any vanishing points that govern how the lines recede.
Draw light converging lines to show where the form travels into space. These lines should meet at a vanishing point somewhere off the page. The convergence tells your brain that the form is traveling away from or toward you.
This is also the stage where you measure relative scales. The part closest to you should be noticeably larger than the part farthest away. In a foreshortened arm, the hand near the viewer might occupy a third of the total length, while the shoulder end compresses into a small region. If all parts seem the same size, the recession dies.
Step 3: Add Cross Contour Lines
Cross contour lines wrap around your form like latitude lines on a globe. These lines travel perpendicular to the main axis of the form, showing you the cross sections at different points along its length.
When you draw a cylinder pointing toward you, the cross contours appear as ellipses of decreasing size as they travel away from the near end. These ellipses help reinforce the sense of volume and recession. They also guide where you place your values and details.
Add these contours lightly during construction. They are a tool for understanding the form, not a final element in your drawing. A heavy cross contour line can make your drawing look stiff and technical, so keep these marks loose and gestural.
Step 4: Build Up the Form
With your construction lines in place, you can now build up the form. Add values to reinforce the illusion of depth. The near surface should be lighter or darker depending on your light source, but it needs to read as a complete plane facing the viewer.
Use overlapping to push forms back in space. When one form crosses in front of another, the overlap automatically creates depth. This is especially useful when drawing complex body parts where multiple forms interact at different recession levels.
Do not be afraid to exaggerate the foreshortening. Remember that your brain wants to keep everything at the same scale. You need to push past that instinct and make the near parts genuinely larger and the far parts genuinely smaller. The exaggeration sells the illusion. If you draw what feels correct, you will probably end up with a result that looks flat.
Using Action Figures and 3D References
One tip that comes up repeatedly in artist forums but rarely appears in written tutorials is the value of using 3D action figures for studying foreshortening. These figures offer advantages that flat reference photos cannot match.
When you rotate a poseable action figure, you see exactly how forms change as they point toward or away from you. You can hold the figure in your hand, move it closer and farther from your eyes, and physically experience how the near parts grow while the far parts compress.
This hands-on experience trains your eye in ways that looking at photos never can. Many artists report that drawing from a three-dimensional reference accelerated their understanding more than months of working from flat images. If you struggle with foreshortening despite months of practice, investing in an action figure or similar three-dimensional reference might be the breakthrough you need.
Common Mistakes to Avoid
Keeping all parts the same scale is the most common foreshortening mistake. When this happens, there is no recession. Every part of the form appears to exist on the same plane, and the drawing looks flat. The fix is simple but difficult: make the near parts noticeably larger.
Forgetting to use overlapping is another frequent error. Overlapping forms automatically create depth, pushing the covered form back in space. Even if the foreshortening itself is correct, a drawing without overlapping will feel shallow.
Not exaggerating enough is a subtle problem that plagues intermediate artists. They understand foreshortening intellectually, but their drawings still look flat because they do not push the effect far enough. Remember that your brain underestimates how much compression is needed. When you think you have exaggerated enough, exaggerate a bit more.
Finally, avoid drawing what you think you see rather than what is actually there. Your brain will insist that the top of a cylinder pointing toward you should look like a normal ellipse. It will fight you when you draw that ellipse much wider than expected. Trust your measurement tools and your construction process over your brains protests.
Practice Exercises for Beginners
Drawing boxes in one-point perspective with extreme angles is an excellent starting exercise. Set up a box that points directly toward your vanishing point and practice capturing that intense recession. The simple corners and edges make it easy to check your work.
Practice cylinders pointing directly toward you and away from you. Draw the near circular end as a wide ellipse and the far end as a compressed, thin shape. Compare your drawings to real cylinders at similar angles to see where your perception differs from reality.
Sketching your own hand in different foreshortened positions is possibly the most valuable exercise for figure artists. Your hand is always available and offers endless variations on foreshortened forms. Try pointing your fingers toward you, extending your palm toward the viewer, or bending your wrist to create extreme angles.
Use the coil technique on cylindrical objects around your home. A coffee mug, a bottle, or a rolled-up piece of paper all provide practice subjects. Trace the coil contour lightly and observe how the wrapped line helps you understand the forms recession.
FAQs
How do artists learn foreshortening?
Artists learn foreshortening by starting with simple forms like boxes and cylinders, practicing extreme angles repeatedly, using reference photos and 3D objects like action figures, and building up skill through consistent daily practice of the construction process.
What are common foreshortening mistakes?
Common mistakes include keeping all parts at the same scale (removing recession), forgetting to use overlapping for depth, not exaggerating the compression enough, and drawing what the brain thinks it sees instead of what is actually there.
What is an example of foreshortening technique?
An example is drawing a cylinder pointing toward you. The near circular end appears as a wide ellipse while the far end compresses into a thin shape. The technique uses simple forms, cross contour lines, and overlapping values to create the illusion of depth.
What are the rules of foreshortening?
The main rules are that closer objects appear larger, lines converging to a vanishing point show recession, overlapping forms create depth, and the near part of a foreshortened form should always be noticeably larger than the far part. Consistent practice with these principles builds the skill.
Conclusion
Learning how to draw foreshortening for beginners is a gradual process that requires patience with yourself and consistent practice with simple forms. The brain distortion problem is real, but understanding why it happens gives you the tools to work around it.
Start by mastering boxes and cylinders in extreme angles. Practice the coil technique to visualize contours. Use the four-step construction process: simplify, map angles, add cross contours, and build with values. Do not forget the power of exaggeration when things look wrong.
Your next step is to practice. Set aside fifteen minutes each day to draw simple forms in foreshortened positions. Draw your own hand, rotate an action figure, sketch the objects around you. The skill develops slowly, but every practice session builds your ability to see and render these dramatic depth illusions.