
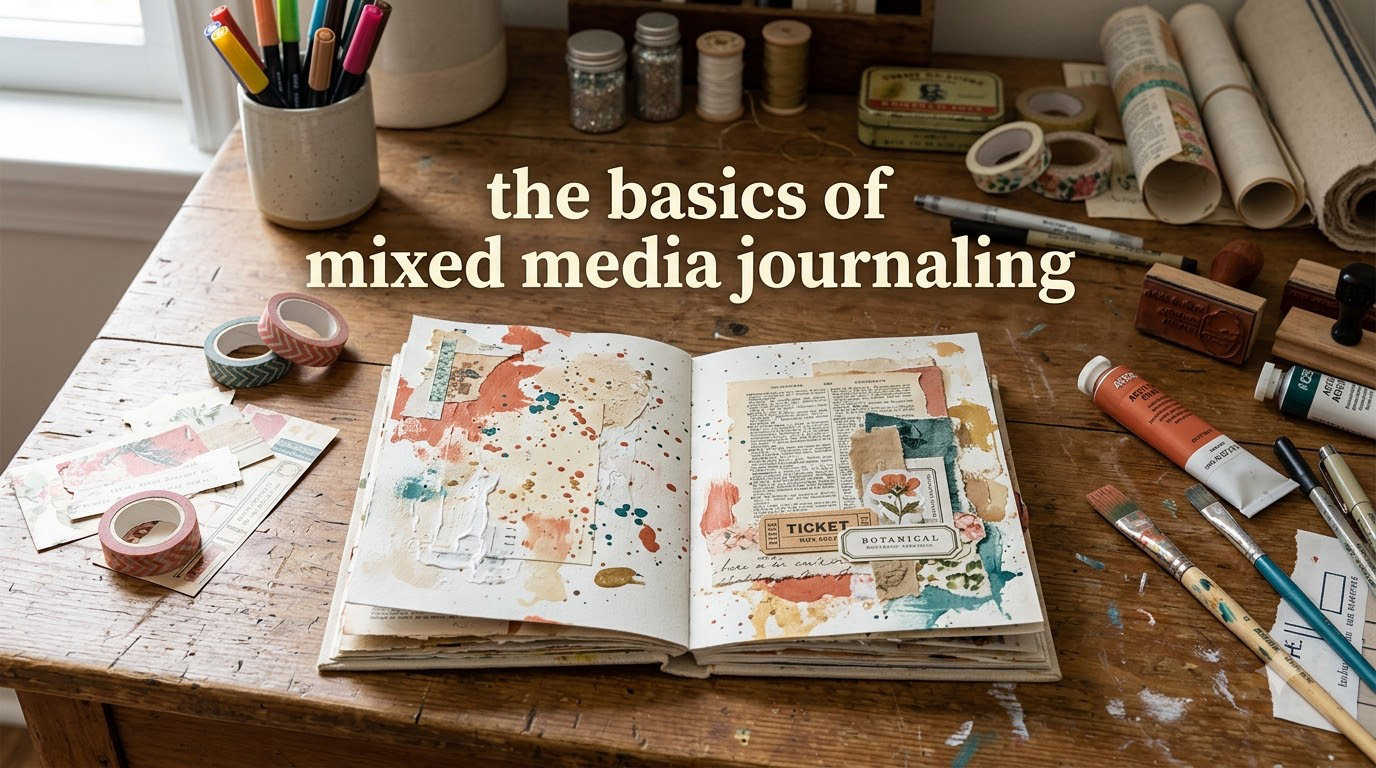
If you have ever stared at a blank journal page and felt the pull to do something more than just write, mixed media journaling might be exactly what you need. This creative practice combines paint, collage, drawing, stamping, and written words into a single art form that has no rules and no wrong answers. Whether you are a complete beginner who has never picked up a paintbrush or an experienced artist looking for a new outlet, understanding the basics of mixed media journaling opens up a world of creative self-expression.
In this guide, I will walk you through everything you need to know to get started: what mixed media journaling actually is, which supplies matter most (and which you can skip), how to choose the right paper, and a step-by-step process for creating your very first page. I spent months testing different techniques and materials, and I am sharing what actually works so you can skip the frustration and start creating.
Table of Contents
What Is Mixed Media Journaling?
Mixed media journaling is a creative art form that combines multiple materials and techniques in a personal journal or on loose paper. You might layer watercolor with collage, add ink drawings over acrylic paint, or combine found papers with hand-lettered quotes. The word “mixed” refers to the fact that you are using more than one type of art medium on the same page.
What sets mixed media journaling apart from traditional journaling is that it is visual and tactile rather than purely written. Instead of filling pages with text, you are building layered compositions using color, texture, and imagery. Some people include written entries alongside their art, while others let the visuals speak for themselves.
The most important thing to understand about mixed media art journaling is that it prioritizes process over product. There is no finished masterpiece you are trying to create. The act of making the art is the point. Many experienced art journalers describe their practice as a form of meditation or self-reflection, a way to process emotions and ideas through color and texture rather than words alone.
Think of your journal as a visual diary. Some pages might take ten minutes. Others might develop over several sessions. There is no timeline, no grading rubric, and no single “right” way to do it. That freedom is what makes mixed media journaling so accessible and so addictive.
Essential Materials and Supplies for Mixed Media Journaling
One of the biggest sources of overwhelm for beginners is the sheer number of supplies available. I remember walking into an art supply store for the first time and feeling paralyzed by the options. Here is the honest truth: you need far fewer materials than you think.
Paints and Inks
Acrylic paint is the workhorse of mixed media journaling. It dries quickly, adheres to almost any surface, and creates a solid base layer that other materials can sit on top of. A basic set of six to eight colors is more than enough to start. Watercolor is another favorite because of its fluid, unpredictable nature. It creates beautiful backgrounds and blends in ways that are hard to replicate with any other medium. Gouache sits between acrylic and watercolor and is gaining popularity among art journalers for its opaque, matte finish.
Drawing Tools
Permanent pens and fine-line markers are essential for adding details, outlines, and hand-lettering over your painted surfaces. Look for waterproof options so your lines do not bleed when you add wet layers on top. Gel pens, white ink pens, and paint markers are also great for adding highlights and contrast to finished pages.
Adhesives and Tapes
Glue sticks work for lightweight papers and ephemera. Gel medium is a step up and doubles as both an adhesive and a protective sealer. Washi tape is the unsung hero of mixed media journaling. It comes in thousands of patterns and colors, it sticks without damaging pages, and it can be repositioned if you change your mind.
Collage Elements
Ephemera is the collective term for the found papers and objects you collect and use in your journal. This includes ticket stubs, vintage book pages, magazine cutouts, maps, stamps, pressed flowers, fabric scraps, and really anything flat enough to glue down. Many art journalers build up a collection of ephemera over time, pulling pieces from everyday life.
If you are looking for specific art supplies for journaling, our team has put together a curated list that covers great options for mixed media beginners.
Optional but Useful Tools
Stencils, rubber stamps, and texture paste can add dimensional interest to your pages. An old credit card or palette knife works great for spreading paste and paint. A heat gun speeds up drying time significantly. None of these are essential on day one, but they become valuable as your practice grows.
Choosing the Right Journal and Paper
The paper you use is arguably the single most important decision in mixed media journaling. Use the wrong paper and you will deal with warping, bleeding, and pages that fall apart. Use the right paper and everything becomes easier.
Paper weight is measured in pounds (lb) or grams per square meter (gsm). For mixed media work, you want paper that is at least 140 lb (300 gsm). This weight handles wet media like watercolor and acrylic without buckling excessively. Lighter papers like standard sketchbook paper (60-80 lb) will warp the moment you apply paint, and they can tear under the weight of collage layers.
Watercolor paper comes in two main textures. Hot press paper has a smooth surface that works well for detailed work and pen drawing. Cold press paper has a visible tooth or texture that grips paint beautifully and adds visual interest to backgrounds. Both work for mixed media journaling. Cold press is generally more popular because the texture adds character to paint strokes and collage layers.
You also have a choice between bound journals and loose sheets. Bound journals feel more like a finished book and keep everything in one place. Loose sheets give you the freedom to work on multiple pages simultaneously and discard pages that do not work out. Many beginners prefer starting with a bound mixed media journal so they can see their progress from page to page.
If budget is a concern, you can buy individual sheets of watercolor paper and fold or bind them yourself. Some art journalers even use recycled cardboard and cereal boxes as sturdy bases for their pages. The community on Reddit and art journaling forums consistently emphasizes that expensive supplies are not required to make meaningful art.
How to Create Your First Mixed Media Journal Page
Reading about techniques is useful, but actually making something is how you learn. Here is a simple, step-by-step process for creating your first mixed media journal page. This method works with basic supplies and takes about 30 to 45 minutes.
Step 1: Create a Background with Watercolor or Acrylic Wash
Start by wetting your page slightly with clean water, then add loose washes of color. If you are using watercolor, let the pigment flow and pool naturally. If you are using acrylic, thin it with water to create a translucent wash. Do not worry about making it look like anything specific. Abstract color fields work beautifully as backgrounds. Let this layer dry completely before moving on. A heat gun can speed this up, or you can simply set the journal aside and come back to it later.
Step 2: Add Texture with Stencils or Stamps
Once your background is dry, place a stencil on the page and apply a thin layer of acrylic paint or texture paste over it. Lift the stencil carefully to reveal the pattern. If you do not own stencils, you can make your own by cutting shapes from cardboard or plastic sheets. Alternatively, use rubber stamps with ink or paint to create repeating patterns. This layer adds visual depth and makes the page feel more complex than it actually is.
Step 3: Layer Collage Elements and Ephemera
Now tear or cut pieces of ephemera: old book pages, magazine images, patterned paper, ticket stubs, or anything that catches your eye. Arrange them on the page without gluing anything down first. Move pieces around until you like the composition. When you are satisfied, glue them down using a glue stick or gel medium. Overlap pieces slightly for a natural, layered look. Tear edges rather than cutting them for a softer, more organic feel.
Step 4: Add Drawn or Painted Details
With your collage elements in place, use pens, markers, or paint to add drawn details. Outline shapes, doodle patterns, add dots and lines, or draw directly over your collage pieces. This is where the page starts to feel cohesive, as your drawn elements tie together the different layers beneath them. Use a permanent waterproof pen so your marks stay crisp if you add more wet media later.
Step 5: Incorporate Words or Hand-Lettering
Add a quote, a single word, a journal entry, or even random letters across the page. Hand-lettering does not need to be fancy. Your own handwriting is more personal and meaningful than any calligraphy. Some art journalers write first and then paint over most of the text, leaving only fragments visible. This creates a sense of mystery and depth on the page.
Step 6: Finishing Touches
Step back and look at your page from a distance. Add any final splatters of paint, dots of color, or small details that bring everything together. If you want to protect the page, you can seal it with a thin layer of gel medium or clear gesso. Let everything dry completely before closing the journal to prevent pages from sticking together.
Basic Mixed Media Techniques Every Beginner Should Try
Beyond the step-by-step tutorial above, there are several core techniques that form the foundation of mixed media art journaling. Once you understand these, you can combine them in endless ways.
Layering
Layering is the fundamental principle behind all mixed media work. You build a page from the background up: paint first, then collage, then drawing, then details. Each layer partially obscures the one below it, creating depth and complexity. The key is letting each layer dry before adding the next. Rushing this process is the number one cause of muddy colors and smudged details.
Collage
Collage involves gluing papers and other flat materials onto your page. The beauty of collage in mixed media journaling is that there are no rules about what you can use. Magazine images, old photographs, sheet music, handwritten letters, patterned tissue paper, and tea-stained papers all work. Tear pieces into organic shapes rather than cutting perfect rectangles for a more artistic look.
Stenciling and Stamping
Stencils let you add repeating patterns and shapes with minimal effort. Place the stencil, apply paint or ink, and lift to reveal the design. Stamping works similarly but uses carved rubber or foam to transfer images. Both techniques are excellent for adding visual texture without requiring drawing skills.
Combining Wet and Dry Mediums
One of the biggest questions beginners have is how to combine different art mediums without them conflicting. The general rule is to work from wet to dry. Start with your wettest mediums (watercolor, thinned acrylic) and progress toward dry mediums (pencils, pens, markers). Always let wet layers dry before applying dry media on top. If you want to add wet media over dry media, seal the dry layer first with a spray fixative or thin gel medium to prevent smudging.
Troubleshooting Common Issues
Paper warping is the most common frustration. To minimize it, use heavy paper (140 lb or higher), apply thin layers of wet media, and let each layer dry completely. If your paper still warps, press it flat under heavy books overnight after it dries.
Color bleeding happens when wet layers dissolve the layers beneath them. The fix is patience: let each layer dry before adding the next. You can also use a spray fixative between layers to seal the surface.
Muddy colors occur when you mix too many colors on the same page or apply wet paint over still-tacky layers. Limit your color palette to three or four colors per page, and let layers dry thoroughly between applications.
Overcoming Creative Fear and Perfectionism
If there is one thing I hear more than anything from people interested in mixed media journaling, it is some version of: “I am afraid I will mess it up.” This fear is completely normal, and it is also completely unnecessary.
Your journal is not a gallery piece. It is a playground. Every experienced art journaler I have spoken with or read echoes the same sentiment: the pages you think are “ruined” often become your favorites because they push you to try something unexpected. A splotch of paint in the wrong place becomes the background for a new collage element. A smeared line becomes the starting point for an abstract doodle.
One practical tip from the art journaling community: start with the cheapest supplies you can find. When you are not worried about wasting expensive materials, you give yourself permission to experiment freely. Use a dollar-store sketchbook. Use kid’s watercolors. Use junk mail as collage material. The quality of your supplies has nothing to do with the quality of your experience.
Another approach is to deliberately “ruin” your first page on purpose. Scribble across it. Paint it black. Splash water everywhere. Once you have broken the seal of perfection, the following pages come much easier. Many art journalers create a messy first page as a ritual of letting go.
Common Mistakes to Avoid When Starting Mixed Media Journaling
After working through these mistakes myself and seeing them discussed repeatedly in art journaling communities, here are the pitfalls that trip up the most beginners.
Using paper that is too thin is the single biggest mistake. Standard sketchbook paper cannot handle wet media. It warps, it pills, and it tears under the weight of collage. Invest in mixed media or watercolor paper from the start.
Not waiting for layers to dry is a close second. It is tempting to keep working while the paint is still wet, but this leads to muddy colors and smeared details. Patience between layers makes a massive difference in the final result.
Buying too many supplies before starting is a trap. You do not need fifty colors of paint, twelve types of pens, and a collection of stencils on day one. Start with a basic set of acrylics, a few pens, some glue, and whatever papers you have around the house. Add new materials as you discover what you actually enjoy using.
Overloading the page with too many elements makes it feel cluttered and chaotic rather than layered and intentional. When in doubt, leave more breathing room. You can always add more later, but it is hard to take things away once they are glued down.
Comparing your early pages to experienced artists on social media is a quick path to discouragement. Remember that those artists have been practicing for years, and they are sharing their best work, not their messy experiments. Your mixed media journal is for you, not for an audience.
FAQs
What is mixed media journaling?
Mixed media journaling is a creative art form that combines multiple materials and techniques — such as paint, collage, drawing, stamping, and written words — in a personal journal to express ideas, emotions, and artistic experimentation. It prioritizes the creative process over finished results.
What materials do I need for mixed media journaling?
The essential materials are a journal with heavy paper (140 lb or higher), acrylic or watercolor paint, permanent pens or markers, a glue stick or gel medium, and collage elements like found papers, magazine cutouts, or ephemera. You can start with just these basics and expand your collection over time.
How do I start an art journal?
Start by choosing a journal with thick, mixed media or watercolor paper. Create a loose background with watered-down acrylic or watercolor. Let it dry, then add a stencil pattern or collage elements. Layer drawn details with permanent pens, then add words or hand-lettering. Seal the page with gel medium if desired. The most important step is simply beginning.
What papers work best for mixed media journaling?
Paper rated at 140 lb (300 gsm) or heavier works best for mixed media journaling because it can handle wet media without excessive warping. Cold press watercolor paper is the most popular choice for its texture and paint absorption. Mixed media paper is specifically designed for combining wet and dry techniques on the same page.
How do I combine different art mediums in a journal?
Work from wet to dry: start with watercolor or thinned acrylic for backgrounds, let each layer dry completely, then add collage with adhesive, followed by dry mediums like pens and pencils. Always let wet layers dry before adding the next medium. Use a spray fixative or thin gel medium between layers if you need to seal one before adding another.
Getting Started with Mixed Media Journaling Is Easier Than You Think
Mixed media journaling does not require expensive supplies, formal training, or artistic talent. It requires curiosity and a willingness to play. At its core, this practice is about combining materials you enjoy — paint, paper, ink, glue — and seeing what happens when they come together on a page.
Start with the basics: a heavy-weight journal, a few colors of paint, some pens, and whatever papers you have around the house. Follow the step-by-step tutorial in this guide for your first page. After that, let your instincts take over. Try new techniques. Collect ephemera from your daily life. Let pages be messy, incomplete, or weird.
The basics of mixed media journaling come down to three things: choosing paper that can handle wet media, working in layers from wet to dry, and giving yourself permission to make art that nobody else ever has to see. Once you embrace those principles, every blank page becomes an invitation rather than an intimidation.
Pick up your journal and make something today. Your first page does not need to be perfect. It just needs to exist.