
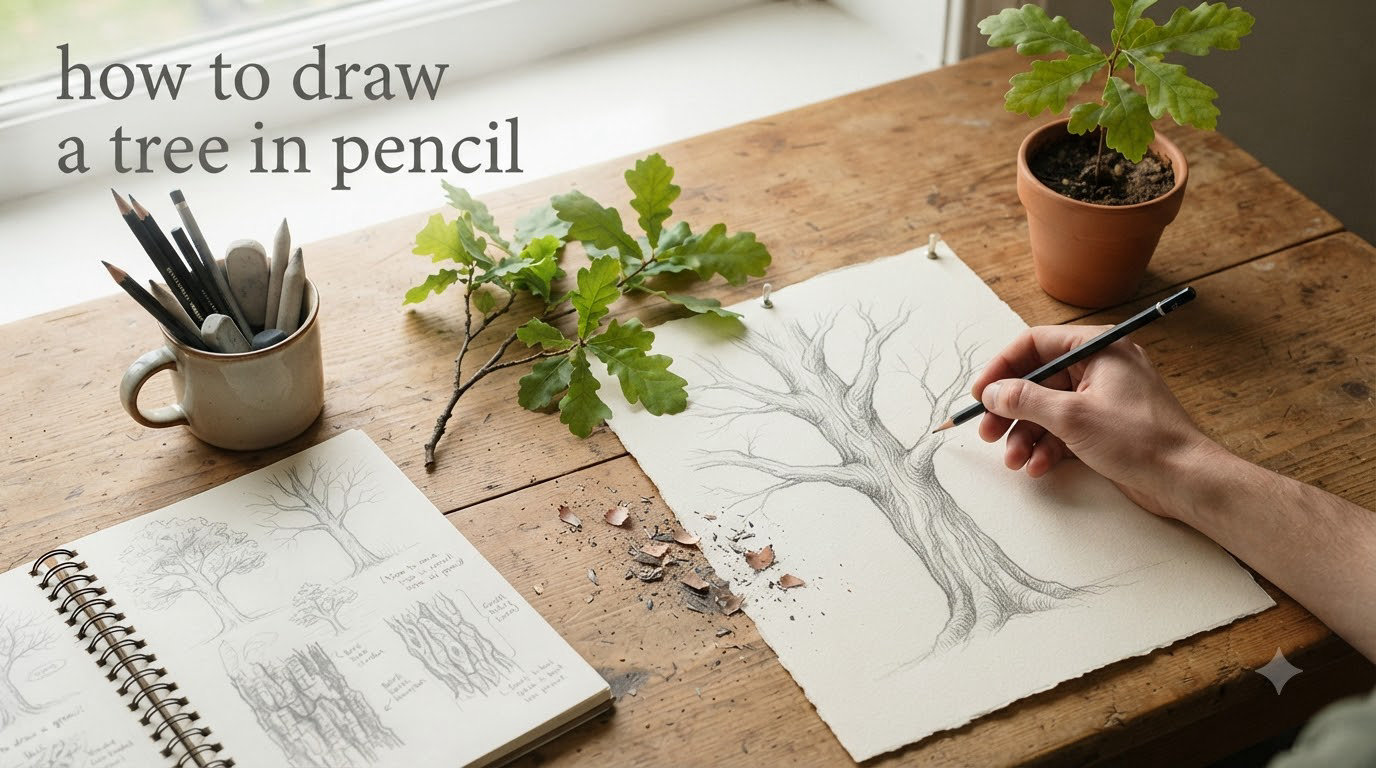
Learning how to draw a tree in pencil opens the door to creating stunning landscape art. Trees are everywhere in nature, making them one of the most useful subjects for any artist to master. Whether you are a complete beginner or returning to drawing after years away, this step-by-step tutorial will walk you through every stage from initial sketch to finished piece.
In this guide, I will share techniques I have refined over years of teaching and personal practice. You will learn about tree anatomy, proper materials, and a foolproof five-step process that works for any tree type. By the end, you will have the skills to draw realistic trees with confidence.
Table of Contents
Materials You Will Need
Having the right supplies makes a significant difference in your drawing experience and results. Here is what I recommend for pencil tree drawing:
Pencils: A range of graphite pencils from 2H (hard) for light sketching to 4B or 6B (soft) for deep shadows. HB is perfect for general drawing. Mechanical pencils work well for fine details.
Paper: Use medium-weight sketch paper with some tooth (texture) to hold graphite. Smooth Bristol board works for detailed work, but textured paper captures tree bark better.
Eraser: A kneaded eraser lifts graphite without damaging paper and can be shaped for precision. A standard white plastic eraser works for heavier removal.
Blending tools: Tortillons (blending stumps), cotton swabs, or even a soft tissue help smooth transitions in shading.
Understanding Tree Anatomy
Before putting pencil to paper, understanding how trees are built will transform your drawings. Trees follow predictable patterns that make them easier to draw than they first appear.
The trunk serves as the foundation, thick at the base and gradually tapering upward. Branches emerge following a Y-pattern, splitting into progressively smaller limbs until reaching twig size. The canopy forms an overall shape—round for oaks, triangular for pines, irregular for many deciduous trees.
Study real trees before drawing. Notice how branches never grow perfectly straight, how bark texture varies by species, and how foliage clumps in masses rather than individual leaves. Winter is the best time to study branch structure since leaves do not block your view.
How to Draw a Tree in Pencil: Step-by-Step Guide
Follow these five steps to create your first realistic tree drawing. Each builds on the previous, so work lightly until you are confident.
Step 1: Sketch the Basic Shape and Contour
Start with a light, loose outline using a 2H or HB pencil. Draw the overall silhouette of the tree without any internal details. Think of this as capturing the tree’s gesture—how it stands, where it leans, how wide the canopy spreads.
Pay attention to the negative space around the tree. The shapes between branches often reveal the tree’s character better than the branches themselves. Keep your arm loose and draw from the shoulder, not the wrist, for flowing lines.
Do not worry about perfection at this stage. This contour is your roadmap, not your final drawing. Erase and adjust until the proportions feel right—the trunk width compared to the canopy height and spread.
Step 2: Build the Branch Structure
Now add the major branches that connect the trunk to the canopy. Follow the Y-pattern rule: branches split into two, then each of those splits again, getting progressively thinner. The trunk should be widest at the bottom and taper smoothly upward.
Remember that branches curve upward as they reach for light, then may droop at the ends under the weight of foliage. No branch grows perfectly straight. Add subtle curves and angles to suggest growth patterns and wind effects.
For deciduous trees, show more branch structure since the canopy is transparent in winter. For conifers like pines, the branches are mostly hidden, so focus on the overall triangular form with subtle texture suggestions.
Step 3: Add Texture and Bark Details
Tree bark provides character and realism. Different species have distinct textures—oak bark is deeply furrowed, birch is papery and horizontal, pine is scaly. Observe reference photos for your chosen tree type.
Use varied mark-making: short vertical strokes, cross-hatching, stippling (dots), or scribbled lines. Vary pressure from light to heavy to create depth in the bark texture. The key is irregularity—nature is never perfectly uniform.
Apply texture selectively. The trunk and visible branches need the most detail, while distant or shaded areas can remain simpler. This selective detail creates depth and keeps the viewer’s eye focused on important areas.
Step 4: Create the Foliage Using Negative Space
This is where most beginners struggle. Instead of drawing hundreds of individual leaves, think in masses and clumps. The negative space—the sky showing through the canopy—is as important as the foliage itself.
Start by identifying the lightest areas in your reference. Leave these white or nearly white on your paper. Build up darker tones around these lights to define the foliage clumps. Use the side of your pencil for broad, soft marks that suggest leaf masses.
Gradually work from light to dark, building layers. Individual leaves appear only at the edges of the canopy or in foreground areas. For distant trees, suggest foliage with a single tone and minimal detail.
Step 5: Apply Shading for Depth and Form
Determine your light source before shading. The side facing the light will be lighter, while the opposite side falls into shadow. The ground beneath the tree also receives a cast shadow.
Use a full range of values from white paper to your darkest 4B or 6B marks. Cross-hatching (layered parallel lines) builds tone while creating texture. Blend areas where you want smooth transitions, like on rounded trunk sections.
Add reflected light along the shadow side of the trunk—this is light bouncing up from the ground that prevents that edge from being completely black. This subtle detail adds tremendous realism to your drawing.
Drawing Different Tree Types
Not all trees look alike, and your approach should adapt to the subject. Deciduous trees like oaks and maples have broad, spreading canopies with visible branch structure. Their bark is often deeply textured. Draw these with more emphasis on individual branch patterns and irregular canopy shapes.
Conifer trees like pines and spruces have a more regular triangular or conical shape. Their branches are shorter and layered, often hidden by needles. Use vertical strokes to suggest needle texture, and keep the overall form more geometric.
Winter trees offer the best structure practice since you can see every branch. Summer trees require you to interpret the leafy masses into clumps. Start with bare winter trees before tackling full-foliage versions.
Common Mistakes to Avoid
After teaching hundreds of students, I see the same errors repeatedly. Flat shading makes trees look like paper cutouts instead of three-dimensional forms. Always establish a clear light source and shade accordingly.
Over-detailing branches within the canopy wastes time and looks unnatural. Remember, branches disappear into foliage masses. Solid outlines around the entire tree kill the illusion of depth. Let edges soften into the background in places.
Ignoring negative space results in blob-like, unconvincing foliage. Study where sky shows through real trees. Wrong proportions—trunks too thin or canopies too small—make drawings look amateur. Compare trunk width to canopy spread constantly.
Trying to draw every leaf individually creates a mess of lines that reads as static, not living. Think masses, not individuals, for most of the tree.
Pro Tips for Realistic Tree Drawings
Observation is your most powerful tool. Spend ten minutes really looking at a tree before drawing. Notice how branches emerge, how bark patterns flow, and how light falls on different surfaces. Take reference photos if you cannot draw on location.
Practice with winter trees first. Without leaves blocking your view, you can study the underlying architecture that supports the foliage. Draw the same tree in different seasons to understand how the same structure appears different.
Start with quick gesture sketches—30-second to 2-minute drawings that capture the essence without detail. These build your visual memory and confidence. Then gradually add detail as you work longer studies.
Keep a sketchbook dedicated to tree studies. Draw one tree per day for a month, and you will see dramatic improvement. Vary your subjects—old trees, young trees, standing alone, in groups, close up, and distant.
Frequently Asked Questions
How to sketch a tree with pencil easily?
Start with a simple contour outline of the overall shape, using light pressure. Focus on the silhouette and ignore details. Use negative space to check proportions. Keep your wrist loose and draw from the shoulder. Practice gesture sketches of 2-5 minutes before attempting detailed drawings.
How to draw a tree realistic with a pencil?
Realism comes from understanding light and shadow. Establish a clear light source, then use a full range of values from white to dark graphite. Study actual trees for accurate bark texture and branch patterns. Add reflected light on shadow sides. Use reference photos and draw from life when possible.
What are common mistakes when drawing trees?
The most common mistakes include: drawing every leaf individually instead of masses, using flat shading without considering light source, making outlines too solid and dark, ignoring negative space, creating trunks too thin for the canopy, and over-detailing branches that should be hidden by foliage.
How to draw leaves on a tree with pencil?
Avoid drawing individual leaves except at the very edges of the canopy. Instead, suggest foliage through clumps and masses. Use the side of your pencil for broad marks. Create texture through varied pressure and mark direction. Let negative space show where sky comes through. Individual leaves only appear in foreground or edge areas.
How to shade a tree drawing?
First determine your light source direction. Shade the side opposite to light darkest. Use cross-hatching or the side of your pencil for smooth transitions. Build tone gradually from light to dark. Add cast shadows on the ground. Include reflected light along the bottom of the shadow side for realism. Blend where forms are rounded, keep texture on bark.
Conclusion
Learning how to draw a tree in pencil takes practice, but following these steps will accelerate your progress dramatically. Start with basic shapes, build structure, add texture thoughtfully, and finish with confident shading. Remember that observation is your greatest teacher—spend more time looking at real trees than you spend drawing them.
Keep a sketchbook with you and draw trees whenever you have a few minutes. Your first attempts may feel awkward, but each drawing teaches you something new. Within weeks, you will notice your trees looking more natural and three-dimensional. Trees are patient subjects that will be there waiting whenever you are ready to draw them again.
Now grab your pencils and find a tree to draw. The best time to start was yesterday. The second-best time is right now.