
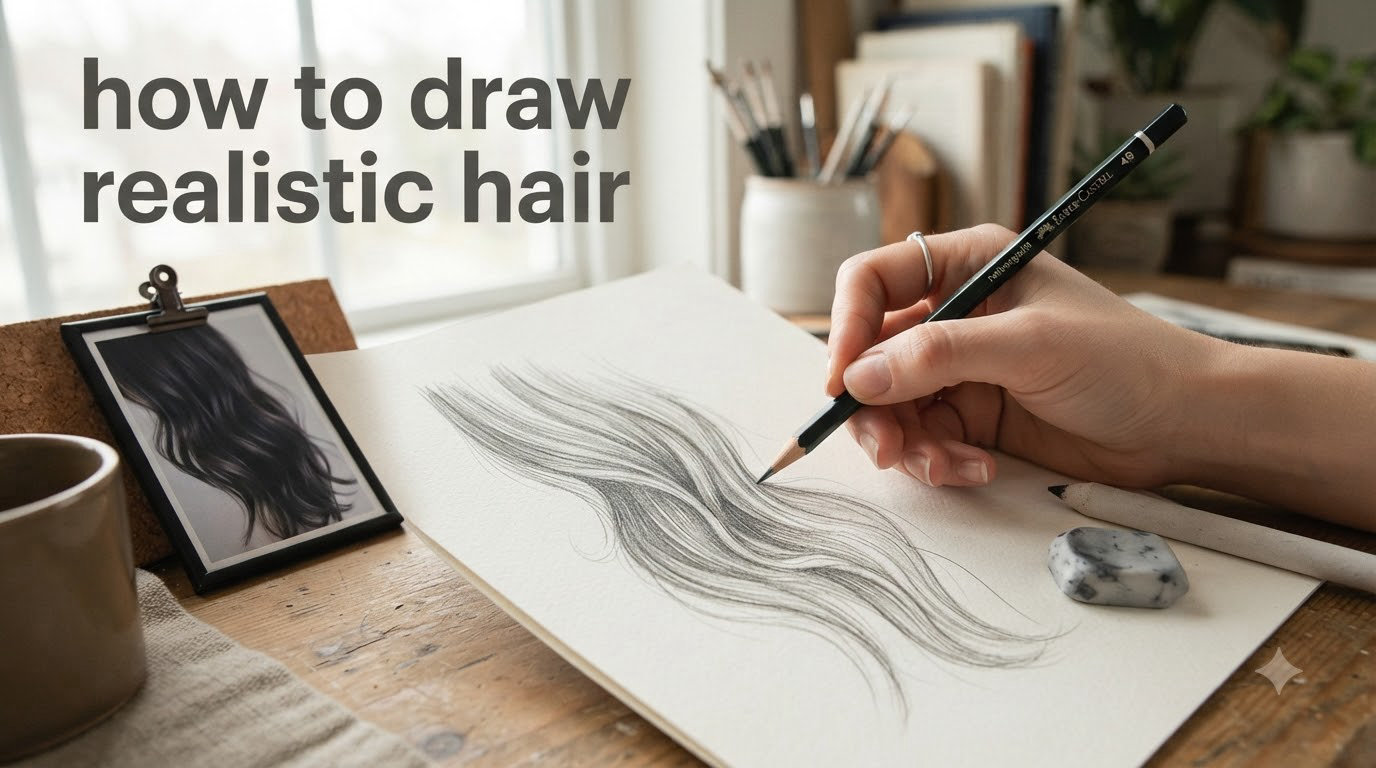
Hair is one of the hardest parts of portrait drawing to master. I spent years avoiding hair in my portraits because every attempt ended up looking like flat spaghetti or weird hanging bananas. The truth is, most beginners struggle with hair because they try to draw every single strand from the start instead of understanding how hair actually behaves as a 3D form. Learning how to draw realistic hair changed my portraits completely.
In this guide, I will walk you through an 8-step process that breaks down hair drawing into manageable phases. You will learn to see hair as shapes first, then gradually build up detail. By the end, you will understand why some hair drawings look flat while others pop off the page with volume and movement.
This tutorial works for graphite pencil artists at any level. Whether you are just starting out or looking to refine your technique, these steps will help you create hair that looks natural, dimensional, and believable.
Table of Contents
Materials You’ll Need
Before diving into the steps, gather these supplies. Having the right tools makes a significant difference in achieving smooth blends and precise details.
Graphite Pencils: You will need a range from HB to 4B or 6B. HB works well for outlines and light tones. 2B and 4B handle midtones and darker areas. A 6B pencil helps achieve the darkest shadows and maximum contrast. Some artists also keep an H pencil handy for the lightest details.
Paper: Smooth Bristol paper or medium-texture drawing paper works best. Avoid rough watercolor paper for realistic hair because it creates unwanted texture. I prefer Bristol vellum surface because it holds graphite well while allowing smooth blending.
Blending Tools: Blending stumps and tortillons are essential for smoothing transitions between light and dark areas. Cotton swabs work well for larger areas. Some artists use tissue paper, but stumps give more control.
Erasers: A kneaded eraser pulls out soft highlights without damaging the paper. A pen-style eraser like the Tombow Mono Zero helps create fine highlight strands and flyaways. Keep a standard white plastic eraser for corrections.
Reference Photo: Print your reference in grayscale to better see value relationships. Some artists print multiple copies at different exposures, one lighter and one darker, to clearly distinguish highlight and shadow areas.
Step 1: Draw Basic Outlines of Head and Hair
Start by establishing the head structure and basic hair shape. Do not worry about individual strands yet.
Draw your head outline first, marking the hairline position. Then sketch a loose outline of the overall hair shape. Keep these lines light and sketchy. You want to capture the general silhouette and flow direction without getting bogged down in details.
Pay attention to how the hair grows from the scalp. The hairline curves around the forehead and temples. Long hair falls differently than short hair. Notice whether the hair parts in the middle, on the side, or has no distinct part.
At this stage, your drawing should look like a simple cartoon version. The outline might seem too simple or even wrong. That is okay. We will build complexity gradually.
Step 2: Analyze and Break Down Hair Into Shapes
Here is where most beginners go wrong. They see hair as thousands of individual strands and try to draw every single one. Instead, see hair as abstract 3D shapes and clumps.
Look at your reference and identify the big shapes first. Hair naturally groups into sections. There might be a large section on top, medium sections on the sides, and smaller sections at the ends. This is the “big, medium, small” principle that gives hair visual interest.
Think of each clump as a 3D ribbon or tube with volume. Hair is not flat against the head. It has thickness and casts shadows on itself. Understanding this 3D form prevents that “hanging bananas” look that plagues so many beginner drawings.
Mark where the light hits each clump and where shadows form. Hair has highlights where light directly strikes and dark areas where hair overlaps or turns away from the light. These value shifts create the illusion of form and volume.
Squint at your reference to simplify what you see. This helps separate light, midtone, and dark areas clearly.
Step 3: Basic Shading
Begin adding tone to your hair shapes. Start with midtones rather than jumping straight to dark blacks.
Using your HB or 2B pencil, fill in the midtone areas of each hair clump. Follow the direction of hair growth with your strokes. If hair flows downward and curves, your pencil strokes should follow that curve. This directional shading establishes the hair’s movement and flow.
Keep your strokes light and build up gradually. It is easier to add more graphite than to remove excess. Work across all the large shapes, establishing the basic light and shadow pattern before moving to finer details.
Leave the highlight areas white or very light for now. Do not worry about perfect smoothness yet. We will blend in the next step. Focus on getting the values roughly correct and the directional flow established.
Step 4: Sculpt Individual Strands
Now we transition from broad shapes to individual strands. But here is the key: we are still drawing clumps of hair, not every single strand.
Using a sharper 2B or 4B pencil, start defining the hair texture with line work. Draw small groups of strands following the established flow direction. Vary your line weight for realism. Some lines should be light, others darker and more defined.
Draw in the direction of the hair growth, never against it. Notice how strands curve and flow together. Avoid drawing strands with pointy ends. Real hair strands have varied ends, and clumps create soft edges where they meet other clumps.
Work across the entire head, adding this strand detail consistently. Do not get stuck perfecting one section while leaving others blank. This helps maintain a cohesive look throughout.
As you add strands, you are sculpting the 3D form. Darker areas recede visually while lighter areas advance. This is how flat drawings gain volume.
Step 5: Blend and Smooth Transitions
Now it is time to smooth those pencil strokes into soft, realistic transitions.
Take a blending stump and work it across the shaded areas. Move from dark to light areas to avoid dragging dark graphite into light zones. Use circular motions or follow the hair direction with gentle pressure.
The goal is soft transitions between values, not muddy uniformity. You want to keep some texture while eliminating harsh lines. Hair has softness but also distinct strands. Finding this balance takes practice.
For larger areas, a cotton swab works well. For tighter spaces around edges and details, stick with a clean blending stump. If your stump gets too dark, clean it on scrap paper or use a fresh one.
Step back frequently and assess. Blending can easily be overdone, leaving hair looking flat and lifeless. If you lose too much detail, you can always add more pencil work on top.
Step 6: Pull Out Highlights
Highlights give hair dimension and make it look shiny and healthy. This is where your erasers become essential tools.
Using a kneaded eraser, gently lift graphite from the highlight areas identified in step 2. Kneaded erasers work like putty, allowing you to shape them into points for precise work or broad surfaces for larger areas. They lift graphite without scrubbing the paper.
For fine highlight strands, use a pen-style eraser. These precision tools let you draw thin, bright lines that represent individual hairs catching the light. Place these highlights where light would naturally hit the hair surface.
Remember that highlights follow the same directional flow as the hair. Curved highlights on curved hair sections. Straight highlights on straight sections.
Create variety in your highlights. Some should be bright and sharp, others softer and more diffused. This variation adds realism and suggests different hair textures and thicknesses.
Step 7: Add Contrast with Darker Values
Now we push the darkest areas to create maximum contrast and visual impact.
Using your 4B or 6B pencil, deepen the shadow areas under hair clumps and where hair overlaps. These dark accents anchor the drawing and make the lighter areas pop. Without strong darks, hair looks washed out and flat.
Build these dark areas gradually. Layer graphite rather than pressing hard. Heavy pressure damages paper texture and creates shine that resists further work.
Focus on the areas where hair masses meet the head, under bangs, and deep within curly sections. These natural shadow areas ground the hair and give it weight.
Check your contrast by squinting at your drawing. The light and dark areas should be clearly distinct even when blurred. If everything looks gray, push your darks darker.
Step 8: Add Final Details (Flyaways and Stray Hairs)
These finishing touches bring hair from good to great.
Add flyaway hairs that break up the smooth edges of your clumps. Real hair is not perfectly contained. Individual strands escape and cross over other sections. Use a sharp pencil or pen-style eraser to draw these crossing lines.
Include stray hairs along the hairline and edges. These fine details add authenticity and life to your drawing.
Look for any areas that need refinement. Add a few more defined strands in focal areas. Soften any harsh transitions. Ensure your darkest darks and lightest lights are balanced throughout.
Step back and view your drawing from a distance. Hair that looks detailed up close should read clearly from across the room. If it does, you have succeeded.
Drawing Different Hair Types
While the 8-step process works for all hair types, each texture requires specific adjustments.
Straight Hair
Straight hair uses longer, smoother strokes. The flow direction is consistent and parallel. Focus on creating smooth gradients between values. Straight hair often has high shine, so emphasize those highlights. The challenge with straight hair is avoiding the “helmet” look. Keep some strands breaking the perfect smoothness for realism.
Wavy Hair
Wavy hair follows S-curve patterns throughout. Each wave creates its own highlight and shadow relationship. Draw in flowing curves, never straight lines. The clumps are more defined in wavy hair. Pay attention to how waves stack and overlap. Volume is key with wavy hair.
Curly Hair
Curly hair requires the most texture. Use shorter, more varied strokes that follow spiral patterns. Each curl catches light differently, creating complex highlight patterns. Build up texture with layers of pencil work. Do not over-blend curly hair or you will lose the texture that defines it. Defined curl patterns with clear light and shadow make curly hair look realistic.
Male Hair
Male hair often means shorter styles. Use shorter strokes and pay attention to how hair grows from the scalp. Edges tend to be more defined. Less volume means more emphasis on texture and individual strands. Beard and facial hair use similar techniques but with even shorter strokes.
Common Mistakes and How to Fix Them
Here are the problems I see most often and how to solve them.
Hair Looks Flat: This happens when values are too similar throughout. Fix it by pushing your darks darker and your lights lighter. Add shadows under hair masses to create depth. Remember that hair has volume and thickness.
Hanging Bananas: This classic beginner mistake makes hair look like separate curved strips hanging down. It happens when you forget that hair clumps have 3D form and overlap. Fix it by thinking of hair as ribbons with thickness that cast shadows on each other. Study how real hair clumps interact.
Lines Too Harsh: Using pure black or pressing too hard creates cartoonish lines. Fix it by varying line weight and using a range of pencil grades. Blend transitions between tones. Real hair has soft edges and subtle value shifts.
No Highlights: Without highlights, hair looks dull and lifeless. Fix it by using erasers to pull out light areas. Study your reference to see where light naturally hits. Even dark hair has highlights.
Over-Blending: Too much blending turns hair into a smooth gray mass. Fix it by adding texture back with sharp pencil work. Define individual strands in key areas. Keep some areas looser while detailing focal points.
Frequently Asked Questions
How to draw realistic hair easy step by step?
Start with basic head and hair outlines. Break hair into 3D shapes and clumps. Add directional shading following hair growth. Sculpt individual strands with varied line weight. Blend transitions smoothly. Pull out highlights with erasers. Deepen shadows for contrast. Add flyaways and final details.
How to draw realistic fluff?
Drawing fluff, fur, or soft hair requires building up layers of short, textured strokes. Use a range of values from light to dark. Keep edges soft with blending. Add fine stray hairs breaking the outline. Study reference photos to see how light interacts with fluffy textures.
What are common mistakes when drawing hair?
Common mistakes include making hair look flat, drawing hanging bananas instead of 3D clumps, using harsh black lines, forgetting highlights, and over-blending into a gray mass. Fix these by understanding hair as 3D forms, varying line weight, adding contrast, and maintaining texture.
How to draw a realistic style?
Realistic style requires careful observation of reference photos. Focus on accurate proportions, proper values, and believable textures. Build up drawings in layers from general to specific. Pay attention to how light falls on forms. Practice regularly and study from life when possible.
How long does it take to learn realistic hair drawing?
Most artists see significant improvement within 2-3 months of consistent practice. Drawing realistic hair requires understanding 3D form, value relationships, and pencil technique. Beginners should expect to spend 10-20 hours of focused practice before feeling comfortable with the techniques.
Conclusion
Learning how to draw realistic hair takes patience and practice, but the results are worth the effort. By following this 8-step process, you move from basic outlines to detailed, dimensional hair that brings your portraits to life.
Remember the key principles: see hair as 3D shapes first, build up values gradually, follow the natural flow direction, and add highlights for dimension. Avoid the common pitfalls of flat values, harsh lines, and over-blending.
The artists I have taught these techniques to have seen dramatic improvements in their work. One student told me her portraits went from “bald by choice” to featuring full, flowing hair she was proud to display.
Grab your pencils, find a good reference photo, and start practicing. Your next portrait does not have to hide behind cropped frames or hats. You have the tools now to draw hair that looks as realistic as the rest of your artwork.