
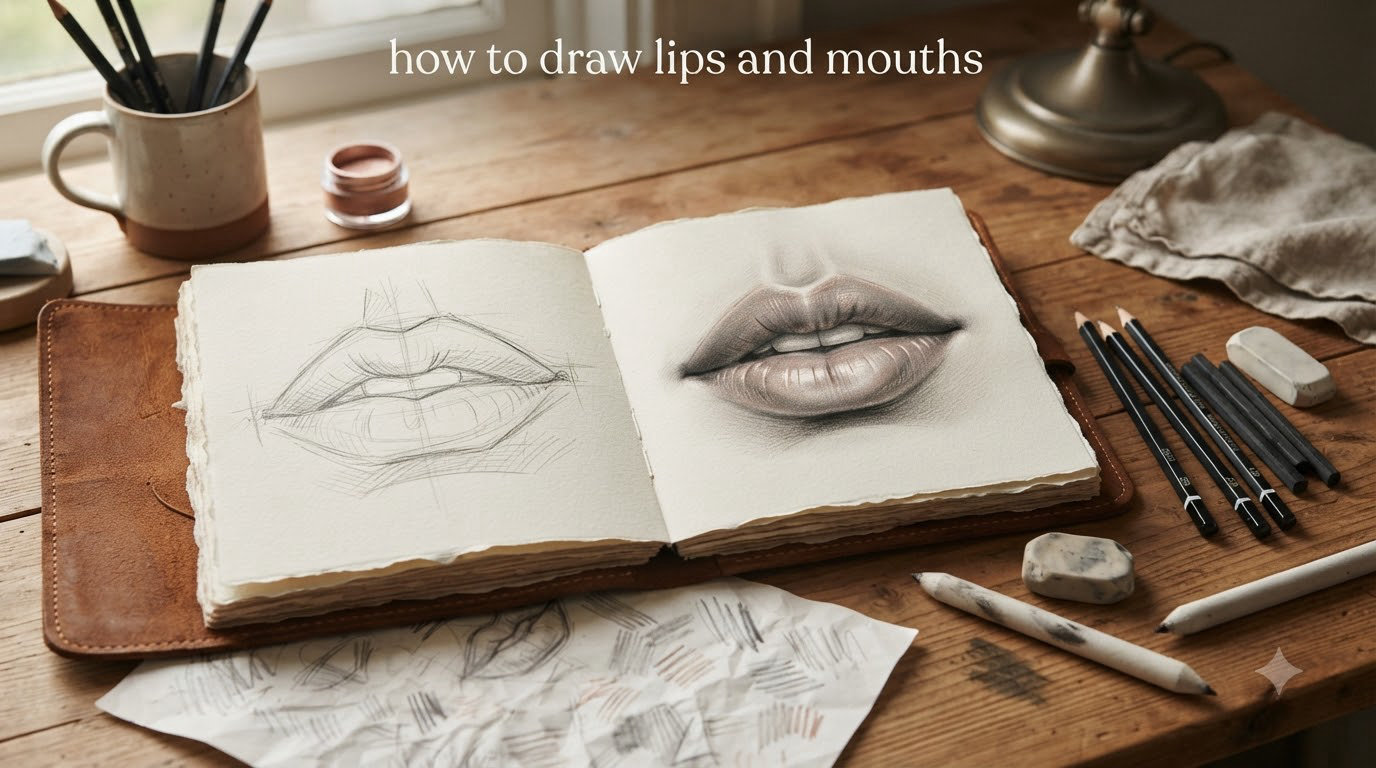
Learning how to draw lips and mouths can transform your portraits from flat and lifeless to vibrant and expressive. The mouth is one of the most dynamic facial features, capable of conveying subtle emotions through slight shifts in shape and tension.
I spent years struggling with lip drawings that looked like simple curved lines until I discovered the right approach. This tutorial breaks down the anatomy, construction methods, and shading techniques you need to create convincing, three-dimensional lips every time.
Whether you are a complete beginner or looking to refine your portrait skills, you will find practical steps and proven techniques in this guide 2026.
Table of Contents
Understanding Lip Anatomy
Before putting pencil to paper, you need to understand what you are actually drawing. Lips are not just two simple curves. They have distinct structures that give them volume and character.
The upper lip features the Cupid’s bow, those two distinct peaks that resemble a bow shape. Between them lies the philtrum, the vertical groove running from your nose to your upper lip. The corners of the mouth are called commissures, and they are crucial for showing expressions.
The lower lip is typically fuller and softer than the upper lip. It catches more light and creates a natural shadow underneath. Understanding these landmarks helps you place features accurately and avoid the common mistake of drawing lips as flat shapes.
The tubercles are small rounded areas on the lips that create subtle bumps and contours. On the upper lip, you have three main tubercles. On the lower lip, there are two. These are not always visible, but they influence how light hits the surface.
Basic Shapes and Construction Lines
Professional artists always start with simple construction shapes. This approach prevents proportion errors and gives you a foundation to build upon. I will show you two proven methods for constructing lips.
The Triangle Method
Draw an isosceles triangle with the base at the top. The height of this triangle determines how full the lips will be. Divide the base line into three equal parts. The middle third will become the visible portion of the upper lip, while the outer thirds help position the corners.
From the top corners of the triangle, draw gentle curves down to the bottom point. These curves should dip slightly below the triangle’s base to create the Cupid’s bow shape. The bottom point of your triangle becomes the center of the lower lip.
The Circle Method
For this approach, draw three small circles stacked vertically. The top two circles sit side by side and represent the peaks of the Cupid’s bow. The bottom circle sits below and slightly larger, representing the fullness of the lower lip.
Connect these circles with smooth curves. The lines between the upper circles form the dip of the Cupid’s bow. Lines extending from the outer edges of the top circles define the corners of the mouth. This method works beautifully for fuller, softer lip shapes.
How to Draw Lips and Mouths Step by Step
Now let us walk through a complete drawing process. I recommend starting with a front-facing view before attempting angles.
Step 1: Establish the Center Line and Width
Draw a horizontal line across your page. This is the mouth’s center line. Mark the midpoint. From there, measure outward to set the mouth width. A typical mouth is about the same width as the distance between the pupils of the eyes, or roughly one eye-width on each side of center.
Step 2: Map the Basic Construction
Using either the triangle or circle method, sketch your construction shapes lightly. Do not press hard. These lines are guides that will be erased or blended later. Mark the position of the Cupid’s bow peaks, the philtrum, and where the lower lip will sit.
Step 3: Draw the Upper Lip Contour
Following your construction guides, draw the upper lip line. Start at one corner, curve up to the first peak of the Cupid’s bow, dip down to the center, then curve up to the second peak, and finally down to the opposite corner. The line should feel organic, not perfectly symmetrical.
Step 4: Draw the Lower Lip Contour
The lower lip sits below the upper lip with a small gap between them unless the mouth is closed tightly. Draw a smooth, rounded curve that is fuller than the upper lip. The center should be the lowest point, rising gently toward the corners.
Step 5: Define the Mouth Opening
Draw a subtle line between the lips to indicate where they meet. In a closed mouth, this line is soft and curved. If drawing an open mouth, this becomes more pronounced, revealing teeth or the dark cavity beyond.
Step 6: Erase Construction Lines
Carefully lighten or erase your initial triangle or circle guides. Leave just enough of your contour lines to guide your shading. This is the stage where many beginners rush. Take your time to get clean outlines.
Step 7: Add Details and Prepare for Shading
Observe reference photos to see subtle details. Small lines radiate from the lips into the surrounding skin. The skin above and below the lips has texture. Mark where highlights will appear, typically on the center of the lower lip and the peaks of the Cupid’s bow.
Shading Techniques for Realistic Lips
Flat lines make flat drawings. Shading gives your lips dimension and life. The key is understanding where light hits and where shadows fall.
Understanding Light Source
Before you shade, decide where your light is coming from. This affects every tonal choice you make. If light comes from above, the upper lip will be darker than the lower lip. The lower lip catches light on its rounded surface while casting a shadow beneath it.
I always mark a small arrow on my paper indicating light direction. This simple step prevents the confusion that makes drawings look inconsistent.
Building Tonal Values
Start with your lightest pencil, usually an HB or 2H. Build up tone gradually. The upper lip is generally darker because it faces downward and curves away from typical overhead lighting. The lower lip receives more direct light and appears lighter.
Use directional strokes that follow the curve of the lips. This emphasizes their rounded form. Avoid random scribbling. Your pencil strokes should travel from one corner toward the center, following the natural flow of the lip shape.
Creating Highlights
Highlights make lips look moist and three-dimensional. Leave areas of your paper white where light would hit directly. On the lower lip, this is typically a horizontal band across the center. On the upper lip, highlights appear on the peaks of the Cupid’s bow.
You can also add highlights with a kneaded eraser shaped to a point. Gently lift graphite to create bright spots. Some artists use white charcoal or gel pens for extra pop.
Adding Wrinkle Lines and Texture
Real lips have subtle texture from fine lines. These should be suggested, not overstated. Use your sharpest pencil point with very light pressure. Draw short, curved lines that follow the lip contour. Concentrate these lines where lips naturally crease, like the center of the upper lip and the corners.
Too many lines will age your subject prematurely. Less is more. Let shading do most of the work, with texture as a finishing touch.
Drawing Different Lip Shapes and Angles
Once you master the front view, challenge yourself with different angles and lip types. Each presents unique construction challenges.
The Three-Quarter View
When the face turns, one side of the mouth comes forward while the other recedes. The far side becomes narrower and higher in your drawing. Use curved construction lines that wrap around the form. The Cupid’s bow shifts off-center.
Pay attention to how the philtrum and shadow under the lower lip change shape. They become diagonal rather than horizontal.
Profile View
From the side, lips become a series of curves and angles. The upper lip typically projects slightly beyond the lower lip. The mouth opening becomes a diagonal line. The nose, philtrum, lips, and chin create a flowing silhouette.
Construction is simpler in profile but requires understanding of depth. The far corner of the mouth sits back in space, while the near corner defines the profile line.
Variations in Lip Fullness
Some people have naturally full lips, others thinner ones. The construction methods remain the same, but you adjust the proportions. Full lips use taller triangles or larger circles. Thin lips use flatter shapes.
Remember that lip fullness changes with age. Younger subjects often have plumper, smoother lips. Older subjects may show more lines and less volume.
Expressions and Emotions
The mouth is incredibly expressive. Small changes create completely different emotional readings.
Neutral Expression
The mouth is relaxed with lips gently touching. The corners sit at a neutral angle, neither upturned nor downturned. The upper and lower lips meet with minimal tension.
Smiling
A smile stretches the lips horizontally and lifts the corners. The upper lip often becomes flatter while the lower lip pushes forward slightly. Crow’s feet wrinkles appear at the outer corners. The cheeks push up, affecting the shape of the lower eyelids.
Subtle smiles barely change the lip shape. Broad smiles reveal teeth and widen the mouth opening significantly.
Frowning
Frowning pulls the corners downward and may push the lower lip outward. Vertical lines appear between the brows and sometimes on the chin. The overall shape becomes narrower and more compressed.
Pursed or Compressed Lips
When someone presses their lips together, the mouth becomes smaller and more defined. The lips flatten against each other. Lines radiate outward from the compressed center. This expression shows tension, concentration, or disapproval.
Common Mistakes to Avoid
I have made every one of these mistakes. Learn from my errors so you can progress faster.
Over-defining the outline: Real lips do not have hard cartoon outlines. Edges soften and blend into surrounding skin. Use shading to define the form, not just a dark line.
Ignoring the light source: Inconsistent shading destroys the illusion of three dimensions. Decide where your light comes from and stick to it.
Drawing lips too flat: Lips wrap around the cylinder of the face. Show this curvature through elliptical construction lines and curved shading strokes.
Making both lips the same value: The upper lip is almost always darker than the lower lip. This contrast is essential for realism.
Overdoing texture: Wrinkle lines should be subtle. Heavy lines make lips look aged or chapped. Use restraint.
Wrong proportions: The mouth sits about one-third of the way up from the chin to the nose, not halfway. The lower lip usually projects further than the upper.
FAQs
How do you draw lips step by step?
Start by drawing a horizontal center line and establishing width. Use construction shapes like triangles or circles to map the lip proportions. Draw the upper lip contour with attention to the Cupid’s bow, then add the fuller lower lip curve. Define the mouth opening, erase construction lines, and build up shading from light to dark. Add highlights and subtle texture lines for realism.
What are the basic shapes for drawing lips?
The two most effective construction methods are the triangle method and the circle method. The triangle method uses an isosceles triangle with the base at the top, helping establish proportions and angles. The circle method uses three small circles, two for the upper lip peaks and one larger circle for the lower lip fullness. Both provide guides that are erased after establishing contours.
How do you shade realistic lips?
Decide on your light source first. Build tonal values gradually using directional strokes that follow the lip curves. The upper lip is typically darker than the lower lip. Leave white paper for highlights, especially on the lower lip center and Cupid’s bow peaks. Blend smoothly and add subtle wrinkle lines with a sharp pencil using very light pressure.
How do you draw different lip shapes?
Use the same construction methods but adjust proportions. For fuller lips, use taller triangles or larger circles. For thinner lips, flatten your construction shapes. In three-quarter view, curve construction lines to show form wrapping around the face. In profile, focus on the silhouette created by nose, philtrum, lips, and chin. Age also affects lip fullness, with younger subjects having plumper lips.
Putting It All Together
Learning how to draw lips and mouths takes patience and consistent practice. The techniques in this guide have helped hundreds of artists improve their portrait work, and they will work for you too.
Start with the construction methods until they feel natural. Focus on understanding lip anatomy before worrying about perfect shading. Remember that every mistake teaches you something valuable about what does not work.
Keep reference photos nearby when you practice. Study how light falls on real lips. Notice how expressions change the shapes. The more you observe, the better your drawings will become.
With these tools and techniques, you now have everything you need to draw convincing, expressive lips that bring your portraits to life. Pick up your pencil and start practicing 2026.