
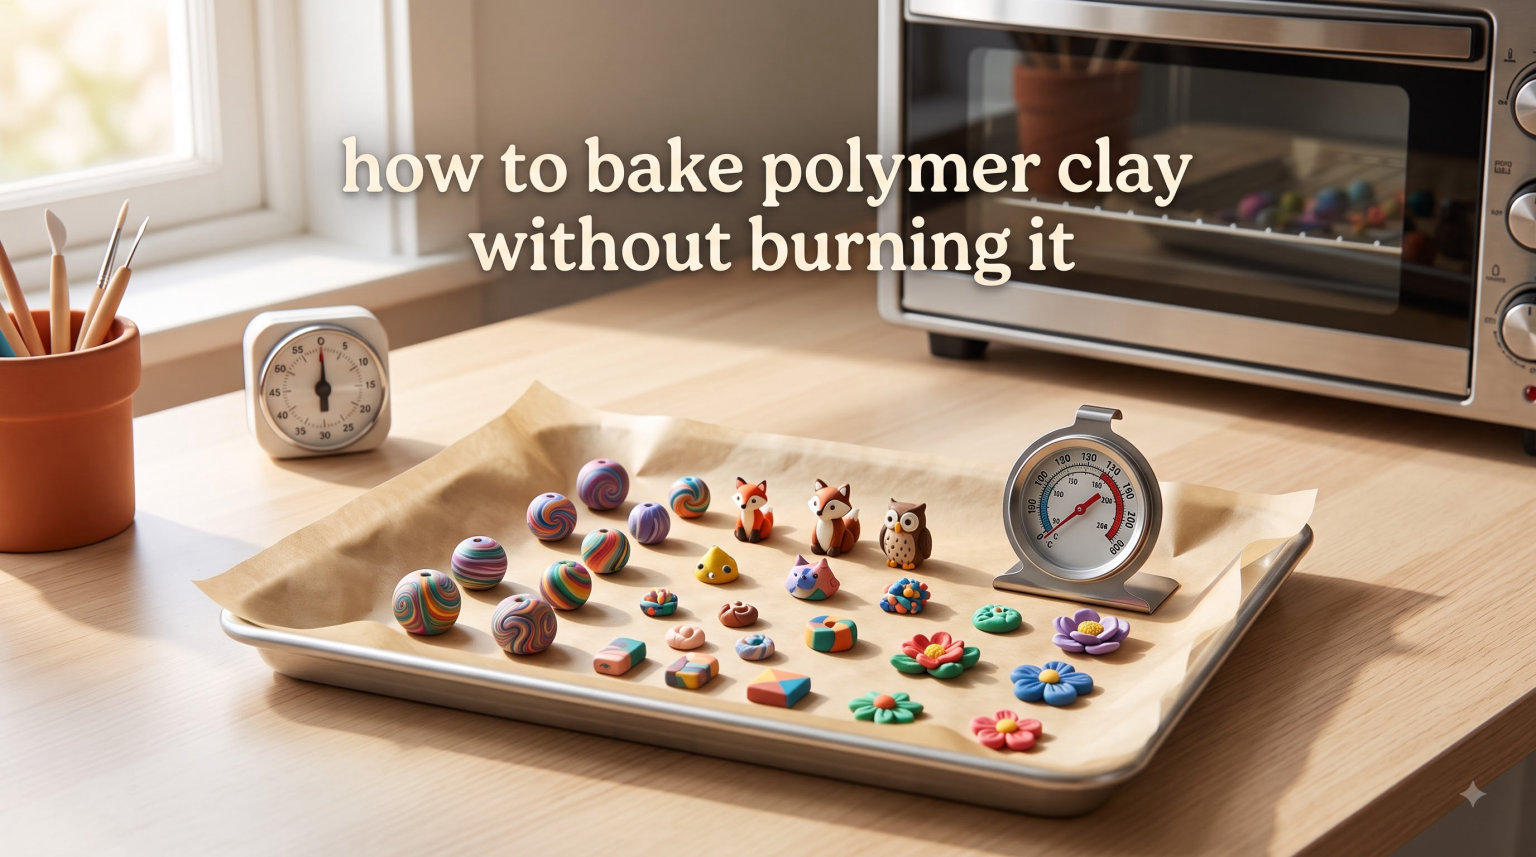
I still remember the first time I pulled a batch of polymer clay beads from the oven and found half of them scorched brown. Hours of careful sculpting, ruined. If you are trying to figure out how to bake polymer clay without burning it, you are definitely not alone. This is one of the most common frustrations for both beginners and experienced crafters, and the good news is that it is completely preventable once you understand what is actually happening inside your oven.
The single most important thing to know: polymer clay does not burn at its recommended baking temperature. Most brands cure between 230F and 275F, and burning only happens when your oven silently spikes above 350F. Your oven dial is lying to you, and that is the root cause of almost every burning problem.
In this guide, our team walks you through every method, tool, and technique you need to bake polymer clay perfectly every single time. We cover oven thermometers, tenting, burial methods, ceramic tiles, brand-specific temperatures, and the most common mistakes that lead to scorched projects.
Table of Contents
Why Does Polymer Clay Burn in the First Place?
Polymer clay is made from PVC particles suspended in a plasticizer. When you heat it to the correct temperature (usually around 275F), a chemical reaction called polymerization occurs and the clay hardens permanently. Burning only happens when the temperature climbs well above that target range.
Most polymer clay brands begin to scorch and darken somewhere between 350F and 400F. At those temperatures, the PVC starts breaking down, releasing fumes and discoloring the clay. The clay itself never “burns” at 275F, no matter how long you leave it in the oven.
So why does burning happen at all? The answer is almost always oven inaccuracy. Home ovens, especially older models and toaster ovens, can spike 50 degrees or more above the temperature you set on the dial. I have tested ovens that were set to 275F but actually reached 380F during their heating cycles. That 105-degree overshoot is more than enough to scorch your work.
There are three main culprits behind burned polymer clay:
Oven temperature spikes: Your oven cycles on and off to maintain temperature, and each cycle can overshoot significantly. Toaster ovens are especially prone to wide swings.
Direct heat element exposure: If your clay sits too close to the top or bottom heating element, radiant heat can cause localized burning even when the overall oven temperature is correct.
Uneven piece thickness: Thin protrusions on a sculpture heat up much faster than thick bodies, so delicate fingers or ear tips can burn while the core is still curing.
There is an important difference between browning and burning. Slight darkening or browning, especially on light-colored translucent clay, can happen at normal temperatures if baked for a very long time. True burning produces dark brown or black spots, a strong acrid smell, and sometimes bubbling or blistering on the surface. Browning is cosmetic. Burning means the clay structure is compromised.
Step 1: Get an Oven Thermometer (The Non-Negotiable Tool)
If you take away only one thing from this entire article, let it be this: buy an oven thermometer. This is not optional. The Reddit polymer clay community, professional sculptors, and every experienced crafter I have spoken with all agree on this point. Your oven dial cannot be trusted.
An oven thermometer sits inside your oven and shows you the actual temperature in real time. You can pick one up for just a few dollars at any grocery or hardware store, and it will save you from destroying countless projects.
How to Test Your Oven’s Actual Temperature
Place the thermometer on the center rack of your oven where you plan to bake your clay. Set your oven to 275F and let it preheat fully. Once the preheat indicator goes off, check the thermometer. You might be surprised to see it reading 310F, 330F, or even higher.
Watch the thermometer for a full 15 minutes after preheating. Ovens cycle on and off, and the temperature will fluctuate. Note the highest and lowest readings during that cycle. If the peak exceeds 325F, your oven is running too hot for polymer clay and you need to adjust.
If your oven runs hot, simply set the dial lower. For example, if your oven reads 310F when set to 275F, try setting it to 250F and see where the actual temperature lands. You are looking for a sweet spot where the thermometer stays between 265F and 280F throughout the cycle.
One tip from the crafting community: many people keep a dedicated toaster oven specifically for polymer clay. This avoids arguments about clay fumes in the kitchen oven and gives you a consistent, controllable baking environment. If you go this route, still use a thermometer. Toaster ovens are even less reliable than full-size ovens.
Step 2: How to Bake Polymer Clay Without Burning It Using Protective Methods
Even with a calibrated oven, protective methods add an extra safety net. These techniques create a buffer between your clay and the heat source, preventing those sudden temperature spikes from reaching your work. I use at least one of these methods on every single bake.
Method 1: Tenting with Aluminum Foil
Tenting is the simplest and most widely recommended protection method. It works by creating a reflective barrier that blocks radiant heat from the oven elements.
How to tent your clay:
Place your clay piece on a baking surface (ceramic tile, parchment paper on a metal tray, or a foil pan).
Loosely tent aluminum foil over the top, creating a dome shape. Do not wrap the foil tightly against the clay.
Make sure there is at least an inch of airspace between the foil and the highest point of your piece.
Crimp the edges of the foil around the baking surface to seal it.
The foil reflects direct radiant heat away from your clay while still allowing the ambient oven temperature to cure it. Think of it like sunscreen for your sculptures. This method alone prevents burning in the vast majority of cases.
Method 2: Burying in Baking Soda or Cornstarch
This technique is especially popular for beads and small, rounded pieces that need to hold their shape during baking. Burying your clay in a bed of baking soda or cornstarch provides even heat distribution and physical support.
How to use the burial method:
Fill an oven-safe container (a glass baking dish or foil pan works well) with about an inch of baking soda or cornstarch.
Place your clay pieces on top of the powder, then gently cover them with more powder until they are fully buried.
Bake at the recommended temperature for your clay brand.
After baking, let everything cool before brushing or rinsing the powder off your pieces.
Baking soda and cornstarch both work well, but there is a small difference. Baking soda can sometimes leave a very slight residue that washes off easily with water. Cornstarch is completely inert and brushes off clean. Some crafters prefer cornstarch for white or light-colored clay to avoid any potential discoloration.
One important note: do not use this method if your clay piece has fine details that could get clogged with powder. For detailed sculptures, tenting or tile baking is a better choice.
Method 3: Ceramic Tiles as Heat Sinks
Ceramic tiles absorb and distribute heat evenly, which prevents hot spots and temperature spikes from reaching your clay directly. This is sometimes called the “tile sandwich” method.
How to use ceramic tiles:
Get two unglazed ceramic tiles (quarry tiles from a hardware store work great and cost very little).
Place your clay on a piece of parchment paper on top of the first tile.
Set the second tile on top, creating a sandwich with your clay protected inside.
Bake as usual. The tiles act as thermal mass, absorbing heat spikes and radiating even, gentle warmth to your piece.
You do not have to fully enclose the clay. Some crafters use just a single tile underneath, which helps prevent bottom burning from the lower heating element. Others place tiles both above and below for maximum protection. The tiles also help flat pieces stay flat during baking, which is a nice bonus.
Method 4: Foil Pan Enclosure
This is essentially a larger version of tenting that creates a mini oven within your oven. It is one of my favorite methods for baking multiple pieces at once.
How to make a foil pan enclosure:
Get two disposable aluminum foil pans of the same size.
Place your clay pieces on parchment paper inside the bottom pan.
Invert the second pan on top to create a sealed enclosure.
Clip the edges together with binder clips to keep the top pan from shifting.
The double-pan setup creates an insulating layer of air around your clay, blocking direct radiant heat from all directions. It is quick, reusable, and effective. I keep a dedicated set of foil pans in my craft supplies just for this purpose.
Method 5: Proper Positioning in the Oven
Where you place your clay in the oven matters more than most people realize. The center of the oven is the sweet spot because it is farthest from all heating elements and has the most even heat distribution.
Positioning tips:
Use the center rack whenever possible.
Never place clay on the oven floor or directly on the bottom rack near the lower element.
If your oven has a top heating element that stays on during baking, make sure there is at least one full rack of space between your clay and the element.
Avoid using the convection setting if your oven has one. The fan creates hot spots and can blow lightweight pieces around.
Combining proper positioning with at least one other protective method (tenting or tiles) is the most reliable approach. I personally use a center rack position with foil tenting for almost everything I bake.
Polymer Clay Baking Temperature and Time by Brand
Different brands have different optimal temperatures and baking times. Using the correct settings for your specific clay is just as important as protecting it from burning. Here is a reference guide for the most popular brands.
Sculpey Original: 275F (135C) for 15 minutes per 1/4 inch of thickness. This is one of the shortest bake times, making it easier to accidentally under-bake rather than burn.
Sculpey Premo: 275F (135C) for 30 minutes per 1/4 inch. Premo benefits from the longer cure time and becomes very strong when properly baked.
Sculpey III: 275F (135C) for 15 minutes per 1/4 inch. Similar to original Sculpey, but this clay is softer and more prone to showing scorch marks, so protection is extra important.
Fimo Soft: 230F (110C) for 30 minutes. Fimo bakes at a lower temperature than Sculpey, which makes it more forgiving in ovens that run slightly hot.
Fimo Professional: 230F (110C) for 30 minutes. Same temperature as Fimo Soft but produces a firmer, more durable cure.
Kato Polyclay: 300F (150C) for 10 minutes per 1/4 inch. Kato bakes at a higher temperature, which can worry beginners, but the short bake time helps compensate.
Cernit: 230F to 265F (110C to 130C) for 30 minutes. Cernit has a slightly wider temperature range, giving you more flexibility.
The golden rule for thickness: Measure your thickest section and calculate bake time based on that. Thin sections will not over-bake as long as the temperature stays correct. It is always better to bake longer at the right temperature than to increase the temperature to speed things up. Polymer clay tolerates extended bake times remarkably well when the temperature is accurate.
Toaster Oven vs Conventional Oven for Polymer Clay
This question comes up constantly in polymer clay forums, and the answer depends on your situation. Both can work, but they have very different characteristics.
Toaster ovens are convenient, compact, and many crafters prefer them because they can keep a dedicated baking unit in their craft space. However, toaster ovens have smaller heating elements that are much closer to your clay. This means more intense radiant heat and bigger temperature swings during the on/off cycling.
If a toaster oven is your only option, you absolutely must use an oven thermometer and at least one protective method (tenting or foil pan enclosure). Some toaster ovens are so inaccurate that you may need to set the dial 25 to 50 degrees lower than the target temperature to get an accurate reading on the thermometer.
Conventional ovens offer more even heat distribution and larger baking areas, which is helpful for bigger projects or baking multiple pieces at once. The heating elements are farther from your work, reducing the risk of direct radiant heat burning. On the downside, you are using your food oven for craft projects, which some people are uncomfortable with.
The community consensus on Reddit and crafting forums leans toward using a dedicated toaster oven for clay only. This avoids any concerns about fumes contaminating food, and once you dial in the temperature with a thermometer, a dedicated toaster oven becomes a reliable clay-baking station.
Whichever oven type you choose, the same rules apply: verify the temperature with a thermometer, protect your clay from direct heat, and bake at the center of the oven.
Signs Your Polymer Clay Is Burning (And What to Do)
Catching burning early can save your project. Here is what to watch for and how to respond.
Visual signs of burning:
Dark brown or black spots appearing on the clay surface
Bubbling, blistering, or cratering on previously smooth areas
One side of the piece darkening while the other side stays normal
Colors shifting dramatically (white clay turning yellow or brown)
Smell: There is a normal polymer clay baking smell that is mild and slightly plasticky. If you notice a sharp, acrid, or burning plastic smell, that is a sign the clay is overheating. Trust your nose. If it smells wrong, it probably is.
What to do mid-bake: If you notice burning starting, remove the piece immediately. It is safe to stop baking and restart later once you figure out the temperature problem. Check your oven thermometer reading and adjust. Add an additional layer of protection (foil tent or move to a tile sandwich) before continuing.
Can burned clay be saved? Minor surface discoloration can sometimes be sanded off or painted over. Some crafters actually use intentional scorching to create wood-grain effects on brown clay. However, if the clay has bubbled, blistered, or turned black, the structural integrity is compromised. That piece is a loss and should be discarded or repurposed.
How to Re-Bake Polymer Clay Safely
One of the most common worries among beginners is whether you can bake polymer clay more than once. The answer is a clear yes. Polymer clay can be baked multiple times without any problems, as long as the temperature stays in the safe range each time.
This is incredibly useful for complex projects. You can build and bake the base of a sculpture, then add more clay details on top and bake again. The already-cured clay will not be affected by the second baking. This multi-stage approach lets you build intricate pieces without worrying about delicate additions getting squished during handling.
When re-baking, follow the same rules: verify your oven temperature, protect the piece with tenting or tiles, and bake for the time recommended for the new clay you have added. The previously cured portions will simply go through another polymerization cycle, which does not harm them.
One caution: if your first bake resulted in any burning or discoloration, the already-damaged areas may darken further with additional baking. Address any temperature issues before re-baking a piece that showed signs of scorching.
Common Polymer Clay Baking Mistakes to Avoid
After years of baking polymer clay and reading through hundreds of forum posts about burning disasters, these are the most common mistakes I see.
Skipping the oven thermometer. This is the number one cause of burned clay. No matter how much you trust your oven, verify the actual temperature before baking your art.
Baking too close to the heating element. Even at the correct ambient temperature, direct radiant heat from an element will scorch the closest surface of your clay within minutes.
Not preheating the oven. Putting clay into a cold oven means it goes through the initial super-hot preheat cycle, where temperatures can briefly spike very high before settling down. Always preheat fully first.
Using a microwave. Never microwave polymer clay. Microwaves heat unevenly and can cause spots of extreme heat that will burn the clay almost instantly while leaving other areas raw.
Taking clay out too early. Under-baked clay is weak and crumbly. It is much better to bake longer at the correct temperature than to cut the time short. Extended baking at the right temperature strengthens the clay.
Baking directly on metal surfaces. Metal baking sheets conduct heat directly to the bottom of your clay, which can cause the bottom to burn while the top is fine. Always use parchment paper or a ceramic tile between your clay and the metal.
Opening the oven door frequently. Each time you open the door, the oven loses heat and then overcompensates by running the elements harder when it closes. This creates temperature spikes that can burn your work.
FAQs
How to bake polymer clay so it doesn’t burn?
Use an oven thermometer to verify your oven’s actual temperature stays between 265F and 280F. Protect your clay by tenting it loosely with aluminum foil or using ceramic tiles as a heat buffer. Always bake on the center rack away from heating elements, and never skip preheating your oven first. These three steps prevent virtually all burning issues.
What temperature should I bake polymer clay?
Most polymer clay brands bake at 275F (135C), but this varies by brand. Fimo bakes at 230F (110C), Kato Polyclay bakes at 300F (150C), and Cernit bakes between 230F and 265F. Always check the packaging for the manufacturer’s recommended temperature and use an oven thermometer to confirm your oven is actually hitting that temperature.
Can you bake polymer clay on aluminum foil?
Yes, you can bake polymer clay on aluminum foil. Foil makes a convenient baking surface and will not harm the clay. However, do not wrap the foil tightly against the clay surface, as this can create shiny spots. Instead, use foil as a loose tent over your piece or as a flat baking surface with parchment paper between the foil and your clay.
Why does my polymer clay keep burning even at the right temperature?
Your oven is almost certainly running hotter than the dial indicates. This is extremely common with both conventional ovens and toaster ovens. Buy an oven thermometer and test the actual temperature inside your oven. Many ovens spike 50 to 75 degrees above the set temperature during their heating cycles. Once you know the true temperature, you can adjust your dial accordingly.
Can I use a toaster oven for polymer clay?
Yes, but with extra caution. Toaster ovens have heating elements very close to your clay, which causes more intense radiant heat and wider temperature swings. Always use an oven thermometer, tent your clay with foil, and consider using ceramic tiles as heat buffers. Many experienced crafters dedicate a toaster oven specifically for clay baking to avoid any food safety concerns.
How long can polymer clay sit before you bake it?
Polymer clay can sit indefinitely before baking as long as it is stored properly. Keep it in an airtight container or ziplock bag away from direct sunlight and heat sources. Polymer clay does not air-dry like other clays, so there is no time pressure to bake it. Some crafters work on projects for weeks before baking. Just make sure dust does not accumulate on the surface.
Is it normal for polymer clay to smell when baking?
A mild, slightly plasticky smell is completely normal when baking polymer clay. However, a strong, sharp, or acrid burning smell is a warning sign that the clay is overheating. If you smell burning, remove the clay immediately and check your oven temperature. Polymer clay fumes from burning are not safe to breathe, so always bake in a well-ventilated area.
What does burning polymer clay look like?
Burning polymer clay shows up as dark brown or black patches on the surface, bubbling or blistering, and sometimes cracking. The clay may appear shiny or warped in the burned areas. Colors will shift dramatically, with light clays turning yellow or brown. One side of the piece may be affected while the other looks fine, which usually indicates direct heat element exposure.
Wrapping Up: Your Burn-Free Baking Action Plan
Learning how to bake polymer clay without burning it comes down to three essential steps. First, get an oven thermometer and actually use it to calibrate your oven before every bake. Second, protect your clay with at least one barrier method, whether that is foil tenting, ceramic tiles, or a foil pan enclosure. Third, always bake on the center rack, away from direct heat elements, with your oven fully preheated.
These three habits will eliminate burning in virtually every situation. The methods we covered are not complicated or expensive, but they do require consistency. Once you build them into your routine, you will never pull a scorched piece from the oven again.
I encourage you to start with a simple test bake. Place a scrap piece of clay on a ceramic tile, tent it with foil, and run your oven at the verified temperature for the recommended time. Seeing a perfectly cured, unburned piece come out of your oven for the first time is a great feeling. From there, you can apply the same process to every project with confidence.
Happy baking, and may all your polymer clay creations come out perfectly cured and beautifully unburned.