
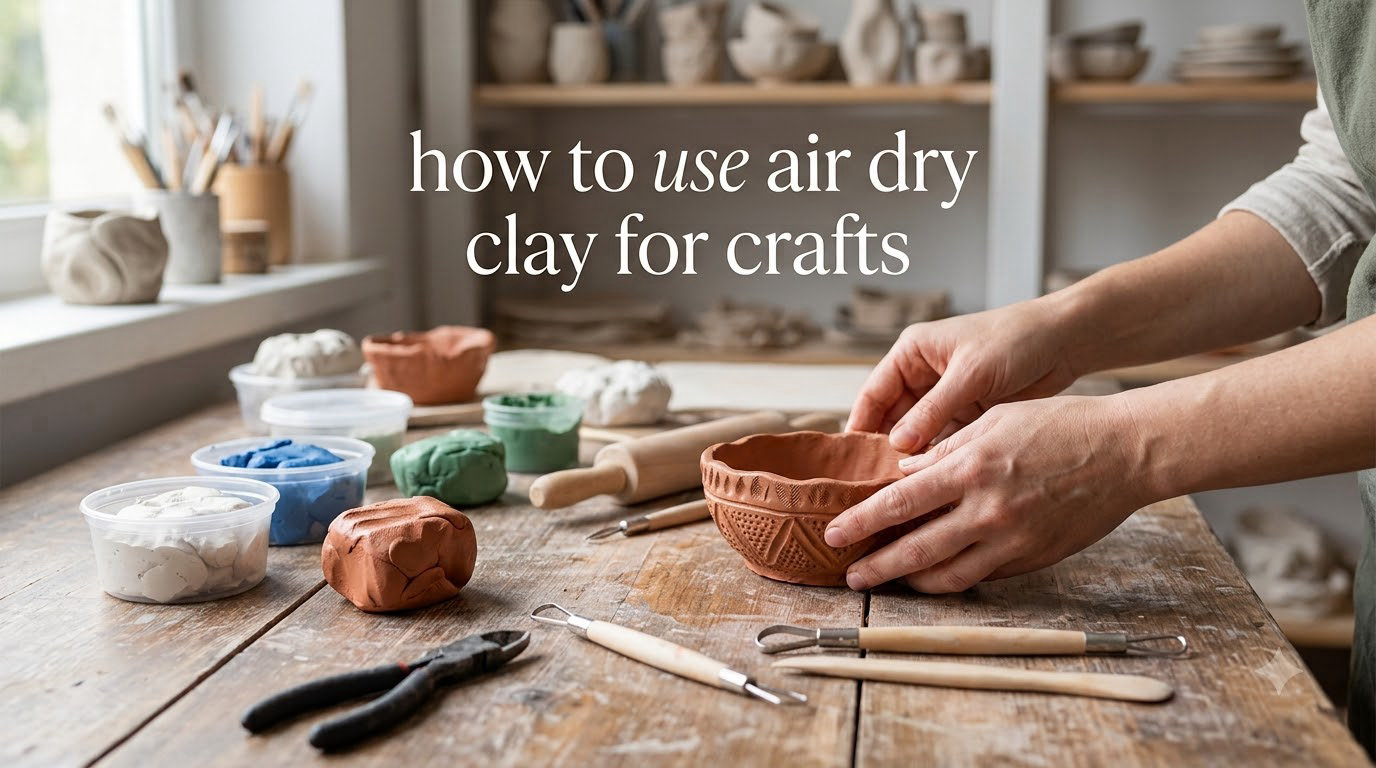
Air dry clay has become one of my favorite crafting materials over the years. There is something deeply satisfying about transforming a soft, pliable ball of clay into a beautiful piece that lasts without needing a kiln or special equipment.
If you have been wondering how to use air dry clay for crafts, you are in the right place. This guide covers everything from the first knead to the final seal, so your projects come out strong and looking great.
Table of Contents
What Is Air Dry Clay?
Air dry clay is a crafting medium that hardens at room temperature without needing a kiln or oven. You work with it just like other clay types, but instead of heat, the hardening happens as moisture evaporates over time.
There are two main types you will encounter. Paper-based clays like Crayola Air Dry Clay contain paper fibers that make them lighter and easier to sculpt. Resin-based clays offer a smoother finish and are more water-resistant once cured.
This accessibility makes air dry clay perfect for home crafts, classroom projects, and anyone who wants to create without investing in expensive equipment. Kids and beginners can jump right in without supervision from hot surfaces or harmful chemicals.
Types of Air Dry Clay
Understanding the differences between clay types helps you choose the right one for your project.
Paper-Based Air Dry Clay
Paper-based clays like Crayola Air Dry Clay are some of the most popular choices. They feel slightly fibrous and accept paint exceptionally well. These clays are great for items you plan to display rather than use functionally.
They tend to be lighter when cured, which makes them ideal for ornaments, decorative bowls, and wall hangings. Just keep them away from prolonged water exposure.
Resin-Based Air Dry Clay
Resin-based options dry smoother and harder than paper variants. They create a more porcelain-like finish that works beautifully for jewelry, beads, and functional items like coasters.
These clays cost slightly more but offer better durability for everyday use. If you want pieces that last, resin-based formulas are worth considering.
Tools and Materials You Will Need
Before you start, gather these essentials. Most are already sitting in your craft drawer.
- Smooth work surface like a silicone mat or marble board
- Rolling pin for flattening clay
- Clay sculpting tools or household items like toothpicks and butter knives
- Water in a small container with a cloth nearby
- Sandpaper for smoothing rough edges
- Paint and sealant for finishing
- Storage container with a damp paper towel for unused clay
Having everything within reach keeps your workflow smooth. Nothing frustrates more than standing up mid-project to hunt for a tool.
How to Knead and Condition Air Dry Clay
Kneading is the single most important step when working with air dry clay. Proper kneading removes air bubbles that cause cracking and makes the clay uniform and workable.
Start by warming the clay in your hands. Roll it into a ball, then fold it in half, pressing down firmly with your palm. Rotate the clay a quarter turn and repeat this motion for three to five minutes.
The clay is ready when it feels like play dough and no longer cracks at the edges when you stretch it. If the clay feels too sticky, let it rest uncovered for a few minutes. If it is crumbling, spritz it lightly with water.
Skipping this step is the most common mistake beginners make. I learned this the hard way after my first project cracked down the middle overnight. The conditioning truly makes the difference between frustration and success.
Shaping and Sculpting Techniques
Once your clay is conditioned, the real fun begins. There are a few fundamental techniques that open up endless possibilities.
Rolling and Flattening
Use a rolling pin to create flat sheets of clay for plaques, tiles, or layered projects. Roll evenly from center to edges for consistent thickness.
Place your clay between two sheets of plastic wrap or wax paper if you want an ultra-smooth surface without sticking.
Forming Basic Shapes
Roll clay into balls for beads, ornaments, or the base of figurines. Cone shapes work for handles and decorative spouts. Smooth your creations by rubbing them gently with your thumb and forefinger.
For hollow forms, roll clay into a thick slab and drape it over a mold. You can use upside-down bowls, jars, or even rolled paper shapes as formers.
Adding Details
Use sculpting tools to carve lines, create textures, and add intricate details. Toothpicks work wonderfully for writing in clay or creating small holes for hanging.
Press leaves, buttons, or other objects into clay to create interesting imprints. This technique adds visual interest without requiring advanced sculpting skills.
The Score and Slip Method for Joining Pieces
This technique solved my biggest struggle with air dry clay. Without proper joining, pieces separate during drying or handling.
The score part means scratching the surfaces you want to join with a fork, toothpick, or sculpting tool. Create a crosshatch pattern that looks like tiny X marks.
The slip is simply a mixture of clay and water that acts like glue. Take a small piece of your clay, mix it with a few drops of water, and stir until you have a paste consistency.
Apply slip to both scored surfaces, press them together firmly, and smooth the seam with your finger. Hold for thirty seconds to let the bond set before moving on.
This method creates bonds that are actually stronger than the surrounding clay. It takes practice but becomes second nature quickly.
The Drying Process: Timing and Tips
Air dry clay typically takes twenty-four to seventy-two hours to fully cure, depending on thickness and humidity. Patience is essential here.
Place your projects on a raised surface like a wire rack to allow air circulation on all sides. This promotes even drying and prevents the bottom from staying damp.
Flip your pieces halfway through drying, especially if they are flat or thin. This prevents warping and ensures thorough curing.
Do not rush the process by placing clay near heat sources. Forced drying causes cracking. Room temperature with good airflow is ideal.
Test readiness by touching the thickest part of your project. If it feels cool or slightly tacky, it needs more time. Completely hard pieces are ready for sealing.
Sealing and Finishing Your Projects
Sealing protects your creations and brings out the natural beauty of the clay. There are several options depending on your desired finish.
Mod Podge
Mod Podge provides a clear, glossy finish and is incredibly easy to apply. Brush it on in thin, even coats and let each layer dry before adding the next.
Two to three coats usually give adequate protection for display items. Add a final coat for extra durability on pieces that will be handled.
Acrylic Varnish
Acrylic varnish comes in matte, satin, and gloss finishes. It offers stronger protection than Mod Podge for items that might get wet occasionally.
Apply with a soft brush using long, even strokes. Multiple thin coats work better than one thick coat.
Can You Use Gesso on Air Dry Clay?
Yes, gesso works well as a primer before painting. It creates an excellent surface for acrylic paints and helps colors appear more vibrant.
Apply gesso in thin layers, allowing each to dry completely. Sand lightly between coats for an ultra-smooth base.
Common Mistakes and How to Avoid Them
Learning from common errors saves you time and frustration. Here are the issues I see most often and how to prevent them.
Cracking: This happens when clay dries too quickly or unevenly. Prevent it by conditioning thoroughly, keeping projects covered while working, and ensuring even air circulation during drying.
Sticking to Work Surface: Use a silicone mat, wax paper, or lightly dust your surface with cornstarch. This releases your project cleanly when you move it.
Pieces Breaking Off: Always use the score and slip method when joining. Pressing two smooth surfaces together does not create a lasting bond.
Paint Peeling: Apply a primer or gesso before painting, and seal with a proper topcoat afterward. Paint without protection lifts easily from bare clay.
Uneven Drying: Thick areas stay damp longer than thin ones. Keep project thickness consistent and rotate pieces regularly during drying.
Beginner Project Ideas
Start with simple projects to build confidence before tackling complex builds.
Trinket dishes are perfect for beginners. Roll clay flat, cut a shape, fold the edges up slightly, and smooth the corners. These make wonderful gifts and take less than an hour to shape.
Beads and pendants teach you to work with small pieces and holes. Roll small balls, poke holes with toothpicks, and string them once dry.
Decorative magnets require minimal clay and no special tools. Flatten small circles, add a pressed design, and glue a magnet to the back after curing.
Coasters teach thickness control. Roll clay to about a quarter inch, cut circles, smooth edges, and seal thoroughly for a useful everyday item.
Ornaments work well for the holidays or anytime. Cut shapes with cookie cutters, poke holes for hanging, and add texture with stamps or everyday objects.
Frequently Asked Questions
How do you use air dry clay for beginners?
Start by kneading the clay until it is warm and pliable, about three to five minutes of working. Shape it into your desired form, join pieces using the score and slip method, and let dry for twenty-four to seventy-two hours. Seal with Mod Podge or acrylic varnish for protection.
What are common mistakes with air dry clay?
The most common mistakes include skipping the kneading step, joining pieces without scoring and slipping, drying too quickly near heat sources, and forgetting to seal finished projects. These issues cause cracking, breaking, and poor durability.
Can you use gesso on air dry clay?
Yes, gesso works excellently as a primer on air dry clay. It creates a smooth surface for painting and helps colors appear more vibrant. Apply thin coats and sand lightly between layers for best results.
Am I supposed to use water with air dry clay?
Lightly misting clay with water helps when it becomes too dry and crumbly. However, avoid over-wetting as it makes clay sticky and harder to work with. A few spritzes from a spray bottle is usually sufficient.
How long does air dry clay take to dry?
Air dry clay typically takes twenty-four to seventy-two hours to fully cure, depending on the thickness of your project and humidity levels. Thicker pieces may need up to a week. Test by touching the center of the thickest area.
How do you seal air dry clay projects?
Apply Mod Podge or acrylic varnish in thin, even coats using a soft brush. Let each coat dry completely before applying the next. Two to three coats provide adequate protection for most projects.
Why is my air dry clay cracking?
Cracking usually occurs from uneven drying, skipping the kneading step, or allowing clay to dry too quickly. Ensure thorough conditioning, maintain consistent thickness, and dry projects at room temperature with good air circulation.
Final Thoughts
Learning how to use air dry clay for crafts opens up a world of creative possibilities. The key is patience with the process and attention to the fundamentals like kneading, joining, and proper drying.
Start with simple projects and work your way up as your confidence grows. Every experienced crafter started exactly where you are now.
Gather your materials, give yourself plenty of time, and enjoy the satisfying experience of creating something beautiful with your own hands.