
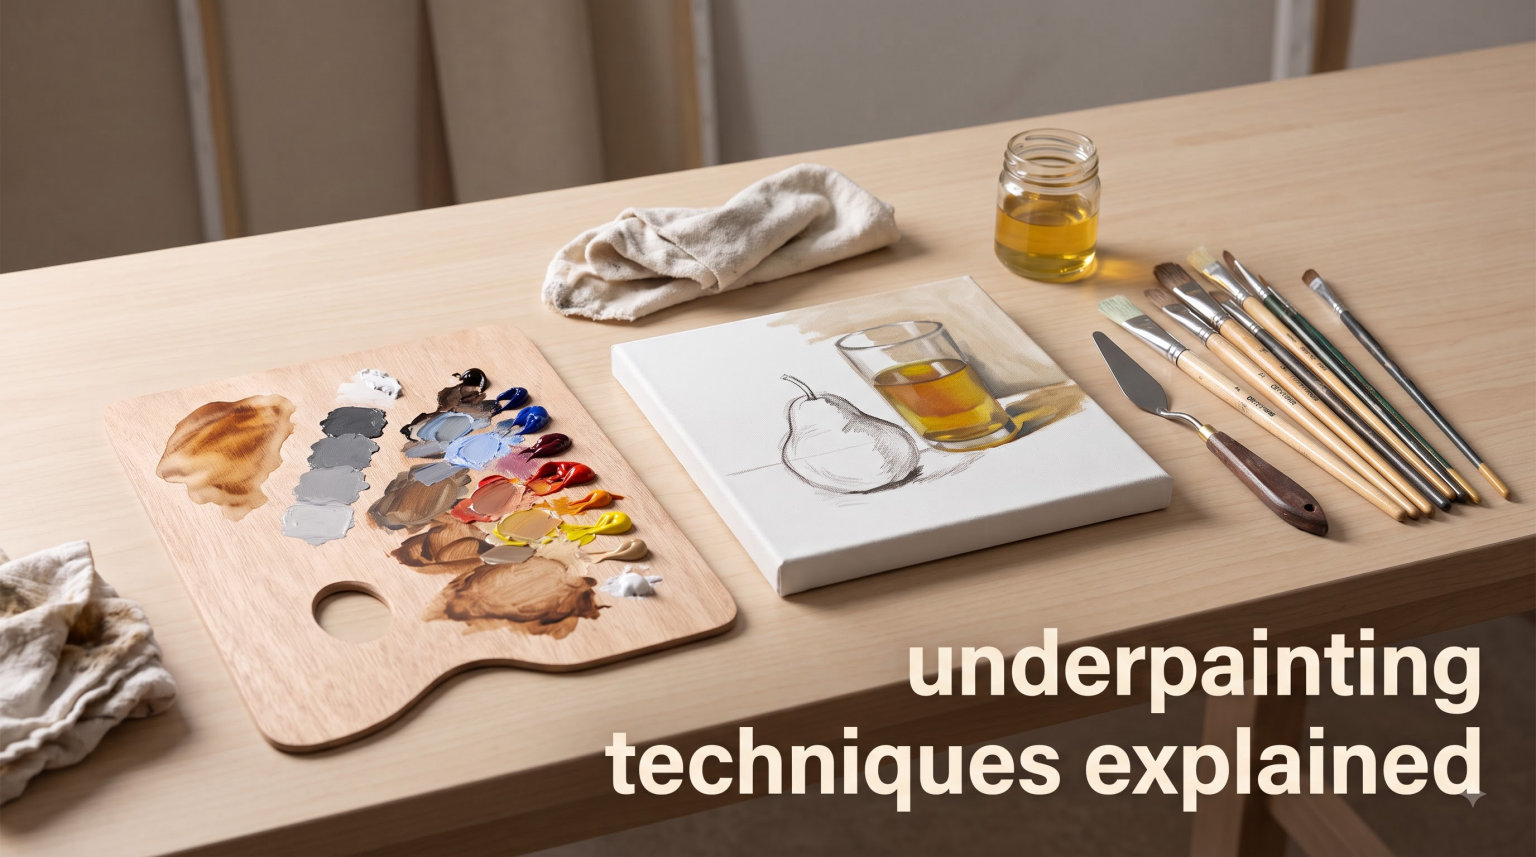
Have you ever finished a painting and felt something was missing? The colors are right, the subject is clear, but somehow the work looks flat and lifeless. I remember staring at my early oil paintings wondering why they lacked the depth I saw in museum masterpieces. The answer was underpainting.
Underpainting is the secret technique the Old Masters used to create that luminous depth in their work. It is a monochrome or low-chroma layer applied to the canvas before adding full color. This foundational step fixes your composition, establishes values, and gives your final painting a richness that cannot be achieved with color alone.
In this guide, I will explain underpainting techniques step by step. You will learn what underpainting is, why it matters, the different types available, and exactly how to do it yourself. Whether you are a beginner or looking to refine your technique, this article covers everything you need to know about this classical foundation method.
Table of Contents
What Is Underpainting?
Underpainting is a preliminary layer of paint applied to your canvas or panel before the final painting. Think of it as the skeleton of your artwork. It provides the structural foundation upon which all subsequent layers rest.
Traditionally called “dead coloring” by Renaissance painters, underpainting serves multiple purposes. It establishes the drawing, fixes the composition, and creates a tonal map of light and shadow. Artists like Vermeer, Titian, and Caravaggio relied heavily on this technique to achieve their signature depth and realism.
The term “monochrome underpainting” refers to using a single pigment color, thinned to create a full range of values from light to dark. This approach allows you to focus purely on value relationships without the distraction of color. Once dry, you paint over this foundation with your full palette, letting the underlayer show through in places to create optical mixing and depth.
Why Underpainting Matters
Skipping underpainting is like building a house without a foundation. Here are five key reasons this technique transforms your paintings:
1. Creates Depth and Dimension
The underlayer provides a unifying tone that makes your colors glow from within. When you glaze thin color over a warm underpainting, light penetrates the upper layers, reflects off the base, and returns to the viewer’s eye. This optical effect creates that luminous quality found in classical paintings.
2. Establishes Values Early
By mapping out your lights and darks before adding color, you solve the value puzzle while the painting is still simple. This prevents the common problem of mid-tone mush, where everything ends up the same grayness because you lost track of your value structure.
3. Provides Color Direction
Your underpainting color choice sets the emotional temperature of the entire piece. A warm burnt sienna underlayer gives portraits a healthy glow. A cool raw umber base creates atmospheric distance in landscapes. This harmony carries through every layer you add.
4. Fixes Composition Problems
It is much easier to correct drawing errors in a thin monochrome layer than in thick color passages. Underpainting lets you move elements, adjust proportions, and refine edges without wasting expensive pigments.
5. Speeds Up the Painting Process
With your values and drawing established, you can focus purely on color application in subsequent sessions. Many professional painters complete underpaintings in a single sitting, then build color over several days.
Types of Underpainting Techniques
Artists have developed several distinct approaches to underpainting over the centuries. Each creates a different effect and suits different subjects.
Monochromatic Underpainting
Monochromatic underpainting uses a single pigment thinned with medium to create a full value range. This is the most traditional approach and the best starting point for beginners.
The technique works additively by building lights with more opaque paint, and subtractively by wiping out or scraping back to create dark accents. Common pigments include raw umber, burnt umber, and ultramarine blue. The single-color restriction forces you to concentrate on value relationships, which is the key to realistic painting.
Grisaille Underpainting
Grisaille is a gray-based underpainting technique popular among Renaissance painters. The name comes from the French word for gray. Artists typically mix ultramarine blue with burnt umber to create a neutral gray that can be warmed or cooled as needed.
This technique works beautifully for portraits and figure paintings where you want cool shadows and warm lights. The neutral base allows for maximum flexibility when adding color glazes. Many Old Masters used grisaille for the shadow areas of their paintings while allowing warm imprimatura layers to show through in the lights.
Verdaccio Underpainting
Verdaccio is a green-gray underpainting specifically developed for portraiture. Italian masters like Leonardo da Vinci used this technique extensively. The color comes from mixing black, white, and yellow pigments to create a muted greenish tone.
This might sound strange for skin, but verdaccio works because it neutralizes the pinkness that makes flesh look sunburned. When you glaze warm flesh tones over this cool green base, the optical mixing creates realistic, lifelike skin. The technique is particularly effective for depicting older subjects or dramatic lighting.
Brunaille Underpainting
Brunaille uses brown pigments, typically raw umber or burnt umber, as the underpainting base. This warm approach is ideal for landscapes, still lifes, and any subject where you want an earthy, grounded feeling.
Burnt sienna underpainting is another popular variation that gives portraits a healthy, Mediterranean warmth. Many contemporary portrait painters use this as their standard approach because it reduces the amount of warm glazing needed later. The warm undertone peeks through skin passages, creating that living, breathing quality.
Two-Color Underpainting
The two-color method is a modern evolution of classical technique. Instead of limiting yourself to one pigment, you use two colors that either harmonize with or contrast against your final color scheme.
For example, painting a sunset might involve an ultramarine blue underlayer for the upper sky transitioning to burnt sienna for the horizon. This establishes both your value structure and your color temperature shifts from the very beginning. The method requires more planning but can speed up the final painting significantly.
How to Choose Your Underpainting Color
Selecting the right underpainting color depends on your subject and desired outcome. Here is a simple framework for making this decision.
Consider Your Subject Matter
For portraits, warm earth tones like burnt sienna or raw umber create healthy skin tones. Landscapes benefit from cooler bases like raw umber or ultramarine blue to establish atmospheric depth. Still lifes can go either way depending on the mood you want.
Harmonizing vs Contrasting Approaches
A harmonizing underpainting uses colors similar to your final palette. Burnt sienna under warm portraits keeps everything in the same color family. A contrasting approach uses complementary colors. A green verdaccio underlayer makes warm skin tones pop more vibrantly through optical mixing.
Budget-Friendly Pigment Recommendations
You do not need expensive pigments for underpainting. Student-grade raw umber, burnt umber, and ultramarine blue work perfectly. These three colors cover most underpainting needs. Avoid student-grade titanium white for verdaccio mixes, as the opacity can be problematic. Instead, use a small amount of artist-grade flake white replacement.
Underpainting Techniques Step by Step
Here is the complete process I use for creating an effective underpainting. Follow these steps and you will have a solid foundation for your painting.
Step 1: Gather Your Materials
You will need your chosen underpainting pigment, a solvent like odorless mineral spirits or turpentine, a medium such as linseed oil, and brushes suitable for thin paint application. A soft rag or paper towels help with the subtractive technique. Your surface should be primed and ready to receive paint.
Step 2: Prepare Your Surface
Many artists apply a thin imprimatura first. This is a transparent wash of color that unifies the canvas tone. Burnt sienna thinned to a tea consistency works well. Let this dry completely before proceeding. The toned surface helps you judge values more accurately than working on stark white.
Step 3: Block In the Big Shapes
Using your underpainting color thinned to an inky consistency, sketch in the major shapes. Do not worry about details yet. Focus on correct placement and proportions. Keep the paint thin enough that you can easily wipe it away if you make mistakes.
Step 4: Establish Your Value Structure
Now map out your darkest darks and lightest lights. Work from general to specific. Add thicker paint in the light areas for opacity. Wipe away or scrape out the darkest accents. Your goal is a complete value map that reads correctly from ten feet away.
Step 5: Refine the Drawing
Once your values are established, refine the drawing. Correct any proportional errors. Add subtle half-tones to model the forms. Keep edges soft at this stage; you will sharpen them later with color layers.
Step 6: Let It Dry
This is the hardest step for impatient painters. Your underpainting must be completely dry before adding color. Depending on thickness and medium, this takes anywhere from two days to a week. Using alkyd mediums speeds this process significantly.
Step 7: Begin Color Application
With your dry underpainting as a guide, begin applying color. Start thin and transparent, letting the underlayer show through. Build opacity gradually where needed. The underpainting will guide your color choices and prevent you from going too light or too dark.
Common Mistakes to Avoid
After teaching this technique to hundreds of students, I see the same errors repeatedly. Here is how to avoid them.
Using Too Much Paint
Underpainting should be thin, especially in the shadow areas. Thick paint here creates texture that fights your subsequent layers. Keep shadows thin and transparent. Reserve thick paint for the light areas only.
Choosing the Wrong Pigment
Not all pigments work for underpainting. Avoid staining colors like phthalo blue or alizarin crimson. They are hard to adjust once applied. Stick to traditional earth pigments that lift and wipe easily.
Rushing the Drying Time
Painting over a wet underpainting causes mud. The wet layer mixes with your color, destroying the value structure you worked so hard to establish. Wait for complete dryness. Use a fan or drying medium if you are impatient.
Overworking the Underlayer
Underpainting is meant to be rough. Do not try to finish every detail at this stage. Think of it as a map, not the destination. Over-refining wastes time since you will paint over most of it anyway.
Ignoring the Tonal Map
The whole point of underpainting is establishing values. If your underlayer does not read correctly in grayscale, your color painting will fail. Step back frequently and squint at your work to check value relationships.
FAQs
What is an underpainting in art?
An underpainting is a preliminary layer of paint applied to a canvas or panel before the final painting. It is typically done in monochrome or low-chroma colors to establish the composition, drawing, and value structure. This foundation layer provides depth and guides subsequent color application.
What color should I use for underpainting?
The best underpainting color depends on your subject. Raw umber or burnt umber work well for general use. Burnt sienna is excellent for warm portraits. Ultramarine blue mixed with burnt umber creates grisaille for cool shadows. Verdaccio, a green-gray mix, is traditional for portraiture.
What are the different types of underpainting?
The main types include monochromatic underpainting (single pigment), grisaille (gray-based), verdaccio (green-gray for portraits), brunaille (brown-based), and two-color underpainting (using harmonizing or contrasting hues). Each creates different effects suited to different subjects.
Why is underpainting important in oil painting?
Underpainting creates depth through optical layering, establishes values early when corrections are easier, provides color harmony direction, fixes composition problems before expensive pigments are used, and speeds up the painting process by solving structural issues first.
Can I use acrylic for underpainting oil paintings?
Yes, acrylic underpainting is a popular modern approach. Acrylic dries quickly and provides a stable base for oil paint. Use matte or semi-gloss acrylics, not high-gloss formulations. Ensure the acrylic is fully cured (24-48 hours) before applying oil paint over it.
Conclusion
Underpainting techniques explained in this guide give you the foundation to create paintings with professional depth and luminosity. From the monochromatic approach favored by beginners to the sophisticated two-color method, each technique solves the problem of flat, lifeless color application.
Remember that underpainting is a tool, not a rule. Some paintings benefit from extensive underlayers while others need only a simple tonal wash. Experiment with grisaille, verdaccio, and brunaille approaches to discover what suits your style. The time invested in learning these classical techniques pays dividends in every painting you complete.
Start your next painting with an underpainting and see the difference for yourself. The Old Masters knew what they were doing. 2026