
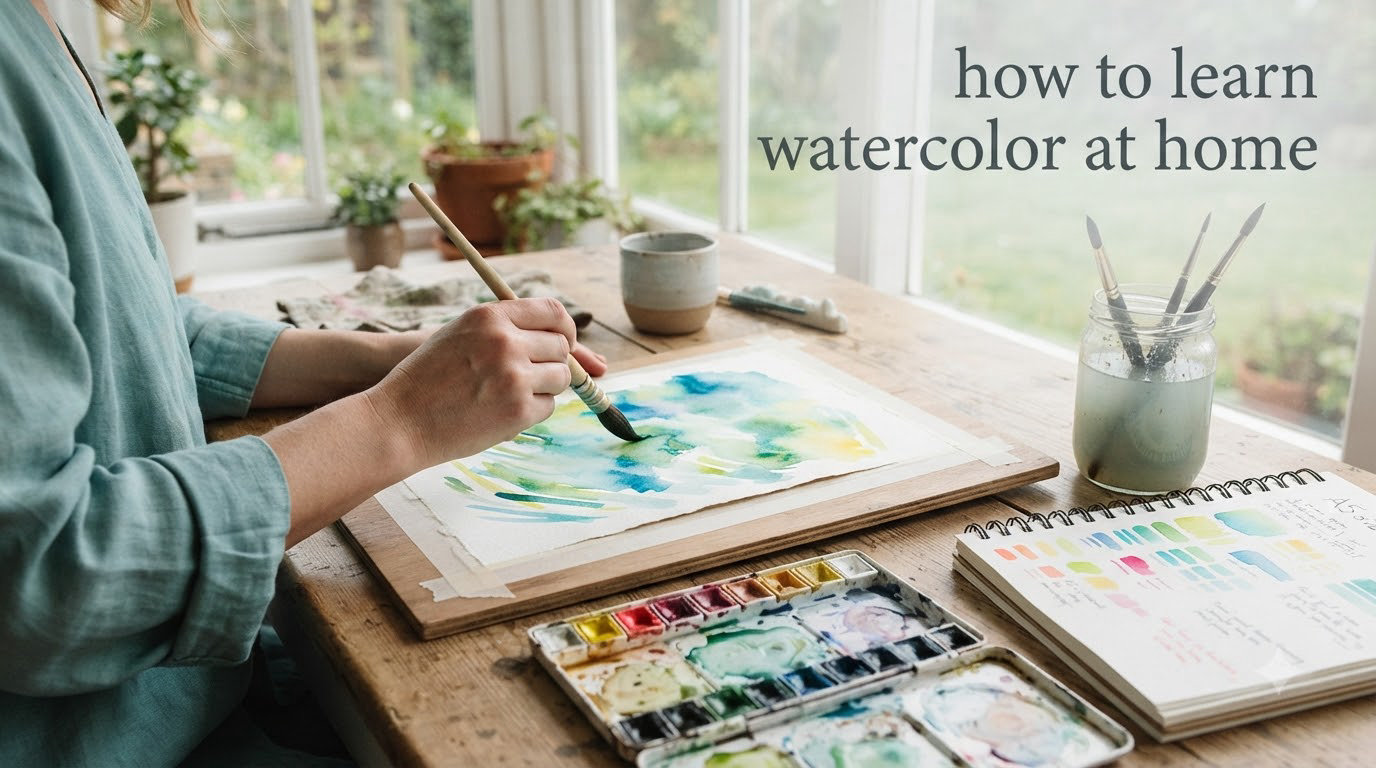
When I first picked up a watercolor brush, I had zero artistic training and a cheap pan set from a craft store. Three months later, I had filled two sketchbooks and discovered something unexpected: watercolor became my meditation practice. If you have been wondering how to learn watercolor at home, you are in the right place. This guide walks you through everything you need to start, from supplies to techniques, without requiring any previous art experience.
Table of Contents
Can You Teach Yourself Watercolor Painting?
Yes, you absolutely can teach yourself watercolor painting. Countless artists have learned this medium without formal classes, using YouTube tutorials, books, and sheer practice. Our team spent months reviewing beginner watercolor communities and found that self-taught watercolorists consistently succeed when they focus on process over perfection.
The key is starting simple and building gradually. You do not need expensive supplies or natural talent. You need willingness to experiment and patience with yourself. Watercolor has a learning curve because it behaves differently than other paints. The water flows, blends, and sometimes does unexpected things. That unpredictability is actually what makes it so meditative.
Online resources have made learning watercolor at home easier than ever. YouTube channels like Ellen Crimi-Trent, Chris Petri, and Lindsay Weirich offer free step-by-step tutorials specifically designed for beginners. Books like Sarah Simon’s Watercolor Workbook provide structured exercises that build muscle memory. The community on Reddit’s r/Watercolor and r/watercolor101 offers support and feedback when you feel stuck.
Setting Up Your Watercolor Workspace
One reason watercolor is perfect for home learning is that it requires minimal space. You can set up a small corner of a desk or kitchen table in under ten minutes. When you finish a session, cleanup takes only a few minutes.
Start with a surface that is comfortable height for sitting or standing. Cover it with a protective layer like a silicone mat or old towel to catch any water splashes. You need good lighting, preferably natural light from a window, though a bright desk lamp works too. Position your water containers within easy reach, one for clean water and one for rinsing brushes.
Organization matters more than you might expect. Keep your paper, paints, and brushes accessible. If you have to dig through supplies every time you want to practice, you are less likely to do so. A simple tray or small box to hold everything works well. Many beginners find that a portable watercolor set with a built-in mixing palette makes setup and cleanup even faster.
Your workspace does not need to be permanent. You can pack everything away after each session. This flexibility means you can practice watercolor even in a small apartment or shared living space. The only non-negotiable is having a flat surface where your paper can dry without being disturbed.
Essential Watercolor Supplies for Beginners
Watercolor Paper: The Most Important Investment
Newcomers often make the mistake of buying cheap paper, then wonder why their paintings look dull or buckle easily. Watercolor paper is not where you should economize. The paper affects everything: how the paint flows, how colors appear, and how forgiving the medium feels.
Understanding paper weight matters. Weight is measured in GSM (grams per square meter). For beginners, 140lb (300 GSM) paper offers the best balance of absorbency and durability. Lighter papers like 90lb (190 GSM) buckle easily when wet, making painting frustrating. Heavier papers handle multiple washes without warping.
Cotton paper outperforms cellulose paper in every way that matters for watercolor. Cotton holds pigment beautifully, allows for lifting and corrections, and provides that characteristic luminous quality watercolor is known for. Student-grade papers are often made from wood pulp and work for practice but limit your potential. Look for 100% cotton or at minimum 50% cotton content.
Paper textures fall into three categories: cold-pressed, hot-pressed, and rough. Cold-pressed has a medium texture with slight tooth, which most beginners prefer. It holds water and pigment well without being overly absorbent. Hot-pressed is smooth and good for detailed work but can feel slick. Rough paper has pronounced texture that creates interesting effects but can make blending challenging.
For starting out, a student-grade cold-pressed cotton pad around 9×12 inches works beautifully. You do not need full sheets until you progress further. Starting smaller actually helps because it reduces overwhelm and makes completing a painting feel more achievable.
Watercolor Paint: Pan Sets vs Tubes
Both pan sets and tube paints work well for beginners. Pan sets come in convenient travel-friendly containers and are perfect for learning color mixing basics. The paint is already hydrated, so you can start painting immediately. Student pan sets from brands like Winsor Newton Cotman or Daniel Smith offer decent quality at reasonable prices.
Tube paints offer richer pigment concentration and are better for covering large areas. You squeeze a small amount onto a palette, let it dry slightly, and then reactivate with water as you paint. Many beginners find tubes more intuitive for loading brushes and controlling paint consistency.
What matters most is choosing artist-grade or professional paints eventually. Student-grade paints use less expensive pigments and more extenders, resulting in less vibrant colors and poorer lightfastness. However, starting with student grade while learning is perfectly fine. You can upgrade as you develop your preferences.
For your first set, include a limited palette of essential colors: a warm and cool of each primary (red, yellow, blue), plus a neutral or earth tone. You do not need twelve different blues on day one. Learning to mix colors from a limited palette teaches you more about color theory than having every pre-mixed option available.
Brushes for Beginners
You need fewer brushes than you might expect. A quality round brush in sizes 4, 8, and 12 covers most beginner techniques. Round brushes have a pointed tip for detail work and a thick body for washes.
Synthetic brushes work well for beginners and cost less than natural hair brushes. They hold their shape, clean easily, and perform reliably with watercolor. Natural hair brushes like sable offer superior color holding capacity and softer hairlines, but quality synthetics come very close at a fraction of the price.
Look for brushes with good snap (the way they return to their original shape after bending). Test brushes by flexing the bristles gently. They should spring back immediately. Handles are personal preference. Some painters prefer longer handles for more control; others like shorter handles for detail work.
Beyond rounds, a mop brush becomes useful once you tackle larger washes. A mop holds large amounts of water and paint, making it ideal for background washes and wet-on-wet techniques. However, you can accomplish most beginner work with just round brushes.
Understanding the Golden Rule of Watercolor
The golden rule of watercolor is simple: always paint from light to dark. Unlike acrylic or oil paints where you can paint light colors over dark ones, watercolor layers work the opposite way. Light areas stay light because you cannot lighten a dark wash easily.
This rule shapes your entire approach to painting. You plan your composition with light areas in mind first. Dark values come last and build up gradually. Each layer you add darkens the overall value. If you try to add a light highlight over a dark area, the paint will not cover cleanly.
Watercolor is a subtractive medium in practice. You start with the lightest values and work toward the darkest. Any corrections involve lifting paint off the paper rather than painting over. This requires thinking backwards from how you might approach other painting mediums.
The transparency of watercolor is central to this principle. When light passes through transparent pigment layers and bounces off white paper, the result is luminosity that other mediums cannot replicate. Opaque paints would block this effect entirely. Understanding that transparency equals luminosity helps you appreciate why the light-to-dark rule matters.
Core Watercolor Techniques You Must Know
The Wet-on-Wet Technique
Wet-on-wet involves applying wet paint to wet paper. You first wet the paper with clean water, wait until it soaks in but still has a sheen, then apply diluted pigment. The paint spreads and bleeds softly, creating dreamy edges and organic blends.
This technique excels at creating atmosphere, soft backgrounds, and flowing effects. Landscapes benefit enormously from wet-on-wet for skies and distant elements. Floral painters use it for soft petals and foliage. It is forgiving because the soft effects hide minor imperfections.
To practice wet-on-wet, wet one section of your paper evenly. While it still looks shiny, drop in some diluted paint and watch how it flows. Try different concentrations to see how more or less pigment affects the result. Practice adding a second color before the first dries to see how colors blend.
The challenge with wet-on-wet is control. You cannot direct the paint precisely because water moves it unpredictably. Accept this and work with the flow rather than fighting it. Some of the most beautiful watercolor effects happen by accident. Let the water do what it wants while you gently guide it.
The Wet-on-Dry Technique
Wet-on-dry means applying wet paint to dry paper. The paint stays where you put it, allowing for sharper edges and more controlled detail. This technique builds precision and is essential for outlines, fine details, and defined shapes.
Load your brush with paint and touch it to dry paper. The paint soaks in immediately, creating a controlled mark. You can build up layers of increasing darkness because each layer dries before you add the next. This is how you create depth and dimension in your paintings.
Practice wet-on-dry by painting simple shapes with clean edges. Try a series of graduated washes where each section gets progressively darker. This exercise teaches you to control pigment dilution and brush loading. It also trains your eye to see value differences.
Most paintings combine both techniques. You might block in large shapes with wet-on-wet, then add details with wet-on-dry. Or start with wet-on-dry outlines and fill in with wet-on-wet washes. Understanding when to use each technique is part of developing your watercolor instincts.
Essential Supporting Techniques
Glazing involves applying a transparent layer of color over a dried previous layer. Because watercolor is transparent, you see both layers combined, creating rich, complex colors. Glazing warms up compositions, shifts colors, and adds depth without covering underlying details.
Lifting means removing paint from the paper to create highlights or corrections. Wet paper and a clean brush can lift soft areas. A damp paper towel lifts more aggressively. For stubborn areas, a little gum arabic or specialty lifting solution helps. Lifting is your main tool for corrections in watercolor.
Masking preserves white or light areas while you paint around them. Liquid mask applied with a brush peels off after painting to reveal untouched paper. This technique lets you paint freely without worrying about keeping white areas clean. Reserve masking for important highlights that would be impossible to paint around.
Blooms happen when wet paint touches an already wet area. The existing water pushes the new paint outward, creating a darker ring around the point of contact. This can be an interesting effect or a problem, depending on your intention. Understanding blooms helps you either use them intentionally or prevent them by not over-wetting your paper.
Color Theory Basics for Watercolor Artists
Watercolor color theory differs slightly from other mediums because transparency changes how colors interact. When two transparent colors overlap, you see a third color emerging from the combination. This layering is fundamental to watercolor’s beauty.
Start with a basic color wheel: primary colors (red, yellow, blue), secondary colors (orange, green, violet) made from mixing primaries, and tertiary colors (like yellow-orange or blue-green) mixing adjacent colors. Understanding this wheel helps you mix any color you need.
Complementary colors sit opposite each other on the wheel: red and green, blue and orange, yellow and violet. Mixing complements creates muted, grayed-down versions. Placing them side by by, they make each other appear more vibrant. This contrast principle adds energy to your paintings.
Warm colors (reds, oranges, yellows) advance visually and feel energetic. Cool colors (blues, greens, purples) recede and feel calm. A basic landscape principle places warm colors in foreground and cool colors in background, creating natural depth without any perspective drawing.
Mixing colors in watercolor requires understanding that you cannot undo a mix. If you add blue to orange and it goes too gray, you cannot remove the blue. Work slowly and test mixes on scrap paper before committing. Keep notes on successful mixes so you can recreate them. Pigment properties vary by brand, so a Cadmium Red from one manufacturer mixes differently than a Quinacridone Red from another.
Your First Watercolor Painting: Step-by-Step
Choose a simple subject for your first painting. A single object with clear shape works best: an apple, a leaf, a simple flower. Avoid complex scenes or multiple objects until you understand how the paint behaves.
Step 1: Sketch lightly with a pencil. You do not need perfect drawing skills. A simple outline guides where you will paint. Keep lines light so they do not show through transparent watercolor.
Step 2: Mix your colors. Start with one primary and experiment with adding water to create light, medium, and dark values. This exercise teaches you how dilution affects color intensity. Practice loading your brush consistently so each stroke has even color.
Step 3: Paint a light wash of your base color over the entire shape. This is your mid-tone. Let it dry completely. This might take five minutes or longer depending on your paper and room humidity.
Step 4: Mix a darker version of your color and add shadow areas while the paper is dry. Wet-on-dry technique keeps shadows defined and controlled. Focus shadow on one side of the object, opposite your imagined light source.
Step 5: Add a highlight area by leaving paper white or lifting paint gently with a damp brush. This is where the golden rule matters: highlights must be preserved because you cannot paint light over dark.
Step 6: Step back and evaluate. Squint your eyes to see values clearly. Does the object look three-dimensional? Are there areas where values blend too much? Add final details with darker paint where needed.
Remember that watercolor improves significantly as it dries. Colors often spread more than expected during application and settle beautifully as water evaporates. Resist the urge to overwork an area. Sometimes the best thing is to stop, let it dry, and evaluate with fresh eyes.
Building a Sustainable Practice Routine
Consistency matters more than session length. Community members consistently report that 20-minute daily practice produces better results than occasional marathon sessions. Short sessions fit into busy lives and maintain momentum without creating burnout.
Set a specific time for practice, even if it is just fifteen minutes before bed. Attach your practice to an existing habit, like painting while your morning coffee brews or after dinner cleanup. The routine matters as much as the painting itself.
Do not pressure yourself to create gallery-worthy work every session. Some days, just play with color mixing or practice a single technique. Doodle freely. Fill pages with brush strokes and experiments. This experimentation builds the intuitive understanding of how watercolor behaves that no tutorial can teach.
Watercolor becomes therapeutic when you release perfectionism. Focus on the sensation of painting rather than the result. Notice how the brush feels, how water moves pigment across paper, how colors blend. This meditative quality is what keeps watercolor practitioners returning day after day.
Join communities for motivation. Share your work, even if you feel insecure about it. Feedback from fellow learners helps more than you might expect. Seeing others at your skill level reminds you that progress is normal and frustration is part of the process.
Common Beginner Mistakes and How to Avoid Them
Overworking the paint is the most frequent mistake newcomers make. They see a brushstroke, think it looks uneven, and paint over it repeatedly. Each pass breaks down the paper’s surface and muddies colors. Learn to let brushstrokes dry and assess with fresh eyes. Often the unevenness settles into something beautiful.
Using too much pigment overwhelms beginners. They load brushes heavily, creating thick, opaque paint that lacks watercolor’s characteristic luminosity. Watercolor relies on transparent layers. Dilute paint more than seems right at first. You can always add another layer for darkness, but removing excess pigment is difficult.
Skipping the light sketch results in compositions that feel unbalanced. A few pencil lines guide your painting and prevent mistakes. Even experienced painters use light underdrawings. Your sketch does not show through transparent watercolor, so it cannot hurt the final piece.
Not allowing layers to dry creates blooms and muddy blends where you want crisp edges. Patience is essential in watercolor. If you want a sharp edge between two areas, let the first dry completely before painting adjacent to it. A hair dryer on cool setting speeds drying without disturbing paint.
Expecting too much too soon sets beginners up for disappointment. Watercolor takes months to feel comfortable. Your first paintings might look nothing like tutorials you followed. This is normal. Every experienced watercolorist has stacks of early paintings that did not meet expectations. Those failures taught them more than any successful piece.
Top Resources for Continued Learning
YouTube offers countless free watercolor tutorials that range from beginner basics to advanced techniques. Ellen Crimi-Trent focuses on beginner-friendly content with clear explanations. Chris Petri combines technique instruction with artistic development. Lindsay Weirich brings playful experimentation that encourages trying new things.
Books provide structured learning paths that YouTube cannot match. Sarah Simon’s Watercolor Workbook offers exercises specifically designed for beginners, with guided projects that build skills progressively. Loewen Stern’s Watercolor 365 contains daily prompts that keep practice interesting. James Hobbs’ Watercolor Techniques compiles method descriptions and practice exercises.
Online courses offer deeper instruction than free content. Skillshare and Domestika host watercolor classes from working artists. These courses provide structured curricula and community interaction. Many offer free trials that let you explore before committing financially.
Communities provide accountability and feedback. Reddit’s r/watercolor101 is specifically designed for learners at all levels. Facebook groups like Doodlewash bring together enthusiastic painters who share encouragement and constructive critique. Local art supply stores often host beginner workshops or have bulletin boards for finding painting groups.
Frequently Asked Questions
Can you teach yourself watercolor painting?
Yes, you can absolutely teach yourself watercolor. Many successful artists learned without formal classes using YouTube tutorials, books, and consistent practice. Self-teaching works well because watercolor requires experimentation and patience, qualities you can develop on your own schedule.
What is the golden rule of watercolor?
The golden rule of watercolor is to always paint from light to dark. Unlike other mediums, you cannot paint light colors over dark ones in watercolor. Light areas must be preserved or painted first, with dark values built up gradually through layered glazes.
What is the biggest mistake beginners make in watercolor?
The biggest mistake is overworking the paint. Beginners see imperfections and repeatedly brush over areas, breaking down the paper surface and muddying colors. Other common mistakes include using too much pigment, not allowing layers to dry between applications, and expecting immediate results.
How long does it take to learn watercolor?
Basic proficiency typically takes 3-6 months of consistent practice. However, watercolor is a lifetime learning process. Even professional artists continue discovering new techniques and effects. Focus on enjoying the journey rather than reaching a destination.
What supplies do I need to start watercolor painting at home?
You need watercolor paper (140lb cold-pressed, at least 50% cotton), a basic pan set or tube paints, synthetic round brushes in sizes 4, 8, and 12, two water containers, and a palette for mixing. Total cost can be under $50 for quality student-grade supplies.
Start Your Watercolor Journey Today
Learning watercolor at home is one of the most rewarding creative pursuits you can begin. The supplies are affordable, the space requirements are minimal, and the therapeutic benefits extend far beyond creating art. You do not need talent or training. You need curiosity and willingness to experiment.
Every expert watercolorist started exactly where you are now. They fumbled with water ratios, struggled with controlling blooms, and produced paintings that did not match their vision. Those struggles built the intuition that makes watercolor so intuitive now. Your early paintings are not failures. They are necessary steps in developing your unique voice.
Set up your workspace tonight. Buy a single sheet of cotton watercolor paper and one decent brush. Watch one beginner tutorial on YouTube. Paint something. Anything. A scribble, a blob, a leaf. The hardest part is beginning. Once you start, you will discover why watercolor has captivated artists for centuries.
The question is not whether you can learn watercolor. You absolutely can. The real question is whether you will give yourself permission to try. This guide has shown you how. Now the only step remaining is yours to take.