
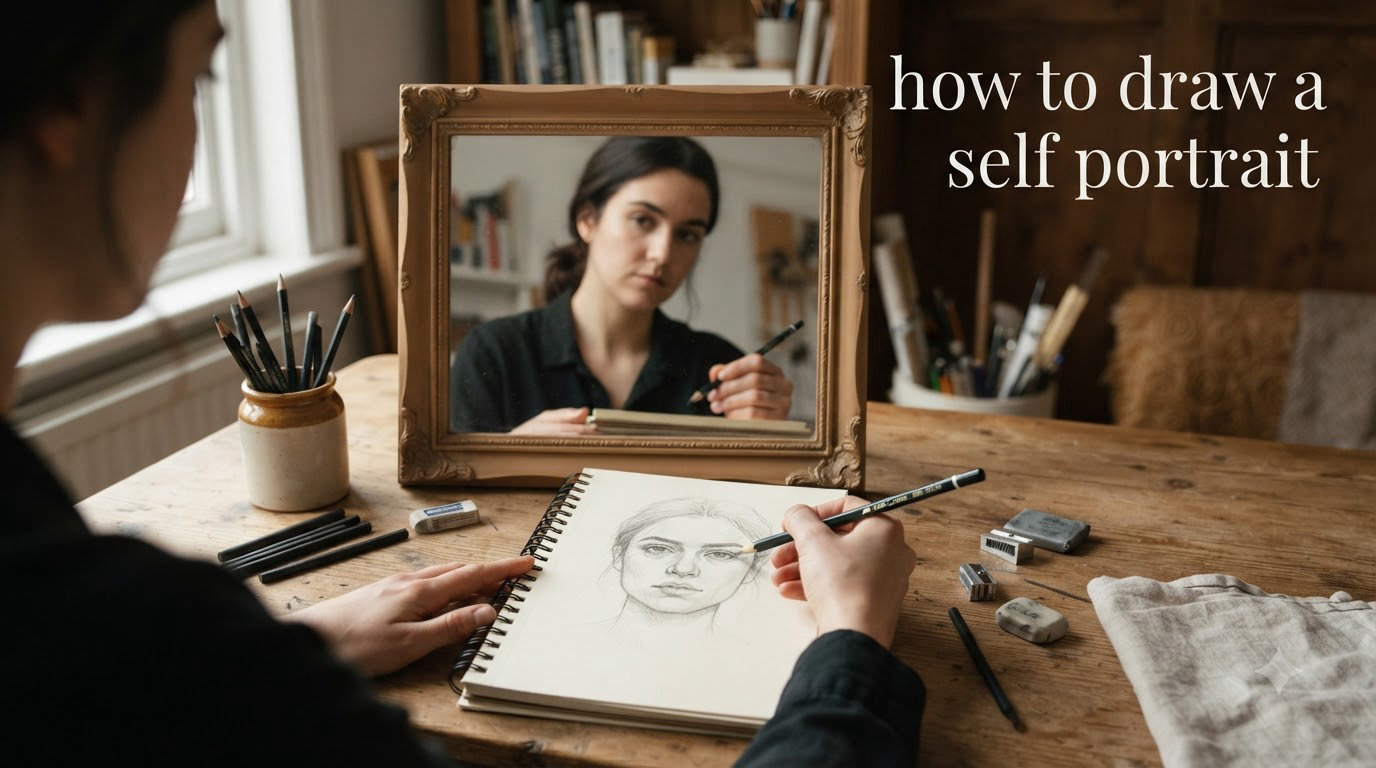
Learning how to draw a self portrait is one of the most rewarding skills you can build as an artist. Whether you are picking up a pencil for the first time or looking to sharpen your portrait skills, drawing your own face teaches you to really see — not just glance, but observe the specific angles, shadows, and proportions that make you look like you.
I have spent years teaching beginners to draw faces, and self-portraits come up more than almost any other subject. The reason is simple: your own face is always available as a reference. No model needed, no photo required (though a photo works too). Just you, a mirror, and a pencil.
In this guide, I will walk you through the complete process of how to draw a self portrait from start to finish. We will cover the materials you need, a step-by-step method for sketching your features, proportion techniques like the thirds method and the 4-8-8 method, plus shading tricks that make your drawing look three-dimensional. By the end, you will have a finished self portrait and a repeatable process you can practice every day.
Table of Contents
Materials You Need to Draw a Self Portrait
You do not need expensive supplies to start. Here is what I recommend for your first self-portrait drawing session.
Paper: Use a medium-weight sketch paper, something around 60-80 lb weight. Standard printer paper works for practice, but sketch paper holds graphite better and allows for smoother shading. A 9×12 inch pad gives you enough room to work without feeling cramped.
Pencils: Grab three pencils — an HB for light sketching, a 2B for general shading, and a 4B or 6B for darker shadows. If you only have one pencil, a standard #2 school pencil is fine. The key is varying your pressure to create different values.
Eraser: A kneaded eraser is ideal because you can shape it to lift graphite in small areas. A standard vinyl eraser works too.
Reference: You need either a mirror or a printed photograph of yourself. A wall-mounted mirror at eye level works best. If using a photo, print it at the same size as your drawing paper for easier proportion checking.
Optional extras: A blending stump helps smooth out shading. Grid paper or a ruler helps if you want to try the grid method for accuracy.
How to Draw a Self Portrait Step by Step
Here is the complete process I teach for how to draw a self portrait. Follow these seven steps in order, and take your time with each one. Rushing through proportions is the number one reason self-portraits end up looking off.
Step 1: Set Up Your Reference
Position your mirror so it sits at eye level directly in front of you. The light source should come from one side — a window or desk lamp placed at a 45-degree angle works well. Avoid overhead lighting because it flattens out the shadows on your face, and those shadows are what give your drawing dimension.
If you are using a photograph instead of a mirror, tape it next to your drawing paper at the same height. This way your eyes barely have to move between the reference and your drawing, which makes it easier to compare shapes and angles.
Sit at a comfortable distance — about an arm’s length from your drawing surface. Prop your paper up at a slight angle rather than lying flat on the desk. A vertical or near-vertical surface reduces distortion caused by looking at your paper from an angle.
Step 2: Draw the Basic Face Shape
Start by drawing a light oval shape on your paper. The oval should be slightly taller than it is wide — roughly a 3:4 width-to-height ratio. This is not a perfect egg shape. Most faces are slightly wider at the forehead and narrower at the chin.
Draw a faint vertical line down the center of the oval. Then draw a horizontal line across the middle. These two lines are your placement guides, and every feature you draw will relate back to them. Keep the pressure light — you will erase these later.
Mark the chin point at the bottom of the oval and indicate where the hairline sits at the top. The distance from hairline to chin is your measuring stick for placing every feature correctly.
Step 3: Place the Facial Proportions
This is where most beginners stumble, so slow down and get this right. There are two main methods for placing facial features accurately.
The Thirds Method: Divide the vertical distance from your hairline to your chin into three equal sections. The top third runs from your hairline to the brow bone. The middle third goes from the brow bone to the bottom of the nose. The bottom third stretches from the nose to the chin. The eye line falls right at the boundary between the top and middle thirds — roughly halfway between the top of the skull and the chin.
The 4-8-8 Method: This is a simpler counting approach that works well for beginners. Starting from the top of the head, count down four units to reach the eye line. Then count eight more units down to reach the bottom of the nose. Then count eight more units to reach the chin. So the ratio from top-of-head to eyes to nose to chin is 4:8:8. This gives you a quick proportional check without measuring.
With either method, place small tick marks at each position. The eyes sit on the horizontal center line, spaced about one eye-width apart. The bottom of the nose sits at the middle third line. The mouth line falls roughly one-third of the way between the nose and the chin.
Step 4: Draw the Eyes
The eyes are the most expressive part of any portrait, so take your time here. Each eye is roughly an almond or football shape — wider in the middle and tapered at both ends. The inner corner (closest to the nose) is slightly lower and more pointed than the outer corner.
Draw the almond outline first, then add the iris (the colored circle) and the pupil (the dark center). The iris should touch both the top and bottom eyelid curves — floating irises are a common mistake that makes eyes look startled.
Add the upper eyelid crease above each eye. This crease follows the same curve as the upper eyelid but sits slightly higher. For the lower lid, just a faint line is enough. Do not outline the entire lower lid heavily or the eyes will look like they were cut from paper.
Leave a small white highlight dot in the pupil. This single detail brings eyes to life instantly.
Step 5: Draw the Nose and Mouth
The nose is simpler than most people expect. You do not need to outline the entire nose — in fact, doing so makes it look cartoonish. Instead, focus on three elements: the bridge shadow on one side, the nostril shapes, and the ball of the nose (the rounded bottom part).
Look at your reference and notice which side of the nose has more shadow based on your light source. Shade that side lightly. Draw two small curved shapes for the nostrils — they are not perfect circles, they are more like shallow parentheses. The ball of the nose catches light, so keep that area light with just a subtle outline.
For the mouth, start with the line where the upper and lower lips meet. This line is not straight — it has a slight dip in the center (the cupid’s bow) and curves down at the corners. The upper lip is typically thinner and has two peaks. The lower lip is fuller and rounder. Shade the upper lip slightly darker than the lower one since it angles away from the light.
Step 6: Add Ears, Hair, and Neck
Ears sit between the eye line and the nose line on the sides of the head. If you drew your thirds correctly, the top of each ear lines up with the eyebrow and the bottom lines up with the base of the nose. Draw a simple C-shape for the outer ear and add a few inner curves for detail.
For hair, think in shapes and volumes rather than individual strands. Block in the overall hair shape first — it extends beyond the oval you drew for the face because hair has volume. Then add directional lines that follow the way your hair naturally falls. Use varying pressure to create areas of light and dark within the hair mass.
Draw the neck as two lines extending down from the jawline. The neck is wider than most beginners draw it — it should be roughly the width of the face on each side. Add slight shading on the sides of the neck to show its cylindrical form.
Step 7: Add Shading and Final Details
Shading is what transforms a flat line drawing into a three-dimensional portrait. Before you start shading, identify your light source direction. Every shadow and highlight on your face is determined by where the light comes from.
Build your shading in layers. Start with a light overall tone in the shadow areas — under the chin, one side of the nose, the eye sockets, and one side of the hair. Then go back and darken the areas that need more contrast. The darkest darks are usually in the eye sockets, under the nose, and in the hair. The lightest lights are the bridge of the nose, the cheekbones, and the forehead.
Use a value scale as a reference. A full value scale runs from pure white to pure black with several gray steps in between. Your self portrait should use most of this range to look convincing. Squint at your reference and at your drawing — this simplifies what you see into just light and dark shapes, making it easier to spot areas that need more contrast.
For final details, clean up any smudges with your eraser, darken the focal points around the eyes, and make sure the background behind your head is either clean white or has a light tone to separate the head from the paper. Step back from your drawing and look at it from a few feet away — this distance reveals proportion and value issues that are invisible up close.
Pro Tips for Better Self Portraits
Beyond the basic seven steps, there are a few techniques that experienced artists use to get more accurate results. I have found these especially helpful when I feel stuck or frustrated with a drawing.
The Grid Method: Draw a grid of equal squares over your reference photo and a matching grid on your drawing paper. Then copy what you see in each square one at a time. This breaks a complex face into manageable pieces and dramatically improves accuracy, especially for beginners. Reddit’s art communities consistently recommend this technique as the fastest way to level up.
Upside-Down Drawing: Turn your reference photo upside down and draw it that way. This sounds strange, but it works because it forces your brain to look at abstract shapes instead of naming features like “eye” or “nose.” When you stop labeling and start copying shapes, your accuracy jumps. Many Reddit users report this as their breakthrough technique.
Contour Drawing Warm-Up: Before starting your portrait, do a five-minute contour drawing of your hand or face. Look at your reference and draw the outline without lifting your pencil or looking at the paper. This exercise trains hand-eye coordination and helps you slow down and really observe.
Daily Practice: Set a timer for 15 minutes each day and do a quick self-portrait sketch. Do not aim for perfection — aim for quantity. After 30 daily sketches, you will see noticeable improvement. The Reddit daily practice challenges are a great way to stay motivated.
Common Mistakes to Avoid When Drawing a Self Portrait
After watching hundreds of beginners learn how to draw a self portrait, the same mistakes show up over and over. Here are the ones that hurt your results the most.
Drawing eyes too high on the head. Most beginners place the eyes in the upper third of the face. In reality, the eyes sit at the vertical midpoint — halfway between the top of the skull and the chin. If your self portrait looks surprised or alien-like, check your eye placement first.
Making the eyes too big. We are psychologically drawn to eyes, so we tend to enlarge them. Each eye should be roughly one-fifth the width of the head. The space between the eyes should equal the width of one eye.
Ignoring the light source. If you shade randomly without a consistent light direction, your face will look flat and confused. Pick one light source at the start and stick with it for every shadow decision.
Outlining every feature. Real faces do not have black outlines around the nose, lips, and chin. Features are defined by changes in value — light turning into shadow. Use shading to define edges, not hard outlines.
Never stepping back. When you work up close for too long, you lose perspective on the overall drawing. Every 15 minutes, stand up and look at your drawing from six feet away. You will immediately spot proportion errors that were invisible at arm’s length.
Overworking one area. It is tempting to finish the eyes perfectly before moving on, but this creates an unbalanced drawing. Develop the whole face at the same rate, building up detail gradually across all features.
FAQs
How do you start a self-portrait drawing?
Start by setting up a mirror or photo reference with consistent side lighting. Draw a light oval shape for the face, then add a vertical center line and a horizontal line at the midpoint. These guidelines establish the foundation for placing every facial feature. Keep your pencil pressure light so you can erase and adjust as you go.
How to draw a portrait for beginners?
Beginners should start with basic proportions using the thirds method: divide the face from hairline to chin into three equal sections for the forehead, nose, and chin areas. Place the eyes on the horizontal midpoint line, the nose at the lower third line, and the mouth between the nose and chin. Build features with simple shapes first, then add shading last. Use a reference photo rather than drawing from imagination until proportions feel natural.
What is the 4-8-8 method of drawing?
The 4-8-8 method is a proportional guideline for face drawing. Starting from the top of the head, count down 4 units to reach the eye line, then 8 more units to the bottom of the nose, then 8 more units to the chin. This gives a ratio of 4:8:8 from the top of the head to the eyes, nose, and chin. It is a quick way to check whether your facial proportions are correct without detailed measuring.
How do I make my own portrait?
To make your own portrait, gather a pencil, sketch paper, and a mirror or printed photo of yourself. Draw a basic oval for the face shape, add center guidelines, and use the thirds method to place your eyes, nose, and mouth. Sketch each feature lightly, then build up shading based on your light source. Practice daily with short timed sessions — even 15 minutes a day leads to noticeable improvement within a few weeks.
Conclusion
Learning how to draw a self portrait is not about making a perfect likeness on your first try. It is about training your eyes to observe what is actually there instead of what you think is there. The seven-step process — setting up your reference, drawing the oval, placing proportions, sketching features, and adding shading — gives you a reliable framework to follow every time you sit down to draw.
Remember that every artist started exactly where you are right now. The artists whose self-portraits hang in museums like the MFA Boston and the National Portrait Gallery all began with a pencil, a mirror, and a willingness to practice. Grab your supplies, set a timer for 15 minutes, and start your first self-portrait today. Your 30th one will amaze you.