
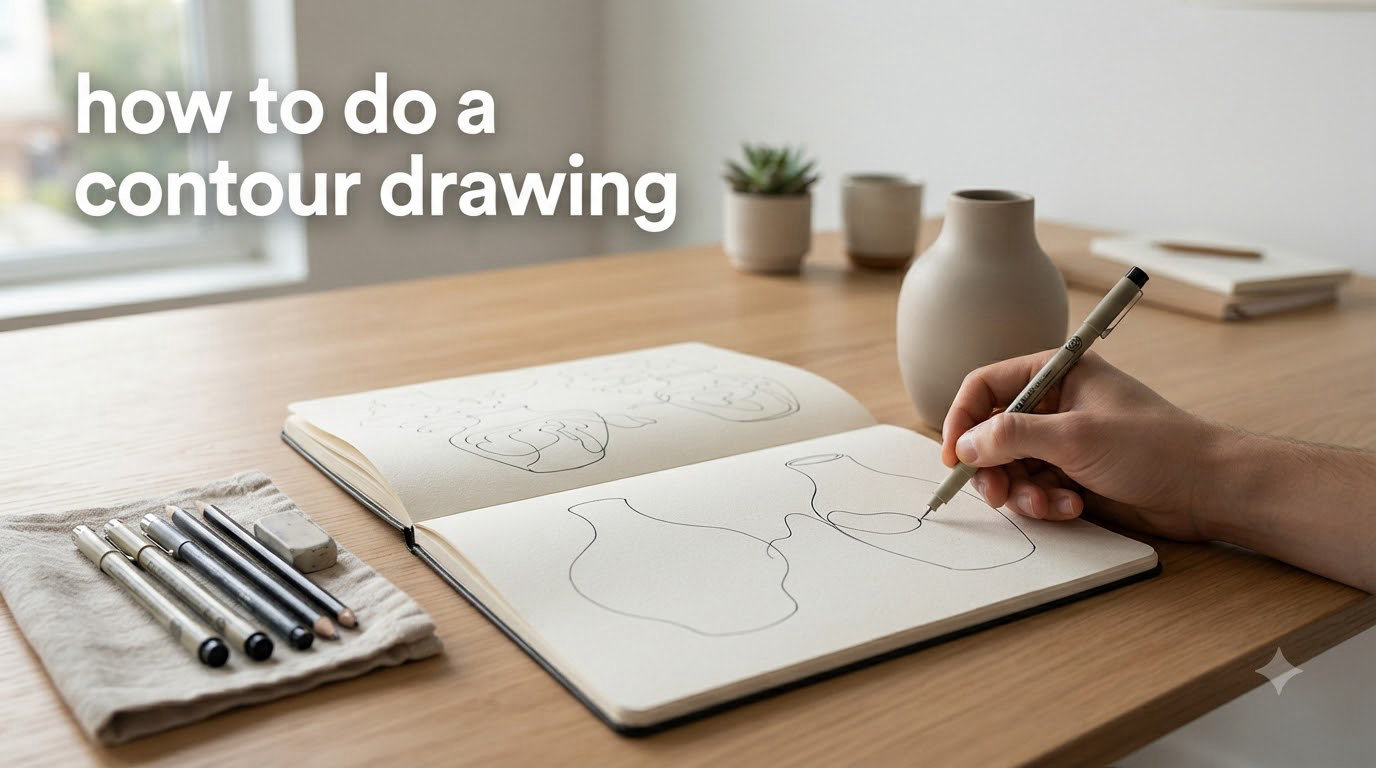
Learning how to do a contour drawing transformed my art practice within just two weeks of daily exercises. This fundamental drawing technique trains your eye to see edges and shapes more accurately while building the hand-eye coordination every artist needs. Whether you are a complete beginner or an experienced artist looking to sharpen your observation skills, this guide will walk you through everything you need to know about contour drawing.
I remember my first blind contour drawing looked like a complete mess. The proportions were all wrong, the lines wandered everywhere, and my hand cramped from the slow, deliberate movement. But that distorted drawing taught me something crucial about really seeing my subject rather than just looking at it. That is the magic of contour drawing.
Table of Contents
What Is Contour Drawing?
Contour drawing is a technique where you create a continuous line that follows the edges and outlines of your subject. The word “contour” comes from French, meaning “outline.” However, contour drawing goes far beyond simple outlining.
When you draw a contour, you are not just tracing the outer edge of an object. You are capturing where the object meets the background, where one plane turns into another, and where textures change. You are recording the shared edges between forms.
Contour vs Outline: Understanding the Difference
Many beginners confuse contour drawing with outlining. An outline is simply the external boundary of a shape. A contour includes that external edge but also captures the internal edges where forms meet, the subtle changes in a curved surface, and the places where light and shadow define form.
Think of it this way: if you trace the shadow of your hand on paper, you have created an outline. But if you draw the edge of your hand while also capturing the wrinkles, knuckles, and the way your fingers curve, you are drawing a contour.
How to Do a Contour Drawing: The Three Main Types
Before you start practicing, you need to understand that there are three main approaches to contour drawing. Each builds different skills and serves different purposes in your artistic development.
1. Blind Contour Drawing (Pure Contour)
Blind contour drawing means you never look at your paper while you draw. You fix your gaze on the subject and move your pencil in response to what your eyes see, not what you think the subject looks like.
This technique feels awkward at first. Your drawing will likely look distorted and strange. That is completely normal and actually valuable. The distortion reveals how your brain normally interprets what you see versus what your eyes actually observe.
2. Continuous Line Drawing
Continuous line drawing is similar to blind contour, but you are allowed to glance at your paper occasionally. The key rule is that you never lift your pencil from the paper. You draw one unbroken line that travels around and through your subject.
This technique forces you to find connections between different parts of your subject. How do you get from the handle to the body of a mug without lifting your pencil? You have to travel along the surface, finding the paths that connect forms.
3. Modified Contour Drawing
Modified contour drawing gives you more freedom. You can look at your paper as needed, and you can lift your pencil to start new lines. However, you still focus on drawing slowly and observing carefully, translating what you see onto paper with accuracy.
This is the technique most artists use for finished contour drawings. It combines the observation skills developed through blind contour with the control needed for accurate representation.
Contour Drawing Types at a Glance
- Blind Contour: Look at paper? No. Lift Pencil? No. Best for warm-up and observation training.
- Continuous Line: Look at paper? Occasionally. Lift Pencil? No. Best for finding connections and flow.
- Modified Contour: Look at paper? Yes. Lift Pencil? Yes. Best for finished drawings and accuracy.
Step-by-Step Guide: How to Do a Contour Drawing
Now that you understand the types of contour drawing, let me walk you through the actual process. I recommend starting with modified contour for your first attempts, then moving to blind contour once you are comfortable.
What You Need
- A pencil (any hardness works, HB or 2B is ideal)
- Smooth drawing paper or a sketchbook
- A simple object to draw (your hand, a shoe, or a piece of fruit)
- Good lighting on your subject
- 15-30 minutes of uninterrupted time
Step 1: Set Up Your Subject
Place your subject at a comfortable distance. You should be able to see it clearly without straining. Position your paper at an angle where you can switch your gaze between subject and paper easily. For blind contour, you might want to position your paper slightly out of your direct line of sight.
Step 2: Choose Your Starting Point
Look at your subject and decide where you want to begin. I usually start at a point that feels natural, like the top of an object or a distinctive corner. Place your pencil on the paper at that corresponding location.
Do not worry about being exact. The point of contour drawing is to train your observation, not to create a perfect reproduction.
Step 3: Move Your Eye Slowly Along the Edge
Fix your gaze on the edge of your subject. Move your eye slowly along that edge, and let your hand move your pencil at the same pace. The speed of your eye should match the speed of your hand.
When you hit a corner or a change in direction, your eye should pause, and your hand should pause too. When the edge curves, your pencil should curve. Think of your eye as pulling your hand along the path.
Step 4: Keep Your Attention on the Subject
This is the hardest part. Your brain will want to look down at your paper to check your progress. Resist this urge. For modified contour, glance only when necessary to reposition your pencil. For blind contour, do not look at all until you are finished.
The more time you spend looking at your subject versus your paper, the better your observation skills become. Aim for at least 90% of your attention on the subject.
Step 5: Work Your Way Around the Form
Continue following edges, moving from outer contours to inner details if doing modified contour. Notice where the light catches an edge, where shadows define a form, where one object overlaps another.
For continuous line drawing, find paths to travel from one part of the subject to another without lifting your pencil. These connecting lines may not exist in reality, but they create a sense of flow in your drawing.
Step 6: Know When to Stop
A contour drawing can take anywhere from 5 minutes to an hour depending on your subject and approach. I recommend starting with 10-15 minute sessions. When you feel you have captured the essential form, or when your hand needs a break, stop and look at what you have created.
Tips for Better Contour Drawings
After hundreds of contour drawings, I have learned a few lessons that will save you frustration and accelerate your progress.
Embrace Imperfection
Your first blind contour drawings will look terrible. That is the point. The distortion shows you where your assumptions about shapes differ from reality. Instead of being frustrated, study those distortions to understand your visual habits.
Start with Simple Subjects
Your hand, your shoe, a piece of fruit, or a coffee mug make perfect first subjects. Avoid complex scenes with many objects. You want to focus on the technique, not struggle with complicated compositions.
Use the 70/30 Rule
The 70/30 rule suggests spending 70% of your time looking at your subject and only 30% looking at your paper. This ratio ensures you are drawing what you actually see rather than what you remember or imagine.
Draw Slowly
Contour drawing is not about speed. The slower you move, the more detail you observe. When I teach this technique, I tell students to move their pencil at about one-tenth the speed they think they should. It feels painfully slow at first, but it produces better results.
Feel the Form
Some artists find it helpful to imagine they are actually touching the edge they are drawing. This tactile imagination helps create more sensitive, responsive lines. Your line quality improves when you feel the form rather than just tracing it.
Practice Exercises and Routine
Consistency matters more than duration when building contour drawing skills. I recommend a daily practice routine that takes 15-30 minutes.
Daily Practice Routine
- Day 1-3: Draw your non-dominant hand using modified contour (15 minutes each day)
- Day 4-7: Switch to blind contour of simple objects like fruit or shoes
- Week 2: Alternate between blind contour and continuous line drawing
- Week 3+: Combine approaches and start adding cross-contour lines for depth
Progress Tracking
Keep all your contour drawings, even the ones you dislike. Date them and store them in a dedicated sketchbook or folder. After two weeks, compare your first drawing to your most recent. You will see improvement in line confidence, observation accuracy, and overall sensitivity.
Recommended Resources
The book “The Natural Way to Draw” by Kimon Nicolaides is frequently recommended in art communities for good reason. Nicolaides developed many of the contour exercises still taught today. His approach emphasizes feeling the subject and moving beyond symbolic representation.
Frequently Asked Questions
How do you start a contour drawing?
Start by placing your subject at a comfortable viewing distance and positioning your paper where you can see both easily. Choose a starting point on your subject, place your pencil on the paper at the corresponding location, and begin moving your eye slowly along the edge of the subject while moving your pencil at the same pace. Keep at least 90% of your attention on the subject rather than the paper.
What are the rules of contour drawing?
The main rules are: keep your eye on the subject 90% of the time, move your pencil at the same speed your eye travels, do not worry about proportion accuracy in blind contour (distortion is expected), use a continuous line without lifting your pencil for continuous line drawing, and focus on edges where forms meet rather than just outer outlines.
What is the 70/30 rule in drawing?
The 70/30 rule in contour drawing means spending 70% of your time looking at your subject and only 30% looking at your paper. This ensures you are drawing from direct observation rather than memory or imagination, which improves accuracy and trains your hand-eye coordination.
How long should a contour drawing take?
A contour drawing typically takes 10-30 minutes depending on the complexity of the subject and your experience level. Beginners should start with 10-15 minute sessions. Blind contour drawings often take longer because you move more slowly. The key is to take enough time to observe carefully rather than rushing to finish.
Conclusion
Learning how to do a contour drawing is one of the most valuable skills you can develop as an artist. This technique trains your eye to see what is actually in front of you rather than what your brain thinks should be there. It builds the hand-eye coordination that underlies all representational drawing.
Start with modified contour to learn the basics, then challenge yourself with blind contour to sharpen your observation. Practice for 15-30 minutes daily using simple subjects like your hand or a shoe. Keep your drawings to track your progress. Within a few weeks, you will notice improvements not just in your contour work but in all your drawing.
The distorted, wobbly lines of your first attempts are not failures. They are evidence that you are learning to see differently. Keep drawing, keep observing, and trust the process.