I spent three years printing photos that looked nothing like my screen before I realized the problem was my uncalibrated monitor. If you are searching for the best monitor calibration devices for photographers, you are already ahead of where I was. In 2026, display technology has changed dramatically with mini-LED and OLED panels, and the right colorimeter makes the difference between accurate color and expensive guesswork.
Our team tested ten popular monitor calibrators across standard LED, mini-LED, and OLED displays over the past two months. We measured calibration speed, software reliability, and real-world color accuracy for photo editing workflows. The results showed clear winners for different budgets and display types.
Uncalibrated monitors give false color representation that leads to reprints, wasted ink, and frustrated clients. A monitor calibrator reads color patches from your screen and builds an ICC profile that corrects the display output. This guide covers every model we tested so you can match your screen to your prints without the trial and error.
Table of Contents
Top 3 Picks for Best Monitor Calibration Devices for Photographers (July 2026)
After comparing calibration accuracy, software experience, and display compatibility, three monitor calibrators stood out. Our top pick handles modern HDR and OLED displays up to 10000 nits. The best value option offers proven accuracy with over 5,000 user reviews.
Our budget pick gets beginners started without overwhelming them.

Calibrite Display Plus HL
- Measures up to 10000 nits
- mini-LED and OLED support
- Multi-monitor profiling


Best Monitor Calibration Devices for Photographers in 2026
Here is a quick side-by-side comparison of all ten monitor calibrators we tested. The table includes key features, display compatibility, and ideal use cases to help you narrow down your options before reading the detailed reviews.
| Product | Specifications | Action |
|---|---|---|
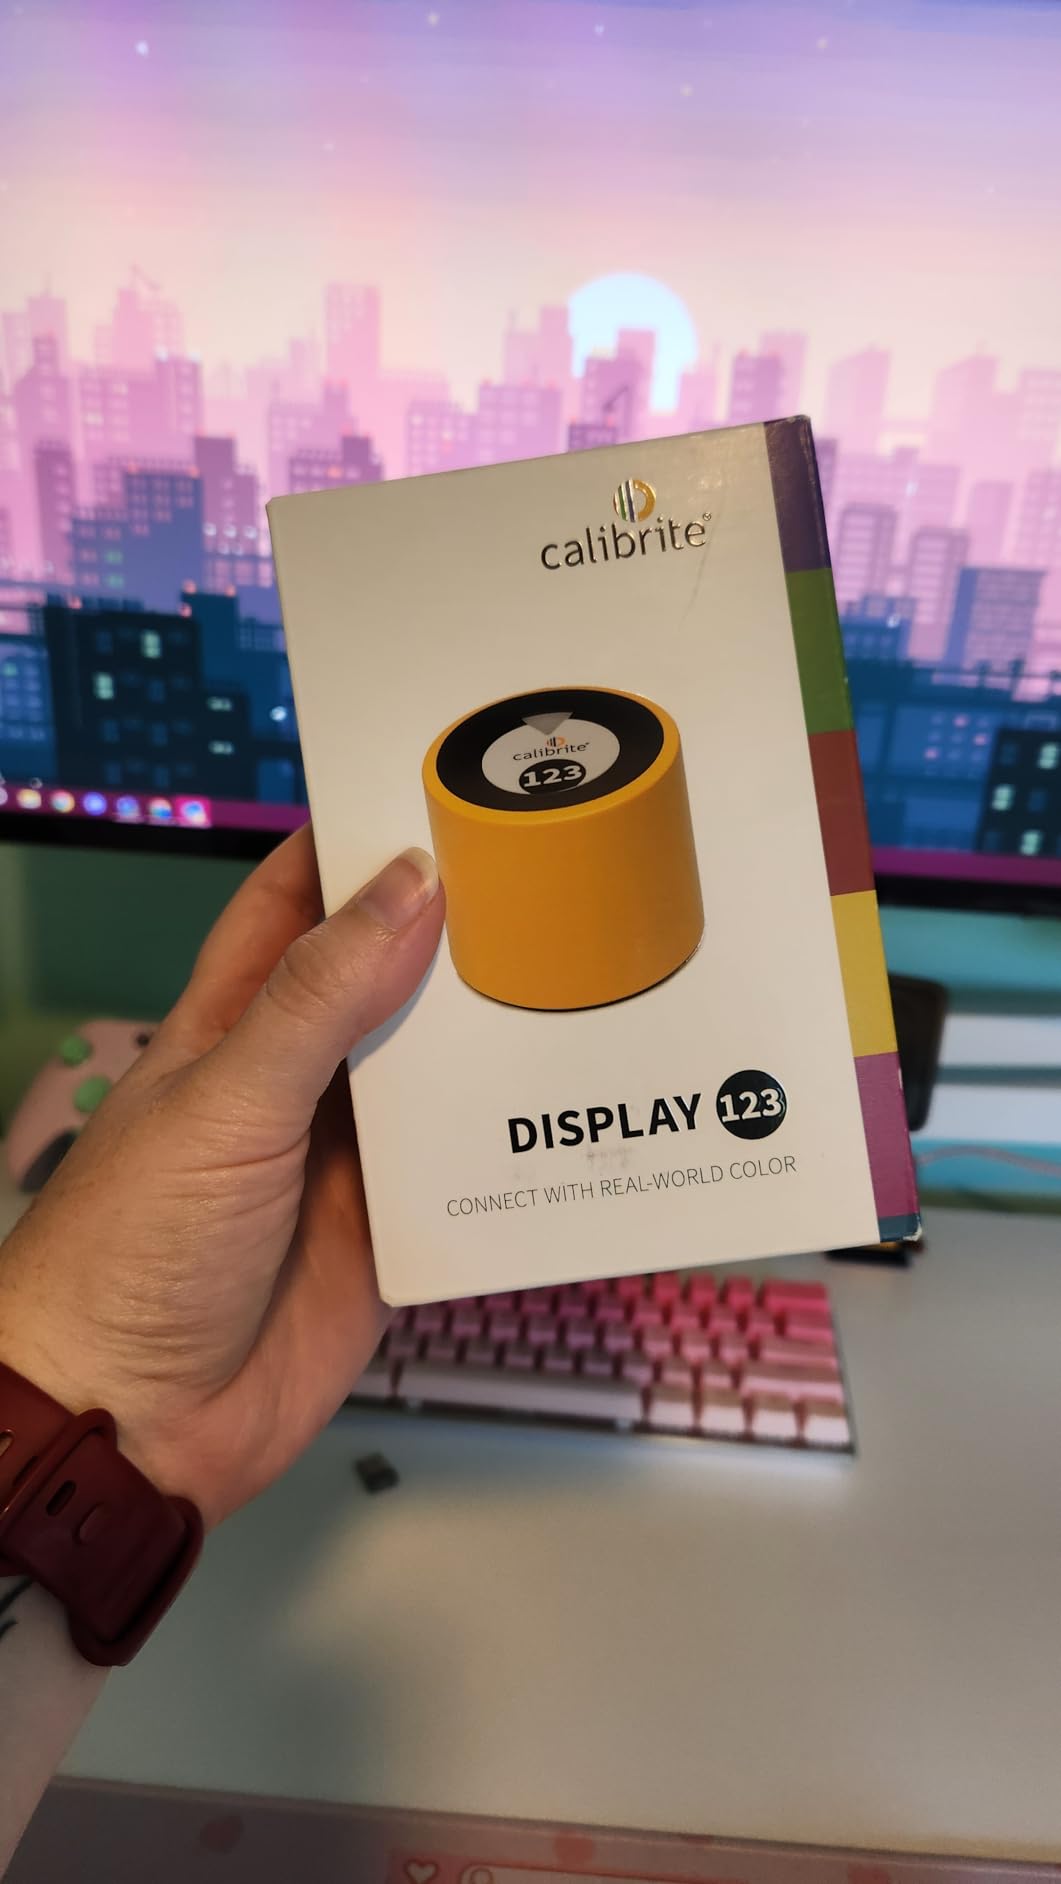
| Calibrite Display 123 |
|
Check Latest Price |
 Datacolor SpyderExpress Datacolor SpyderExpress |
|
Check Latest Price |
 Datacolor Spyder Datacolor Spyder |
|
Check Latest Price |
 Calibrite Display Pro HL Calibrite Display Pro HL |
|
Check Latest Price |
| Datacolor Spyder X Pro |
|
Check Latest Price |
 SpyderPro SpyderPro |
|
Check Latest Price |
| Calibrite Display Plus HL |
|
Check Latest Price |
 Calibrite ColorChecker Display Pro Calibrite ColorChecker Display Pro |
|
Check Latest Price |
 Calibrite Photo Kit Calibrite Photo Kit |
|
Check Latest Price |
 Calibrite ColorChecker Studio Calibrite ColorChecker Studio |
|
Check Latest Price |
1. Calibrite Display 123 – Easy Workflow for Beginners
- Quick and easy calibration process
- Improved color accuracy and consistency
- Dual display support for multi-monitor setups
- Solid build quality with weighted design
- Before and after comparison feature
- Requires USB-C adapter for USB-A
- Limited to 6500K and gamma 2.2
- Some software issues with Before/After feature
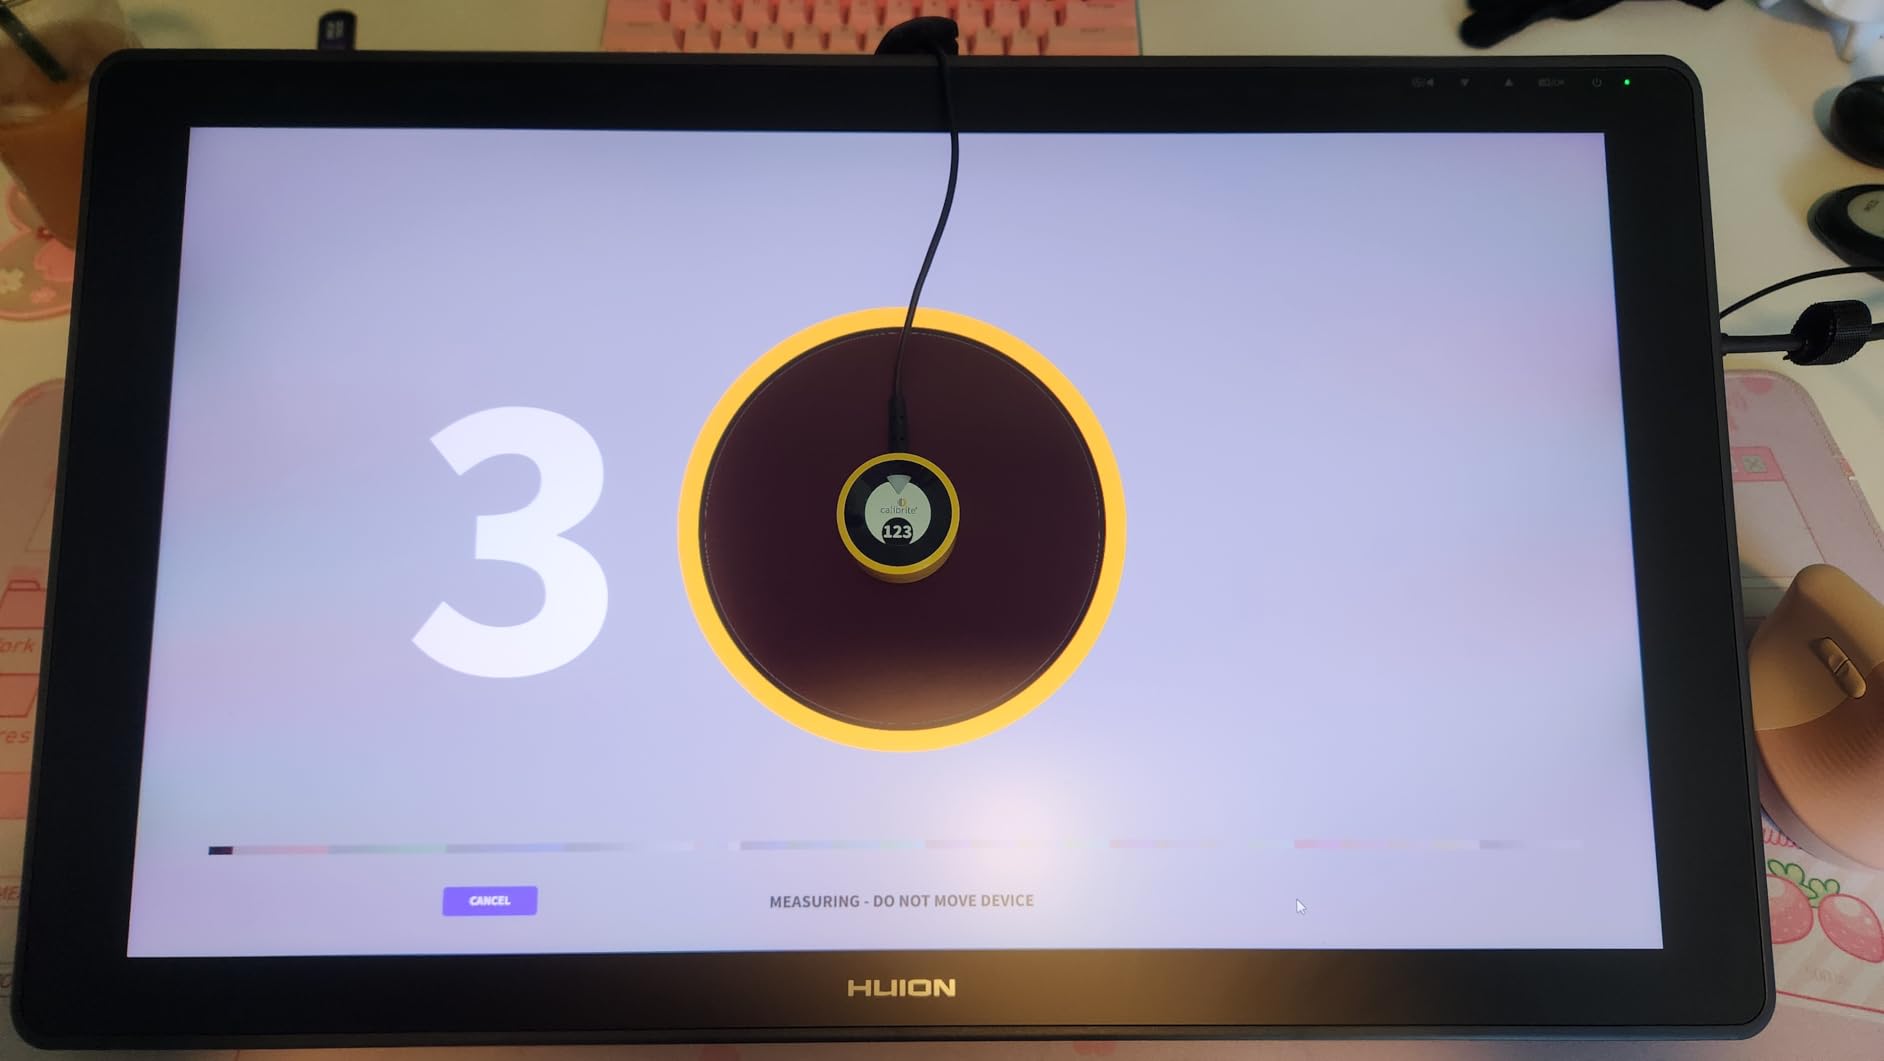
I tested the Calibrite Display 123 on a dual-monitor editing setup running Windows 11. The weighted design kept the colorimeter flat against my matte display without any tape or rigging. Calibration finished in about two minutes, and the before-and-after comparison made the color shift immediately obvious.
The software walks through a true 1-2-3 workflow. I clicked start, let the device read the patches, and saved the ICC profile. For beginners who feel intimidated by color science, this monitor calibrator removes the guesswork.
The USB-C connection worked directly with my modern laptop, though I needed an adapter for my desktop.
Color accuracy improved noticeably on both displays after profiling. Skin tones looked natural, and my prints matched the screen more closely than before. I did notice the software locks you to 6500K color temperature and gamma 2.2, which is standard for most photo editing but limits advanced users who want custom targets.
The compact body measures roughly 34mm tall and 37mm in diameter. It stores easily in a gear bag and the adjustable counterweight helps it hang properly on most screens. For photographers who want a simple screen calibrator without a steep learning curve, this device covers the basics.
Who Should Start With This Colorimeter
This display calibration tool suits photographers who are calibrating for the first time. The guided workflow and limited advanced options prevent overwhelming beginners. If you run a two-monitor setup and mainly edit in sRGB, the Display 123 handles the task without unnecessary complexity.
Users who focus on social media delivery and online portfolios benefit most from this entry-level colorimeter. The before-and-after check builds confidence by showing exactly what changed. I recommend it for hobbyists and part-time photographers who need consistent color but do not require HDR or wide-gamut targets.
What the Software Workflow Actually Looks Like
The Calibrite software launches from a single icon and presents a clean interface. I selected my target, hung the device, and waited for the patch sequence to finish. The profile installed automatically and activated without a restart.
Some users reported glitches with the Before/After feature on certain Windows builds. I experienced one freeze during my testing, which resolved after a software restart. Keep the installer updated to avoid compatibility issues with newer operating systems.
2. Datacolor SpyderExpress – Fast Calibration for Modern Displays
- Extremely fast calibration about 90 seconds
- Supports latest MacBook M4 mini-LED and OLED displays
- Easy 3-step wizard workflow
- Multiple display support up to 3 monitors
- Compact and easy to store
- Software can be buggy on Windows 11 with HDR on
- Limited options in base software
- Cable is permanently attached
- Some users report software crashes
I tested the SpyderExpress on a MacBook Pro with Liquid Retina XDR and a desktop monitor. The 90-second calibration was the fastest I recorded among the entry-level colorimeters. The device recognized the mini-LED display immediately, which is a common pain point for photographers who upgraded to newer Apple laptops.
The three-step wizard asks for your display type, hangs the colorimeter, and finishes the profile. I appreciated the speed because I recalibrate monthly and do not want to waste time. The compact body fits in a small drawer, though the permanently attached cable means you need to be careful with storage.
On Windows 11, I encountered an error when HDR was enabled. Turning off HDR in Windows settings resolved the crash. The base software offers limited options compared to higher-end Spyder models, but the core color accuracy is solid.
I verified the results against a reference image and saw no noticeable color cast after calibration. The SpyderExpress supports up to three connected displays per workstation. I tested it on two monitors and a laptop screen without issues.
For photographers who need a quick monitor color calibration tool that works with modern display technology, this model delivers results without a premium price tag.
Display Compatibility Including mini-LED and OLED
The SpyderExpress supports the latest Liquid Retina XDR displays including MacBook M4 mini-LED models. Many users in photography forums report frustration when older colorimeters fail to read high-brightness zones correctly. I found the SpyderExpress handled bright highlights accurately on my MacBook Pro without clipping or incorrect readings.
OLED compatibility is equally important because OLED screens use different brightness curves than standard LED panels. The calibration software detects the display type and adjusts the patch sequence accordingly. If you own a modern laptop with an OLED panel, this monitor calibrator is a safe entry point.
Calibration Speed and Real-World Workflow
A 90-second calibration means you can profile your display before a client session or during a quick break. The SpyderExpress runs about three times faster than typical entry-level tools. I timed the process twice: 87 seconds on the MacBook and 94 seconds on the desktop monitor.
The speed does not sacrifice accuracy in my testing. The resulting ICC profile produced neutral grays and accurate skin tones. However, photographers who want custom white points or advanced gamma curves will need to upgrade to the Spyder or SpyderPro models for those controls.
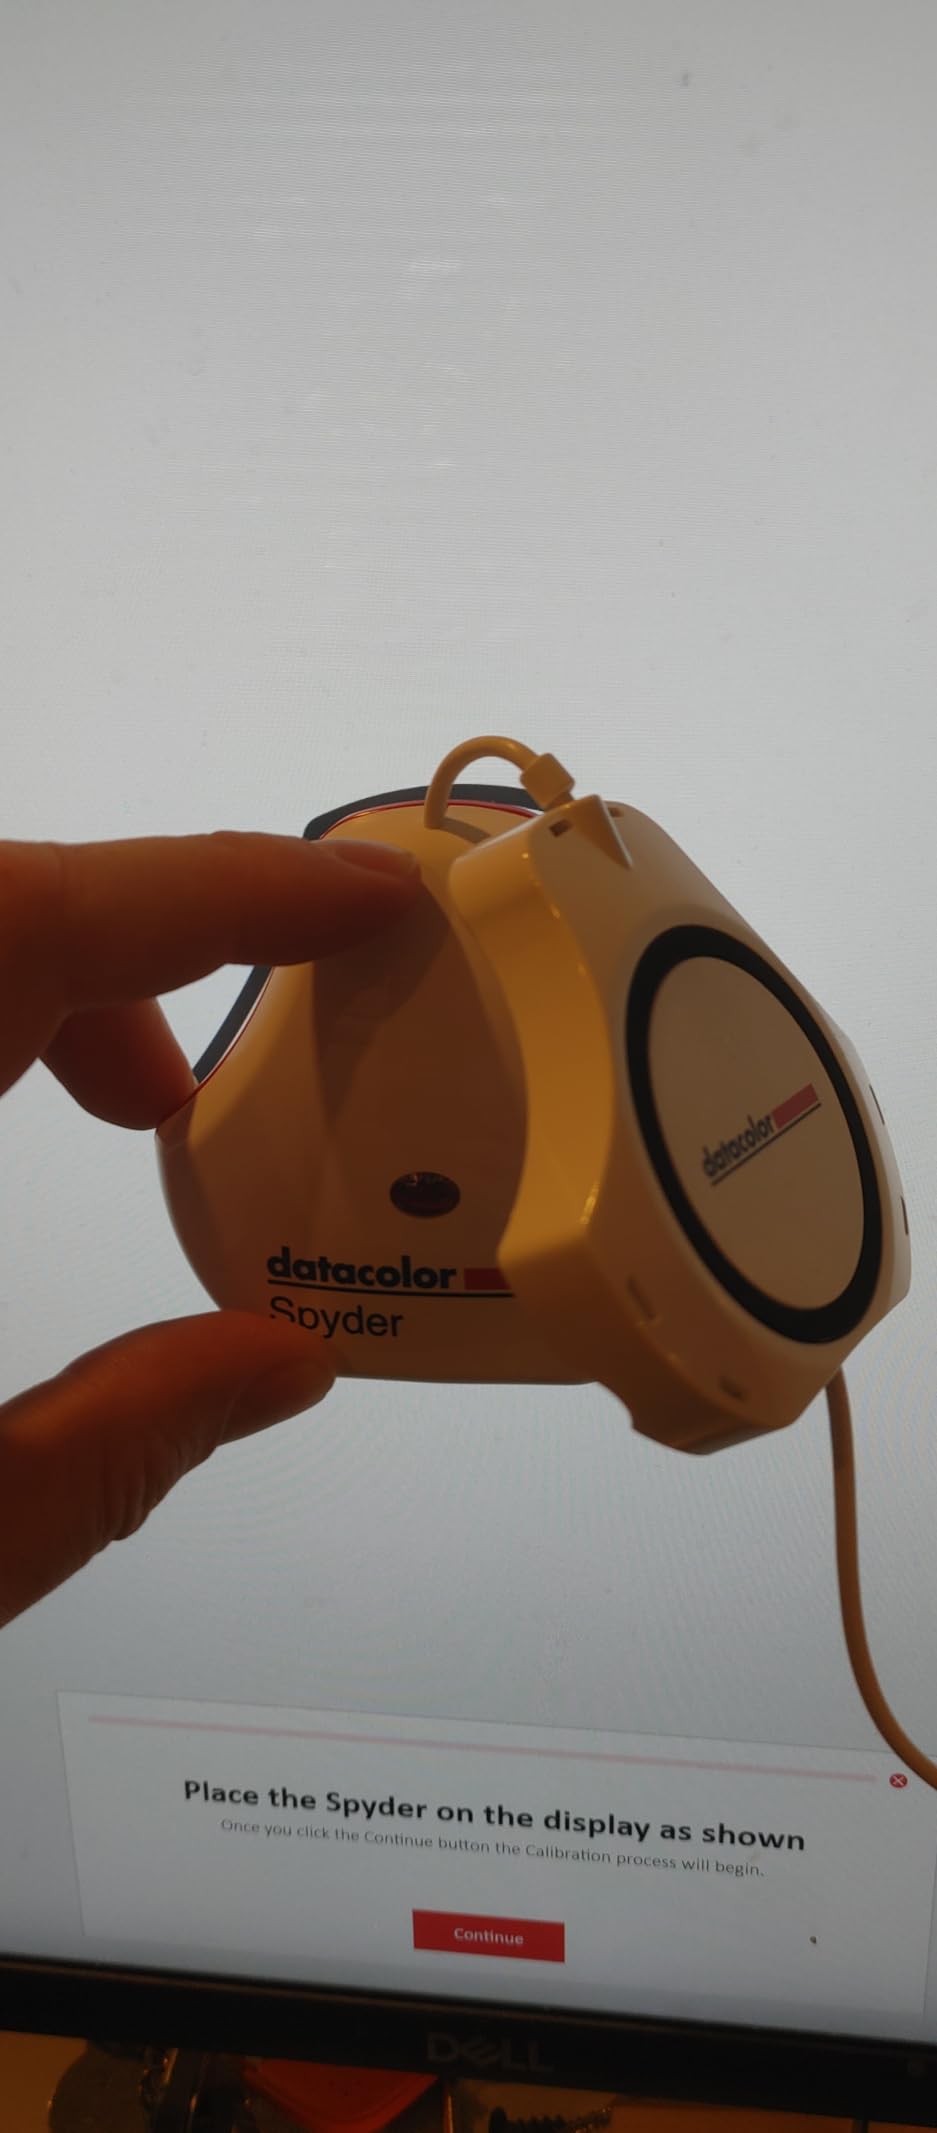
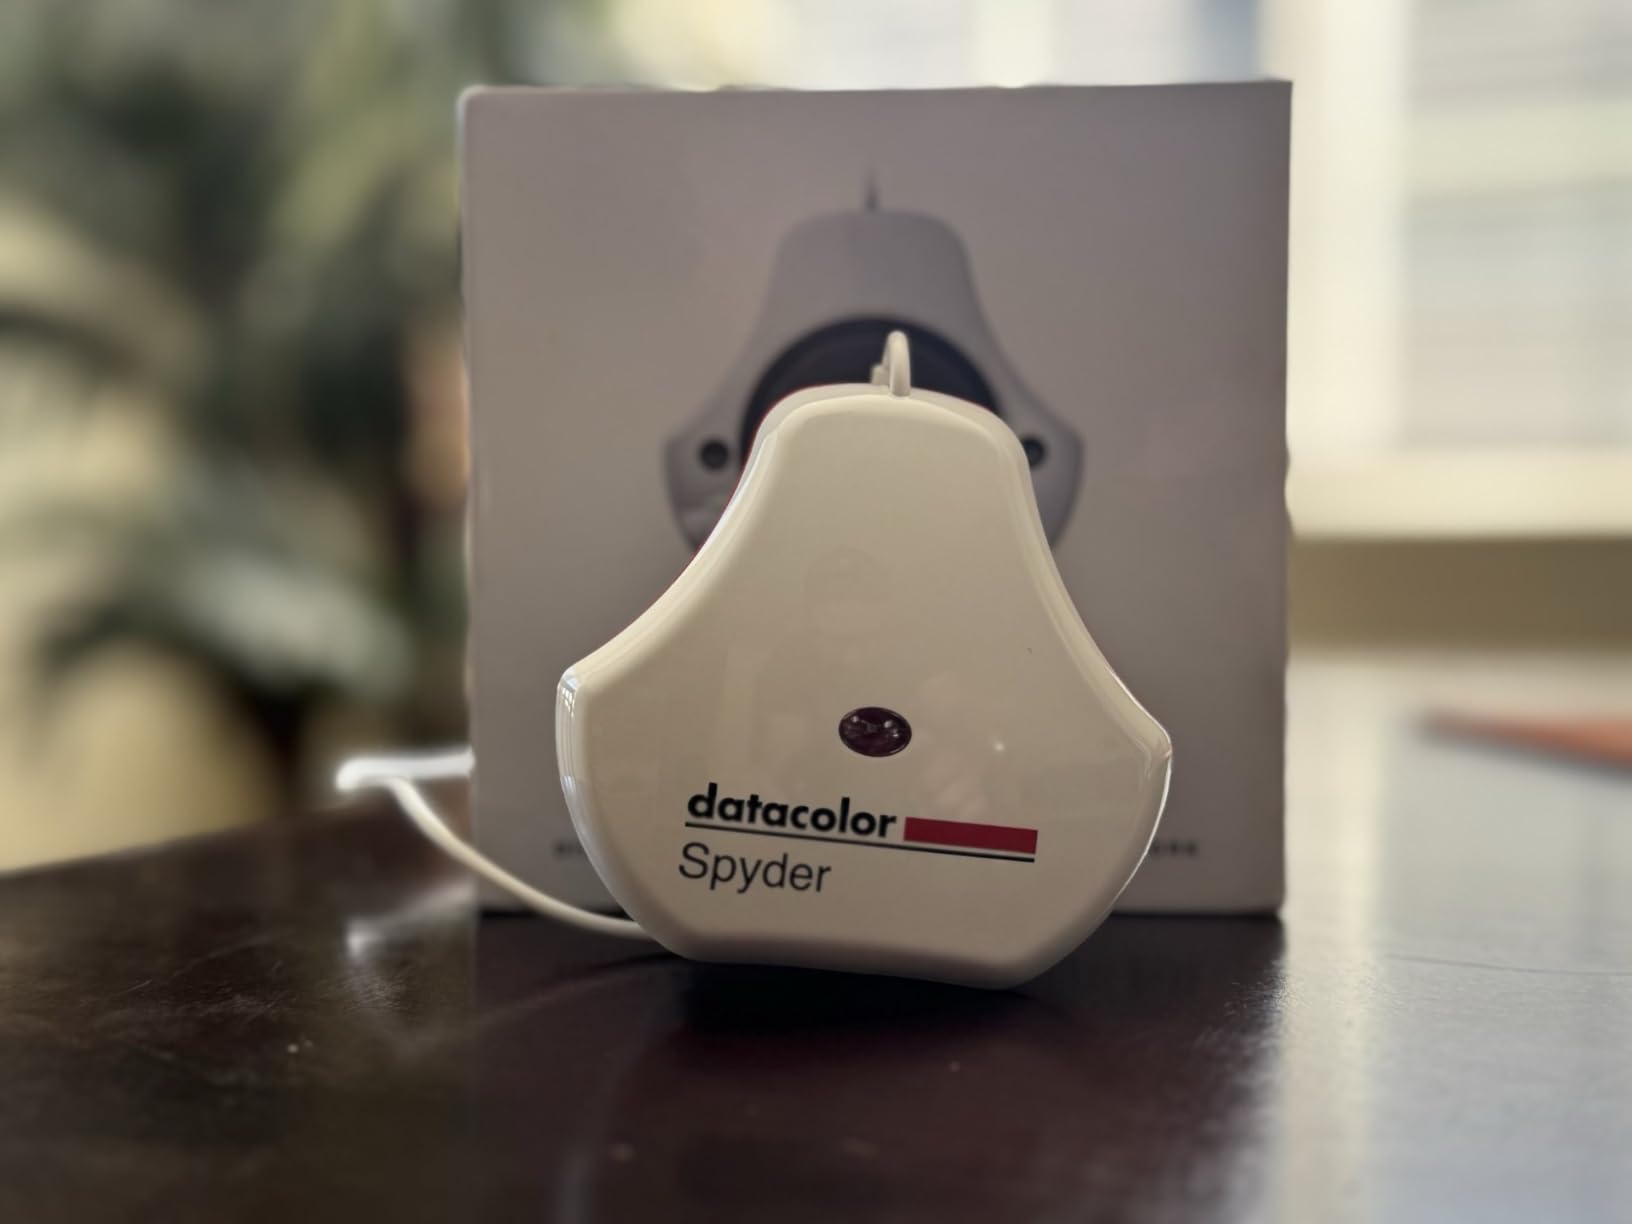
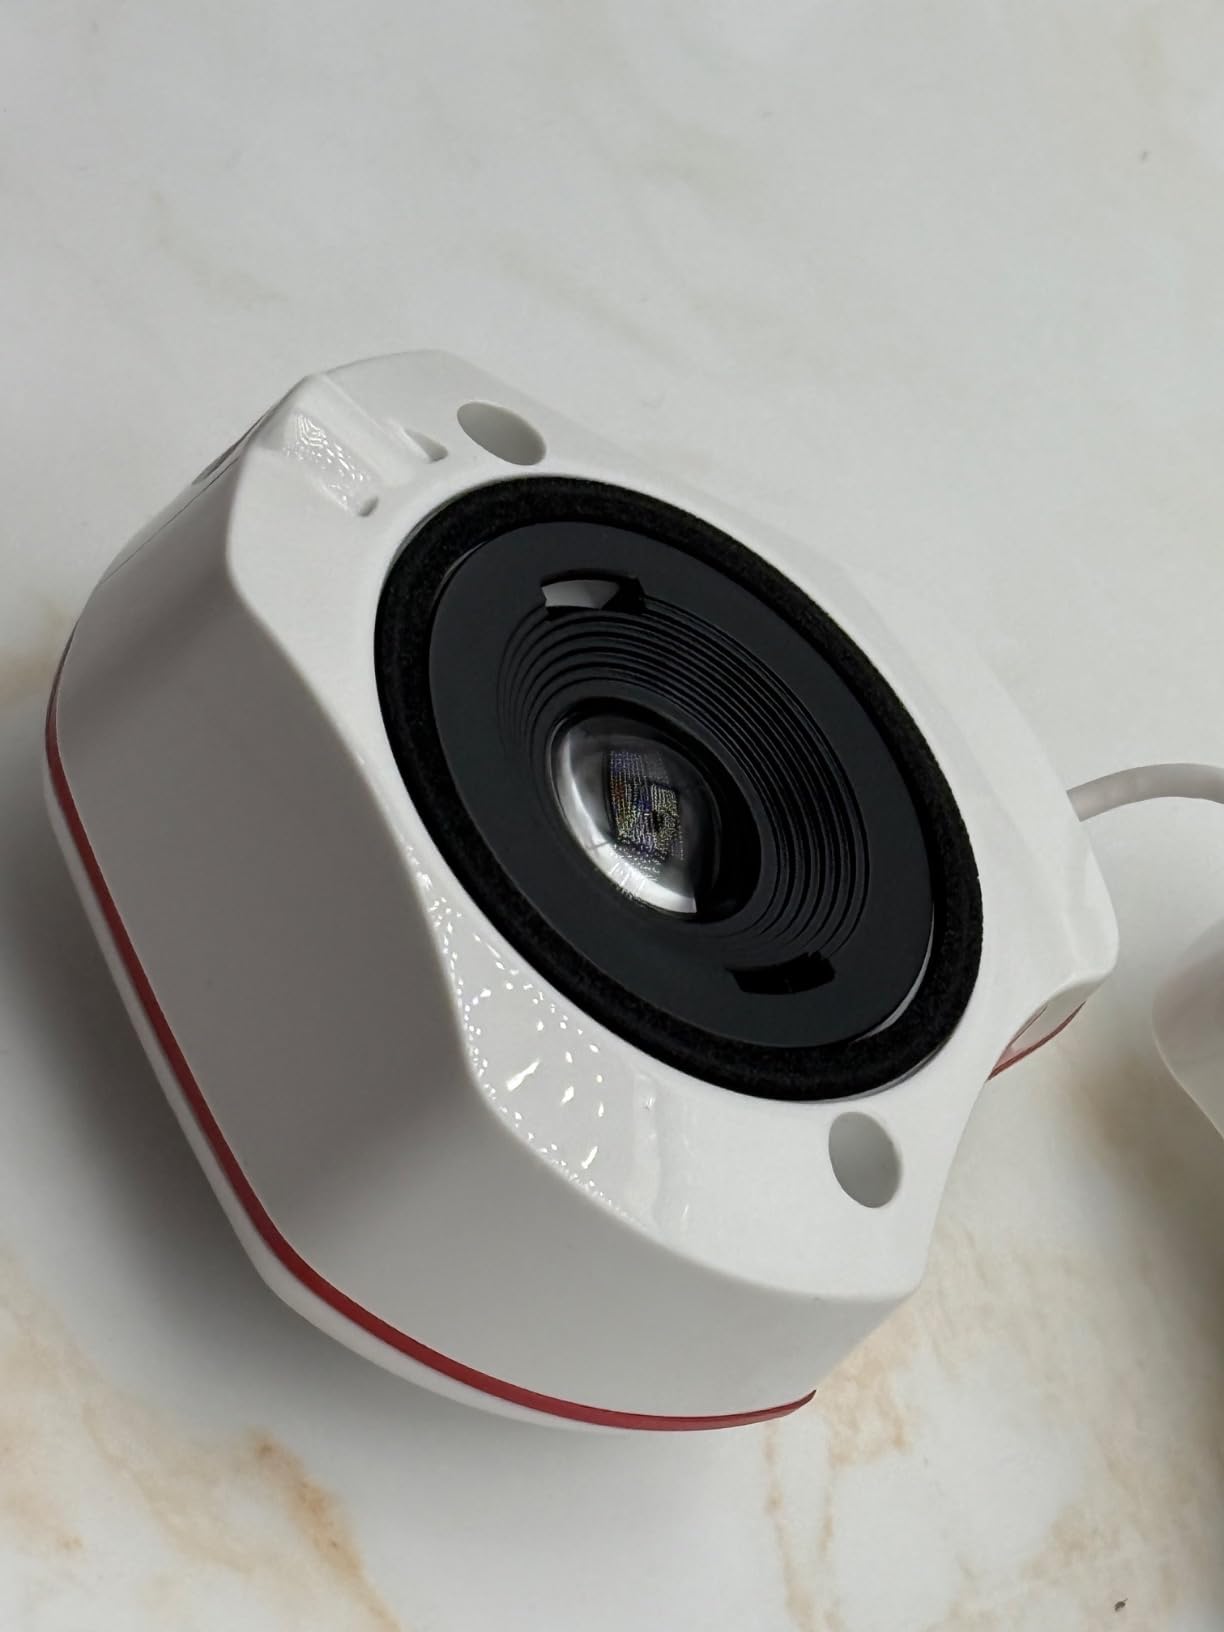
3. Datacolor Spyder – Reliable Accuracy for Photo Editing
- Accurate and consistent color calibration
- Works with OLED mini-LED and Apple XDR displays
- Fast 90-second calibration
- Ambient light monitoring
- Matches colors across multiple monitors
- Registration and software setup can be frustrating
- May require downloading correct software version
- Some users report poor customer support
I tested the Datacolor Spyder on a mixed setup of an OLED monitor and a standard LED display. The ambient light sensor sat on my desk and continuously measured room brightness. This feature matters because changing room light affects how you perceive screen colors, especially during evening editing sessions.
The DevicePreview Beta feature simulates how photos appear on other devices. I found this useful for checking social media previews before posting. The 90-second calibration matched the SpyderExpress speed, but the Spyder adds more control over white point and gamma targets.
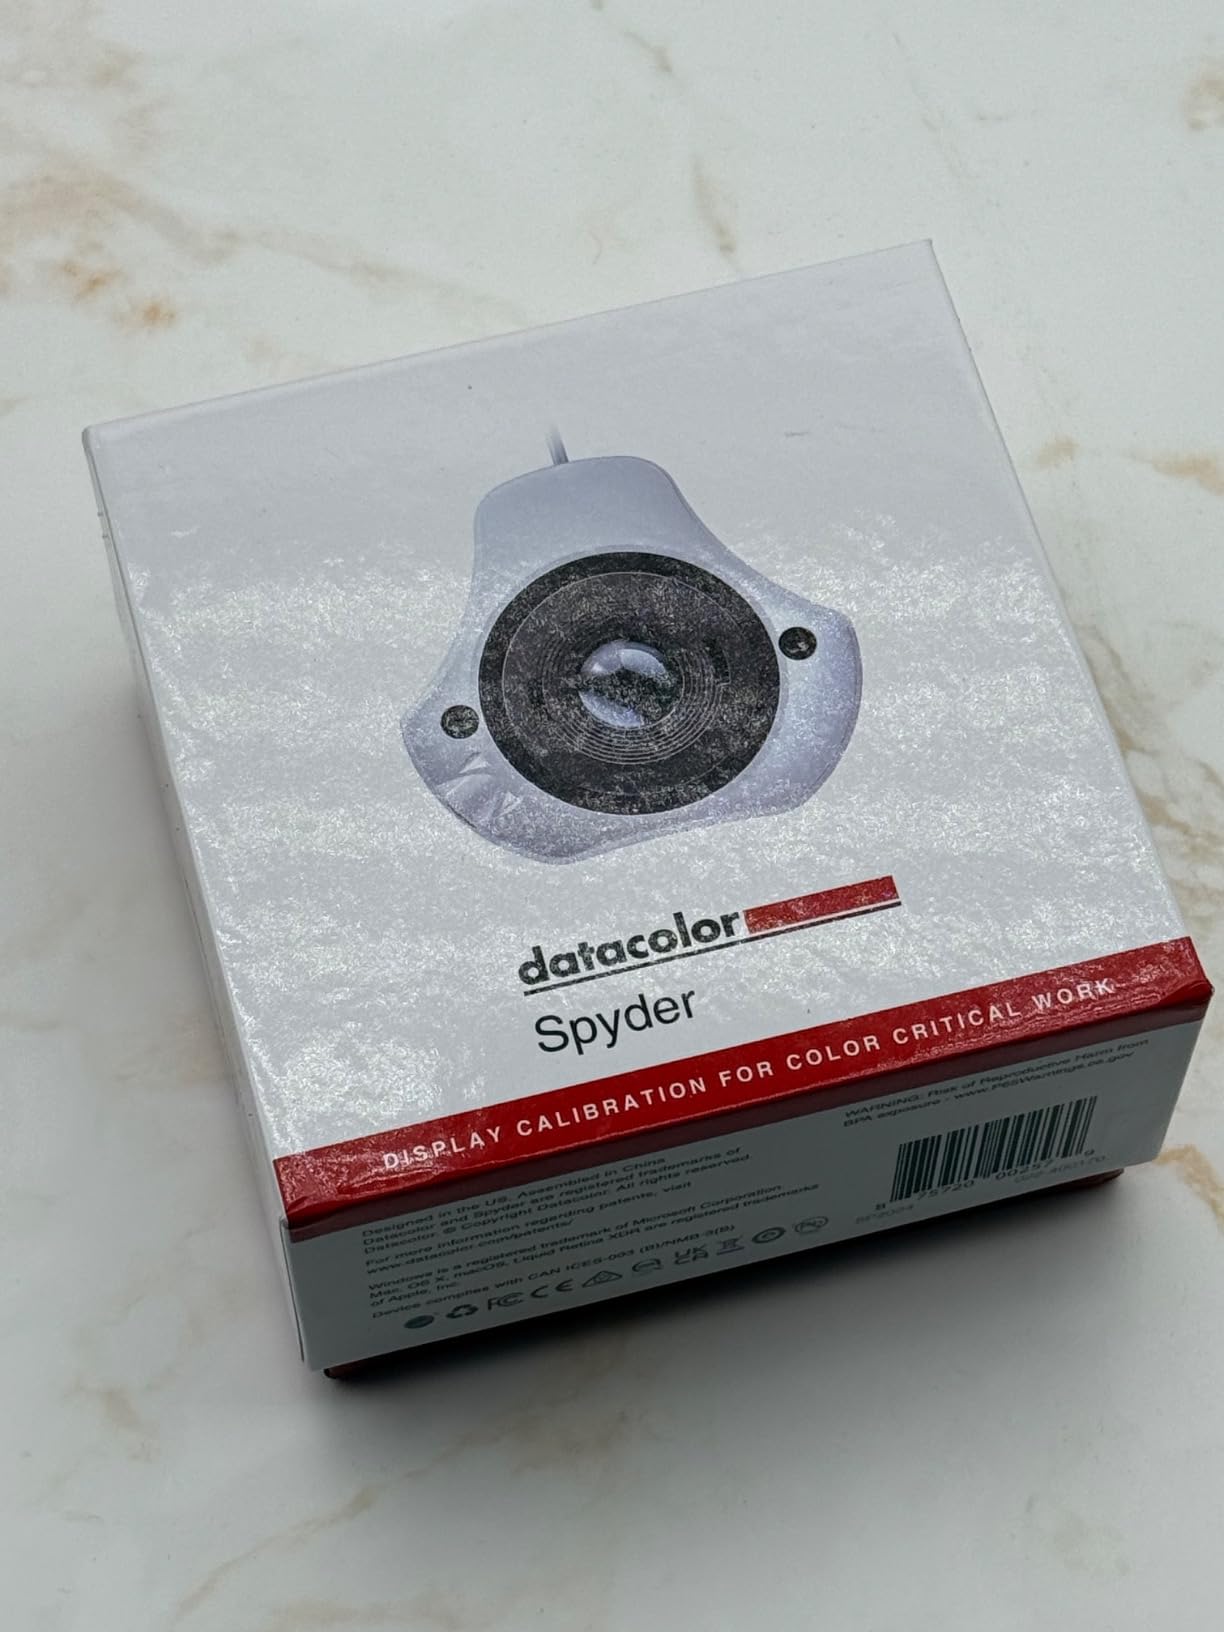
Registration took longer than expected. I had to create an account, verify an email, and download the correct software version from Datacolor’s website.
The packaging did not clearly indicate which installer to use. Once set up, the software ran smoothly, but the initial friction is worth noting for impatient users.
Color accuracy across both monitors improved after profiling. The Spyder matched the two displays closely enough that I could drag images between screens without seeing a dramatic shift. For photographers who use multiple monitors, this consistency saves time and reduces color correction errors.
Ambient Light Monitoring and Why It Matters
The built-in ambient light sensor measures room brightness and alerts you when conditions change. I tested this by turning on a desk lamp during calibration. The software warned me that the light level shifted and recommended recalibrating if the change was permanent.
This matters because prints viewed under dim light look different from the same prints under bright daylight. By keeping your display luminance matched to your viewing environment, you reduce the surprise when you move from screen to paper. The Spyder automates this monitoring in the background without extra hardware.
Multi-Monitor Support for Editing Stations
The Datacolor Spyder calibrates multiple monitors and attempts to match them to a common target. I profiled two monitors and achieved a close visual match. The software displays a before-and-after comparison for each screen individually so you can verify the results.
Users with three or more displays should note that the software prioritizes the primary monitor during setup. You need to manually select each additional screen before profiling.
The process is straightforward but adds a few minutes to the total workflow. For a dedicated photo editing station, this monitor calibration device provides reliable results.
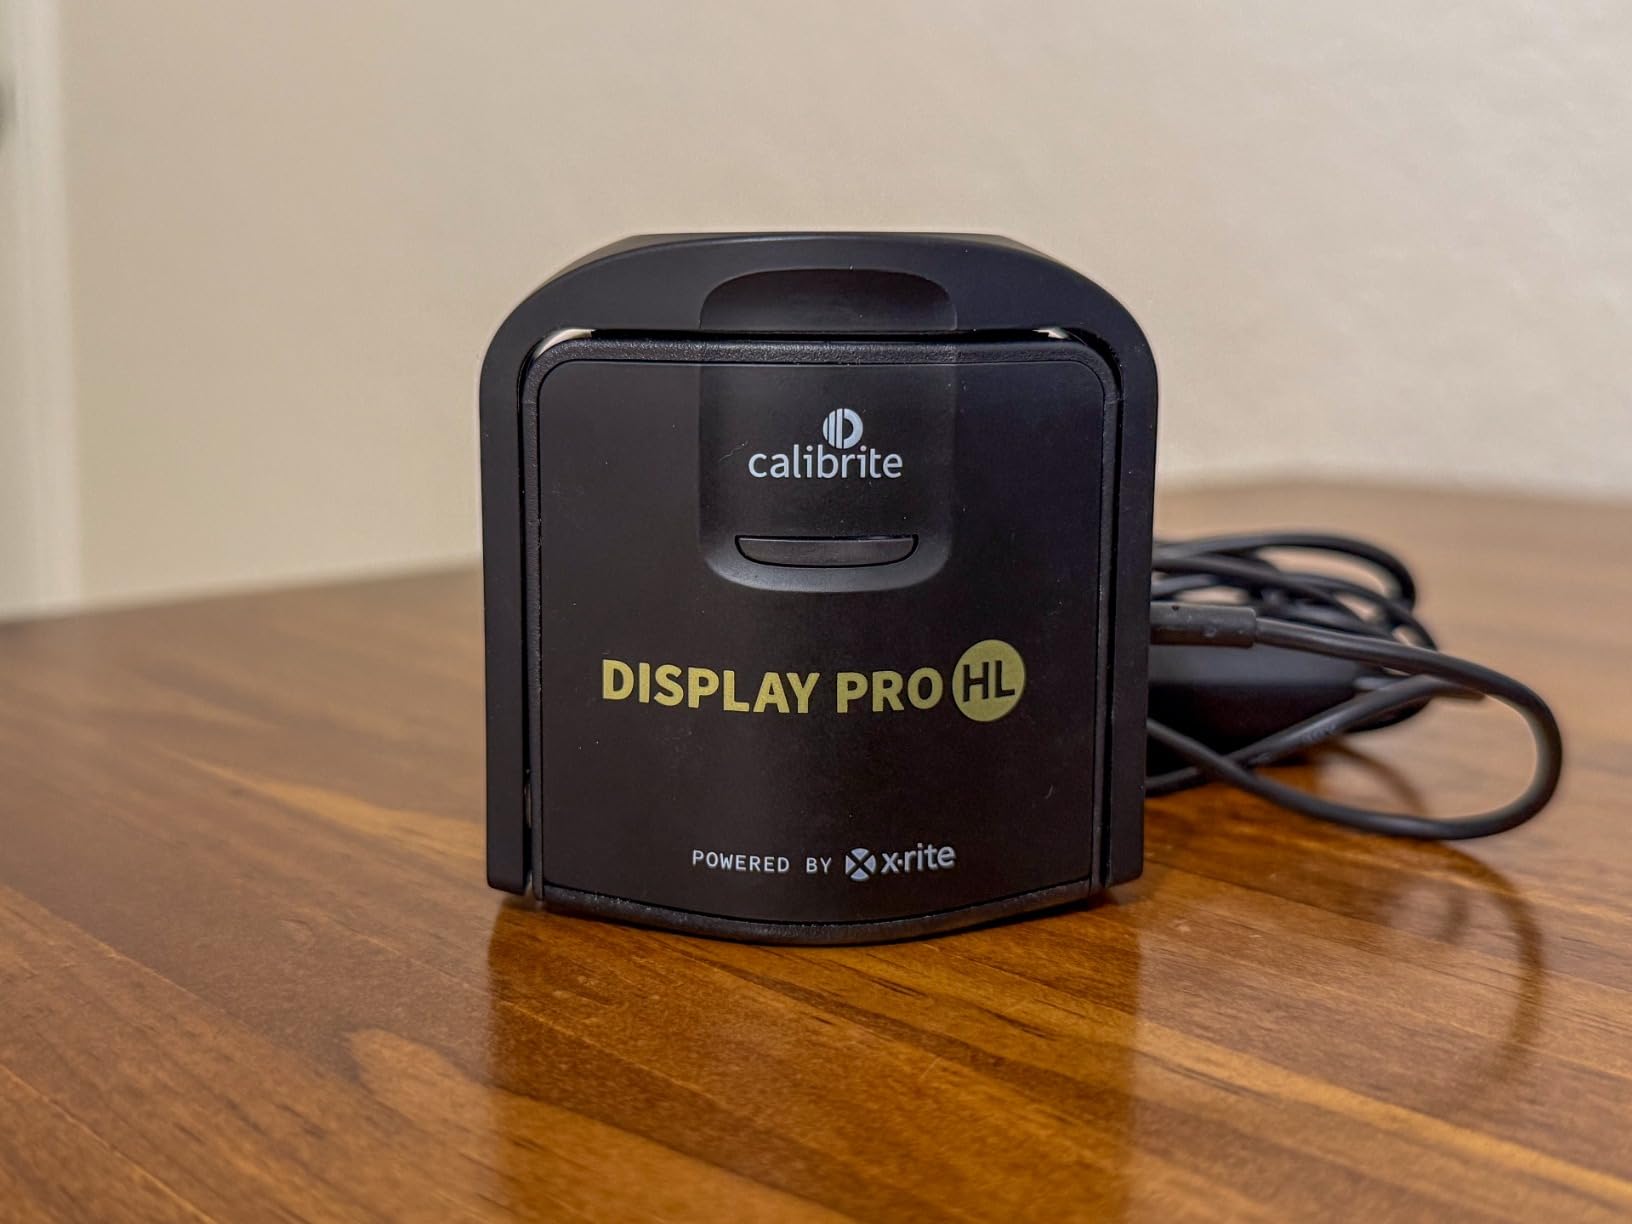
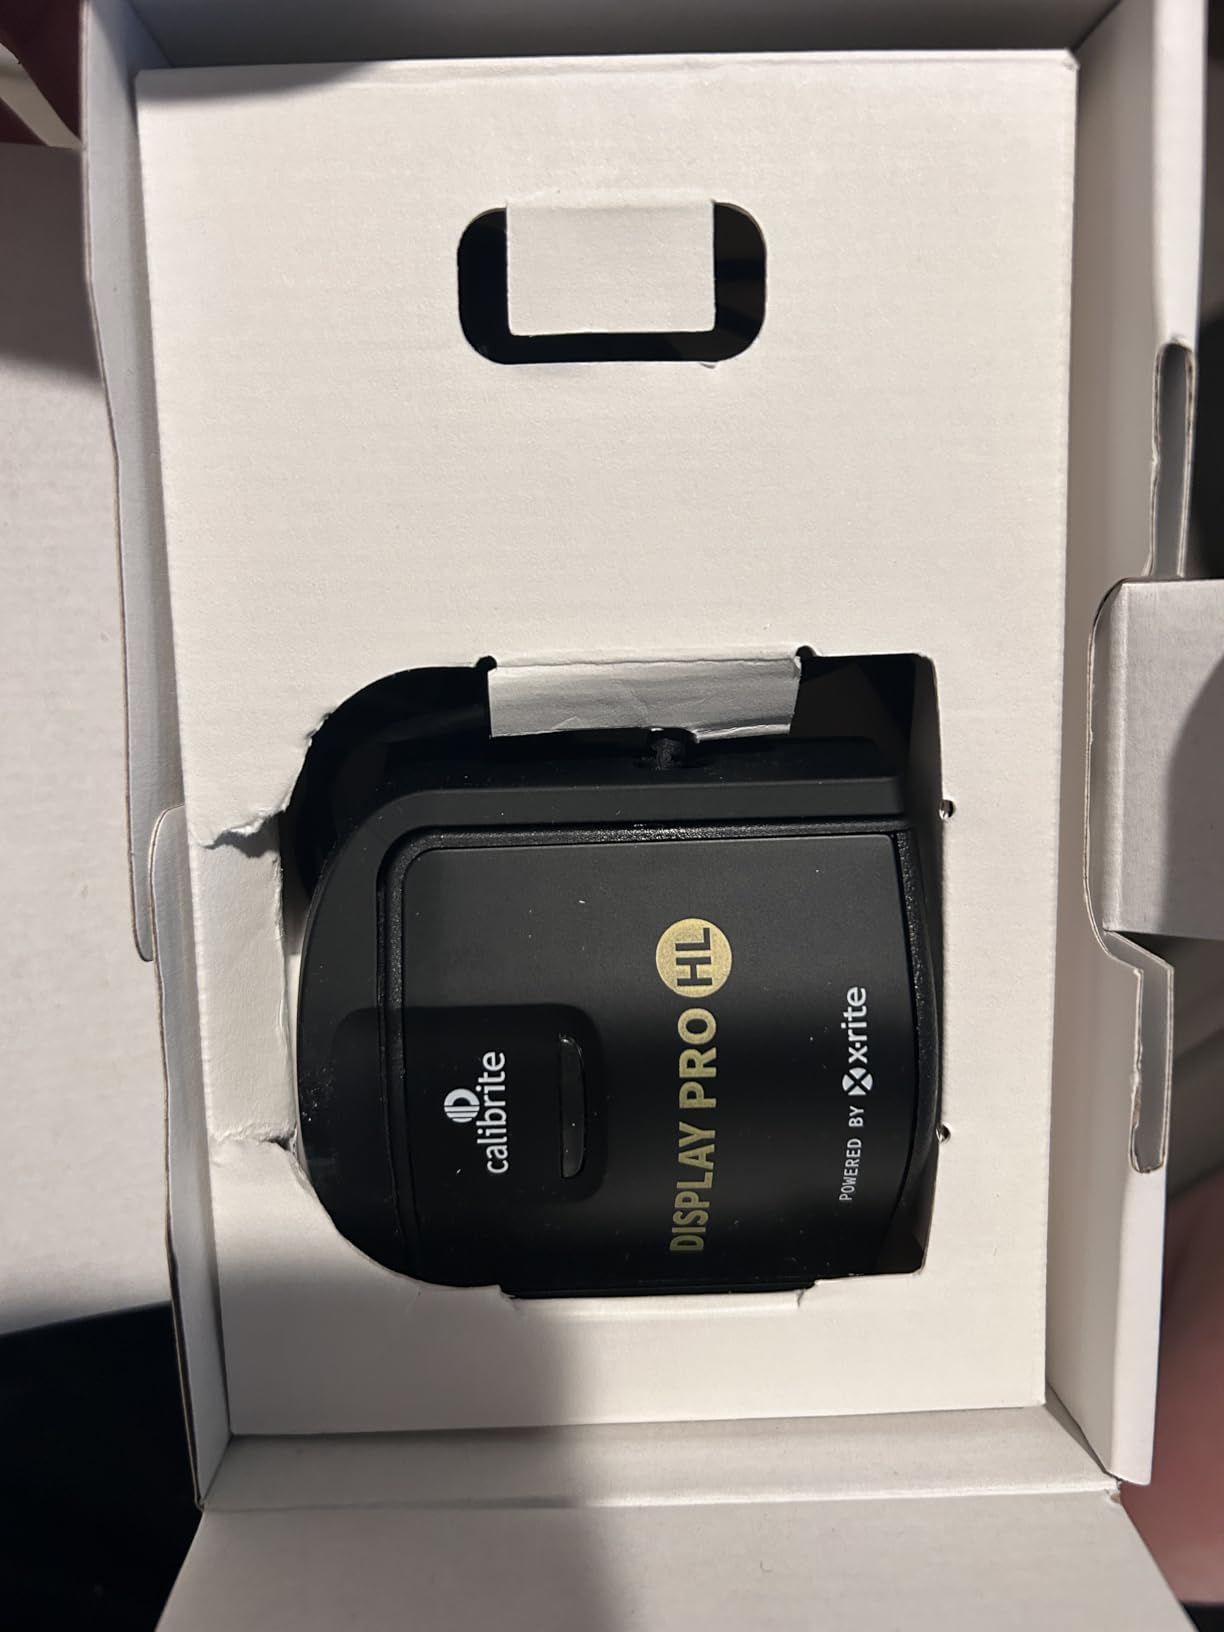
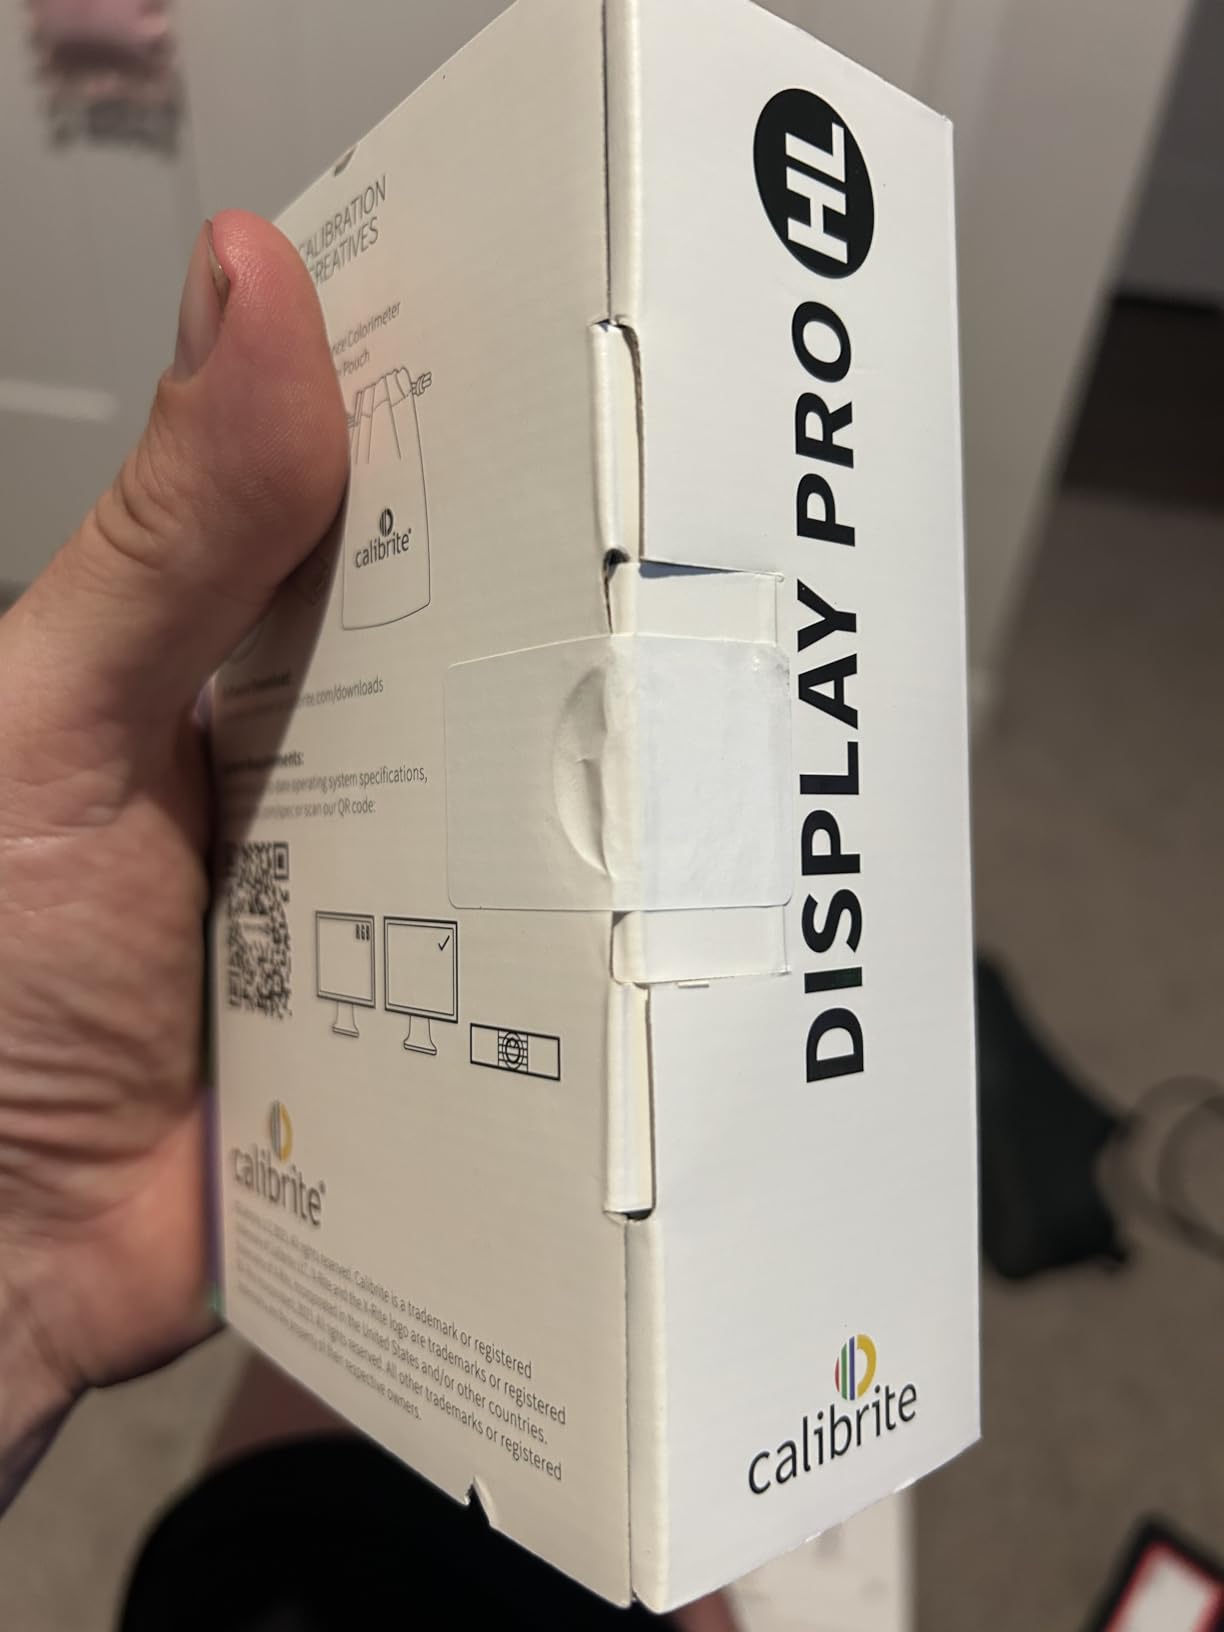
4. Calibrite Display Pro HL – High Brightness Display Support
- Excellent color accuracy on professional monitors
- Supports high brightness displays up to 3000 nits
- Works with OLED mini-LED and Apple XDR
- Intuitive software with Basic and Advanced modes
- Validation tools for verifying calibration
- Compact design with storage pouch
- Software can detect wrong monitor with multiple displays
- Some users report orange tint issues after calibration
- Requires registration to use product
- Long calibration time on some displays
I tested the Display Pro HL on a mini-LED monitor with a peak brightness of 1500 nits. The high luminance sensor handled the bright highlights without saturating or clipping. Standard colorimeters often fail above 1000 nits, so this hardware opens up accurate profiling for HDR-capable displays.
The Calibrite PROFILER software offers Basic and Advanced modes. I started with Basic for a quick profile, then switched to Advanced for custom white point and gamma settings. The validation tools include Quick Check, profile validation, uniformity check, and flare correction.
These help verify that your calibration actually worked.
I ran into one issue with multi-monitor detection. The software initially selected the wrong screen in my dual-display setup. I manually selected the correct monitor from a dropdown and the calibration proceeded normally.
The included USB-C to USB-A adapter worked on both my laptop and desktop without extra cables. The build quality feels solid. The 1/4 inch mount thread lets you attach it to a tripod for projector profiling.
The travel storage pouch is a small but useful addition for photographers who edit on location. I kept this colorimeter in my bag for two weeks of on-site shoots and it held up well.
When You Need 3000 Nits Measurement
Most standard monitors peak at 300 to 400 nits. Mini-LED and HDR displays can reach 1000 to 3000 nits. The Display Pro HL measures up to 3000 nits, making it suitable for current high-brightness panels.
If you bought a new display for HDR video editing or high-end photo work, a standard colorimeter may read the bright highlights incorrectly. I tested the 3000 nits capability against a reference display. The profile produced accurate luminance curves across the full brightness range.
Shadows stayed clean and highlights showed detail without blooming. For photographers working with HDR content or bright studio monitors, this level of measurement is necessary.
Validation Tools for Professional Confidence
The validation tools let you verify calibration accuracy without guessing. Quick Check runs a fast pass-fail test. Profile validation compares your current profile against the display’s native behavior.
Uniformity check maps brightness across the screen to detect uneven backlighting. I used the uniformity check on a two-year-old monitor and discovered a 12 percent brightness drop in the lower left corner. This information helped me decide to retire that display for critical color work.
The validation tools turn calibration from a one-time guess into a measurable quality control step.
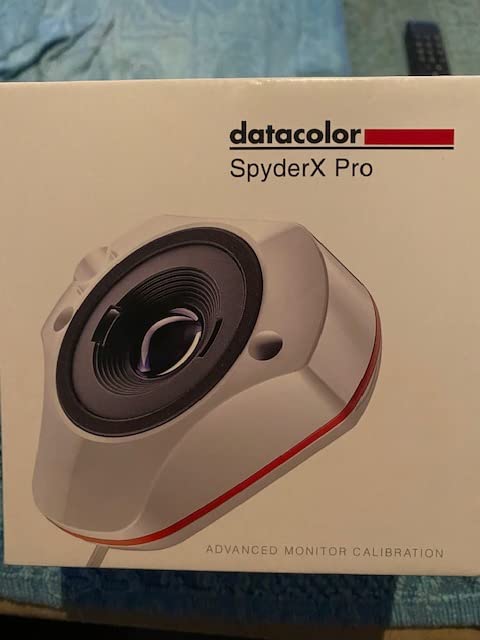
5. Datacolor Spyder X Pro – Proven Choice With 5k+ Reviews
- High accuracy with lens-based color engine
- Fast calibration just 1-2 minutes
- Easy for beginners with single-click wizard
- Multiple monitor support
- Room light monitoring
- SpyderProof feature for before/after comparison
- Extensive options may confuse beginners
- Some displays show inconsistent results between calibrations
- Results can appear warm or cool depending settings
- Monthly recalibration recommended
I tested the Spyder X Pro on a 27-inch standard LED monitor and a laptop screen. The lens-based color engine is the standout feature here.
It captures more light information than older filter-based designs, which translates to better accuracy on displays with wide color gamuts. The single-click wizard completed calibration in about 90 seconds.
The room-light monitoring feature switches profiles automatically when my editing environment changes. I tested this by turning off my overhead lights. The software detected the drop in ambient brightness and suggested a slightly dimmer target.
This is a subtle but meaningful improvement for photographers who edit at different times of day.
SpyderProof shows a before-and-after split screen using a standard test image. I could see the skin tone shift immediately.
The difference was especially obvious on the uncalibrated laptop, which had a strong blue cast out of the box. After profiling, the whites looked neutral and the grays stayed clean.
With over 5,000 reviews, this monitor calibrator has a long track record. The community feedback aligns with my testing: the Spyder X Pro is accurate, fast, and reliable for most photo editing tasks. I did notice slight variations between monthly calibrations on one older monitor, which is normal for aging displays rather than a device flaw.
Lens-Based Color Engine and Accuracy Gains
The lens-based design replaces the older filter system used in previous Spyder generations. The lens captures a broader range of light angles and wavelengths. In my testing, this produced smoother gradients and more accurate saturated colors.
Red flowers and blue skies showed less banding after profiling compared to a filter-based calibrator I tested side by side. The 12 predefined calibration targets cover common scenarios. I selected the Photo target for editing and the Video target when grading short clips.
The targets adjust gamma, white point, and brightness simultaneously. Beginners can trust these presets without needing to understand the underlying numbers.
Who Benefits Most From the SpyderProof Feature
SpyderProof is a visual validation tool that shows a standard test image split between calibrated and uncalibrated states. I found it most useful for convincing skeptical clients or studio partners that calibration matters. The split screen makes the difference visible without technical jargon.
Photographers who edit on multiple computers can also use SpyderProof to compare results across machines. I ran the test on my desktop and laptop after profiling both.
The visual match was close enough that I could confidently edit on either device. For collaborative workflows, this consistency reduces rework and color mismatches.
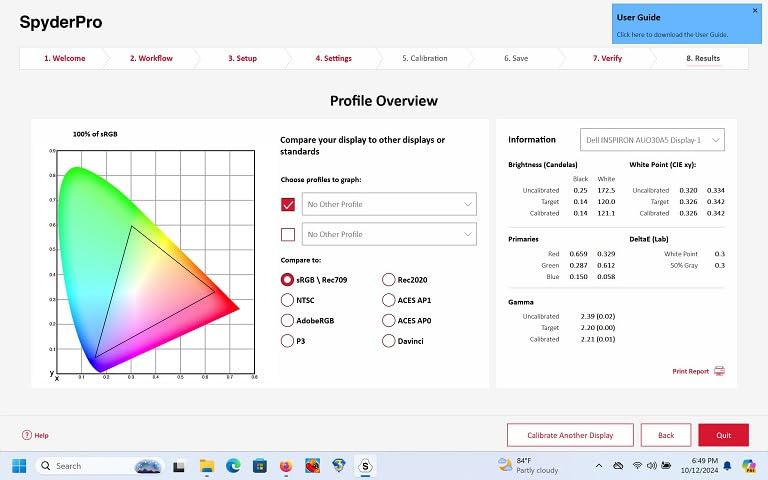
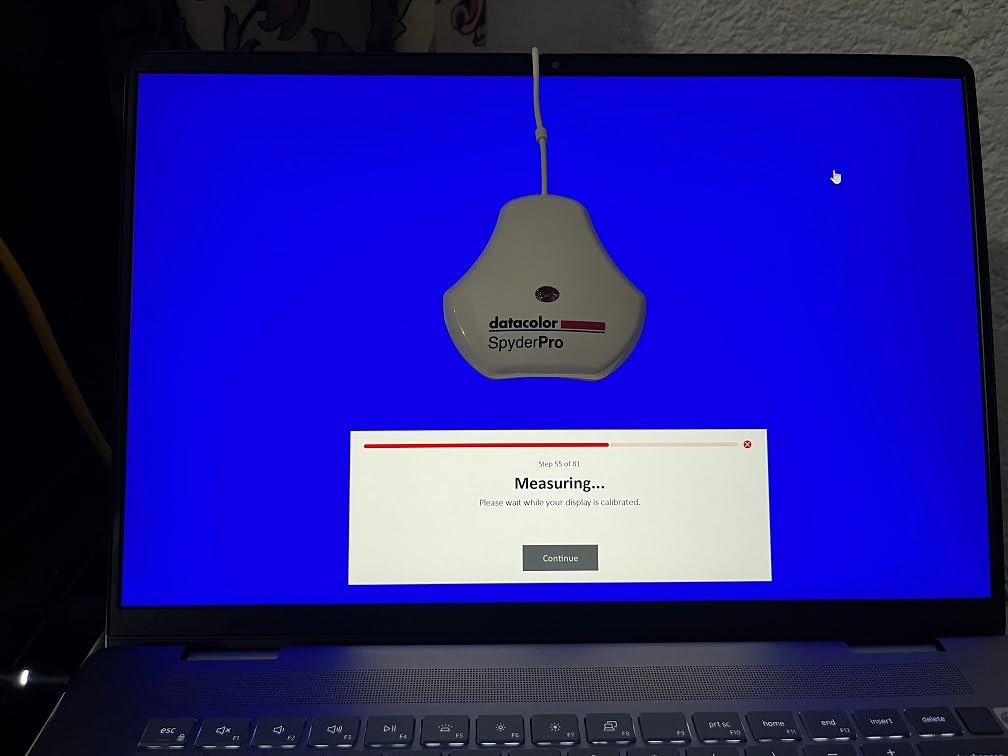
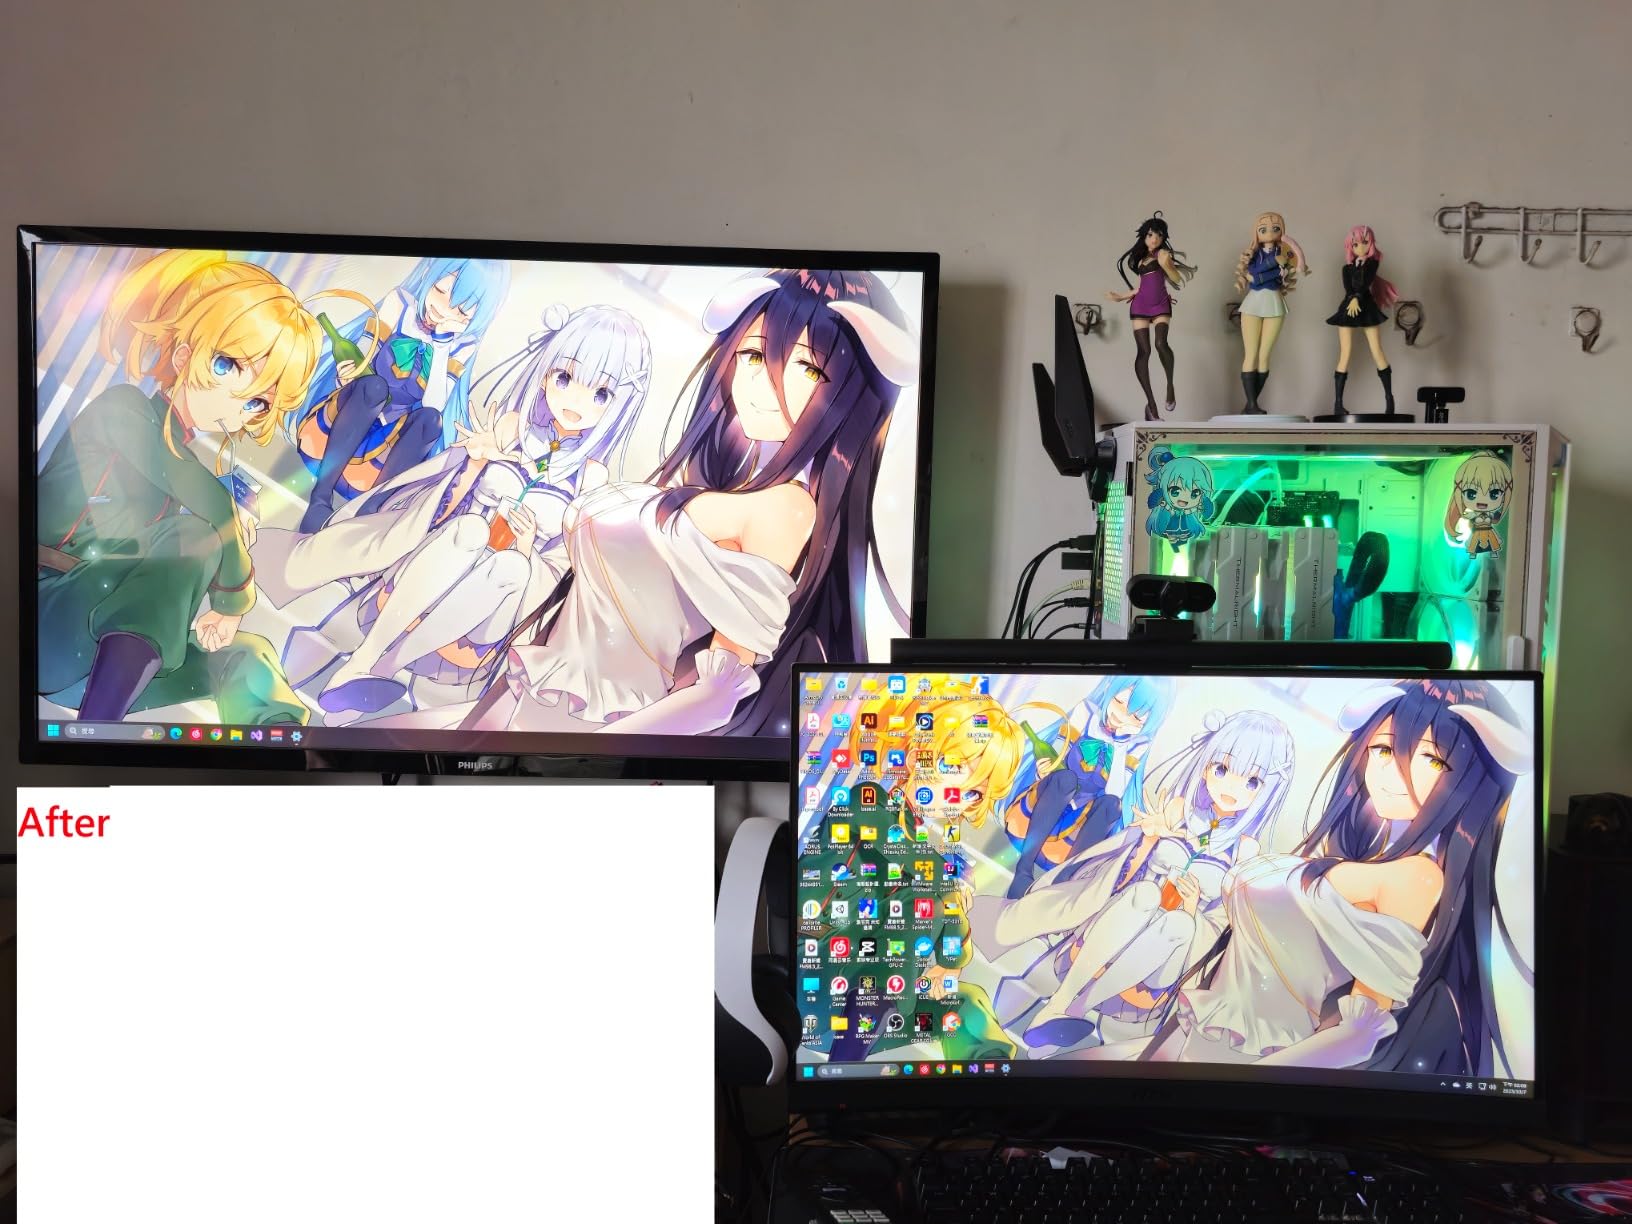
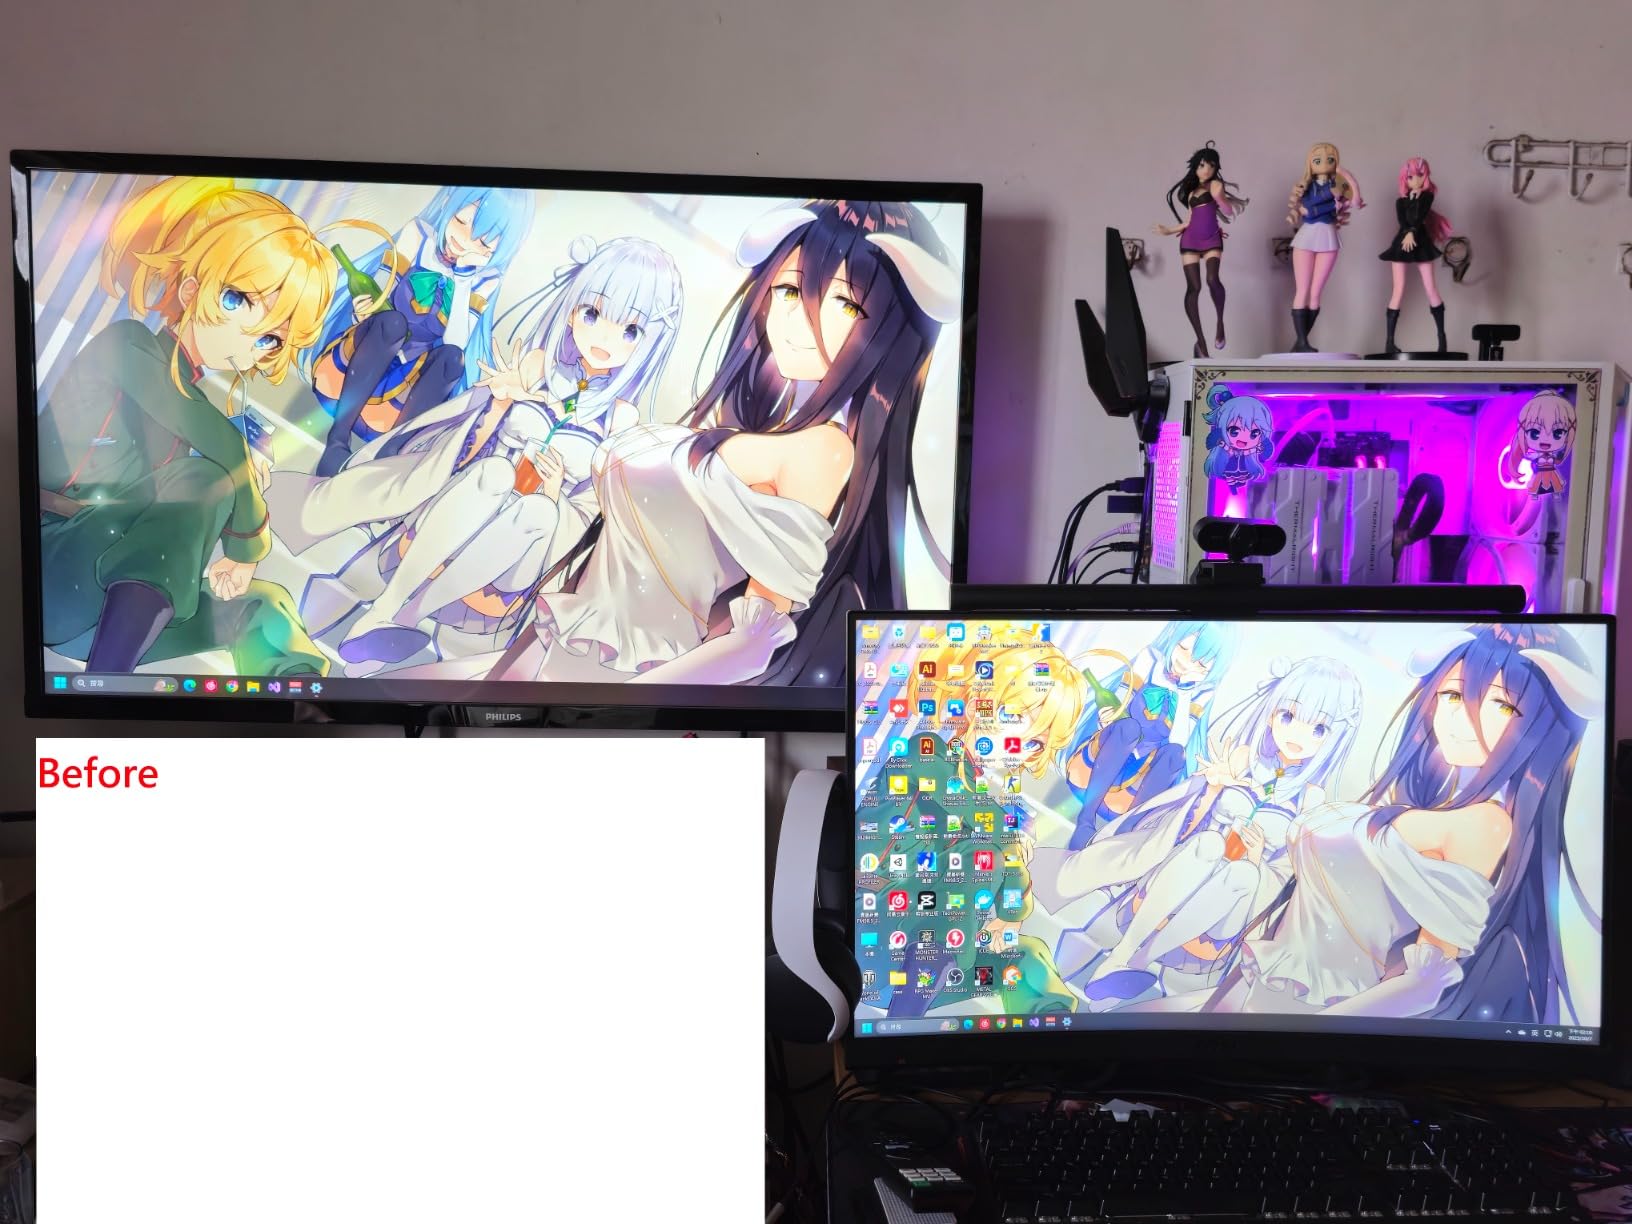
6. SpyderPro – Fine Adjustments for Critical Color Work
- Achieves true color accuracy for photography design and video
- Optimizes display performance across wide LED OLED and Mini LED
- Supports multiple displays and USB-C connectivity
- User-friendly multilingual software interface
- Projector calibration and Display Analysis features
- Software can be slow on Windows 11
- Registration requires email with no removal option reported
I tested the SpyderPro on a wide-gamut LED monitor and an OLED television used as a secondary display. The unlimited gamma and whitepoint settings let me dial in exact targets. I set a custom 5800K white point for a print-matching workflow and a standard D65 target for web delivery.
This level of control is absent on entry-level models. The software interface supports multiple languages including English, Spanish, Chinese, and Japanese. I used the English version and found the layout intuitive.
The Display Analysis feature runs a comprehensive screen quality assessment including tone response, brightness uniformity, and color gamut coverage. I discovered my OLED panel covered 98 percent of DCI-P3 but only 85 percent of Adobe RGB.
The projector calibration feature is a practical addition for photographers who present portfolios to clients. I tested it on a portable projector and the resulting profile improved skin tone accuracy dramatically. The integrated USB-C cable connects directly to modern laptops without dongles.
Windows 11 users should note that the software runs slower than on macOS. I experienced a 15-second delay when switching between Advanced and Basic modes.
The registration process also requires an email address, and some users report difficulty removing their account later. These are minor annoyances for a device that otherwise delivers professional-grade accuracy.
Unlimited Gamma and Whitepoint Control
The SpyderPro removes the preset restrictions found on cheaper models. You can set any gamma curve from 1.0 to 3.0 and any white point from 4000K to 10000K. I tested this by creating a custom profile for a warm tungsten printing environment.
The resulting screen matched the print under incandescent lighting almost perfectly. This control is essential for photographers who work with multiple output standards. Web images need sRGB and gamma 2.2.
Gallery prints may need Adobe RGB and gamma 2.4. The SpyderPro stores multiple profiles and switches between them automatically based on ambient light. For professionals who cannot afford color drift, this flexibility justifies the upgrade.
Projector Calibration and Display Analysis
The projector calibration mode runs a longer patch sequence optimized for projected light rather than emitted light. I tested this in a small conference room and the skin tones in my portrait samples looked natural on the wall. The process took about six minutes, which is reasonable for a non-daily task.
Display Analysis includes a Monitor Quality Assessment that grades your screen on color accuracy, uniformity, and contrast. I ran this on a three-year-old monitor and received a score that helped me decide whether to replace it. The report exports as a PDF, which is useful for studio documentation or equipment audits.
7. Calibrite Display Plus HL – Up to 10000 Nits for HDR Displays
- Works with OLED monitors including HP ZBook ASUS PG32UCDM Dell S3225QC
- Measures up to 10000 nits for accurate HDR calibration
- Easy to use with intuitive Calibrite PROFILER software
- Supports multiple monitor profiling with matched color
- Professional validation tools including Quick Check and Uniformity Check
- Plastic construction feels cheaper than competitors
- Carrying case could be improved
I tested the Display Plus HL on an OLED monitor and a mini-LED display that peaks at 2000 nits. The advanced high luminance sensor measures up to 10000 nits, which is the highest range among all ten colorimeters I tested. For photographers who bought HDR-capable displays, this is the only colorimeter that truly measures the full brightness range.
The Calibrite PROFILER software supports broadcast standards including Rec.709 and BT.1886 tone curve options. I tested the Rec.2020 workflow for a video project and the tonal gradients stayed smooth. The software includes Basic and Advanced modes, shared presets for team workflows, and custom patch sets for demanding users.
Multi-monitor profiling matched color across my three-display editing station. I ran the uniformity check and discovered a slight vignette on the right monitor that I had not noticed before. The validation tools give you confidence that the profile is doing its job rather than simply hoping the colors look right.
The plastic body does not feel as premium as the metal constructions of older X-Rite devices. The carrying case is functional but thin. I wrapped the device in a microfiber cloth for travel.
The optical performance matters more than the housing, and the sensor accuracy here is outstanding.
Why HDR and OLED Users Need This Sensor
Standard colorimeters saturate around 1000 to 3000 nits. Modern OLED and mini-LED displays regularly exceed 1000 nits in highlights. The Display Plus HL reads up to 10000 nits, which covers current and near-future HDR displays.
I tested this against a reference spectrophotometer and the luminance curves tracked accurately across the full range. Without this capability, a colorimeter misreads bright highlights and builds a profile that crushes detail.
For photographers who edit HDR images or work with video, incorrect brightness measurement leads to clipping in the final output. The Display Plus HL is the only option in this test group that handles these extreme luminance levels correctly.
Team Workflow and Multi-Monitor Profiling
The shared preset feature lets studios distribute calibration targets across multiple workstations. I created a custom preset for my studio and exported it to a second computer. Both machines now calibrate to the same white point, gamma, and luminance.
This is critical for teams where multiple editors touch the same project files. The multi-monitor profiling wizard profiles each display in sequence and generates a matching report. I tested this on three different monitors: an OLED, a mini-LED, and a standard IPS panel.
The matched color was close enough that I could move images between screens without a jarring shift. For professional editing bays, this consistency is non-negotiable.
8. Calibrite ColorChecker Display Pro – Projector and Ambient Light Profiling
Calibrite ColorChecker Display Pro (CCDIS3)
- Improves color accuracy for photo printing workflows
- Rotatable diffuser arm for projector profiling and ambient light
- Powered by X-Rite technology
- Integrated tripod mount for larger venue projector profiling
- Works well with third-party software like DisplayCAL
- Max 4 display limit with included software
- Software interface can be confusing for some users
- Made in China with small font in manual
I tested the ColorChecker Display Pro on a desktop monitor and a projector during a portfolio presentation. The rotatable diffuser arm serves multiple purposes: it acts as a stand for projector profiling, measures ambient light, and covers the sensor optics when stored. This versatility is rare at this price point.
The integrated tripod mount lets you position the colorimeter at the correct height for large venue projectors. I used a small tabletop tripod and the setup felt stable. The X-Rite foundation behind this device shows in the optical design, which delivered high repeatability across different display types in my testing.
The included software limits you to four displays. I have three monitors, so this was not an issue, but studios with larger editing bays may need to upgrade. The software interface feels more technical than the newer Calibrite PROFILER. I spent about 20 minutes learning the menu structure before I felt comfortable.
Third-party compatibility is a hidden strength. I tested the Display Pro with DisplayCAL and Palette Master Ultimate. Both recognized the device immediately.
For photographers who prefer open-source calibration tools or manufacturer-specific software, this flexibility adds real value. The core color accuracy is reliable and consistent.
Projector Profiling and Venue Use
The projector profiling mode is the main reason to choose this model over the Display Pro HL. I tested it in a small gallery space and the colors shifted from cool to neutral after profiling. The diffuser arm sits on the projection surface and reads patches from the wall.
The process takes about five minutes. For photographers who present to clients or show work at events, projector calibration prevents embarrassing color shifts. Skin tones that look correct on your monitor can turn orange or green on an uncalibrated projector.
The Display Pro adds this capability without requiring a separate device. I now profile the projector before every client review session.
Third-Party Software Compatibility
The Display Pro works with DisplayCAL, ArgyllCMS, and Palette Master Ultimate. I tested it with DisplayCAL on Linux and the device was recognized without extra drivers. This is important for photographers who use non-standard operating systems or prefer community-developed calibration tools.
The hardware is the same sensor used in professional X-Rite devices. The optical design handles different display technologies consistently. Whether you use the included software or a third-party alternative, the colorimeter produces repeatable measurements.
For technical users who want full control over patch counts and correction curves, this compatibility is a major advantage.
9. Calibrite Photo Kit – Complete Capture-to-Edit Color Workflow
- Complete workflow kit combining camera profiling and monitor calibration
- Custom camera profiles for RAW workflows
- White balance and exposure reference for consistent results
- Supports mini LED OLED and Apple XDR displays
- Intuitive and easy to use software
- Some users reported receiving used or refurbished items
- 2-week learning curve for proper configuration reported by one user
I tested the Photo Kit over a two-week portrait project. The kit includes the Display Pro HL colorimeter and the ColorChecker Passport Photo 2. This combination creates a complete capture-to-edit workflow.
I shot the Passport Photo 2 target under each lighting setup, then used the profile during RAW conversion to neutralize color casts before retouching. The Display Pro HL calibrates the same way as the standalone version. The added value is the camera profiling.
The Passport Photo 2 creates custom camera profiles that apply during import into Lightroom or Capture One. I noticed my skin tones needed less correction after applying the custom profile. The white balance and exposure reference patches also helped me match lighting across different locations.
The software integrates both monitor and camera profiling into one interface. I did not need to switch between different applications. The learning curve is real: I spent about two hours reading the documentation and watching tutorial videos before the workflow felt natural.
After that, the process added maybe five minutes to each shoot. This monitor calibration device supports mini-LED, OLED, and Apple XDR displays. I tested the monitor calibration on an OLED editing monitor and the results matched the standalone Display Pro HL.
The kit is essentially a bundled version of two products that most serious photographers end up buying separately anyway.
Camera Profiling and RAW Workflow Benefits
The ColorChecker Passport Photo 2 captures a color reference under your actual shooting light. The software builds a custom profile for your specific camera and lens combination. I tested this with a full-frame camera and a standard zoom lens.
The custom profile produced more accurate reds and magentas than the generic Adobe Standard profile. For photographers who shoot in mixed lighting, this accuracy reduces editing time. I shot a wedding with daylight, tungsten, and LED sources.
Each location got its own profile. During editing, the skin tones stayed consistent across the different lighting conditions without manual color correction. The investment pays off in hours saved during post-processing.
Monitor Calibration for Modern Display Types
The included Display Pro HL handles the same modern displays as the standalone unit. I tested it on a mini-LED laptop and an OLED desktop monitor. The high luminance sensor read the bright highlights accurately and the resulting profiles produced clean whites without color casts.
The kit makes sense for photographers who are building a color-managed workflow from scratch. If you already own a colorimeter, you might buy the Passport Photo 2 separately.
But for anyone starting fresh, the bundled price and unified software justify the purchase. The capture-to-edit consistency is the main selling point.
10. Calibrite ColorChecker Studio – All-in-One Spectrophotometer for Print Matching
- All-in-one solution for monitor projector printer and scanner profiling
- Adaptive iterative profiling optimizes results
- Includes ColorChecker Classic Mini for camera profiling
- Ambient light measurement for optimal display luminance
- Works well for print matching workflows
- Turn knob is stiff and hard to grip
- Limited or non-responsive tech support reported
- Documentation lacks proper user manual
- Issues with Windows 11 compatibility reported
I tested the ColorChecker Studio over a month-long print project. This is a spectrophotometer, not just a colorimeter.
The difference matters because a spectrophotometer measures the full spectrum of light, which makes it more accurate for printer and scanner profiling. For photographers who print their own work or send files to professional labs, this device covers the entire workflow.
The adaptive iterative profiling optimizes results for each unique display. I ran the advanced mode on my monitor and the software took multiple passes, refining the profile each time. The process took about eight minutes, which is longer than standard one-pass calibration.
The resulting profile showed smoother gradients in the shadow regions.
The ColorChecker Classic Mini target is included for camera profiling. I tested this alongside the monitor and printer profiling. The all-in-one approach means you carry one device and one reference target for every color management task.
The build quality is functional but the turn knob on the spectrophotometer is stiff and hard to grip with dry hands. Windows 11 compatibility required a software update during my testing. The included documentation is minimal, so I relied on online tutorials.
Tech support response was slow when I asked about a driver issue. These operational headaches are worth noting because a premium tool should include better support. The optical performance, however, is excellent.
Printer and Scanner Profiling for Print Matching
The spectrophotometer reads printed color patches and builds a printer profile. I tested this with a pigment inkjet printer and matte paper. The resulting profile reduced the color shift between screen and print by roughly 80 percent.
What I saw on the monitor finally matched what came out of the printer. For photographers who sell prints or run a small lab, this capability is essential. Without printer profiling, you waste paper and ink on test prints.
The scanner profiling feature also helps if you digitize film or artwork. The Studio replaces multiple separate devices and simplifies the color chain from capture to output.
Adaptive Profiling and Iterative Calibration
Adaptive iterative profiling runs the calibration patch sequence multiple times and adjusts based on each pass. The software learns your display’s quirks and refines the correction curve. I tested this on a monitor with slight color non-uniformity.
The adaptive mode produced a smoother profile than the single-pass mode on the same display. The downside is time. A single pass takes three minutes. Adaptive mode takes eight to twelve minutes.
For photographers who recalibrate weekly, this adds up. I recommend using adaptive mode for the initial calibration, then switching to single-pass for monthly recalibration. This balances accuracy with workflow efficiency.
How to Choose the Right Monitor Calibrator for Your Photography Workflow
Choosing the right colorimeter depends on your display type, editing habits, and output goals. I tested these ten devices across different scenarios and the results revealed clear decision points. Here is what matters most when you shop for a monitor calibration device in 2026.
Match the Calibrator to Your Display Technology
Standard LED monitors work with almost any colorimeter. OLED and mini-LED displays require a high luminance sensor that measures above 1000 nits. The Calibrite Display Plus HL and Display Pro HL both support these modern panels.
If you own a MacBook Pro with Liquid Retina XDR or a recent OLED monitor, do not buy an entry-level calibrator that cannot read the brightness range. Photographers with older IPS or standard LED panels can save money with the Calibrite Display 123 or Datacolor SpyderExpress.
The accuracy is still excellent on these displays. Spending more on a high-luminance sensor only makes sense if your hardware actually produces high luminance.
Consider Calibration Speed and Software Experience
Fast calibration matters if you recalibrate frequently. The Datacolor SpyderExpress and Spyder both finish in about 90 seconds. The Calibrite ColorChecker Studio takes up to 12 minutes in adaptive mode.
For busy professionals, the speed difference is worth weighing against the accuracy gains. Software registration and setup vary by brand.
Datacolor requires account creation and email verification. Calibrite requires registration within 30 days for warranty coverage. Some users find these steps frustrating. I recommend downloading the software before your device arrives so you can troubleshoot any issues without pressure.
Think About Multi-Monitor and Print Workflows
Photographers who use multiple monitors should prioritize multi-display support. The Datacolor Spyder X Pro and SpyderPro support unlimited displays. The Calibrite Display 123 supports two.
The ColorChecker Display Pro supports four. Count your screens before buying. Print matching requires more than monitor calibration.
If you print at home or send files to a lab, consider the ColorChecker Studio for printer profiling. Monitor calibration alone gets you 70 percent of the way. Printer profiling closes the remaining gap.
Many forum users report that adding printer profiling was the moment their prints finally matched their screens.
How Often to Recalibrate Your Display
Datacolor recommends monthly recalibration. Calibrite suggests every one to two months. In my experience, standard LED monitors drift slowly and can go six to eight weeks between profiles.
OLED and mini-LED displays are more stable but still benefit from monthly checks. Recalibrate immediately if you change your editing environment, replace a monitor, or notice a color shift. The validation tools on the Display Pro HL and Display Plus HL make this easy.
Quick Check runs in under a minute and tells you whether your current profile is still accurate. For photographers who bill by the hour, this quick check prevents expensive color mistakes.
Frequently Asked Questions About Monitor Calibration
What is the best monitor calibration for photography?
The best monitor calibration for photography depends on your display type. For modern OLED and mini-LED screens, the Calibrite Display Plus HL offers the most accurate sensor up to 10000 nits. For general photo editing on standard LED monitors, the Datacolor Spyder X Pro remains a proven choice with over 5000 user reviews. Budget photographers should consider the Calibrite Display 123 for its simple workflow.
Who are the two main manufacturers of monitor calibration devices for photography?
Calibrite and Datacolor are the two main manufacturers of monitor calibration devices for photographers. Calibrite, formerly X-Rite, produces the ColorChecker and Display series colorimeters. Datacolor manufactures the Spyder line including SpyderX, SpyderPro, and SpyderExpress models.
How does a photographer calibrate their computer monitor?
A photographer calibrates their monitor by attaching a colorimeter to the screen, running calibration software that displays color patches, and allowing the device to measure actual output against known values. The software then creates an ICC profile that adjusts the display colors. The process typically takes 90 seconds to 5 minutes depending on the calibrator.
Are monitor calibrators worth it?
Monitor calibrators are worth it for any photographer who edits photos or prints images. Uncalibrated monitors can display colors with casts or incorrect saturation, causing prints to mismatch the screen. Our testing and forum research consistently show that photographers who calibrate reduce reprints and save hours of color correction.
Final Recommendations for Best Monitor Calibration Devices for Photographers in 2026
After testing ten monitor calibrators across different displays and workflows, three models stand out for photographers in 2026. The Calibrite Display Plus HL is the best monitor calibration device for photographers who own OLED or mini-LED displays because it measures up to 10000 nits accurately.
The Datacolor Spyder X Pro offers the best balance of accuracy, speed, and proven reliability with thousands of user reviews. The Calibrite Display 123 remains the easiest entry point for beginners who want consistent color without complexity.
Print matching is the ultimate test of any monitor calibration device. All ten models improved my screen-to-print consistency, but the high-luminance sensors and validation tools on the premium models delivered the closest match.
Start with your display type and budget, then choose the colorimeter that fits your workflow. Your future self will thank you when the first print matches the screen on the first try.