
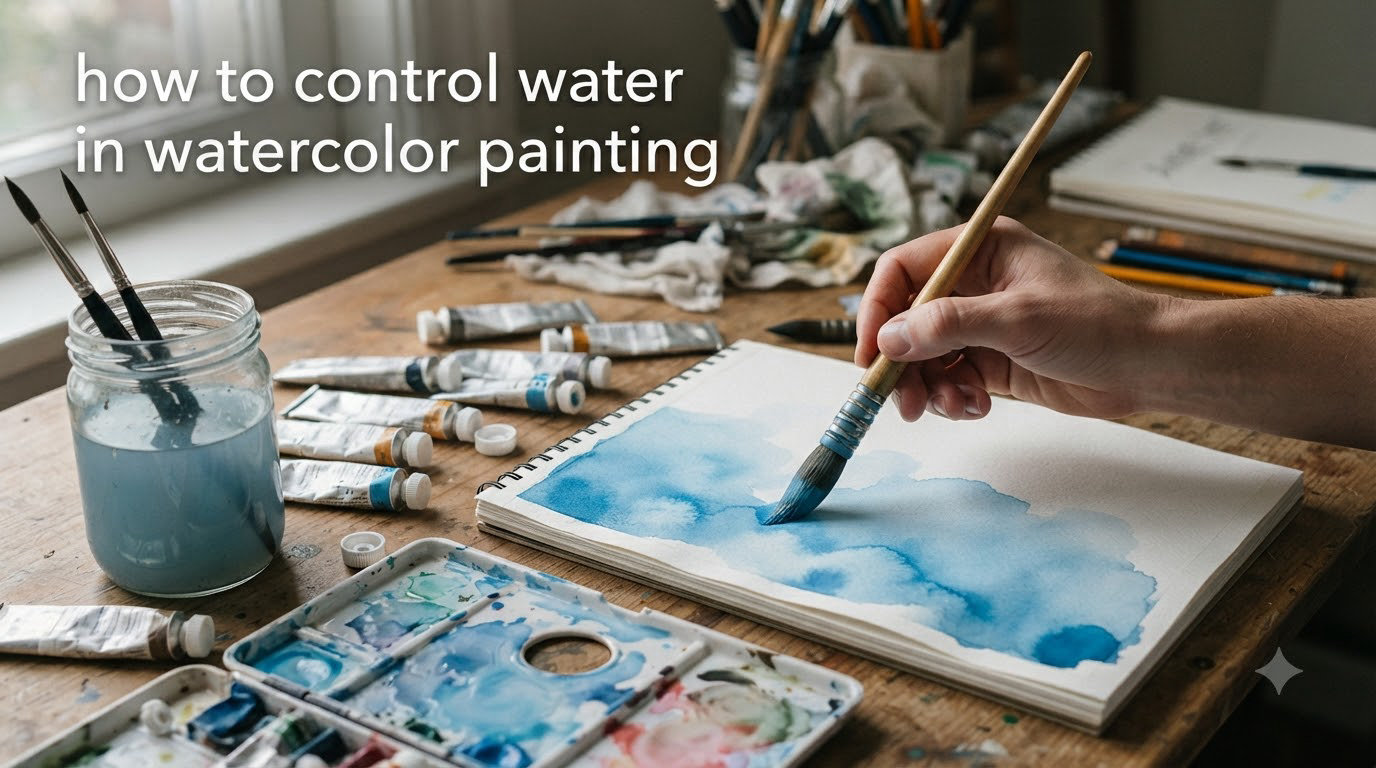
Learning how to control water in watercolor painting is the single most important skill you’ll develop as a watercolor artist. I remember my first attempts at watercolor painting – I would load my brush with paint, touch it to the paper, and watch helplessly as colors bled uncontrollably across the page.
Water control determines everything in watercolor: the intensity of your colors, the softness of your edges, and whether your washes come out smooth or streaky. Master this one skill, and painting becomes enjoyable. Ignore it, and every session ends in frustration.
In this guide, I’ll share the techniques that transformed my watercolor practice from chaotic to controlled. These are practical, tested methods that work for beginners and experienced artists alike.
Table of Contents
The Golden Rule of Watercolor
The golden rule of watercolor is simple: control your water, and you control your paint. Water acts as both your paint carrier and your blending medium. Too much water creates puddles and blooms. Too little water produces streaky, uneven color.
Think of water control as a conversation between three elements: your brush, your paper, and your paint. Each affects the others, and understanding these relationships is key to mastering watercolor water control.
The Three Elements of Water Control
Before diving into specific techniques, you need to understand how three basic elements interact to create (or destroy) water control in your paintings.
Understanding Your Brushes
Different brushes hold different amounts of water. Natural hair brushes like sable and squirrel hold significantly more water than synthetic brushes. This affects how long you can paint before reloading and how much water you’re depositing with each stroke.
Here’s a simple test: dip your brush in clean water, then hold it vertically over your palette. Count how many seconds it takes for a drop to fall. A fully loaded natural hair brush might take 5-8 seconds. A synthetic brush might drop in 2-3 seconds. This tells you how much water you’re working with.
For beginners, I recommend starting with synthetic brushes. They release water more predictably and give you better control while you’re learning. Once you’ve mastered water control, you can graduate to natural hair brushes for their superior water capacity and soft edges.
Why Paper Quality Makes All the Difference
The paper you use matters more than almost any other factor in watercolor water control. I learned this the hard way after months of frustration with cheap student-grade paper.
100% cotton watercolor paper behaves completely differently from wood pulp student paper. Cotton fibers absorb water evenly and predictably. Student-grade paper absorbs water inconsistently, causing colors to behave erratically and making water control nearly impossible.
Paper sizing is another critical factor. Sizing is the gelatinous coating applied to watercolor paper that controls how quickly water absorbs. Internal sizing is mixed into the paper pulp. Surface sizing is applied to the surface after manufacturing. Good watercolor paper has both.
If you’re struggling with water control, try switching to 100% cotton paper like Arches, Fabriano, or Hahnemuhle. The difference will surprise you. Affordable alternatives like Ateza and Meeden also offer 100% cotton options at lower prices.
Paint Consistency Levels
Watercolor artists use a consistency scale to describe paint-to-water ratios: tea, milk, cream, and butter.
Tea consistency is mostly water with just a hint of pigment. Use this for light washes and glazing layers. Milk consistency has more pigment and creates medium-value colors. This is your workhorse consistency for most painting.
Cream consistency is thick with pigment but still flows. Use this for darker values and details. Butter consistency is almost straight from the tube – minimal water, maximum pigment. Use this for your darkest darks and fine details.
How to Control Water in Watercolor Painting
Now let’s get into the practical techniques that will transform your watercolor practice. These are the methods I use every time I paint.
The Two-Cup Water System
This simple setup changed my watercolor painting immediately. You need two containers of water: one for rinsing your brush, and one for clean painting water.
Here’s how it works. Use your first cup (the dirty cup) to rinse pigment from your brush when switching colors. Use your second cup (the clean cup) to add water to your paint mixtures. This keeps your colors pure and prevents muddying.
Without this system, every time you rinse your brush and dip it into your water for mixing, you’re contaminating your clean water with residual pigment. Within minutes, your water turns gray and affects every color you mix.
Some artists also keep a third small container with just water for wetting the paper, keeping that completely separate from paint-mixing water.
The Swipe-Off Technique
After rinsing your brush, always swipe off excess water before returning to your paint. I keep a folded paper towel or clean sponge next to my water container specifically for this purpose.
Here’s the rule: your brush should be damp, not dripping. Touch your brush to the paper towel and look for a clean swipe mark, not a puddle. If you see a dark wet spot on the towel, your brush still had too much water.
This one habit prevents most water control problems. Too much water in your brush dilutes your paint, creates puddles on the paper, and leads to uncontrolled blooming. Taking two seconds to swipe off excess water saves you hours of frustration.
Reading Your Paper’s Wetness
Learning to read your paper is essential for water control. Your paper can be dry, damp, wet, or puddly – and each state requires different approaches.
Dry paper gives you hard edges and maximum control. The paint stays exactly where you put it. Damp paper has a slight sheen but no standing water. This creates soft edges while maintaining some control.
Wet paper has a glossy appearance but no puddles. This is perfect for wet-on-wet techniques and soft blends. Puddly paper has visible pools of water. Paint dropped into puddles will explode unpredictably.
Test your paper’s wetness by tilting it slightly. If water runs, you have puddles. If you see a sheen but no movement, you’re in the wet zone. If the surface looks matte, you’re working on dry or damp paper.
Loading Your Brush Correctly
Proper brush loading is an art in itself. You want enough paint to make a mark, but not so much that it floods the paper.
Dip your brush in your paint mixture and drag it along the edge of your palette to remove excess. The brush should feel full but not heavy. When you touch it to paper, paint should flow smoothly without forming a puddle.
If you’re getting blobs of paint instead of smooth strokes, your brush is overloaded. If you’re getting scratchy lines, you need more paint or more water in your mixture.
Wet-on-Wet vs Wet-on-Dry
These two fundamental techniques require different water approaches. Wet-on-dry means painting on dry paper. You have maximum control, but edges will be hard and distinct.
Wet-on-wet means painting on wet or damp paper. The paint spreads and blends softly, creating beautiful gradients. But it requires more water awareness because the paper’s wetness affects how your paint behaves.
For wet-on-wet, your paper should be evenly wet – not puddly. Apply your paint while the paper still has that wet sheen. Work quickly, as the window for wet-on-wet closes as the paper dries.
Common Water Control Problems and Solutions
Even experienced artists encounter water control issues. Here are the most common problems and how to fix them.
Fixing Puddles and Excess Water
Puddles form when you deposit more water than the paper can absorb. You’ll see standing water on the surface, and any paint you add will spread uncontrollably.
The immediate fix is simple: use a clean, dry brush to wick up excess water. Touch the tip of a thirsty brush to the puddle and let capillary action draw the water into the bristles. Blot the brush on a paper towel and repeat until the puddle is gone.
To prevent puddles, remember the shiny rule. Your paper should look shiny when wet, not wet like a puddle. If you see raised water that moves when you tilt the paper, you have too much.
Also check your brush loading. Puddles often happen when your brush holds too much water or paint. Swipe off excess before painting, and load less paint onto your brush.
Understanding Blooms and Backruns
Blooms (also called backruns or cauliflowers) happen when wet paint meets a drier area. The wetter paint pushes into the drier area, creating flower-like patterns.
Blooms can be beautiful when intentional. They’re a classic watercolor effect for textures like clouds, foliage, or abstract backgrounds. But they’re frustrating when they appear uninvited.
To avoid unintentional blooms, maintain consistent wetness across your wash. Work quickly and don’t go back over areas that are starting to dry. If you need to add paint to a partially dry area, wet the entire section first to restore even dampness.
When a bloom appears where you don’t want it, you have about 30 seconds to fix it. Use a clean, damp brush to feather out the edges and blend the bloom back into the surrounding area.
Preventing Tide Lines and Dark Edges
Tide lines (also called dark edges or blossom edges) appear as dark pigment lines at the edges of washes. They form when water evaporates unevenly, pulling pigment to the edges as it dries.
The key prevention technique is tilting. While your wash is drying, tilt your paper so water doesn’t pool at the edges. This encourages even drying across the entire wash.
You can also use a technique called “charging” – adding more paint to the edges while the wash is still wet. This prevents the pigment concentration that causes dark edges.
If you get a tide line, you can sometimes lift it while the paint is still damp. Use a damp brush to gently scrub the edge and redistribute the pigment.
How to Recover from Over-Watered Areas
We’ve all been there – you add too much water and your painting starts looking more like a swimming pool than artwork. Here’s how to recover.
First, stop adding paint immediately. More paint won’t fix too much water – it will just create more problems.
Use the thirsty brush technique. Take a clean brush with no water, touch it to the over-wet area, and let it absorb excess water. Blot the brush on paper towel and repeat. A flat synthetic brush works best for this.
For larger areas, gently press a paper towel onto the wet surface. Don’t rub – just press and lift. This absorbs standing water without disturbing the paint.
If you’ve already created blooms, let the area dry completely. Then you can glaze over it with a thin wash to unify the area, or lift color to lighten the worst spots.
Practice Exercise: Building Water Control Skills
Theory is helpful, but practice builds skill. Here’s a simple exercise I give to everyone learning watercolor water control.
Exercise 1: The Consistency Scale
Mix four puddles of paint: tea, milk, cream, and butter consistency. Paint a horizontal stripe of each on dry paper, working quickly from lightest to darkest. Notice how each consistency behaves differently.
Exercise 2: The Wetness Test
Prepare four squares of paper: one dry, one damp (wetted and blotted), one wet (even sheen), and one puddly (excess water). Drop the same color into each square and observe the differences. This teaches you to read paper wetness.
Exercise 3: The Flat Wash
Mix a large puddle of milk-consistency paint. Starting at the top of your paper, paint a horizontal stroke. Immediately add the next stroke below, slightly overlapping. Continue until you fill the area. The goal is a smooth, even color with no streaks or tide lines.
Exercise 4: The Controlled Bloom
Wet an area of paper evenly. Drop in color and watch it spread. Now try dropping clean water into the wet paint to create blooms intentionally. Learn to control this effect rather than fear it.
Practice these exercises for 15 minutes before each painting session. Within a few weeks, you’ll notice dramatically improved water control.
Advanced Tips for Better Control
Once you’ve mastered the basics, these advanced tips will take your water control to the next level.
Water Temperature: Warm water flows differently than cold water. In hot weather, cold water from the tap can help slow drying times. In winter, room temperature water prevents shock to your paper that can cause uneven absorption.
Humidity Matters: On humid days, water evaporates slower and you have more working time. On dry days, paint dries almost instantly. Adjust your technique accordingly – work smaller sections on dry days, take advantage of extended wet time on humid days.
Gum Arabic: Adding a few drops of gum arabic to your water extends drying time and gives you more control over wet-on-wet techniques. It also increases paint flow and creates smoother washes.
Embrace Imperfection: Here’s the truth: you’ll never have perfect water control. Watercolor is inherently unpredictable. The goal isn’t perfection – it’s understanding your materials well enough to work with their natural behavior.
Some of my favorite paintings started with water control “mistakes” that created unexpected beauty. Learn the rules so you know when to break them.
FAQs
What are three common mistakes that people make when using watercolor?
The three most common mistakes are using too much water which creates puddles and uncontrolled blooms, working on poor quality student-grade paper that behaves unpredictably, and not understanding paint consistency levels. Beginners often load their brushes with too much water and wonder why colors spread uncontrollably.
What is the golden rule of watercolor?
The golden rule is to control your water and you control your paint. Water acts as both carrier and blending medium in watercolor. Too much water creates chaos, too little creates streaks. Mastering the water-to-paint ratio is the foundation of all watercolor technique.
Why does my watercolor create puddles?
Puddles form when you deposit more water than your paper can absorb. This happens from overloading your brush with water, using too much water in your paint mixture, or repeatedly rewetting an area. Fix puddles immediately with a thirsty brush, and prevent them by using the swipe-off technique and monitoring your paper’s wetness.
What spray to use to seal watercolor painting?
Use a fixative spray specifically designed for watercolor paintings. Look for archival-quality, non-yellowing varnishes that protect against UV light and moisture. Krylon Workable Fixatif and Winsor u0026amp; Newton Artists’ Fixative are popular choices. Always test on a sample first, as some fixatives can darken or alter colors.
What does lemon juice do to watercolors?
Lemon juice acts as a bleaching agent in watercolor painting. When applied to wet paper, it pushes pigment away and creates lightened areas or textured effects. Some artists use it intentionally for special effects, but it can damage paper fibers over time. Use sparingly and be aware that results are permanent and unpredictable.
How do I know if my brush has too much water?
Do the vertical hold test. Dip your brush in water, hold it vertically over your palette, and see how quickly a drop forms. If it drips immediately, you have too much water. A properly loaded brush should take several seconds before dropping. Also, when you touch the brush to paper towel, you should see a damp mark, not a puddle.
Is it better to use more water or less water in watercolor?
It depends on your goal. More water creates soft blends and light values but less control. Less water gives harder edges and darker values with more precision. Most paintings require both approaches. Learn to adjust water levels for each technique and area of your painting rather than sticking to one approach.
Conclusion
Learning how to control water in watercolor painting takes time and practice, but the rewards are worth the effort. Once you understand the relationship between brush, paper, and paint, watercolor becomes a joyful medium rather than a frustrating one.
Start with the basics: use the two-cup water system, swipe off excess water, and learn to read your paper’s wetness. Practice the exercises until they feel natural. And remember – water control is a skill, not a talent. Every artist who masters it started exactly where you are now.
Pick up your brush, mix some paint, and start practicing. Your next watercolor could be the one where everything clicks into place.