
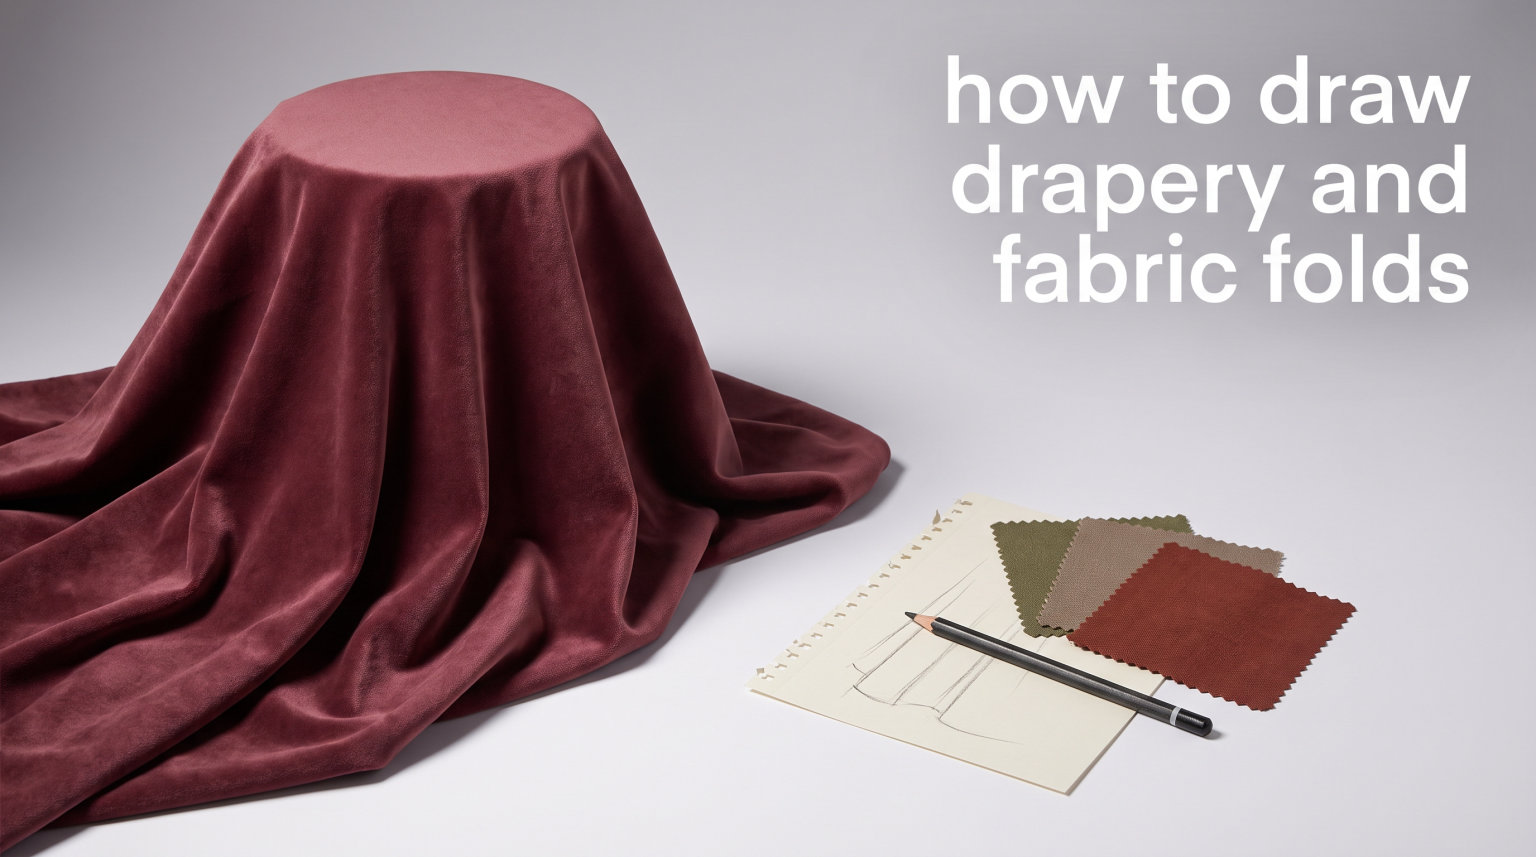
If you have ever stared at a reference photo of flowing fabric and felt completely lost, you are not alone. Learning how to draw drapery and fabric folds is one of the biggest hurdles artists face, whether you work in pencil, charcoal, or digital media. The good news is that folds are not random. They follow predictable patterns driven by gravity, tension, and the shape of the body underneath.
In this guide, I will walk you through the six types of folds every artist should recognize, how different materials change the way fabric behaves, and a step-by-step method you can use to draw convincing folds from scratch. By the end, you will have a clear framework that takes the guesswork out of drawing clothing and drapery.
Whether you are a beginner working through your first figure drawings or an experienced artist who wants to tighten up your cloth rendering skills, this article gives you the practical tools to get there. I have spent years studying fold patterns, and I can tell you that once the system clicks, drawing fabric becomes one of the most satisfying parts of the process.
Table of Contents
Understanding Fabric Folds: Why They Matter
Fabric folds form for three simple reasons: gravity pulls cloth downward, tension stretches it between anchor points, and compression bunches it together wherever there is not enough room to lie flat. When you understand these three forces, folds stop looking random and start making sense.
Think about a shirt sleeve. The fabric attaches at the shoulder and drapes down toward the wrist. When the arm is straight, you see mostly pipe folds hanging from the shoulder seam. When the elbow bends, the fabric compresses and zig-zag folds pile up in the crook of the arm. The same piece of cloth produces entirely different fold patterns depending on the pose.
This matters because believable clothing is one of the fastest ways to level up your figure drawings. A character in a well-drawn jacket looks grounded and real, while the same character in flat, foldless clothing looks like a mannequin. Clothing conveys weight, movement, and material all at once.
One thing I learned from studying real garments is that folds always originate from specific anchor points. Seams, buttons, belts, the shoulders, the waist, the knees — these are the places where fabric gets held in place. Everything else drapes or bunches relative to those fixed points. When you start a drawing by marking the anchors first, the rest of the folds almost draw themselves.
Forum artists on r/learntodraw echo this idea constantly. The most repeated advice is to study the underlying body structure before you try to invent folds. The body shapes the cloth, and if you do not understand the shape underneath, your folds will look stiff and unnatural no matter how carefully you shade them.
The 6 Types of Fabric Folds Every Artist Must Know
Art instructors have classified folds into six basic categories for over a century. George Bridgman popularized this system in his anatomy books, and it remains the most practical way to approach drawing drapery and fabric folds. Once you can spot these six patterns in real life, you will see them everywhere — in curtains, tablecloths, jeans, dresses, and scarves.
1. Pipe Fold
The pipe fold is the most common fold type and the best place to start your practice. It forms when fabric hangs from a single support point and creates semi-tubular, cylindrical shapes that taper downward. Think of curtains on a rod, a tablecloth draped over a table edge, or a long skirt hanging from the waistband.
Each pipe fold is essentially a half-cylinder. The light hits one side, a core shadow runs along the middle of the cylinder, and reflected light bounces back on the shadow side. When you shade a pipe fold, treat it exactly like a cylinder: light on one side, dark on the other, with a soft highlight running along the peak of each tube.
These folds cluster together in groups, and the spaces between them create narrow shadow valleys. The wider the spacing, the heavier and stiffer the fabric appears. Tightly spaced pipe folds suggest thin, lightweight cloth like silk or chiffon.
2. Zig-Zag Fold
Zig-zag folds appear when fabric gets compressed back on itself, creating sharp, angular folds that stack like an accordion. You see these most often at the inside of a bent elbow, the back of a bent knee, or in bunched-up sleeves.
The key to drawing zig-zag folds is remembering that each fold layer tucks into the one beneath it. The visible edges catch light, while the tucked areas fall into deep shadow. Beginners often draw every zig-zag the same size, but in reality the outermost folds are larger and the inner ones get progressively smaller as they compress tighter.
When I draw bent arms or knees, I start by marking where the compression begins and ends. The zig-zag folds only appear in the compressed zone. Above and below that area, the fabric returns to smoother pipe folds or lies flat against the body.
3. Spiral Fold
Spiral folds wrap around a cylindrical form, like fabric spiraling around an arm or leg. They happen when the fabric is slightly loose but the limb underneath is roughly cylindrical. The folds angle diagonally rather than hanging straight down.
These folds are common on slightly baggy sleeves, relaxed-fit pants, and draped scarves. The spiral pattern occurs because gravity pulls the fabric down while the cylindrical shape of the limb forces the wrinkles to angle around the curve of the form.
To draw spiral folds convincingly, follow the contour of the underlying cylinder. Each fold line should curve gently around the arm or leg, getting tighter where the fabric is closer to the body and looser where it has room to hang. The shading follows the same logic as any cylinder: light on one side, shadow on the other.
4. Half-Lock Fold
Half-lock folds are the sharpest and most dramatic fold type. They form when fabric changes direction abruptly, creating a hard crease that locks into place. You find these at the knee when someone sits down, at the waist when a shirt tucks into pants, or anywhere fabric makes a sudden right-angle turn.
What makes half-lock folds tricky is that the crease line is very sharp and distinct, unlike the softer curves of pipe folds. The shadow right at the crease is extremely dark because the two surfaces of fabric meet at a tight angle, blocking almost all light. Artists on r/ArtistLounge frequently mention half-lock folds as the type they struggle with most because getting that sharp shadow edge wrong makes the whole drawing look off.
My advice is to draw the sharp crease line first, then build the softer shading outward from there. The transition from the deep shadow at the crease to the lighter areas on either side should be fast but not instant — there is always a brief gradient as the fabric turns away from the fold.
5. Diaper Fold
Diaper folds form when fabric is suspended between two support points and sags in the middle under its own weight. The name comes from the shape, which resembles a draped scarf or the sag between two fence posts. Think of a towel draped over a hook on both ends, or the cowl neck of a sweater.
The curve of the sag follows a catenary arc — not a perfect semicircle, but a slightly flattened curve that drops lowest in the center. The deepest part of the fold casts the strongest shadow, and the fabric on either side of the sag catches light at different angles depending on how steeply it curves.
Diaper folds appear often in draped backgrounds for portraits, in capes, and in loose-fitting tops. When two diaper folds overlap, you get layered curves that create interesting shadow patterns. Practice these by draping a cloth over two objects and drawing the resulting curves from different angles.
6. Drop Fold
Drop folds occur when fabric falls off an edge and drops straight down. The upper portion of the fabric lies along a surface, then breaks over the edge and hangs vertically. You see this in tablecloths, bed sheets hanging off a mattress, or a jacket draped over the back of a chair.
The transition point where the fabric breaks over the edge is the most important area to get right. The fold curves sharply at the break, then straightens out as gravity pulls it downward. The shadow is darkest right at the break and gradually lightens as the fabric falls.
Drop folds often combine with pipe folds in the hanging portion. The fabric falls over the edge in a clean curve, then develops cylindrical pipe folds as it hangs freely. Drawing the two fold types together is great practice for seeing how the six categories mix and overlap in real cloth.
How Fabric Material Changes the Way Folds Look
Not all fabric behaves the same way, and recognizing material differences is what separates a drawing that reads as silk from one that reads as denim. The three properties that matter most are thickness, stiffness, and weight.
Thin, soft fabrics like silk, chiffon, and rayon produce many small folds that cluster tightly together. The folds are rounded and fluid, with gentle transitions between light and shadow. Silk tends to form more pipe folds with closely spaced cylinders, and the highlight on each fold is bright and sharp because the smooth surface reflects light directly.
Thick, stiff fabrics like denim, canvas, and wool produce fewer but larger folds. The creases are sharper and more angular because the material does not bend as easily. Denim at the knee creates strong half-lock folds with hard shadow edges, while a thin cotton would create softer, more rounded folds in the same pose.
Heavy fabrics like velvet or heavy wool drape in wide, sweeping folds with deep shadows. The weight of the material pulls it into fewer, broader shapes, and the folds hold their form even with movement. Lightweight fabrics like linen respond instantly to every breeze and body shift, creating more active, restless fold patterns.
When I approach a new drawing, I ask myself three questions before putting pencil to paper: Is this fabric thick or thin? Is it stiff or soft? Is it heavy or light? Those three answers tell me how many folds to draw, how sharp the creases should be, and how to handle the shading transitions.
Clip Studio’s popular tutorial on drawing folds emphasizes this same point: the material determines the fold behavior more than anything else. A tight-fit garment on the same body will show different folds in stretchy spandex versus non-stretch cotton, even though the body shape and pose are identical.
How to Draw Drapery and Fabric Folds Step by Step
This is the method I use every time I draw clothing, whether I am working from a reference photo or inventing folds from imagination. The five-step process breaks the complexity of folds into manageable layers. Each step builds on the last, so you never feel overwhelmed by the full picture.
Step 1: Mark the Anchor Points
Before drawing any folds, identify where the fabric attaches to the body or to an object. Shoulders, waistband, wrists, knees, buttons, seams — these are your anchor points. Draw small marks at each anchor location on your figure. Every fold you draw later will originate from or connect to one of these points.
This step alone solves one of the biggest beginner mistakes: drawing folds that seem to come from nowhere. Folds always have a reason. They start at an anchor and travel outward based on gravity and tension.
Step 2: Map the Major Fold Directions Using the XYZ Pattern
Here is a trick that no top competitor covers but that forum artists swear by: think of fold directions in three simple categories. X-folds cross the body diagonally, usually from the shoulders toward the opposite hip. Y-folds split and branch as they move away from an anchor point. Z-folds run perpendicular to the body, wrapping horizontally around limbs or the torso.
Most clothing shows a combination of all three patterns. A shirt might have X-folds across the chest (pulling diagonally from the shoulders), Y-folds at the elbows (where the sleeve fabric splits into separate wrinkles), and Z-folds at the waist (where the shirt bunches horizontally above the belt).
Draw light directional lines showing where each pattern group appears. This gives you a road map that keeps your folds organized and believable. When artists on r/DigitalArt talk about folds feeling random rather than intentional, it is usually because they skipped this mapping step.
Step 3: Block in the Light and Shadow Shapes
Now ignore the individual fold lines for a moment and look at the big picture. Squint at your reference (or at your drawing so far) until you only see large shapes of light and dark. Block these in as simple flat values — no gradients yet, just light, medium, and dark zones.
This squinting technique is one of the most powerful habits you can build. It forces you to see the overall pattern of light and shadow before you get lost in individual fold details. Many artists on r/ArtistLounge recommend this approach specifically for fabric, where it is easy to get distracted by the complexity of individual wrinkles.
Step 4: Define Individual Folds Within the Value Map
With the major light and dark areas established, start defining individual folds. Use your XYZ direction map from Step 2 to guide where each fold travels. Identify which of the six fold types each wrinkle matches — is it a pipe fold, a zig-zag, a half-lock?
Draw the crease lines of each fold with varying line weight. Darker, thicker lines where the fold is deepest, and lighter lines where the fold is shallow or turning away. Do not outline every fold with the same weight, or the result will look flat and stiff.
Remember that not every fold needs to be drawn. Select the most prominent folds and let the viewer’s eye fill in the rest. As one artist on the forums put it, folds look like frosting on a cake when you over-detail them. A few well-placed, confident folds communicate more than dozens of fussy, overworked ones.
Step 5: Add Highlights and Deep Shadows
The final step brings the folds to life with highlights on the raised areas and deep, dark accents in the tightest creases. Highlights sit on the peaks of pipe folds and the top edges of zig-zag folds. The deepest shadows (called occlusion shadows) appear where two surfaces of fabric nearly touch, like the inside of a tight zig-zag or the bottom of a diaper fold sag.
Keep highlights sharp and specific. A thin bright line along the peak of a fold reads much better than a broad, washed-out highlight area. Similarly, the darkest accents should be small and precise — a thin dark line in the deepest part of a crease rather than a large dark zone.
Step back and check your drawing from a distance. If the overall pattern of light and dark reads clearly, the folds will look convincing even if individual details are not perfect. The big picture matters more than the small details.
How to Shade and Highlight Fabric Folds
Shading folds well comes down to understanding four value zones: the highlight, the light, the core shadow, and the reflected light. Every fold, regardless of type, has all four zones. The trick is learning to see them in real cloth and placing them accurately in your drawing.
The highlight sits on the part of the fold closest to the light source. On a pipe fold, it runs along the peak of the cylinder. On a zig-zag fold, it appears on the top edge of each zig-zag step. Highlights on smooth fabric like silk are bright and sharp. On rough fabric like wool, highlights are softer and more diffused.
The core shadow is the darkest part of the fold that is still facing you. It runs parallel to the highlight but on the shadow side. On a cylindrical pipe fold, the core shadow falls roughly opposite the highlight. The edge between light and core shadow can be soft on smooth folds or hard on sharp creases like half-lock folds.
Reflected light bounces back into the shadow side from surrounding surfaces. It appears as a slightly lighter strip along the outer edge of the shadow. Beginners often skip reflected light, but it is what makes folds look three-dimensional instead of flat. Without it, shadows look like cutout shapes glued to the surface.
Occlusion shadows are the absolute darkest areas, found deep in crevices where almost no light reaches. These tiny dark accents anchor the folds and give them depth. Place them sparingly in the tightest creases for maximum impact.
When I shade fabric, I work from the big shapes down to the details. First I establish the overall light and dark sides of the whole cloth. Then I add core shadows on the major folds. Only at the end do I put in highlights and occlusion shadows. Working this way keeps the shading unified and prevents any one fold from stealing too much attention.
Common Mistakes When Drawing Fabric Folds (And How to Fix Them)
After years of drawing cloth and studying how other artists approach it, I see the same mistakes crop up again and again. Here are the biggest ones and how to correct them.
Mistake 1: Drawing too many folds. This is by far the most common error. Beginners often try to capture every single wrinkle they see in a reference, resulting in a drawing that looks busy and overworked. The fix is to select only the most prominent folds — usually 5 to 8 major ones — and let the rest fade into simple shading. Fewer folds, drawn with confidence, always look better than many folds drawn tentatively.
Mistake 2: Ignoring the body underneath. Folds do not exist in isolation. They respond to the shape of the body beneath the clothing. If you draw folds without understanding the arm, leg, or torso underneath, the clothing will look like it is floating or belongs to a different body. Always sketch the underlying figure first, even if it is just a simple stick figure or mannequin shape.
Mistake 3: Using the same fold type everywhere. Different areas of the body produce different fold types. The shoulder area might show diaper folds (suspended between support points), the elbow creates zig-zag folds (compression), and the forearm might have spiral folds (wrapping around a cylinder). Mixing fold types correctly makes the clothing look natural.
Mistake 4: Making all fold lines the same weight. Real folds vary in depth and sharpness. Some are deep creases that demand a bold, dark line. Others are soft suggestions that barely register. Vary your line weight constantly. Heavy lines for deep folds, light lines for shallow ones, and no lines at all for areas where the fabric lies smooth.
Mistake 5: Skipping reference material. Trying to invent folds from imagination before you have studied how real cloth behaves is a recipe for frustration. Even experienced artists use references when drawing complex drapery. Drape a towel over a chair, photograph it, and draw from that photo. The real world is always your best teacher.
Frequently Asked Questions
What are the different types of fabric folds?
There are six main types of fabric folds: pipe folds (cylindrical shapes hanging from a support point), zig-zag folds (compressed accordion-like folds at joints), spiral folds (wrapping diagonally around limbs), half-lock folds (sharp creases where fabric changes direction), diaper folds (sagging between two anchor points), and drop folds (fabric falling off an edge). Every fold you see in clothing is one of these six types or a combination of them.
How do you draw realistic folds in clothing?
Start by marking the anchor points where fabric attaches to the body, then map the major fold directions using the XYZ pattern system (diagonal X-folds, branching Y-folds, and horizontal Z-folds). Block in large light and shadow shapes before defining individual folds. Choose the right fold type for each area, vary your line weight, and finish with highlights on raised areas and deep shadows in creases. Always study real clothing references to guide your drawing.
What causes folds in fabric?
Folds are caused by three forces: gravity pulling fabric downward, tension stretching fabric between anchor points, and compression bunching fabric together where there is not enough room to lie flat. The type of fold that forms depends on which force is dominant in a given area and how the body underneath shapes the cloth.
How do you shade fabric folds?
Shade fabric folds using four value zones: highlights on the peaks closest to the light source, core shadows on the opposite side of each fold, reflected light bouncing back into the shadow side, and occlusion shadows in the deepest creases. Work from large shapes down to small details, and keep the overall light and dark pattern clear before refining individual folds.
How do you draw folds on pants?
Pants show most fold activity at the knees, the hips, and the crotch. At the knees, look for half-lock folds when the leg is bent and pipe folds when standing. At the hips, diaper folds form between the waist and the seat. Tight pants produce fewer but sharper folds, while loose pants show more folds that are softer and more rounded. The fabric below the knee often shows drop folds as the material falls past the widest part of the calf.
Putting It All Together
Learning how to draw drapery and fabric folds comes down to recognizing the six fold types, understanding how material and body shape drive fold behavior, and following a structured process from anchor points all the way to highlights and deep shadows.
Start simple. Drape a towel over a chair and draw the pipe and drop folds you see. Move on to a sleeve around your own arm to practice spiral and zig-zag folds. Build up gradually to full figure drawings with complex, multi-layered clothing. Use real references every step of the way.
The most important thing I can tell you is that folds follow rules. They are not random, and they are not magic. Once you internalize the six types and the XYZ direction pattern, you will start seeing these structures everywhere — in your own clothes, in movie stills, in old master paintings. That is when drawing fabric stops being frustrating and starts being genuinely fun. Keep practicing, keep referencing, and trust the system.