
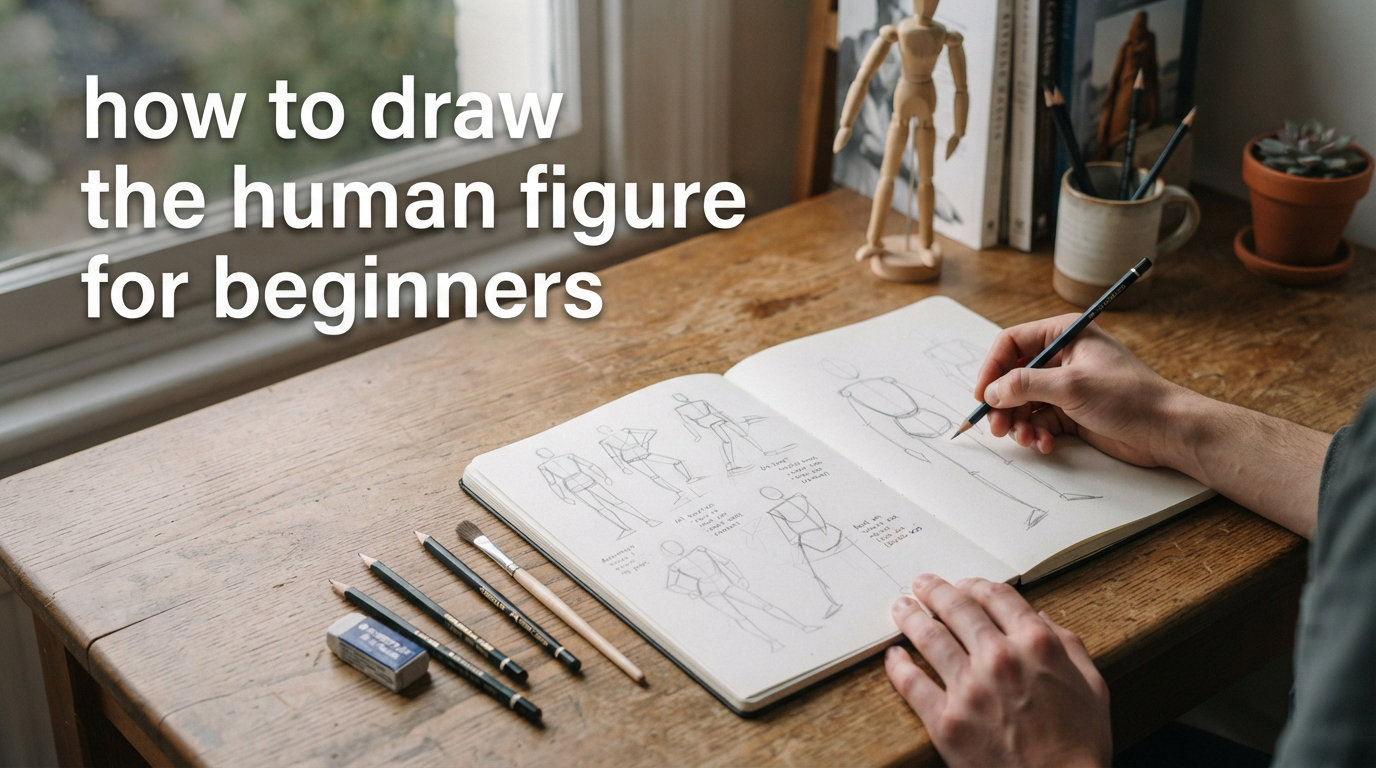
Figure drawing is the art of representing the human form on paper using various techniques like simple shapes, stick figures, and armatures to capture proportions, pose, and movement. For centuries, artists have recognized that drawing the human figure presents unique challenges that other subjects do not. This is not because you need special talent or innate ability. Rather, the difficulty stems from how our brains are wired to recognize human forms. We spend our entire lives looking at people, which means we develop extremely sensitive “error detection” for anything that looks even slightly off in a human drawing.
The good news for beginners is that figure drawing fundamentals can be learned systematically. Professional artists who create stunning lifelike characters started exactly where you are now. The key is understanding that the human figure does not have to be drawn all at once. Instead, you break it down into manageable components, master each one, and then combine them into a cohesive whole. This approach transforms an apparently insurmountable challenge into a series of achievable steps.
In this comprehensive guide, you will learn the proven methods that art schools and professional illustrators use to teach figure drawing. We will start with the simplest possible approach and gradually build your skills. By the end, you will have a clear roadmap for continued improvement. You will understand not just what to do, but why each technique works. This knowledge forms the foundation for all your future work, whether you are interested in life drawing, character design, portrait work, or digital illustration.
Table of Contents
The Simple Shapes Method: Your Foundation for Figure Drawing
Breaking Down the Body into Basic Forms
The single most important technique for beginners learning how to draw the human figure is the simple shapes method. Rather than attempting to draw complex curves and details immediately, you start by seeing the body as a collection of basic geometric forms. These include ovals for the head, cylinders for the torso and limbs, and spheres for joints. This approach works because it aligns how your brain processes visual information with the physical act of putting pencil to paper.
When you look at a person and try to draw them directly, your brain faces an overwhelming amount of visual complexity. Every curve, shadow, and contour demands attention. By reducing the figure to simple shapes first, you give your brain a framework to organize this complexity. You start with structure and build outward. The technical artist Jeff Mellem describes this as “forget about tracing contours” in favor of starting as simple as possible.
Here is how simple shapes break down across the body:
-
Head: An oval, sometimes described as an inverted egg shape
-
Torso: A cylinder or slightly tapered block, wider at shoulders and narrower at waist
-
Hips: A flattened cylinder or oval, wider than the torso
-
Upper arms: Cylinders attached to the shoulders
-
Forearms: Cylinders that typically angle slightly inward
-
Thighs: Cylinders, wider at the top and narrower at the knee
-
Calves: Cylinders that follow the angle of the leg
The power of this method becomes apparent when you begin placing these shapes in relation to each other. You can rotate them, adjust their proportions, and see the figure emerge long before you add any detail. Many beginners worry that using simple shapes will make their drawings look cartoonish. In reality, this foundational approach applies equally to realistic figure drawing and expressive sketch work. The shapes are a starting point, not the final result.
Practice this technique by drawing the same pose multiple times using only ovals and cylinders. Do not worry about making each drawing perfect. Instead, focus on getting comfortable with how the shapes fit together. This practice builds the spatial reasoning skills that all successful figure artists possess.
From Stick Figures to Armatures: Building Your Foundation
Before you can effectively use simple shapes, you need a structural framework to place them on. This is where the stick figure method, progressing into the armature technique, becomes essential. Think of the armature as the skeleton of your drawing. It provides the underlying structure that determines pose, balance, and proportion before any detail is added.
The stick figure approach might seem almost insultingly simple for beginners. You draw a circle for the head, a vertical line for the spine, and lines for arms and legs. However, the power of this method lies in what it teaches you about the figure. You learn to see the essential structure without being distracted by surface appearance. Artists who have spent decades drawing the human figure still use stick figures as the first step in their process.
The progression from stick figure to armature happens when you begin adding circles at the joints. These joints represent the shoulders, elbows, wrists, hips, knees, and ankles. By connecting these circles with lines, you create a simplified human skeleton that can be posed and adjusted. This becomes your armature, a term artists use to describe the underlying framework that supports the more detailed drawing.
To build your armature effectively, follow these steps:
-
Draw a small oval for the head
-
Add a vertical line below the head for the spine
-
Draw a circle at the base of the spine for the pelvis
-
Add circles at shoulder height, connected to the spine
-
Draw lines from shoulders to elbows to wrists
-
Draw lines from pelvis to knees to ankles
-
Observe the angles created by these connections
The armature captures what artists call the “line of action,” the primary flow of energy through the figure. A figure in motion has a clear line of action that runs from the head through the spine to the feet. Beginners often draw static, stiff figures because they miss this fundamental principle. The armature technique ensures you always remember to include the dynamic quality of your subject.
As you develop comfort with armatures, you will find that poses begin to feel more natural and energetic in your work. This technique forms the bridge between the abstract structure of the stick figure and the fully realized human form with all its complexity.
Mastering Proportions: The Head Measurement Rule
The Seven-and-a-Half Heads Model
Proportion refers to the relative size relationships between different parts of the figure. Getting proportions right is what separates a convincing drawing from one that looks “off.” Even if you have perfect shapes and a great armature, incorrect proportions will make your figure look unnatural. The key to solving proportion problems lies in using a consistent measurement system.
The most widely used proportion system for figure drawing is the head measurement method, often called the “seven-and-a-half heads” model. In this system, the human head serves as your fundamental unit of measurement. The average standing figure is approximately seven and a half heads tall. This does not mean every figure you draw must be exactly this proportion. Rather, it provides a standard against which you can measure and compare.
Here is how the seven-and-a-half heads model breaks down:
-
Head (1 unit): From the top of the head to the chin
-
Neck and shoulders (1 unit): From chin to shoulder line, with shoulders spanning about two heads wide
-
Torso to mid-thigh (2 units): From shoulder line to the bottom of the pelvis
-
Legs (3 units): From the bottom of the pelvis to the floor
-
Half unit (0.5): The remaining space accounts for the slight space between the crotch and the actual midpoint of the figure
Landmarks play a crucial role in proportion verification. These are specific points on the body that serve as guides. The hip line sits approximately at the one-quarter mark of the figure. The knees fall at roughly the halfway point for the entire leg section. The shoulders align with approximately the third head mark. By memorizing these relationships, you develop an intuitive sense of correct proportions that serves you in every drawing.
The Loomis method, developed by artist Andrew Loomis, provides an additional framework for understanding proportions. This system emphasizes seeing the body as a collection of 3D forms rather than 2D outlines. According to this approach, the head is an oval, the chest is a cylinder, and the pelvis is a bowl shape. When you understand these forms in three dimensions, you can draw them from any angle with greater accuracy.
Practice measuring proportions by drawing a small figure and then dividing it into the head units. Check where the landmarks fall relative to your measurements. Over time, this proportional awareness becomes automatic, and you will spot proportion issues before they become problems in your work.
Step-by-Step Figure Drawing Process
Now that you understand the foundational concepts, let us walk through a complete step-by-step drawing process. This method combines all the techniques discussed above into a unified workflow. Follow these steps in order, and you will consistently produce well-proportioned figure drawings.
The Seven-Step Armature Technique
-
Draw the Head: Start with an oval, slightly wider at the bottom than the top. This inverted egg shape forms the foundation of the head. Do not add facial features yet; the shape itself is what matters at this stage.
-
Create the Face Map: Lightly sketch the center line of the face and the eye line. This face map helps you place features accurately when you reach that stage. The center line runs from the top of the head through the nose and chin. The eye line crosses it about one-third of the way down from the top of the head.
-
Add the Neck: Draw two parallel lines extending down from the base of the head. Keep these lines relatively short. The neck supports the head and carries the spine into the torso.
-
Draw the Torso: Create a cylinder shape below the neck, wider at the shoulders and narrower at the waist. The spine runs through the center of this form. Add the shoulder line, which should span approximately two head-widths.
-
Add the Hips: Below the torso, draw a flattened cylinder or bowl shape for the pelvis. This structure is wider than the waist and forms the foundation for the legs. The hip line marks the top of this structure.
-
Draw the Legs: Create two cylinders extending down from the hips to the ankles. Remember that thighs are typically wider than calves, and the knees align with the hip line when the leg is straight at the side. Leave space between the legs that is roughly equal to one-third of the hip width.
-
Draw the Shoulders and Arms: From the shoulder line, extend cylinders outward and then downward. The upper arm runs from shoulder to elbow, and the forearm runs from elbow to wrist. Arms typically end at approximately mid-thigh level when hanging naturally.
Throughout this process, maintain awareness of the line of action. This flowing energy line should run from the top of the head through the spine to the feet. A drawing without a clear line of action will feel static and disconnected, regardless of how accurate the individual elements are.
Gesture drawing complements this step-by-step process. While the armature technique focuses on structure, gesture drawing captures the rhythm and flow of the figure. The best practice sessions alternate between working on structure and working on gesture. This develops both aspects of your ability simultaneously.
Common Mistakes to Avoid
Every figure drawing beginner makes certain predictable errors. Understanding these common mistakes helps you recognize and correct them in your own work. Awareness forms the first step toward improvement.
The Five Biggest Beginner Errors
-
Getting Lost in Details: The most common mistake is spending too much time on small features before establishing the overall structure. Always complete the armature and check proportions before adding any detail work. Details without proper structure look misplaced no matter how well they are drawn.
-
Ignoring Proportions: Beginners often draw the head too large relative to the body, or make arms and legs too short. Use your head measurement to verify proportions before proceeding. Stand back from your drawing frequently to see it at a distance, which helps you spot proportion issues.
-
Skipping the Gesture: Some beginners jump straight to structure without capturing the initial flow and movement of the pose. This results in stiff, disconnected drawings. Spend a few seconds sketching the line of action before you begin building the armature.
-
Not Warming Up: Professional artists always warm up their drawing hand and their perception before starting a serious piece. Skipping warm-up sketches means you begin working before your mind and hand are ready. Fill a page with quick gesture sketches before every practice session.
-
Neglecting Landmarks: Beginning artists often try to draw contours without using landmarks as guides. This leads to inaccurate shapes and awkward angles. Always identify key landmarks first and use them to navigate through the figure.
Recognizing these mistakes in your own work requires honest self-assessment. One technique that helps is comparing your drawings to reference images at the same stage of completion. Look specifically for where proportions diverge and what structural elements are missing. This comparative practice accelerates improvement dramatically.
Practice Routines for Beginners
30-Second Gestures to Daily Sketchbook Work
Consistent practice matters more than talent in figure drawing. Every skilled figure artist has developed their ability through thousands of hours of deliberate practice. The good news is that you do not need large blocks of time to make significant progress. Small, frequent practice sessions work better than occasional marathon sessions.
The 30-Second Gesture Exercise
Set a timer for 30 seconds and try to capture the essential gesture of a figure in that time. Do not worry about completing a finished drawing. Instead, focus on the line of action and the basic flow of the pose. This exercise trains your brain to see the figure as a connected whole rather than a collection of separate parts.
To do this exercise effectively:
-
Find a pose to study (could be a photo, video, or live reference)
-
Set your timer for 30 seconds
-
Draw the simplest possible line that captures the primary gesture
-
Add the most basic structural elements
-
Stop when the timer ends, even if incomplete
-
Repeat five more times with the same pose
After completing several 30-second gestures, you will notice your perception sharpening. The figure begins to reveal its structure more quickly, and your hand starts translating what you see more accurately. This exercise works best when done daily, even if only for ten or fifteen minutes.
Daily Sketchbook Practice
In addition to quick gestures, maintain a regular sketchbook practice. Choose one aspect of figure drawing to focus on each week. For example, one week you might concentrate specifically on arm proportions, drawing dozens of arms in various positions. The following week, you could shift focus to heads or torsos.
Track your progress by dating your sketchbook entries and periodically reviewing earlier work. You will be surprised how quickly improvement becomes visible. What seemed difficult a month ago will feel manageable, and challenges that once seemed insurmountable will become opportunities for growth.
Consider joining figure drawing workshops or groups if possible. Forum discussions reveal that beginners often feel isolated in their learning, not knowing if they are on the right track. Workshop environments provide feedback and community that accelerates learning significantly. Many communities offer online figure drawing sessions where you can practice alongside others at any skill level.
Understanding Different Body Types
The human figure comes in an extraordinary diversity of shapes and sizes. As a beginner, you might assume there is a single “correct” proportion system, but actually, different body types deviate from the standard model in different ways. Understanding this variation helps you draw figures that look natural rather than cookie-cutter.
The three fundamental body types are:
-
Slim/Athletic: Shoulders and hips similar in width, with defined muscle structure implied through the cylinder shapes. The waist is slightly narrower than shoulders.
-
Curvy: Shoulders narrower than hips, with a pronounced waist indentation. The torso cylinder tapers more dramatically, and hip shapes become more pronounced.
-
Broader/Heavier: Shoulders wider than hips, with shorter-looking limbs due to proportionally larger torso mass. Cylinder shapes for limbs will be thicker.
Rather than memorizing different proportion rules for each body type, focus on using your landmarks consistently. The relationships between landmarks remain the same regardless of body type. What changes is the space between landmarks and the shapes that connect them. Practice drawing all three body types to develop flexibility in your approach.
Basics of Drawing Facial Features
Faces present a particular challenge for beginners, and forum discussions confirm that both faces and hands rank among the most difficult body parts to draw. This difficulty exists because we spend so much time looking at faces that we develop extremely sensitive recognition abilities. Any slight inaccuracy reads as “wrong” to our perception.
The face map technique provides a reliable framework for placing features. Start with a vertical center line and a horizontal eye line. The center line divides the face symmetrically and helps you keep features balanced. The eye line, positioned approximately one-third of the way down from the top of the head, indicates where the eyes should sit.
Eye placement follows specific rules. Eyes sit on the eye line, with the space between them equal to one eye width. Each eye itself spans approximately one-fifth of the face width. The nose occupies the middle third of the face, between the eyes and the mouth. The mouth sits in the lower third, typically halfway between the nose and chin.
When drawing faces, remember these proportions:
-
Eyes are centered horizontally in the upper third of the face
-
Nose length is roughly equal to the distance from eyebrows to hairline
-
Mouth width is approximately the distance between the pupils
-
Ears align with the top of the eyes and the bottom of the nose
The key to success with facial features, like all figure drawing, is patience. Do not expect to draw a convincing face immediately. Practice drawing individual features separately before combining them in a complete face. This focused practice builds the muscle memory and visual understanding that eventually allows you to draw faces as integrated wholes.
Frequently Asked Questions
How do I draw human figures step by step for beginners?
Start with the armature technique: draw a small oval for the head, add a vertical line for the spine, then add circles at the joints (shoulders, elbows, wrists, hips, knees, ankles). Connect these circles with lines to create a stick figure skeleton. Once your armature is established, layer simple shapes over it (ovals for head, cylinders for torso and limbs). Finally, refine and add details. Always check your proportions against the head measurement system before moving to the next stage.
How do I draw a very simple human figure?
Begin with the stick figure method. Draw a circle for the head, a vertical line for the body, and simple lines for arms and legs. This simplified version captures the essential gesture and proportions without any complexity. Even this basic approach requires attention to the line of action and basic proportion relationships. Practice drawing simple stick figures in various poses until placing the basic structure feels natural.
Is it possible to learn figure drawing as a complete beginner?
Absolutely. Figure drawing is a skill that can be learned, not a talent you are born with. Professional artists regularly teach figure drawing to complete beginners using systematic methods. The key is starting with foundational techniques (simple shapes, stick figures, armatures) rather than attempting complex detail work immediately. With consistent practice, anyone can develop competent figure drawing abilities. Many accomplished artists started precisely where you are now.
What is the hardest part of the human body to draw?
Based on community feedback from artists at all levels, the hardest parts of the human body to draw are the hands and the face. This difficulty exists because we have extremely refined recognition abilities for both. Our brains are wired to notice tiny variations in hands and faces, making any inaccuracies immediately apparent. To address these challenges, practice drawing hands and faces separately before attempting complete figures. Use the face map technique for faces, and study the underlying bone structure for hands.
What materials do I need to start figure drawing?
You can begin figure drawing with very basic materials: any pencil (mechanical or traditional), eraser, and paper. A sketchbook with quality paper helps, but standard copy paper works for practice. As you advance, you might explore different pencil types (2H for light lines, 4B for dark, rich strokes), charcoal for expressive work, or digital tools for modern illustration. However, materials matter far less than consistent practice when developing skills.
Start Your Figure Drawing Journey Today
You now have a comprehensive understanding of how to draw the human figure for beginners. The techniques covered here form the foundation upon which all advanced figure drawing skills are built. Simple shapes, armatures, proportion systems, and step-by-step processes work together to transform an apparently impossible challenge into a learnable skill.
Remember that every professional figure artist started exactly where you are now. They mastered these fundamentals through consistent practice and systematic study. The difference between those who succeed and those who give up lies not in talent but in persistence. Each sketch you make, each gesture you capture, each proportion you verify brings you closer to mastery.
The path forward is clear: practice the 30-second gesture exercises daily, work through the seven-step armature technique methodically, and gradually introduce complexity as your foundational skills strengthen. Use landmarks consistently to verify your proportions, and never skip the warm-up sketches that prepare your mind and hand for focused work.
As you continue your journey, consider exploring the work of contemporary figure artists to understand the range of styles and approaches possible. Study art collectives and collaborative drawing techniques to see how artists support each other’s growth. Figure drawing opens doors to countless creative possibilities, from life sketching to character design to digital illustration.
The human figure has captivated artists for millennia precisely because it presents endless challenges and rewards. Your willingness to approach these challenges systematically marks you as someone with genuine potential. Now, pick up your pencil and begin. Your figure drawing journey starts with a single line.