
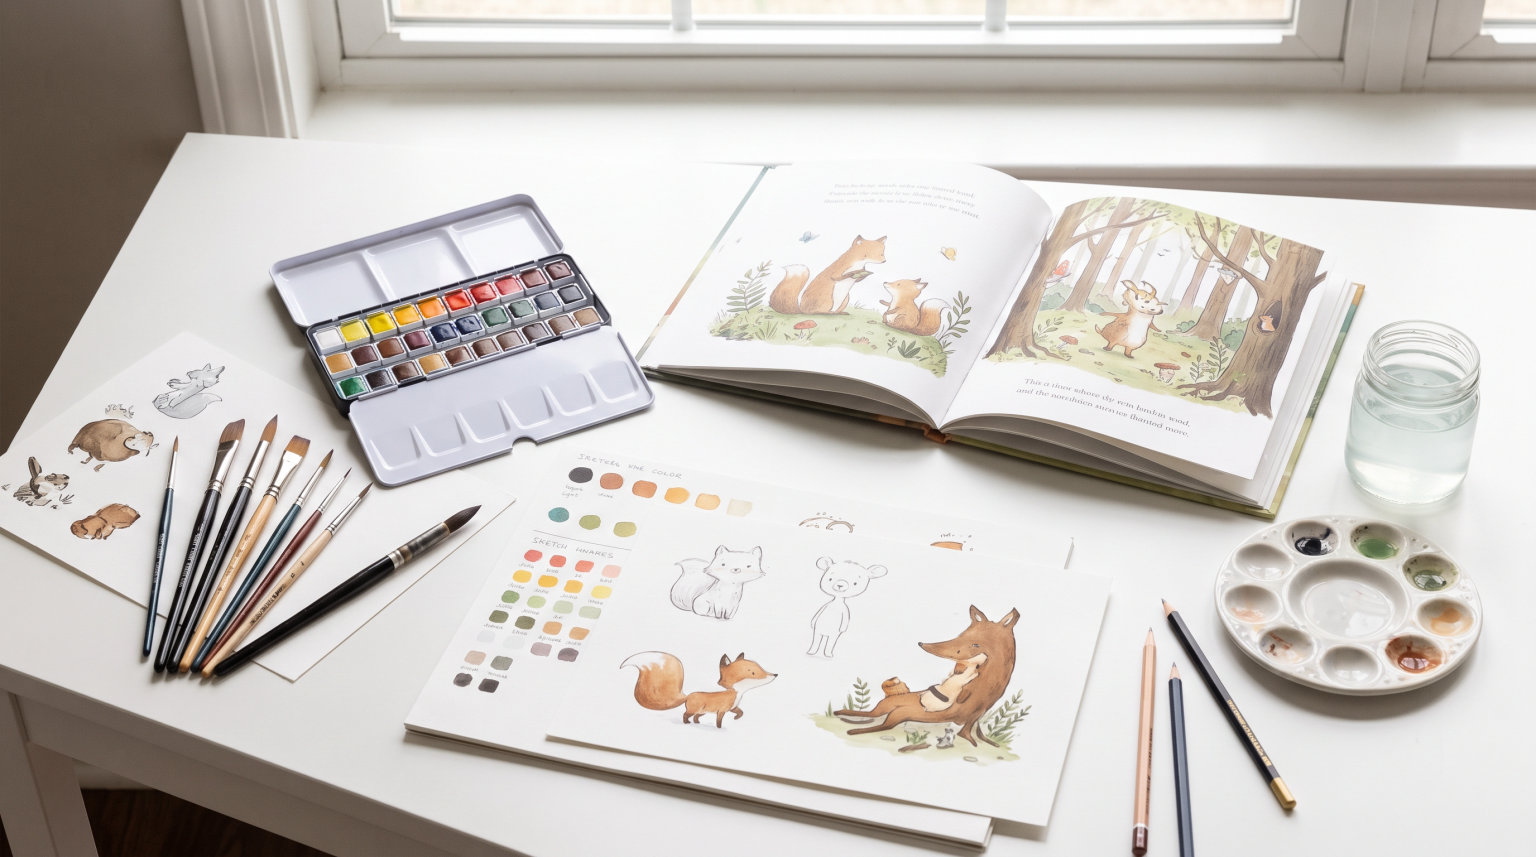
Children’s book illustration sits at the intersection of art and storytelling. It transforms words on a page into visual experiences that captivate young readers and bring narratives to life. Whether you are an aspiring illustrator, a children’s author considering doing your own art, or simply curious about how picture books come together, understanding these fundamentals will give you a solid foundation.
In this guide, I will walk you through the complete illustration process, from reading your first manuscript to delivering polished final artwork. I will also cover essential skills, popular styles, and the tools you need to get started. By the end, you will have a clear roadmap for creating compelling children’s book illustrations that resonate with readers ages 2 through 8.
Table of Contents
What is Children’s Book Illustration?
Children’s book illustration is the art of creating visual narratives that complement text in picture books. Unlike other forms of illustration, picture book art must work in harmony with limited text, using expressive characters and dynamic compositions to tell stories that engage young readers who may not yet read independently.
The illustrations in a picture book do more than decorate. They carry the emotional weight of the story, often conveying feelings and details the text does not explicitly state. A well-crafted illustration captures attention, supports comprehension, and creates the magical world children step into when they open a book.
The craft requires both artistic skill and an understanding of child development. Illustrators must consider what appeals to their target age group, how children read visual information, and what makes an image memorable versus overwhelming for young minds.
The Illustration Process: Step by Step
Creating a children’s book illustration follows a structured workflow that moves from big-picture planning to detailed execution. Most professional illustrators follow some version of these five stages, though the specifics vary based on their style and working method.
Step 1: Read and Analyze the Manuscript
Before putting pen to paper or stylus to tablet, illustrators thoroughly read the manuscript multiple times. I look for the emotional beats of the story, identifying moments that need visual emphasis versus passages where illustrations can remain subtle. This reading phase helps establish the overall tone, whether playful and light or quietly contemplative.
Many illustrators make notes directly on the manuscript, marking where they imagine page turns, noting visual metaphors that could enhance the text, and flagging moments requiring particular care. Understanding the story deeply prevents costly revisions later in the process.
Step 2: Create Thumbnail Sketches
Thumbnails are tiny rough sketches, usually about two inches tall, that map out the basic composition of each spread. I think of these as the architectural blueprint for the finished illustrations. They establish where characters will appear, how much white space surrounds the art, and where text will sit on the page.
Working small allows illustrators to solve compositional problems quickly without getting caught up in details. A bad thumbnail costs five minutes to fix; a bad full illustration might cost hours. This stage also helps determine pacing, ensuring that action-heavy spreads alternate with quieter moments for visual rest.
Step 3: Develop Character Designs
Character design involves creating consistent visual models for every person and creature that appears in the book. I sketch my main characters from multiple angles, showing different facial expressions, poses, and scales. These reference sheets ensure that a character looks the same on page 4 as they do on page 24.
For children’s books, character expressions matter enormously. Young readers connect with faces, and clear emotional expressions help children follow the story. I pay special attention to eyes, which convey most of a character’s inner life in picture book art.
Step 4: Storyboard the Page Spreads
Storyboarding expands thumbnails into more detailed compositions, often called roughs or comprehensives. At this stage, illustrators finalize the placement of elements, establish perspective, and work out any visual continuity issues across spreads.
This is also when illustrators often share work with authors or art directors for feedback. Catching problems in the rough stage saves significant time, since these sketches are quick to adjust compared to finished paintings or digital art.
Step 5: Produce Final Artwork
The final art stage brings everything together with full color, detail, and polish. Depending on the chosen medium, this might involve watercolor painting, digital painting in software like Procreate or Adobe Illustrator, or a combination of traditional and digital techniques.
Final illustrations typically meet specific technical requirements set by publishers, including exact dimensions, color profile, and file format. I always check these specifications early to avoid resizing issues that could distort the art.
Understanding Illustration Styles
Children’s book illustration encompasses diverse visual approaches, each creating a distinct reading experience. Understanding common styles helps you identify your own preferences and communicate with illustrators or clients about the look you want.
Watercolor illustration offers soft, dreamy visuals with gentle color transitions that work beautifully for quiet, emotional stories. This traditional medium requires skill and patience but produces uniquely handcrafted results.
Digital illustration has surged in popularity, offering flexibility, undo functionality, and easy revision. Programs like Procreate, Photoshop, and Illustrator provide powerful tools for creating clean, vibrant art suitable for any genre.
Collage-style illustration uses cut paper, fabric, or found materials to build textured, layered images. This approach creates distinctive visual interest and works particularly well for stories with a craft-oriented or handmade aesthetic.
Minimalist illustration uses simple shapes, limited color palettes, and generous white space. This style suits contemporary picture books and allows young readers to fill in details with their imagination.
Whimsical illustration embraces exaggeration, fantasy, and playful exaggeration. Characters might have oversized heads, exaggerated expressions, or impossible proportions that create immediate appeal and laughter.
Tools and Materials for Beginners
Starting in children’s book illustration requires surprisingly minimal investment. Many successful illustrators began with basic supplies and upgraded gradually as they refined their process and discovered their preferences.
Traditional Tools
At minimum, you need quality drawing paper, a set of graphite pencils ranging from 2H to 6B, and erasers. From there, many illustrators add watercolor paints, colored pencils, markers, or gouache. Brushes, palettes, and drawing boards complete a traditional starter kit.
Paper choice significantly affects the result. Cold-press watercolor paper provides texture for paint work, while smooth Bristol board suits detailed pen work and colored pencil layering.
Digital Tools
Digital illustration requires a drawing tablet and software. Wacom and Huion offer affordable options ranging from $50 to $300 for beginners. Higher-end models like the Wacom Cintiq provide built-in screens for direct drawing experience.
Software options include Procreate for iPad users, Adobe Photoshop and Illustrator for comprehensive creative suites, and free alternatives like Krita and GIMP for budget-conscious illustrators. Each has strengths; I suggest trying free trials before committing.
Digital tools offer significant advantages for picture book work. You can easily resize art for different print formats, experiment with color palettes without wasting physical materials, and make revisions without starting over. Many publishers now expect digital file delivery anyway.
Essential Skills Every Illustrator Needs
Beyond raw drawing ability, successful children’s book illustrators develop several complementary skills that elevate their work and client relationships.
Visual storytelling ability lets you convey narrative through images alone. This means understanding how to show cause and effect, time passage, and emotional arcs without relying on text. Practice by illustrating short stories without words, then checking whether your meaning comes through clearly.
Composition skills determine how effectively you guide reader attention across the page. Learning principles like rule of thirds, leading lines, and visual weight distribution helps create illustrations that feel balanced and intentional rather than accidental.
Color theory knowledge enables you to create moods, establish hierarchies, and produce cohesive visual experiences across all spreads in a book. Understanding warm versus cool palettes, complementary colors, and value contrast elevates amateur work into professional illustration.
Adaptability matters in client work. You may love whimsical characters but receive a project requiring realistic rendering. Successful illustrators expand their comfort zones while maintaining their distinctive voice.
Tips for Getting Started
If you are feeling overwhelmed about where to begin, you are not alone. Every working illustrator started exactly where you are now. Here is practical advice gathered from professional practice and community wisdom.
Analyze picture books constantly. Visit your local library and spend time studying how published illustrators solve visual problems. Notice how characters are introduced, how spreads connect, how emotion is shown, and how page turns create rhythm. This analysis builds your visual vocabulary faster than any tutorial.
Join the Society of Children’s Book Writers and Illustrators (SCBWI). This organization offers resources, networking, conferences, and critique groups specifically for this industry. Many successful illustrators credit SCBWI with launching their careers.
Build a focused portfolio before seeking work. Editors and authors judge you primarily on your sample illustrations. Include 5-10 pieces showing character consistency, visual storytelling, and range. Quality matters far more than quantity.
Practice regularly, even when no project exists. Daily sketching, even for fifteen minutes, develops your skills faster than occasional marathon sessions. Keep a sketchbook and fill it with character studies, environments, and visual experiments.
Expect the learning curve to take years. Illustration mastery does not happen overnight, and that is perfectly normal. Focus on gradual improvement rather than immediate perfection, and celebrate small victories along the way.
FAQs
What makes a good children’s book illustration?
A good children’s book illustration effectively tells the story in concert with the text, using clear character expressions, appropriate composition for the target age group, and visual elements that capture young readers’ attention. The best illustrations also carry emotional weight that words alone cannot convey.
What skills do you need to be a children’s book illustrator?
You need strong drawing ability, visual storytelling skills, understanding of composition and color theory, and adaptability. Equally important are soft skills like receiving feedback gracefully, meeting deadlines, and communicating clearly with authors and editors.
How long does it take to illustrate a children’s book?
A 32-page picture book typically takes 3 to 6 months to illustrate, depending on complexity, the illustrator’s experience level, and whether the illustrator is working on it full-time. Beginning illustrators often take longer as they develop their process.
Can I teach myself to illustrate children’s books?
Yes, many successful illustrators are self-taught. Key resources include online tutorials, picture book analysis, consistent practice, and feedback from critique groups. Formal education can help but is not required for a career in children’s book illustration.
Final Thoughts
The basics of children’s book illustration provide a foundation you can build upon for years. Focus on mastering the core process, developing your unique style, and creating work that connects with young readers emotionally. The field rewards dedication, and every published illustrator started by learning these same fundamental principles.
Start drawing today, even if your early work feels imperfect. Every professional was once a beginner. Take that first step, and your illustration journey begins.