
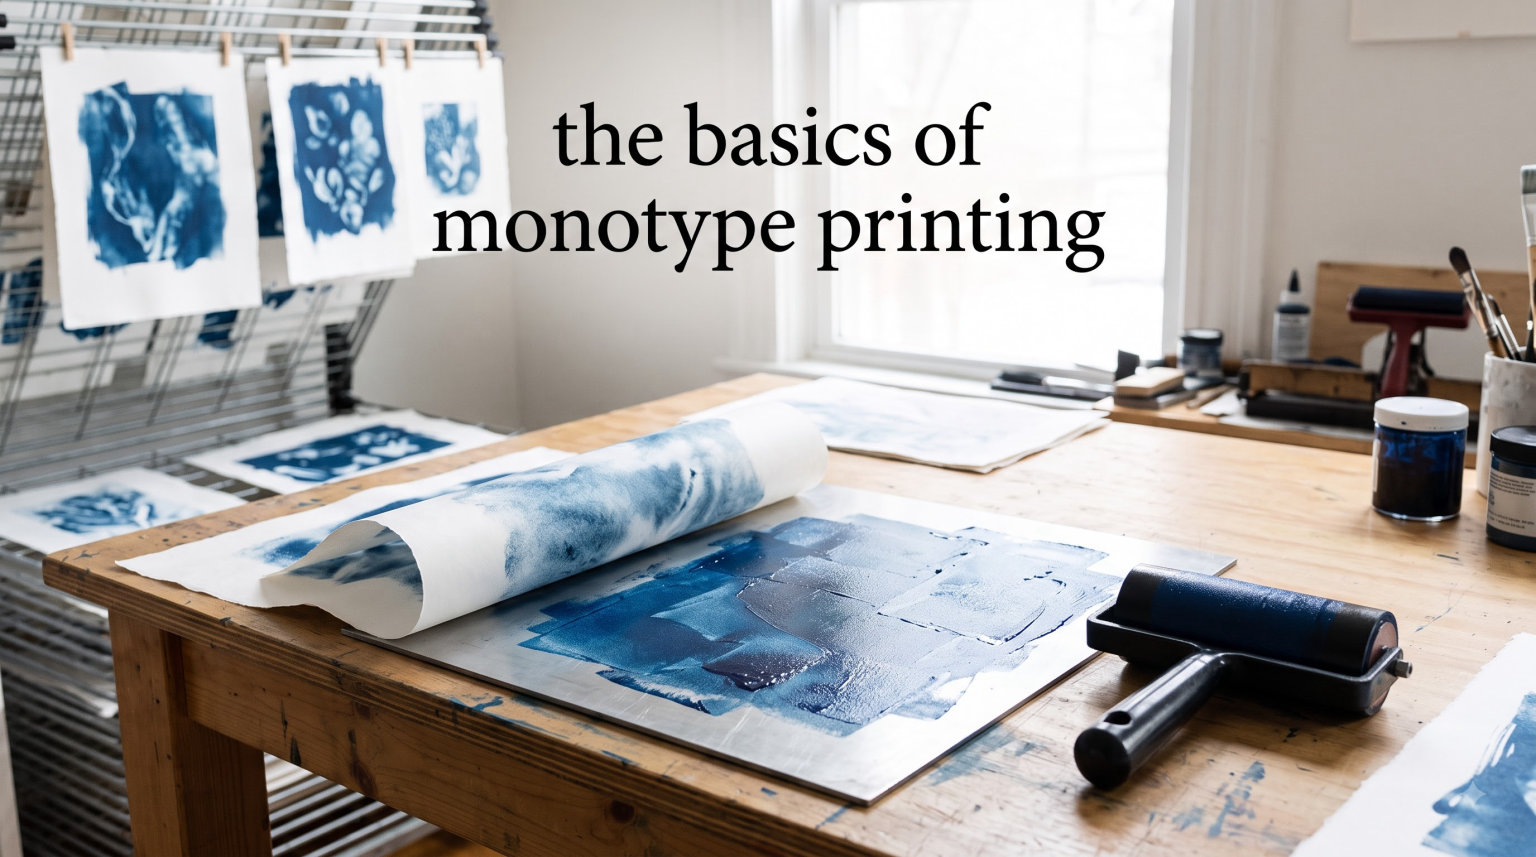
Learning the basics of monotype printing opens up a world of creative possibilities for artists of all skill levels. This printmaking technique produces one-of-a-kind images that combine the spontaneity of painting with the satisfaction of printmaking. In this guide, I will walk you through everything you need to know to start creating your own monotypes, from essential materials to step-by-step techniques that work with or without a press.
Table of Contents
What is Monotype Printing?
A monotype is a unique print created by applying ink to a smooth, non-porous surface and then transferring that image to paper. Unlike other printmaking methods such as etching or woodcut, monotype printing produces only a single impression. Each print is truly one-of-a-kind.
The process creates what artists call a “painterly print” because it captures the fluid, expressive qualities of painting while producing a permanent image on paper. The results are often translucent with soft edges and subtle tonal variations that are difficult to achieve through other methods.
Key characteristics of monotype printmaking include:
- Single impression only (you cannot make multiple identical copies)
- Spontaneous, expressive marks
- Soft, atmospheric effects
- Quick execution compared to other printmaking techniques
- Ideal for experimentation and texture creation
Essential Materials and Tools
Getting started with monotype printing requires minimal investment. Here is what you need:
The Plate
A plexiglass plate is the most common surface for monotype printing. A piece about 8×10 inches works well for beginners. You can also use glass, acrylic sheets, or even a Gelli Plate, which many artists prefer because it is forgiving and easy to clean.
Ink and Tools
Relief ink or etching ink both work for monotype printing. Relief ink has a stiffer consistency and is often preferred by beginners. You will need a brayer (a small roller) to spread the ink evenly across your plate. A 3-4 inch brayer works well for most projects.
Additional tools include:
- Palette knife for mixing and applying ink
- Cotton swabs or rags for removing ink
- Brushes for painting directly on the plate
- Textured materials like fabric or leaves for creating patterns
Paper Selection
The best paper for monotype printing has good sizing and enough weight to handle moisture without warping. Many artists use 300gsm watercolor paper that has been dampened and blotted before printing. Pre-soaked paper transfers ink more effectively and creates cleaner impressions.
The Two Main Approaches: Additive vs Reductive
There are two fundamental ways to create a monotype image. Understanding both approaches gives you more creative options.
The Additive Technique (Light Field)
In the additive technique, you start with a clean plate and add ink only where you want the image to appear. This creates a “light field” because the background remains the color of the paper. You can use brushes, sponges, or your fingers to apply ink selectively. This method works well for bold, graphic images with clear shapes.
The Reductive Technique (Dark Field)
The reductive approach starts with a fully inked plate. You then remove ink using cotton swabs, rags, brushes, or tools to create light areas. This produces a “dark field” where the image emerges from the shadows. Many beginners find this approach more intuitive because it mirrors drawing with an eraser.
Both techniques can be combined in a single print for complex, layered effects. Experiment with each method to discover which suits your style.
Step-by-Step Process
Here is how to create your first monotype print:
Step 1: Prepare Your Workspace
Cover your work surface with newsprint or a protective sheet. Set up your plate, ink slab, brayer, paper, and tools within easy reach. If using a printing press, adjust the pressure to accommodate your paper thickness.
Step 2: Roll Out the Ink
Place a small amount of relief ink on your ink slab. Use your brayer to roll the ink into a thin, even layer. The ink should make a hissing sound when properly rolled. Roll the ink onto your plexiglass plate until it is evenly covered.
Step 3: Create Your Image
Using either the additive or reductive technique, create your image on the plate. Work quickly because the ink will begin to dry. Remember that your final print will be a mirror image of what appears on the plate.
Step 4: Prepare the Paper
Your paper should be slightly damp for the best transfer. Soak it in water for a few minutes, then blot it between towels until it is moist but not dripping. This prevents the paper from sliding during printing.
Step 5: Register and Print
Place your dampened paper over the inked plate. If hand printing, use a wooden spoon or baren to apply even pressure, working from the center outward. If using a press, run the plate and paper through according to your press instructions.
Step 6: Reveal the Print
Carefully peel back the paper to reveal your monotype. The image will appear reversed from how you created it. Lay the print flat to dry.
Step 7: Create a Ghost Print
After lifting your first print, there is often residual ink on the plate. You can create a second, lighter impression called a ghost print by printing again with fresh paper. Ghost prints have a delicate, ethereal quality that many artists value.
Monotype vs Monoprint: What is the Difference?
Many beginners confuse these two terms, but they refer to different processes.
A monotype is created on a blank plate with no repeatable elements. The image exists only in that single impression. Once printed, the plate is clean and cannot produce another identical image.
A monoprint starts with a plate that contains permanent elements such as etched lines, carved textures, or stencils. Each print from a monoprint plate shares those fixed elements, though the artist can add unique ink variations to each impression.
Think of it this way: monotypes are completely unique, while monoprints are variations on a theme.
Tips for Beginners
After testing different approaches over several months, here are practical tips that will save you frustration:
Avoid paper sliding by ensuring your paper is evenly dampened throughout. Dry spots cause the paper to shift during printing, smearing your image.
Control ink consistency by adding small amounts of solvent if your ink is too stiff. Thick ink does not transfer well and produces muddy prints.
Remember the mirror effect and plan accordingly. Any text or directional elements will appear reversed in your final print.
Work quickly because ink dries fast. Have your paper ready before you start inking the plate.
Embrace accidents because monotype printing is inherently unpredictable. The “mistakes” often become the most interesting parts of the print.
Try ghost prints for subtle, atmospheric images. These secondary prints capture textures and tonal variations that differ from the original.
Frequently Asked Questions
What are the methods of monotype printing?
The two main methods of monotype printing are the additive technique (light field) and the reductive technique (dark field). In the additive method, you apply ink only where you want the image to appear. In the reductive method, you start with a fully inked plate and remove ink to create light areas. Both can be combined for layered effects.
What are the basic monoprinting techniques?
Basic monoprinting techniques include painting directly on the plate with brushes, using tools to remove ink from a fully covered plate, applying textures and materials to create patterns, and layering colors through multiple passes. The painterly approach treats the plate like a canvas, while the drawing approach treats it like a surface to scratch or wipe away.
Is mono printing easy for beginners?
Yes, mono printing is one of the most accessible printmaking techniques for beginners. It requires minimal equipment, produces results quickly, and allows for experimentation without complex setup. The forgiving nature of the process means you can create successful prints on your first attempt. Many art teachers recommend monotype as an entry point into printmaking.
What are the 4 basic printmaking techniques?
The four basic printmaking techniques are relief printing (like woodcut), intaglio (like etching), planographic (like lithography), and stencil methods (like screen printing). Monotype is sometimes considered a fifth category because it produces unique prints rather than multiple identical copies. Each technique offers different artistic possibilities and requires different materials and processes.
Conclusion
Mastering the basics of monotype printing gives you a versatile technique for creating unique, expressive artwork. The process combines the immediacy of painting with the tactile satisfaction of printmaking, producing results that cannot be replicated exactly. Whether you work with a press or print by hand, monotype printing rewards experimentation and embraces the unexpected. Gather your materials, prepare your plexiglass plate, and create your first painterly print today.