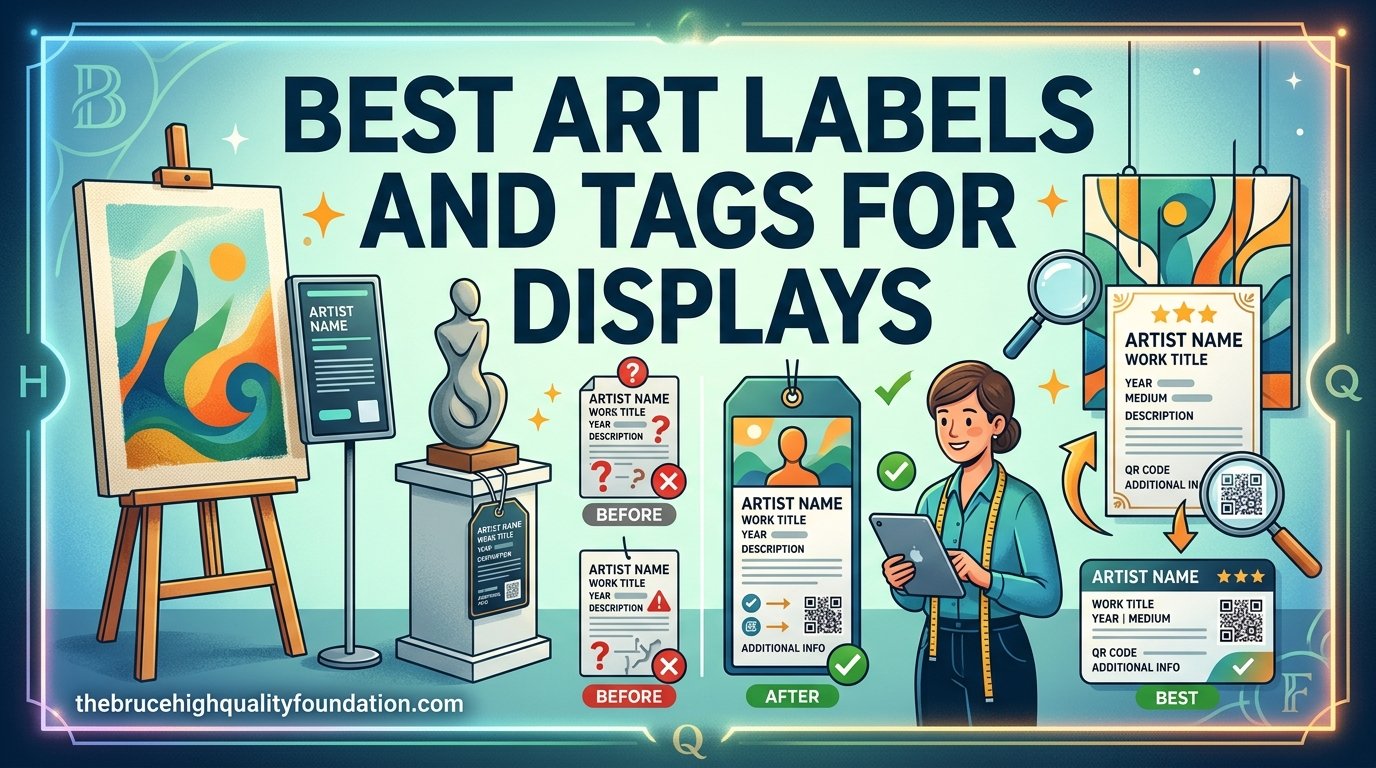
I have spent the last three years helping artists, gallery owners, and craft fair vendors set up exhibitions of all sizes. One thing I learned early on: the right art labels can make or break how professional your display looks. Whether you are running a museum exhibit, a weekend craft fair booth, or a solo gallery show, the best art labels and tags for displays need to be readable, durable, and consistent.
The problem most people face is figuring out which labeling method actually works. Should you go with engraved brass plates for a permanent look? Dry transfer decals for that painted-on museum feel? Or simple paper tags for a budget craft booth? I have tested all of these options across multiple shows and want to share what I found.
If you are also thinking about how to present and store your artwork beyond just labels, check out our guide on art portfolios for artists and our recommendations for art storage solutions. For now, let us look at the top 12 products I recommend for art labels and tags in 2026.
Table of Contents
Top 3 Picks for Best Art Labels and Tags for Displays (July 2026)

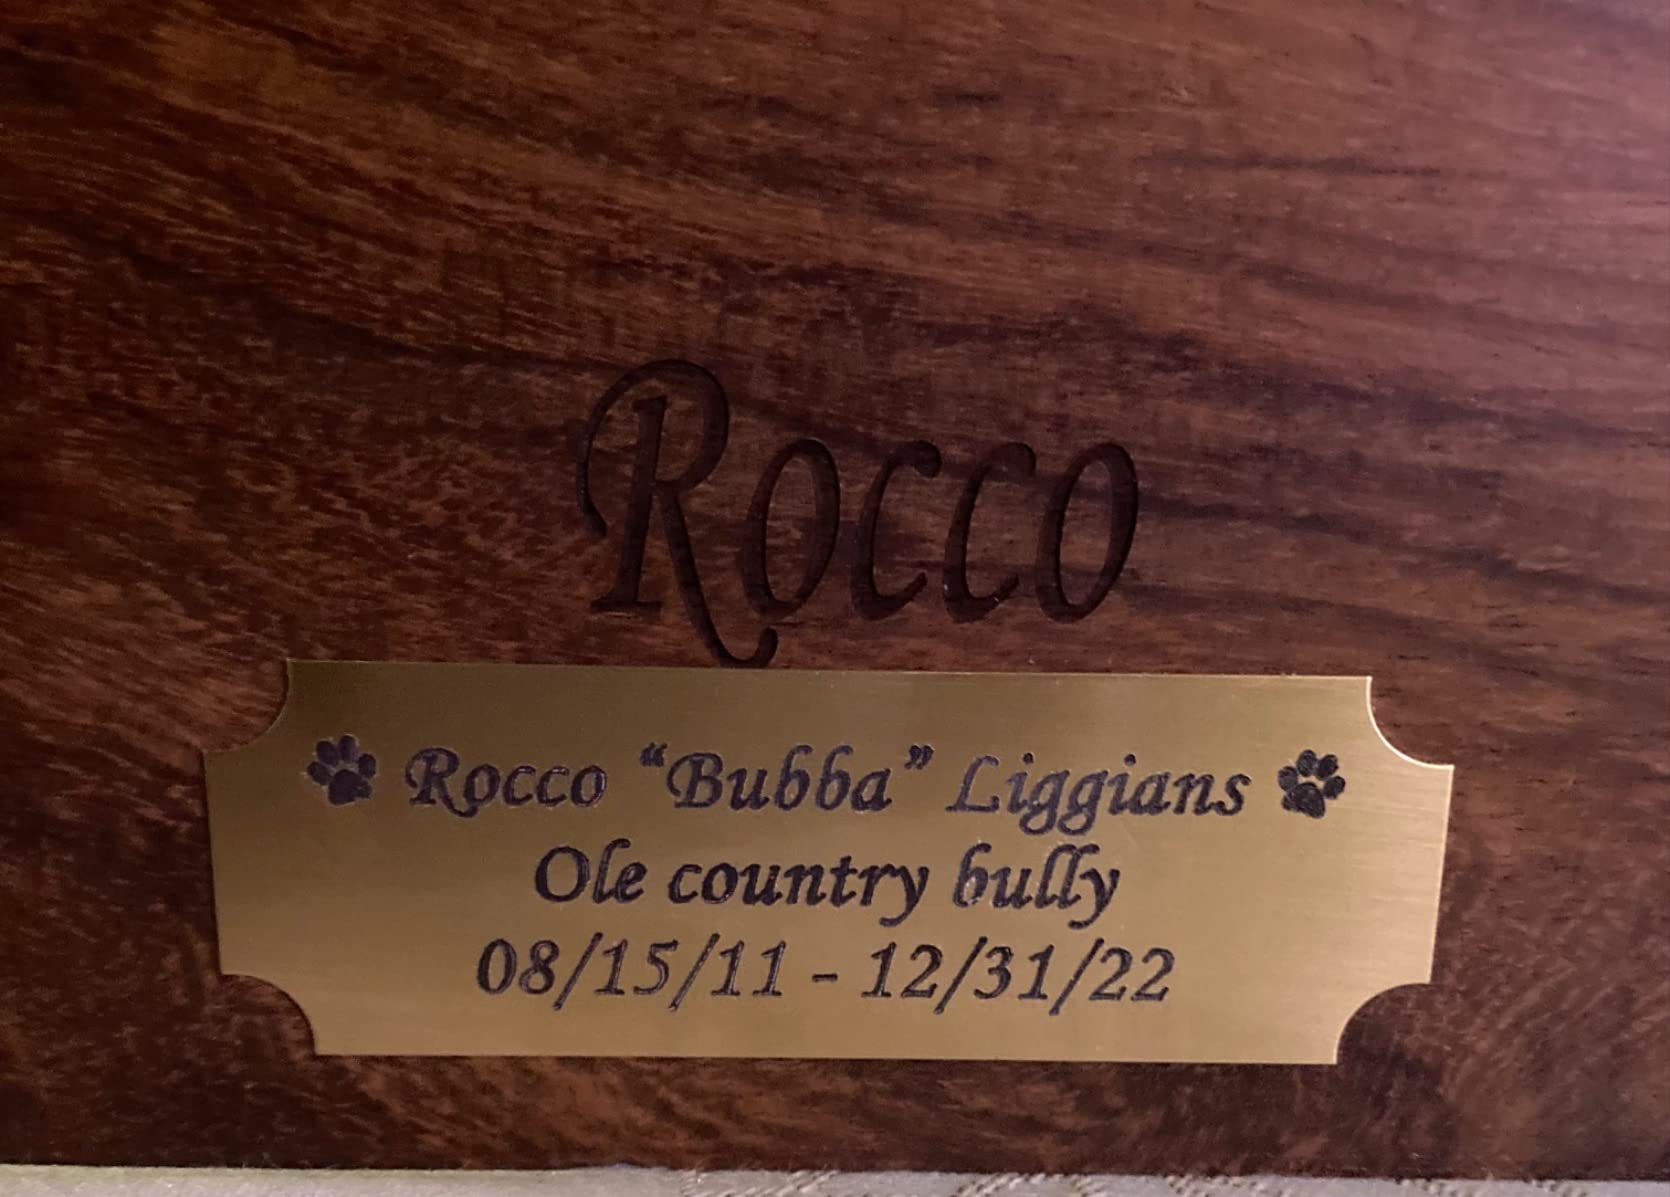
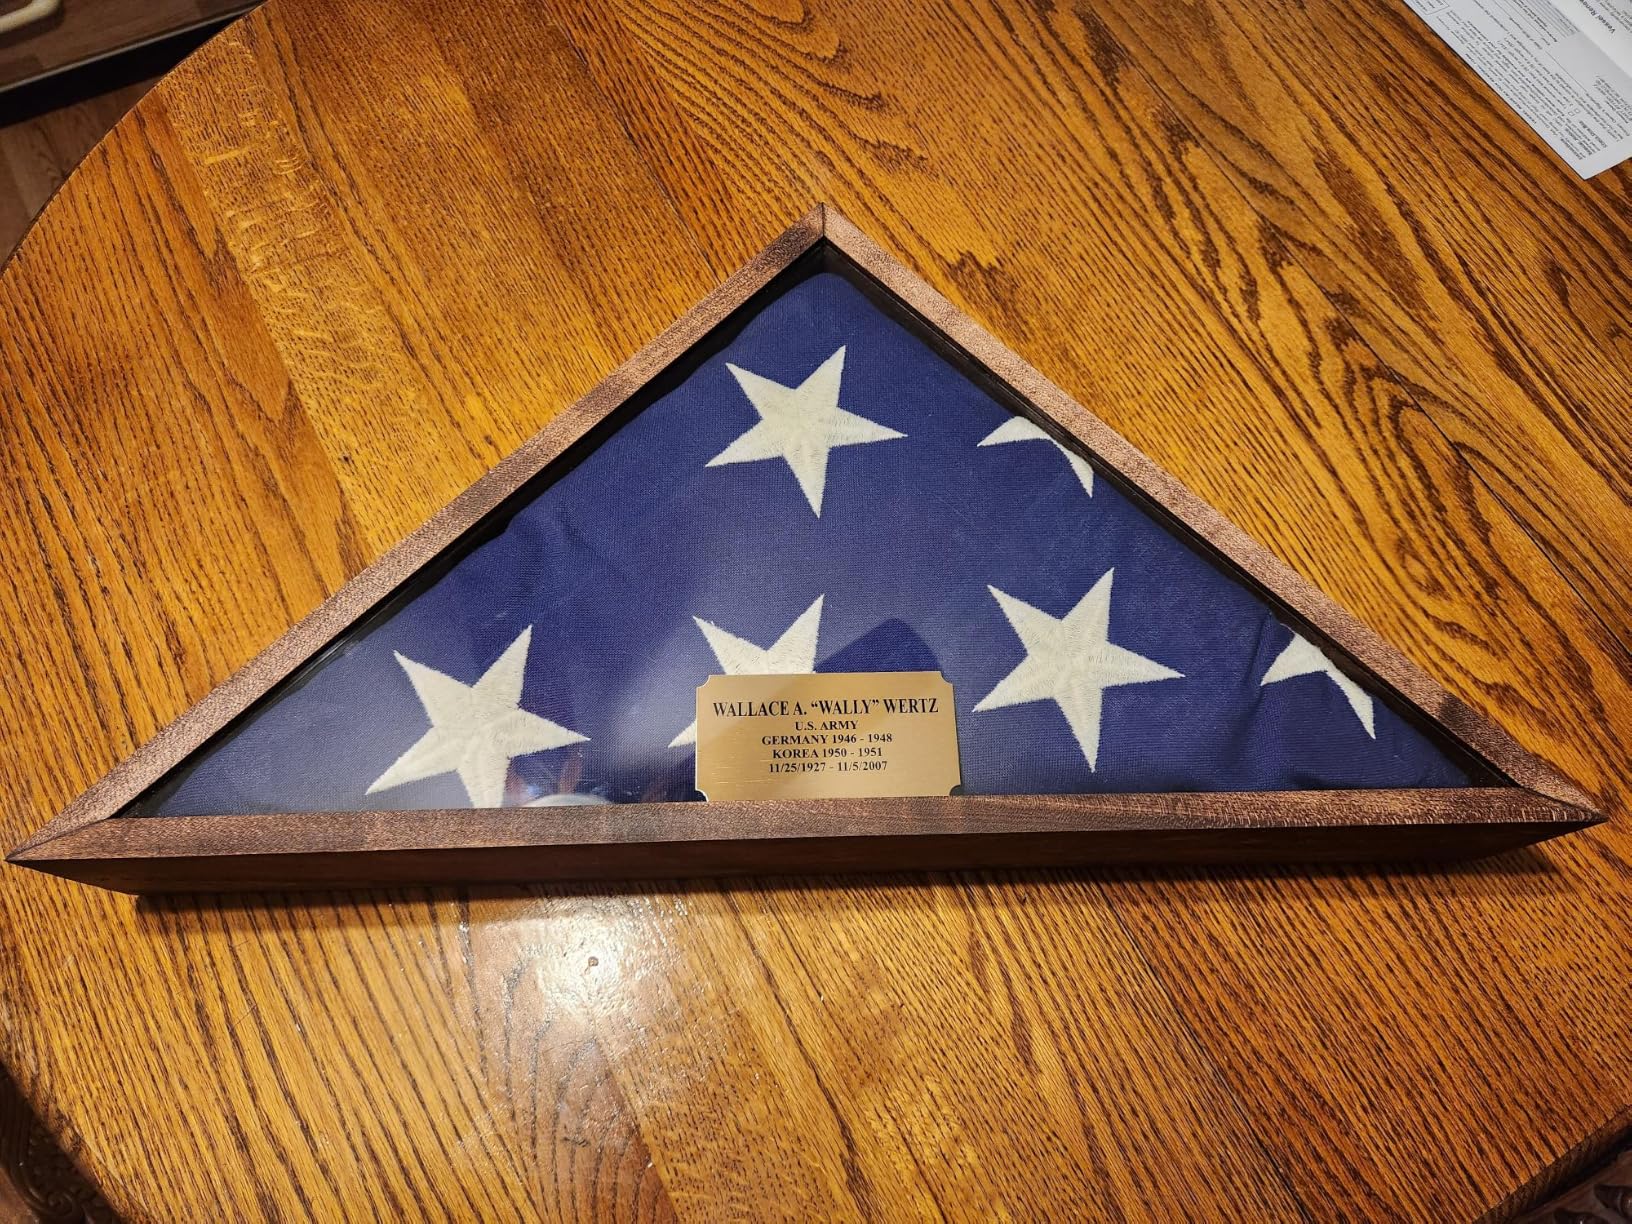
Stanley London Brass Name Plates
- Custom engraved brass
- 3 lines of text
- Made in USA
- Strong adhesive

Custom Brushed Gold Brass Plate
- Multiple sizes available
- Solid brass build
- Commercial grade adhesive
- 50 chars per line

BESARME Self Adhesive Label Holders
- 60 holders and inserts
- Clear PVC pockets
- Swappable labels
- Clean removal
Best Art Labels and Tags for Displays in 2026
1. Stanley London Personalized Brass Name Plates – Custom Engraved Quality
- Deep skillful engraving that looks premium
- Strong adhesive backing holds securely
- Multiple font and corner options
- Excellent value for custom brass plate
- Indoor use only
- Not Prime eligible so shipping takes longer
I ordered a set of these Stanley London brass plates for a client who needed permanent identification tags on a collection of framed photographs. The moment they arrived, I could tell these were a step above typical engraved plates. The brass has a warm golden tone and the engraving is cut deep enough that you can feel it with your fingertip.
The customization process was straightforward. I submitted three lines of text with the artist name, title, and year, and the engraving came back crisp and centered. My client mounted them using the adhesive backing on clean frame surfaces and they held firm through a six-week exhibition without any peeling.
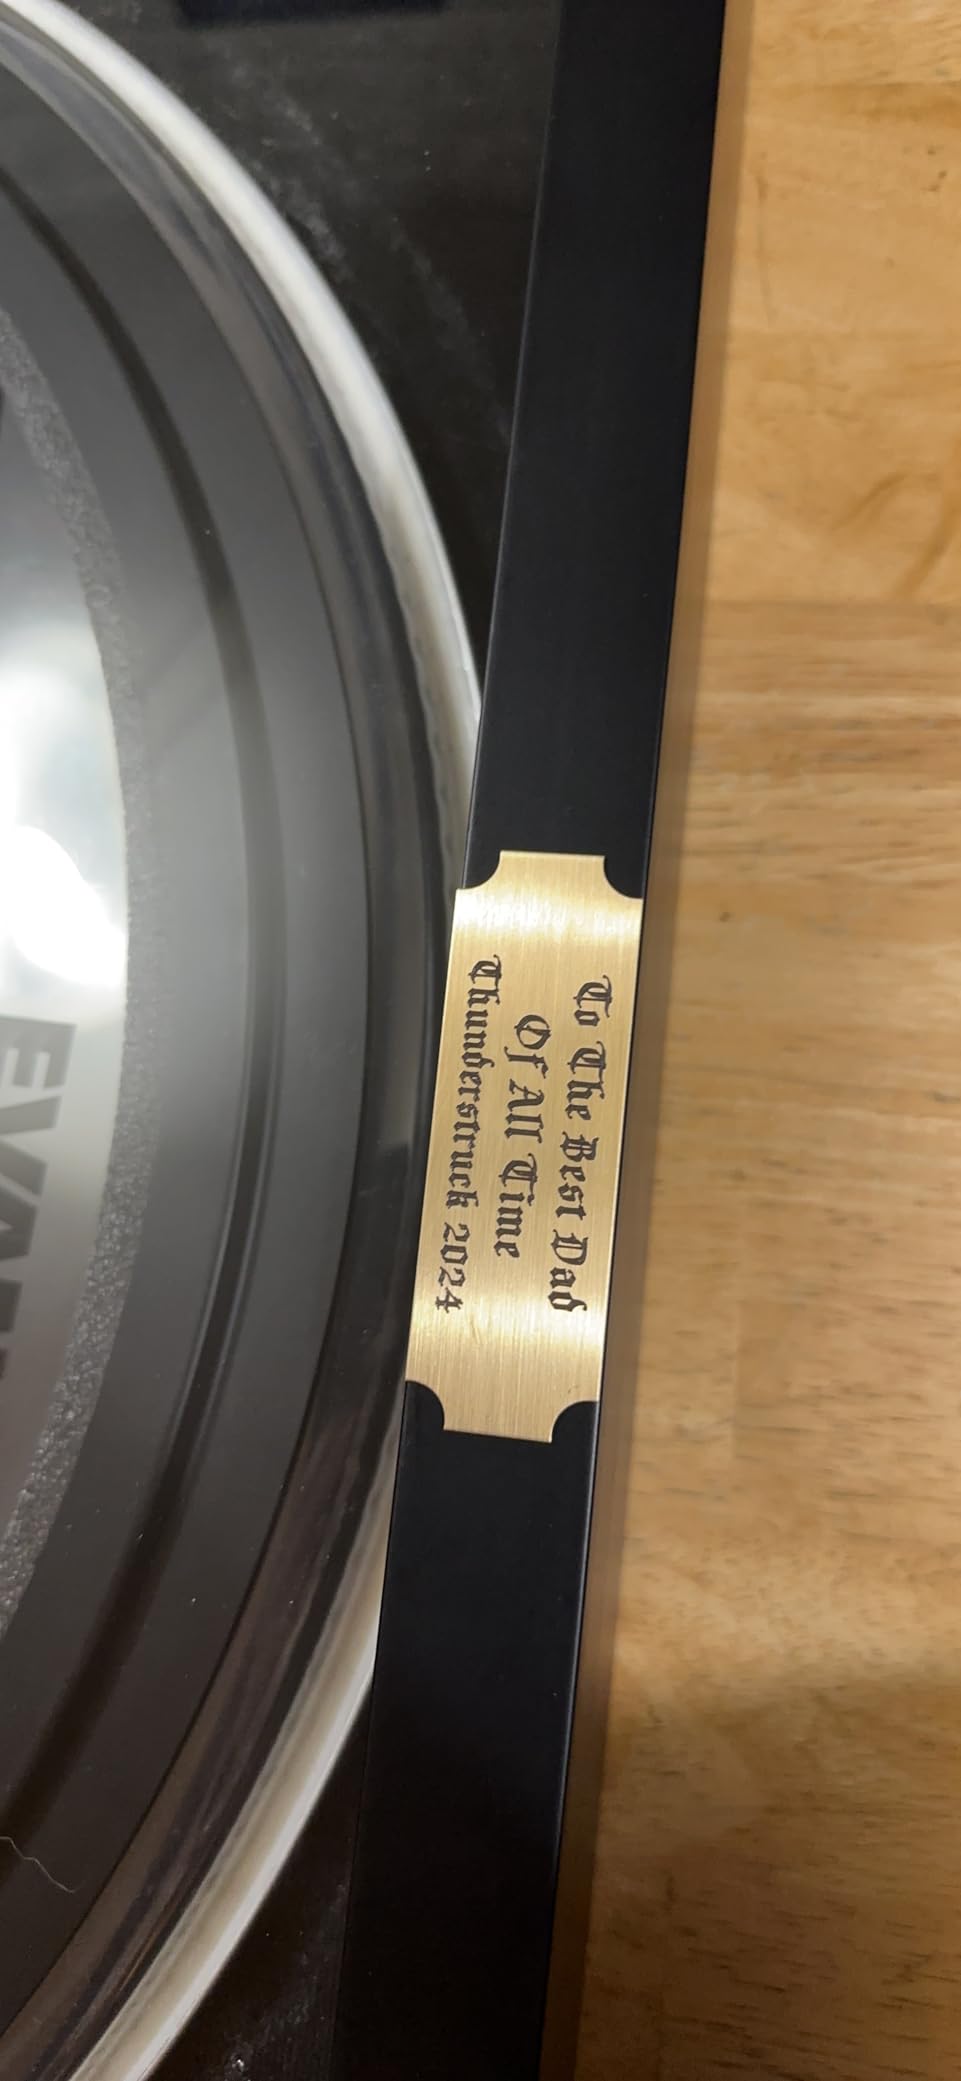
What surprised me most was how affordable these are for a made-to-order brass product. At under ten dollars per plate, they deliver a museum-quality look that gallery visitors consistently commented on. The 91 percent five-star rating across nearly 700 reviews tells me other buyers had the same experience.
One thing to keep in mind is that these are strictly for indoor use. The brass will tarnish if exposed to moisture or humidity, so skip them for outdoor sculpture gardens or humid greenhouse displays.
Best Display Scenarios
These brass plates shine on framed artwork in formal gallery settings, museum permanent collections, and corporate art installations. They also work beautifully for memorial shadow boxes and award plaques where a permanent, dignified look matters.
Customization Limits to Know
Each plate allows up to 3 lines with 30 characters per line, which covers most artist name and title combinations. If you need to include lengthy medium descriptions or provenance text, you may need a larger plate size or a secondary information card alongside it.
2. Custom Brushed Gold Solid Brass Plate – Versatile Multi-Size Option
- Six size options for different display needs
- Solid brass construction feels substantial
- Commercial grade adhesive
- Allows 50 characters per line for longer text
- Indoor use only
- Hardware not included with screw hole option
This is the plate I recommend most often to artists who want flexibility. The fact that it comes in six sizes means you can label everything from a small 8×10 frame up to a large 30×40 canvas without switching brands. I have used the 2×4 and 2×6 sizes for group shows where different pieces needed different label proportions.
The brushed gold finish is slightly more subdued than the Stanley London bright gold, which some artists actually prefer. It reads as warm and sophisticated rather than flashy. The engraving filled cleanly and the text remained legible from a normal viewing distance of three to four feet.
With nearly 1,000 reviews and an 89 percent five-star rate, this is one of the most popular custom brass plates on the market. The ordering process lets you choose square, rounded, or notched corners, which is a nice touch for matching different frame styles.
One buyer I worked with ordered these for a retirement gift display and was blown away by the quality. The plates looked far more expensive than they actually were, which is exactly what you want when outfitting an exhibition on a budget.
Size Selection Guide
For standard framed artwork, the 3×1 or 2×4 sizes work well for artist name and title. Use the larger 2×6 or 3×6 plates when you need to include medium, dimensions, and price or provenance information all on one tag.
Adhesive vs Screw Mounting
The adhesive backing is strong enough for most indoor frame surfaces. If you are labeling plaques or mounts where the plate might get bumped, choose the screw hole option and supply your own small brass screws for extra security.
3. NEMOCI Brushed Gold Solid Brass Plate – High-Volume Trusted Pick
- Over 4500 reviews with 4.7 star average
- 2 year warranty included
- Brushed finish resists fingerprints
- Professional appearance rivals expensive alternatives
- Ships in 2-3 days not Prime
- Occasional shipping bends reported
With over 4,500 reviews, the NEMOCI brass plate is the most battle-tested option on this list. I started recommending it after a fellow curator mentioned they had ordered 40 of these for a museum renovation and every single one arrived in perfect condition.
The brushed finish on these plates is consistent and professional. I compared one side by side with a plate from a high-end frame shop, and honestly the difference was negligible. The engraving depth is solid and the black ink fill makes text pop against the gold background.
The 2-year warranty is a standout feature that none of the other brass plate options offer. It tells me the manufacturer stands behind their product quality. For artists labeling permanent collections or long-term installations, that peace of mind matters.
I did notice that since these are not Prime eligible, you need to plan ahead. Order at least a week before your exhibition opening to allow for the 2-3 day processing plus shipping time.

When to Choose This Over Others
Pick the NEMOCI plate when you need reliability at scale. The massive review base means consistent quality, and the warranty protects you if anything goes wrong during a large exhibition setup.
Shipping and Timeline Planning
Since these ship in 2-3 business days and are not Prime eligible, build a buffer into your exhibition prep schedule. For last-minute shows, consider the Prime-eligible alternatives elsewhere on this list.
4. BILLIOTEAM 50-Pack Clear Sign Display Holders – Reusable Tabletop Solution

- 50 pieces covers large exhibitions
- Slanted design for easy reading
- Protective film prevents scratches
- Sturdy acrylic construction
- Lightweight may tip on uneven surfaces
- Small size limits text amount
These clear acrylic sign holders solved a recurring problem for me at craft fairs. I needed something that could sit on a table next to small sculptures and prints without competing visually with the artwork. The clear acrylic practically disappears, leaving all attention on your label text.
The slanted L-shape design is the key feature here. Labels angled at roughly 45 degrees are much easier to read than flat-lying tags, especially when viewers are standing above a display table. I printed my labels on cream cardstock, trimmed them to size, and slid them into the holders.
Getting 50 holders in one pack means you can label an entire show without reordering. I used them for a 30-piece exhibition and still had spares for future events. The protective film on each holder keeps them scratch-free during transport, which is a thoughtful detail.
The main drawback is the lightweight design. On a perfectly flat table they stand fine, but outdoors or on slightly uneven surfaces they can tip. A small piece of double-sided tape underneath solves this if needed.
Best Use Cases
These holders are ideal for craft fair tables, retail display shelves, gallery bookstore areas, and wedding or event signage. Anywhere you need temporary labels that can be swapped out quickly, these clear acrylic stands do the job.
Label Insert Tips
Print your inserts on 80-100 lb cardstock for the best rigidity. Standard printer paper tends to curl inside the holder, while heavier cardstock sits perfectly flat and reads cleanly through the acrylic.
5. BESARME 60-Pack Self Adhesive Label Holders – Wall-Mount Swap System
- 60 holders with 60 paper inserts included
- Pocket design lets you swap labels instantly
- Adhesive removes cleanly without residue
- PVC resists yellowing and cracking
- Can be tricky to separate sheets initially
- Avoid high temperature environments
For galleries that rotate exhibitions frequently, these adhesive label holders are a game-changer. I installed a set on a gallery wall and was able to swap out labels for three different shows over two months without removing the holders themselves. Just pull out the old insert, slide in a new one, and you are done.
The clear PVC pocket design means your printed labels are protected from fingerprints and smudges while remaining fully readable. The adhesive backing stuck firmly to painted drywall, wood panels, and even metal display cases without any issues.
What impressed me most was the clean removal. When the exhibition ended, I peeled the holders off the wall and there was zero residue or paint damage. This is critical for artists renting gallery space who cannot afford to repair walls after a show.
The horizontal format works well for standard gallery wall labels. At 1.2 x 4.3 inches, each holder accommodates two lines of text at a comfortable reading size, which covers artist name and title nicely.

Surface Compatibility
These holders adhere well to metal, wood, plastic, and cardboard. Test on an inconspicuous area first if your wall surface is unusual, and always clean the surface with rubbing alcohol before application for the strongest bond.
Long-Term Durability
The PVC material resists yellowing, which means your holders stay clear even after months on the wall. Avoid placing them in direct sunlight or near heat sources, as extreme temperatures can affect the adhesive over time.
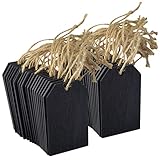
6. ZUFECY 200-Pack White Paper Blank Tags with String – Bulk Budget Option
- 200 tags for an incredibly low per-tag cost
- Pre-tied strings save time
- Smooth writing surface
- Perfect for antique booths and retail
- Strings are short
- Size runs small for some applications
Sometimes the simplest solution is the best one. These paper tags are what I reach for when setting up a craft fair booth or pop-up show on a tight budget. At 200 tags per pack, you can label every piece in your inventory and still have extras for price codes and contact cards.
The pre-tied string is a small detail that saves real time. Instead of threading 200 strings through 200 tiny holes, you just write your label info and hang. I used a fine-point Sharpie and the ink did not bleed through the paper at all.
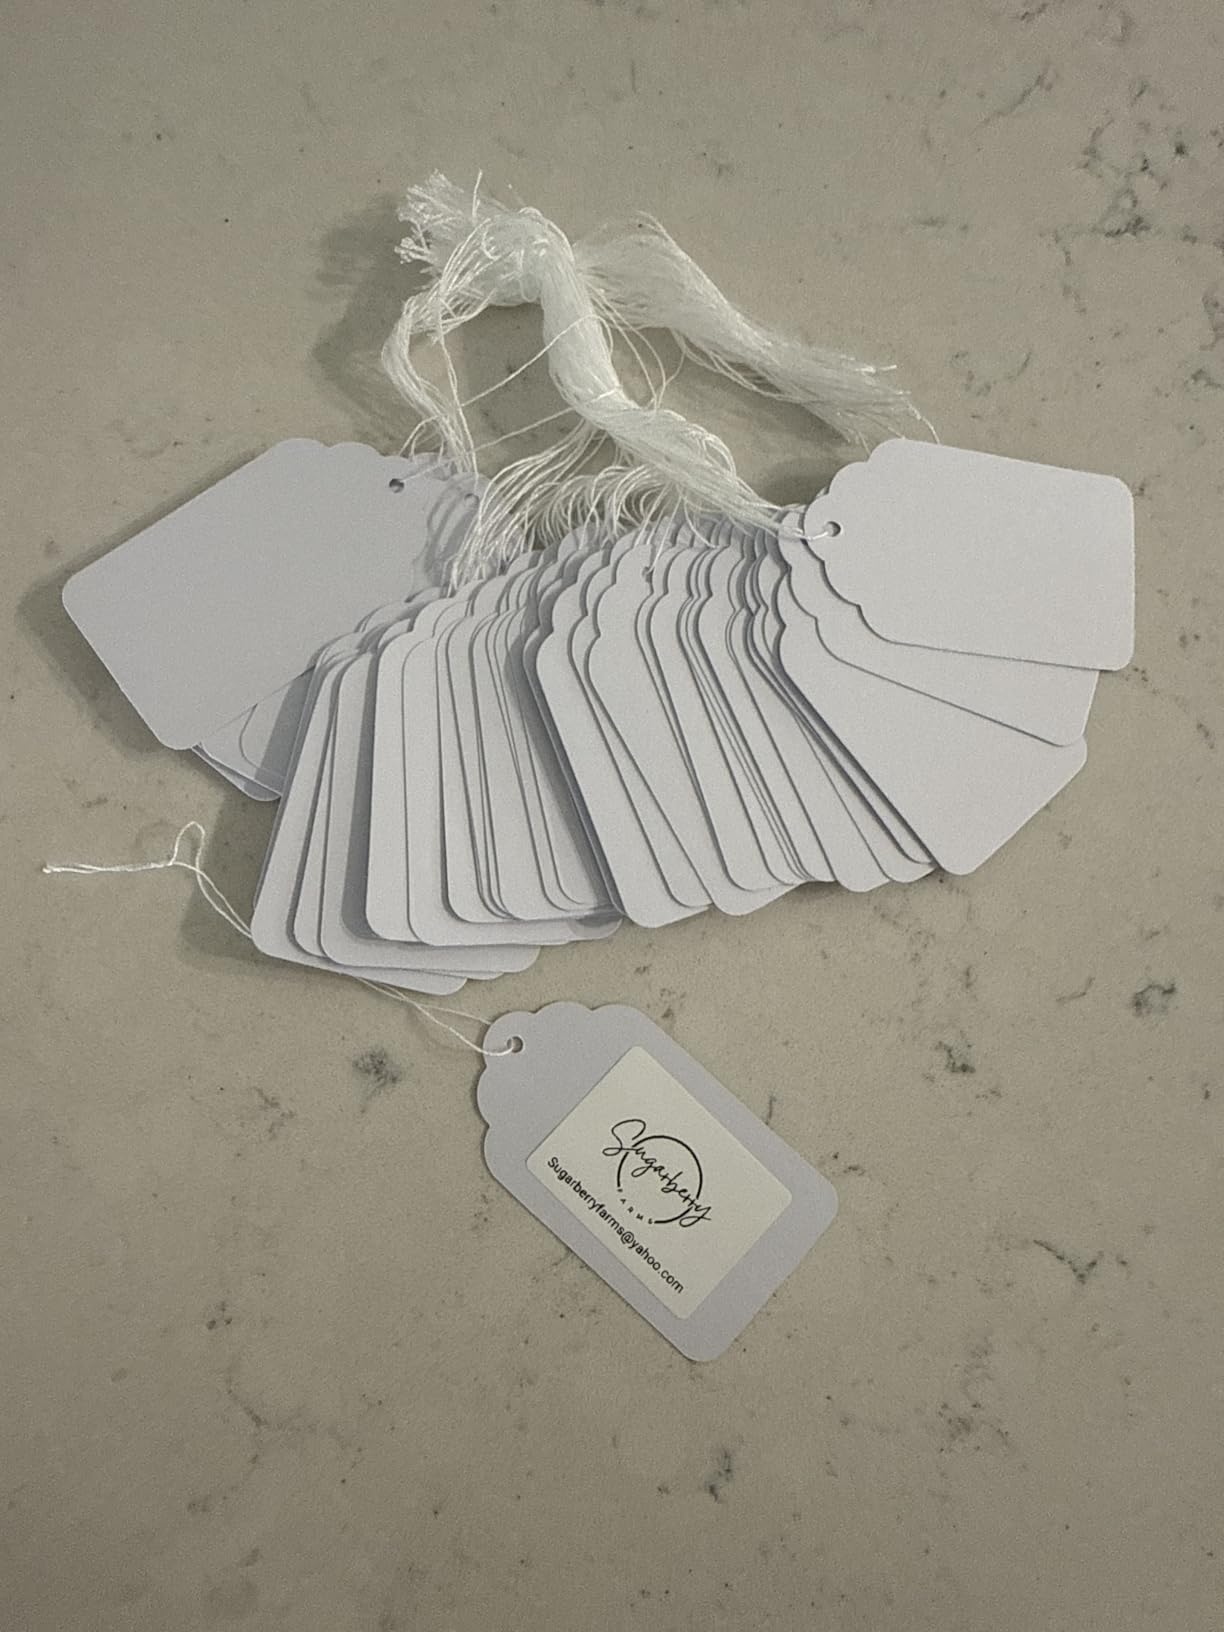
Several artists I know who sell at antique malls swear by these tags. The white paper background provides good contrast for handwritten text, and the 2.75 x 1.57 inch size is large enough for artist name, title, and price without crowding.
The strings are on the short side, which works fine for hanging on small hooks or frame nails. If you need to tag larger items or hang from higher display rails, you may want to replace the included string with longer twine.
Ideal Exhibition Types
These tags are perfect for antique booth displays, vintage markets, holiday craft fairs, and casual studio shows. They give a handmade, approachable feel that fits rustic and indie art events better than formal engraved plates would.
Writing Surface Quality
The paper takes ballpoint pens, gel pens, and fine-tip markers equally well. Avoid heavy liquid ink pens as they can feather slightly. For the most professional look, use a black micron pen for crisp, clean lettering.
7. Topbuti 48-Piece Chalkboard Tags – Rustic Reusable Option
- Reusable erasable surface saves money long-term
- Rustic wooden look fits country and farm decor
- Double-sided writing doubles your label space
- Includes twine for hanging
- Chalk paint absorbs ink quickly
- Chalk markers may need multiple coats
These chalkboard tags gave my friend’s farm-themed art booth the exact aesthetic she wanted. The small wooden boards with chalkboard paint have a warm, handcrafted look that printed labels simply cannot match. She uses them for pricing and item descriptions at farmers markets and craft shows.
The reusability factor is what makes these cost-effective. Write your labels in chalk, wipe them clean after the show, and reuse them for the next event. Over a year of shows, 48 tags handle dozens of different displays with zero additional cost.
The double-sided design is clever for display situations where tags might be viewed from either side. I recommended these to a vendor who hangs jewelry on a rotating rack, and she labels both sides of each tag so customers can read prices from any angle.
One heads-up: the chalkboard surface is thirsty. Traditional chalk works well, but liquid chalk markers may need a second coat to show up boldly. Test your writing method on one tag before labeling your entire inventory.
Best Aesthetic Match
These tags pair beautifully with burlap tablecloths, wooden display crates, and mason jar arrangements. They are the go-to choice for rustic weddings, country-style retail, and farm-to-table event displays.
Chalk vs Marker Performance
Standard white chalk sticks give the best contrast and are easiest to erase. Chalk markers look bolder but can leave ghosting on the surface after erasing. For clean swaps between shows, stick with traditional chalk.
8. Rapid Vinyl Custom Wall Lettering Decal – Direct Wall Application

- Fully customizable text and layout
- Over 35 color choices including matte black
- Weatherproof for indoor and outdoor use
- Creates seamless painted-on appearance
- Transfer process has learning curve
- Directions can be confusing for beginners
For the closest thing to a painted-on wall label, custom vinyl lettering is the answer. I used Rapid Vinyl decals for a gallery entrance wall where we needed large introductory text for an exhibition. The matte black lettering looked like it was hand-painted directly onto the wall.
The customization options are extensive. I chose a clean sans-serif font in matte black at 2-inch height, and the result was sharp and professional. With over 35 colors available, you can match gallery branding or create subtle tone-on-tone labels that blend with wall paint.
Application does take some practice. The transfer tape method requires patience to avoid bubbling or misalignment. I recommend watching the application video before starting and having a credit card or squeegee ready for burnishing.
The weatherproof rating means these work for outdoor sculpture labels too. I used them on a painted metal sign post for an outdoor art walk, and they survived a full season of rain and sun without fading or peeling.
Wall Surface Preparation
Clean your wall surface with rubbing alcohol and let it dry completely before application. Freshly painted walls should cure for at least 2 weeks before applying vinyl, otherwise the adhesive may pull paint when removed.
Removal Without Damage
Heat the vinyl gently with a hair dryer to soften the adhesive before peeling. Pull slowly at a 45-degree angle. If any residue remains, a small amount of rubbing alcohol on a cloth will remove it without damaging most painted surfaces.
9. Woodland Scenics Railroad Gothic Dry Transfer Decals – Museum-Style Lettering

- Creates authentic painted-on look with no decal edges
- Classic Gothic lettering style
- Professional results on smooth surfaces
- No clear film border like traditional decals
- Letters are very small around 4pt to 8pt
- Batch quality can vary
Dry transfer decals are what many museums actually use for wall labels, and these Woodland Scenics Gothic letters give you that same professional result. I tested them on matte board and primed wall surfaces, and the lettering transferred cleanly with a burnishing tool.
The white Gothic font is elegant and highly readable against dark or colored backgrounds. I used these on a deep navy gallery wall for an exhibition title, and the letters looked like they had been screen-printed directly onto the paint.
The key advantage over vinyl is the absence of any carrier film. Each letter transfers individually onto the surface, meaning there is no visible border or edge. This is what creates that seamless, painted-on appearance that gallery professionals love.
The letter sizes run small, roughly equivalent to 4-8 point type. This works well for detailed object labels in display cases but may be too small for large wall text. Plan your layout carefully and order enough sheets for your full label set.
Application Technique
Position the decal sheet face-down on your surface, secure it with low-tack tape, and rub firmly with a burnishing tool or the back of a spoon. Peel the backing slowly to check adhesion. If a letter does not transfer, lay the sheet back down and rub again.
Surface Requirements
Dry transfers work best on smooth, non-porous surfaces like acrylic, glass, smooth painted walls, and primed board. Textured surfaces like brick or rough canvas will cause uneven transfer and letter distortion.
10. Woodland Scenics Black and White Mini Series Dry Transfer Decals – Precision Small Labels

Lettering, Black & White Mini Series Dry Transfer Decals Woodland Scenics
- Extremely small letters perfect for case labels
- Both black and white on one sheet
- Professional finished appearance
- Great value for small detailed projects
- Very small size may be too tiny for some uses
- Letters can be tricky to align in straight lines
- May need clear sealer for durability
When I needed labels for a glass display case containing small artifacts, these mini dry transfer decals were the only option small enough to look proportional. The letters are tiny, which is exactly what you want for intimate, detailed displays where full-size labels would overwhelm the objects.
Having both black and white letters on the same sheet is practical. I used the white letters on dark display surfaces and the black letters on lighter backgrounds, all from a single purchase. The transfer quality was consistent across both colors.
These decals are popular in the model railroading community, and that precision background shows. The letters transfer crisply and hold their shape even at very small sizes where other methods would blur or bleed.
The main challenge is alignment. At these tiny sizes, even a millimeter of drift becomes noticeable. Use a straightedge guide and take your time. For permanent installations, a light coat of clear matte sealer will protect the transferred letters from rubbing off.
Scale and Readability
These mini letters are designed for close-up viewing distances of 6 to 12 inches. They are ideal for jewelry display cases, specimen labels, and small artifact identification where viewers lean in to read details.
Sealing for Permanence
Unsealed dry transfers can rub off with repeated contact. Apply a light mist of archival clear coat or matte sealer after transfer to protect the lettering. Test the sealer on a scrap piece first to ensure it does not cause the letters to bleed.
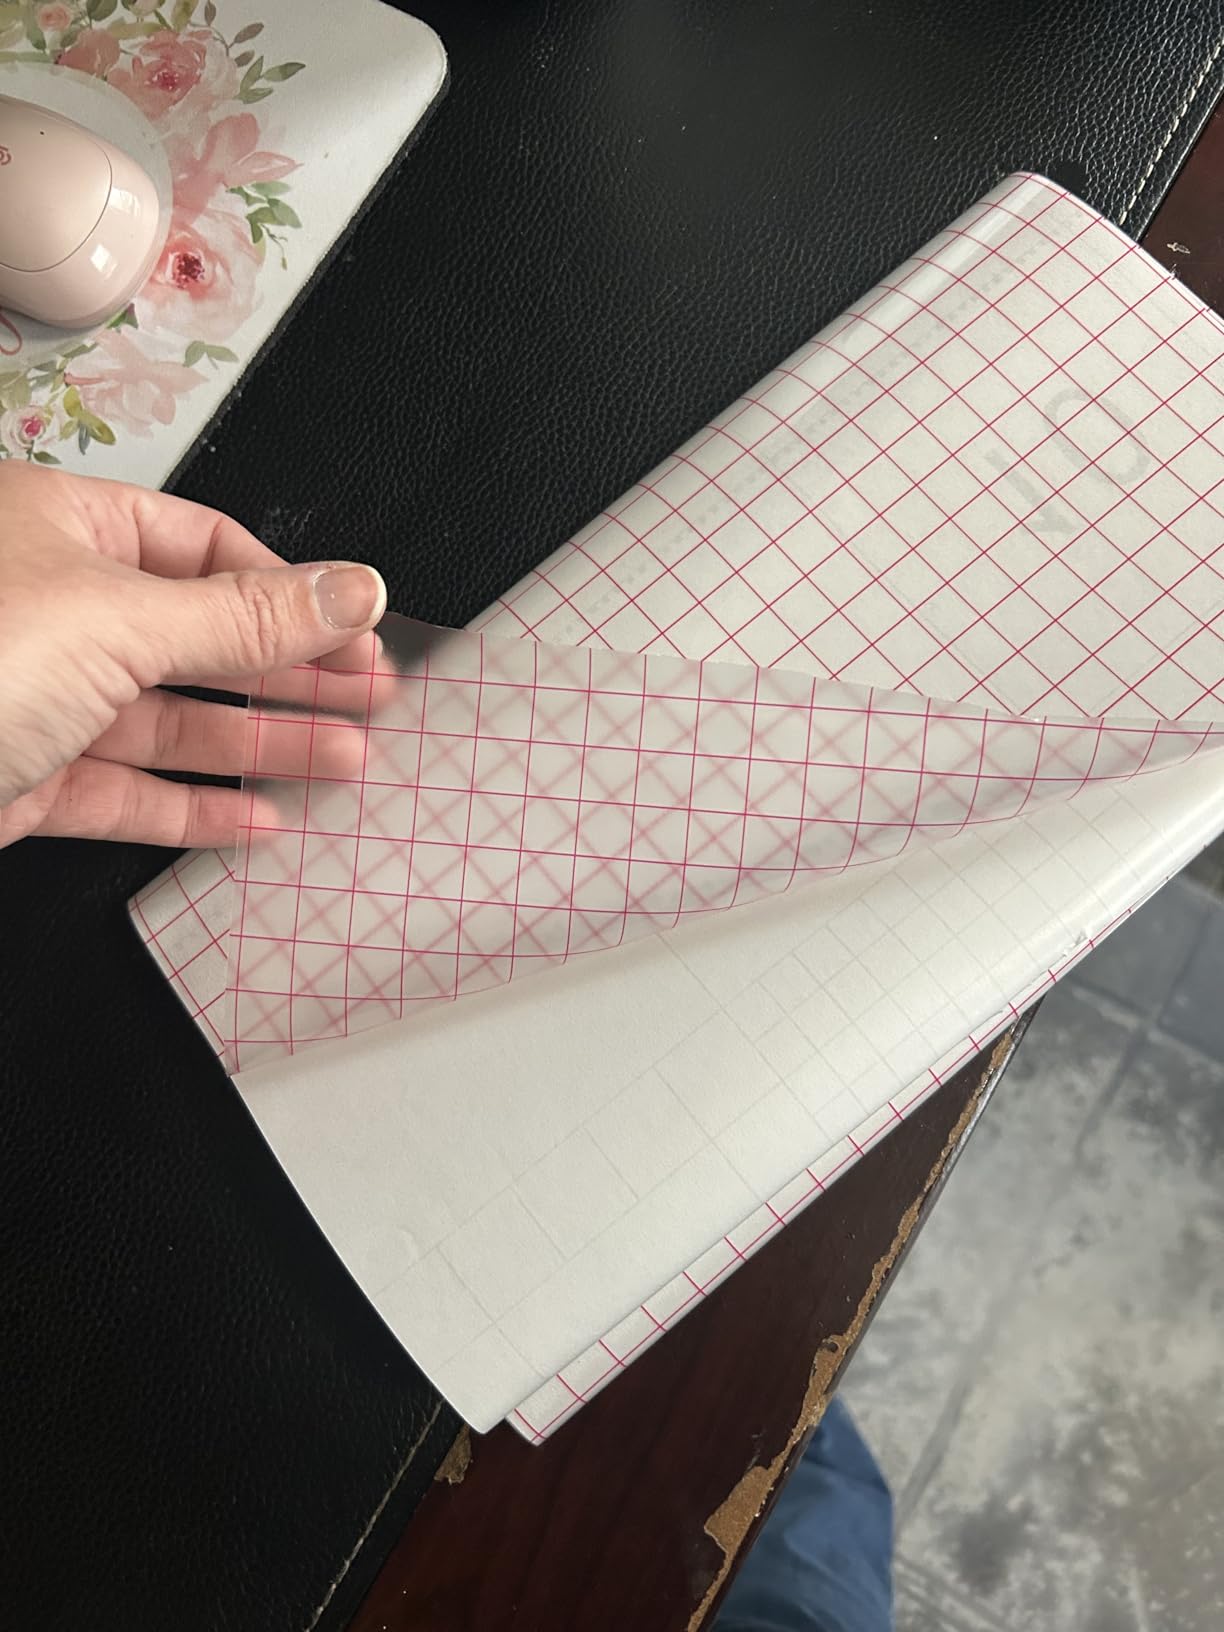
11. MAQIHAN Transfer Tape for Vinyl – Essential Tool for Custom Labels

- Red grid lines make alignment precise
- Low tack prevents surface damage
- Long 16.4 foot roll lasts many projects
- Universal surface compatibility
- Adhesive may be too weak for some vinyl types
- Shipping can damage roll if folded
If you are cutting your own vinyl labels with a Cricut or Silhouette machine, quality transfer tape is non-negotiable. I went through several brands before landing on this MAQIHAN tape, and the red grid alignment lines alone make it worth choosing over clear alternatives.
The grid lets you position your cut vinyl letters perfectly straight before applying to the wall or display surface. For gallery labels where crooked text is immediately noticeable, this feature saves enormous frustration.
The low-tack adhesive releases cleanly from most surfaces, which means if you need to reposition a label during application, you can. I made a mistake positioning a 12-inch exhibition title and was able to lift and reapply without damaging the vinyl or the wall.
Some users report the adhesive being too weak for very intricate or small vinyl cuts. If you are working with letters under half an inch, press firmly and burnish thoroughly before peeling to ensure all pieces transfer.
Working with Intricate Designs
For small letters or detailed vinyl cuts, burnish the transfer tape onto the vinyl for at least 30 seconds before peeling the backing. Flip the project and burnish from the back side too, which helps the tape grip every edge.
Roll Storage and Handling
Store the roll flat or hanging vertically to prevent warping. If your roll arrives folded or creased, lay it flat under heavy books for 24 hours before use to smooth out wrinkles that could affect application.
12. Huimdery Gold Letter Stickers – Quick Decorative Labeling

- Massive 1245 piece count covers many projects
- Waterproof and UV resistant for durability
- Gold glitter finish adds visual interest
- Works on fabric metal plastic and paper
- Single use only not reusable
- Cursive font may be hard to read at small sizes
These gold letter stickers are my secret weapon for creating eye-catching display signs quickly. I used them to label a guest artist feature wall, spelling out the artist name in gold cursive letters on black foam board. The result looked custom-made but took about ten minutes.
The glitter finish catches gallery lighting beautifully and adds a premium feel without the premium price. With 1,245 pieces including uppercase, lowercase, numbers, and symbols, one pack handles multiple exhibitions worth of labeling.
The waterproof and UV resistant rating means these hold up in varied display conditions. I used them on an outdoor art market sign and they maintained their sparkle through a full weekend of sun exposure without fading.
The adhesive is strong on smooth surfaces like foam board, plastic, and metal. On fabric or textured surfaces, press firmly and hold for several seconds. For permanent outdoor applications, a dab of clear craft glue on the corners adds extra security.
Readability Considerations
The cursive font is decorative and beautiful, but test readability from your expected viewing distance. For labels that need to be read quickly by passersby, pair these stickers with a printed label card containing the same information in a clearer typeface.
Color and Finish Options
The gold glitter finish photographed well under both natural and track lighting. If gold does not fit your display aesthetic, the same brand offers silver and black options that maintain the same quality and adhesive performance.
Buying Guide: Choosing the Best Art Labels and Tags for Displays
Selecting the right labeling method depends on your exhibition type, budget, and how long the labels need to last. Here is what I consider when advising artists and galleries on their labeling strategy.
Label Method Comparison
Engraved brass plates are the gold standard for permanent collections and formal galleries. They last decades, look premium, and convey seriousness. The trade-off is cost and the fact that they are not swappable once engraved.
Dry transfer decals give you that museum-quality painted-on look at a fraction of the cost. They work best on smooth surfaces and are ideal for temporary exhibitions where you want maximum professionalism without permanent hardware.
Vinyl lettering splits the difference between decals and paint. It is more forgiving to apply than dry transfers, comes in endless colors and fonts, and works both indoors and outdoors. The carrier film is visible up close, which some curators dislike.
Clear acrylic holders are the most flexible option because you can swap printed labels instantly. They are perfect for galleries rotating shows frequently or for retail environments where prices and descriptions change often.
Paper and chalkboard tags serve the craft fair and casual market well. They are inexpensive, approachable, and easy to customize by hand. They will not impress at a museum, but they fit right in at a weekend maker market.
Essential Information to Include
Every art label should answer the basic questions a viewer will have. At minimum, include the artist name, artwork title, date of creation, medium, and dimensions. For commercial shows, add the price or a reference code that staff can look up.
Standard formatting puts the artist name first, followed by the title in italics, then the date. Medium and dimensions go on a third line. Keep your format consistent across every label in the exhibition for a cohesive, professional appearance.
Label Placement Tips
Position labels at a consistent height throughout your exhibition, typically 42-48 inches from the floor for wall-mounted work. Place each label to the right of the artwork, about one label-width away from the frame edge. This is the standard gallery convention that viewers subconsciously expect.
For three-dimensional work on pedestals, place labels on the wall behind the piece or on a small card stand next to the pedestal base. Never place labels on the pedestal top where they compete with the artwork itself.
If you are also thinking about the bigger picture of building your art collection or practice, our guide on art collecting on a budget covers presentation and display strategy in more depth.
FAQs
How to label artwork for display?
To label artwork for display, include the artist name, artwork title in italics, creation date, medium, and dimensions. Format consistently across all pieces. Place labels at eye level to the right of each artwork, about one label-width from the frame. Use brass plates for permanent displays, clear acrylic holders for rotating shows, or paper tags for craft fairs.
What should labels on displayed artworks include?
Artwork labels should include the artist name, title of the work, date of creation, medium or materials, and dimensions in height x width x depth format. For commercial exhibitions, add the price or a reference code. Optional elements include provenance, edition number, and a brief description for context.
What is the 70 30 rule in art?
The 70-30 rule in art and design refers to a proportional guideline where 70 percent of a composition uses dominant elements and 30 percent uses contrasting or accent elements. In gallery display contexts, it can also refer to balancing display space so 70 percent shows artwork and 30 percent remains as visual breathing room.
What is the 2 3 rule for art?
The two-thirds rule in art suggests placing the focal point at a position one-third from any edge rather than centered, creating more dynamic compositions. In exhibition display, it can guide label placement and spacing so elements align with natural sight lines rather than rigid centering.
Conclusion
Finding the best art labels and tags for displays comes down to matching the labeling method to your exhibition context. For permanent galleries and formal collections, the Stanley London brass plates deliver unmatched quality. Budget-conscious artists will love the BESARME adhesive label holders for their swappable design and clean removal. And for that museum-quality painted-on look, Woodland Scenics dry transfer decals are the professional choice.
Whatever you choose, consistency is what makes an exhibition look polished. Pick one labeling method, one font, and one format, then apply it uniformly across every piece in your show. That single decision will elevate your display more than any single product can. Here is to a great exhibition season in 2026.