
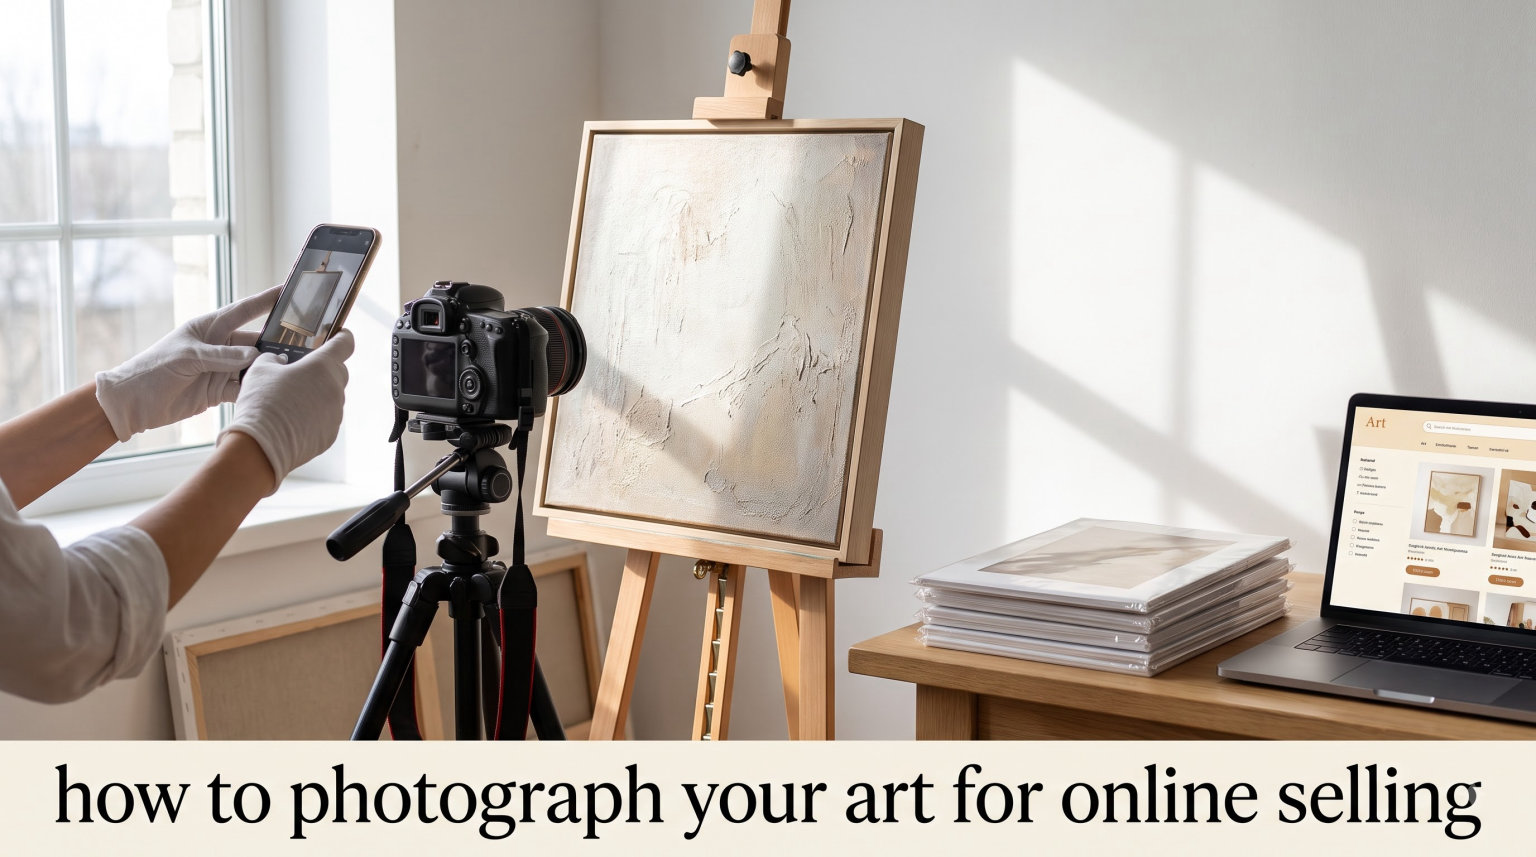
Selling art online is exciting until you realize your photos look nothing like the real thing. I have been there. You spend weeks on a painting, photograph it with your phone in bad lighting, and wonder why nobody clicks. The truth is simple: online buyers judge your art entirely by your photos, and if those photos are blurry, discolored, or poorly lit, your sales will suffer.
In this guide, I will walk you through exactly how to photograph your art for online selling using equipment you probably already own. Whether you are listing on Etsy, building your own portfolio site, or applying to online galleries, these techniques will help your artwork look its truest self on screen. I will cover everything from setting up your shot and mastering lighting to dialing in your camera settings and doing basic edits, all written for artists, not professional photographers.
Table of Contents
Why Good Art Photography Matters for Online Sales
When someone walks into a gallery, they can see the texture of brushstrokes, the way light plays across the surface, and the true colors of a painting. Online, they get a rectangle of pixels on a screen. That rectangle is your entire sales pitch.
Poor artwork photography does more than look unprofessional. It actively hurts your sales. Blurry images suggest low quality even when the art itself is stunning. Inaccurate colors lead to disappointed buyers and returns. Missing detail shots leave collectors uncertain about texture and craftsmanship. I have seen talented artists struggle to sell work simply because their photos failed to do the art justice.
On platforms like Etsy, Saatchi Art, and Instagram, your images compete with thousands of other listings. The artists who invest time in learning to photograph artwork properly stand out immediately. It is not about expensive gear. It is about understanding a few principles and applying them consistently every time you list a new piece.
Equipment You Need to Photograph Your Art
You do not need to spend a fortune to get great results. Here is what I recommend, starting with the essentials and moving to optional upgrades.
Camera
A DSLR or mirrorless camera gives you the most control over settings like aperture, ISO, and white balance, which directly affect color accuracy and sharpness. That said, modern smartphones from the last few years produce excellent results when used correctly. I have sold prints from photos taken with a phone. The key is knowing how to use whatever camera you have.
Tripod
This is non-negotiable. A tripod eliminates camera shake and lets you use longer shutter speeds without blurriness. It also ensures your camera stays perfectly parallel to your artwork, which prevents perspective distortion. You do not need an expensive model. Any sturdy tripod that holds your camera or phone steady will work. If you are using a smartphone, a simple phone mount adapter that screws onto a standard tripod is all you need.
Lighting
You have two main options. Natural light from a large window or open shade outdoors costs nothing and works beautifully, especially on overcast days. Artificial lighting like LED panels or softboxes gives you consistent, repeatable results regardless of weather or time of day. If you photograph art regularly, investing in a pair of basic softboxes will pay for itself quickly in time saved and consistency gained.
Other Useful Tools
A gray card helps you set accurate white balance in-camera or during editing. A tape measure helps you position lights at equal distances from your artwork. A black cloth or poster board creates a clean background. None of these are expensive, but they each solve a specific problem you will run into repeatedly.
How to Photograph Your Art for Online Selling: Setting Up Your Shot
The setup stage is where most mistakes happen. Getting this right saves you time in editing and produces noticeably better results.
Choose Your Background
A neutral background keeps the focus on your art. White, light gray, and black are your best options. Avoid patterned walls, cluttered rooms, or anything that distracts from the artwork. If you photograph smaller pieces, a large sheet of white foam core board works well. For larger paintings, a clean white wall or a hung backdrop is ideal.
Position Your Artwork
Lean your artwork against a wall or place it on an easel. Make sure it is straight and stable. If the piece is unframed, handle the edges carefully to avoid smudges. Clean the surface gently with a soft brush or microfiber cloth to remove dust before shooting. This small step makes a big difference in the final image.
Position Your Camera
Your camera lens must be centered on the artwork and perfectly parallel to its surface. If the camera tilts up, down, left, or right, the image will have keystone distortion where one edge appears larger than the other. Use your tripod to adjust height so the lens sits at the exact center of the piece. On a smartphone, turn on the grid overlay to help with alignment.
Leave a small border of background visible around the artwork. You can crop this later, but it gives you room to straighten the image during editing without cutting into the art.
Mastering Lighting for Artwork Photography
Lighting is the single most important factor in art photography. Get this right and everything else becomes easier. Get it wrong and no amount of editing can fully fix the problems.
Using Natural Light
Natural light works well when you know how to control it. An overcast day provides beautifully even, diffused light that mimics a professional softbox. Direct sunlight creates harsh shadows and hot spots that are nearly impossible to fix. If you shoot indoors, place your artwork near a large north-facing window. The indirect light is soft and consistent. Avoid windows that receive direct sun, and never position your art where sunlight falls directly on it.
One thing I learned the hard way: the color of natural light changes throughout the day. Morning light tends cooler, late afternoon light tends warmer. Shoot at the same time of day if you need consistent results across multiple pieces.
Using Artificial Light
A basic two-light setup is the most reliable approach for artwork photography. Position two lights at 45-degree angles to your artwork, one on each side, at an equal distance. This creates even illumination across the entire surface without glare or hot spots. Use softboxes or diffuse the lights through white fabric or tracing paper to soften the light further.
Make sure both lights have the same color temperature. Daylight-balanced LED lights rated at 5000K to 5500K closely match natural daylight and reproduce colors accurately. Avoid mixing different types of bulbs, such as combining tungsten and LED, because the mixed color temperatures confuse your camera’s white balance.
Dealing with Glare and Reflections
Glossy surfaces like varnished oil paintings, acrylics with glossy medium, and art behind glass are notorious for producing glare. Here are several ways to handle it.
First, try adjusting your light angles. Move the lights further to the sides, beyond 45 degrees, until the glare disappears. The further the lights move toward the sides of the artwork, the less glare you will see from the camera’s position.
Second, use a polarizing filter on your camera lens. A circular polarizer rotated to the correct angle can eliminate most reflections from glossy surfaces. This is one of the most useful accessories you can buy for art photography, and it works with both DSLRs and many smartphones using clip-on adapters.
Third, if you are photographing framed art behind glass, remove the glass if possible. If that is not an option, photograph in a dark room with only your controlled lights on, and dress in dark clothing to prevent your own reflection from appearing in the glass.
Camera Settings for Photographing Artwork
If you are using a DSLR or mirrorless camera, these settings will give you sharp, color-accurate images. Smartphone users should skip to the smartphone tips section below, though understanding these concepts will still help you.
ISO
Set your ISO as low as possible, ideally ISO 100 or 200. Higher ISO settings introduce digital noise, which appears as grainy speckles across your image. Since you are using a tripod, there is no reason to raise the ISO. Let the longer shutter speed compensate for the low sensitivity.
Aperture
Use an aperture between f/8 and f/11. This range provides the sharpest results across the entire image with good depth of field. Wide apertures like f/2.8 create shallow depth of field, which means the edges of your artwork may appear soft even when the center is in focus. For flat artwork, you want everything sharp from corner to corner.
White Balance
Accurate white balance is critical because it determines how colors reproduce in your photo. Auto white balance often gets close but is rarely perfect. For the best results, set a custom white balance using a gray card. Place the gray card in front of your artwork in the same lighting, then use your camera’s custom white balance function to take a reading from the card. This tells the camera exactly what neutral looks like under your specific lights, and colors will render accurately throughout the shoot.
Shutter Speed
Your shutter speed depends on your lighting. With ISO 100 and f/8, you may need shutter speeds of 1/15 to 1 second or longer. Since your camera is on a tripod, slow shutter speeds are not a problem. Use a 2-second self-timer or a remote shutter release to avoid shaking the camera when you press the button.
Shoot in RAW Format
If your camera supports it, always shoot in RAW format instead of JPEG. RAW files capture significantly more color and tonal information, giving you far more flexibility during editing. You can adjust white balance, exposure, and color after the fact without degrading image quality. Think of RAW as a digital negative that preserves everything the sensor captured.
Smartphone Art Photography Tips
You can absolutely get professional-quality art photos with a smartphone. I have done it many times. Here is how to get the best results from the camera you carry every day.
Start by cleaning your lens. This sounds basic, but a smudged lens creates hazy, low-contrast images that no editing app can fully fix. Wipe it with a soft microfiber cloth before every shoot.
Turn on the grid overlay in your camera settings. The grid helps you align your phone parallel to the artwork and keep it level. Match the grid lines to the edges of your piece.
Tap the screen to set focus and exposure on the artwork itself. Most phones let you lock focus and exposure by tapping and holding. This prevents the camera from refocusing on the background or adjusting exposure mid-shot.
Never use digital zoom. Move your phone closer instead. Digital zoom crops and enlarges the image, reducing resolution and adding noise. If you need to fill the frame, physically move the tripod and phone closer to the art.
Consider a third-party camera app. Apps like Lightroom Mobile, Halide (iOS), or Open Camera (Android) give you manual control over ISO, shutter speed, and white balance, just like a DSLR. Some also support RAW capture, which gives you more editing headroom.
Avoid using portrait mode or any computational depth effects for flat artwork. These modes are designed for people and objects with depth, and they can introduce unnatural blurring at the edges of your painting or drawing.
Photographing Different Types of Art
Not all art photographs the same way. Different mediums and formats need slightly different approaches.
Oil and Acrylic Paintings
These are the most common mediums artists sell online. The main challenge is handling the glossy surface, especially if the painting is varnished. Use the 45-degree lighting setup described earlier and consider a polarizing filter. Watch for texture shadows caused by heavy impasto brushwork. If the paint texture is an important feature, you may want to angle one light slightly to reveal that texture rather than eliminating all shadows.
Watercolors and Works on Paper
Watercolors, drawings, and prints photograph best when lying flat on the ground or a table with the camera pointed straight down from above on a tripod. Even, diffused lighting is essential because these works are typically matte and show every lighting inconsistency. If you do not have a setup for overhead shooting, a flatbed scanner can produce excellent results for smaller works on paper, often better than photography.
Sculptures and 3D Art
Three-dimensional work requires a completely different approach. Instead of flat, even lighting, you want directional lighting that reveals form and texture. Use a single main light at an angle to create shadows that define the shape, then use a fill light or reflector on the opposite side to soften harsh shadows. Photograph from multiple angles, typically a front view, a three-quarter view, a side view, and a detail shot. A simple turntable makes rotating the sculpture much easier.
Framed Artwork
The glass is your biggest enemy. If you can remove the artwork from the frame, do it. If not, use a polarizing filter and shoot in a darkened room to minimize reflections. Hang the framed piece on a neutral wall at a comfortable working height rather than leaning it, which introduces angles and reflections.
Taking Multiple Shots and Angles
One photo is never enough for an online listing. Buyers want to see the artwork from every possible perspective before committing to a purchase. I recommend taking at least five types of shots for every piece you list.
First, the hero shot. This is the straight-on, full view of the entire piece with accurate color and sharp focus. It is the primary image that appears in search results and thumbnails, so it needs to be your strongest photo.
Second, a detail or close-up shot. Get close enough to show the texture, brushstrokes, or surface quality. This is especially important for paintings where the physical texture is part of the appeal. Buyers want to see the craft up close.
Third, a side or edge view. This shows the depth of the canvas or panel, the sides of the painting, and how it wraps. It answers questions about whether the piece needs framing or can hang as-is.
Fourth, a scale or context shot. Place the art in a room setting or next to a recognizable object so buyers can gauge the size. A 24 by 36 inch painting looks very different on screen than it does in real life, and a context shot bridges that gap.
Fifth, a signature shot. A close-up of your signature or the edition number helps with authentication and adds a professional touch to your listing. It also reassures buyers that they are purchasing an original or limited edition work.
Basic Editing Techniques for Art Photos
Editing is not about making your art look better than it really is. It is about making the photo match the real thing as closely as possible. That distinction matters. Over-edited photos create unrealistic expectations and lead to returns.
Crop and Straighten
Start by cropping out the background and straightening the image. Most editing tools have an auto-straighten feature that detects the edges of rectangular artwork. Crop tightly around the piece, but be careful not to cut off any of the actual art.
White Balance Correction
Even with careful white balance settings in camera, colors may still be slightly off. Use the temperature and tint sliders in your editing software to fine-tune. If you photographed a gray card in the same lighting, use it as a reference point. Many programs let you click on the gray card with a white balance eyedropper tool to instantly correct the entire image.
Exposure and Contrast
Adjust the exposure so the brightest parts of your artwork are bright but not blown out, and the darkest parts retain detail. Use the histogram as a guide. A well-exposed art photo shows a histogram that spans the full tonal range without clipping at either end. Add a small amount of contrast to match what you see in person, but do not overdo it.
Lens Correction
If you used a wide-angle lens, your image may have barrel distortion where straight lines appear curved. Most editing software has a lens correction tool that automatically fixes this based on your lens profile. Apply this before you crop.
Sharpening
A small amount of sharpening brings out detail. Apply sharpening conservatively. Oversharpened photos develop halos around edges and look harsh and unnatural. If you are unsure, apply less than you think you need.
Software Options
Adobe Lightroom is the standard for photo editing and offers excellent control over all the adjustments mentioned above. For a free alternative, GIMP provides powerful editing on desktop, and Snapseed is a excellent free mobile app that handles white balance, cropping, exposure, and sharpening well. VSCO and Darkroom are also strong mobile options.
File Formats and Export Settings
Choosing the right file format and settings ensures your images look good on the platform where you sell.
JPEG is the standard for web listings. It offers a good balance between file size and quality. When exporting JPEGs for online listings, use the highest quality setting. Most platforms compress images further on upload, so starting with a high-quality file preserves detail through that process.
TIFF files are uncompressed and lossless, making them ideal for archiving your work and producing prints. They are much larger than JPEGs and most online platforms do not accept them for listings, but keep a TIFF master file of each piece in your archive.
PNG is another lossless format that supports transparent backgrounds. It works well for digital art, illustrations, and any piece where you want a transparent background around the artwork.
For resolution, 300 DPI is the standard for prints and archival purposes. For web listings, most platforms recommend images between 1500 and 3000 pixels on the longest side. Check your specific platform’s guidelines, as Etsy, Saatchi Art, and Instagram each have different optimal dimensions.
Always keep your original RAW or unedited files. You may need different sizes or formats for different platforms, and having the original lets you re-export without quality loss.
Common Mistakes to Avoid When Photographing Art
After helping many artists improve their listing photos, these are the mistakes I see most often.
Using on-camera flash is the number one error. Flash creates harsh glare, washes out colors, and produces hot spots that are impossible to edit out. Turn off the flash completely and use continuous lighting or natural light instead.
Shooting at an angle causes keystone distortion. If the camera is not parallel to the artwork, lines that should be straight will appear to converge, and the image will look skewed. Always use a tripod and align the camera with the center of the piece.
Ignoring white balance leads to color casts. Your painting may look yellow, blue, or green in the photo when it does not in real life. Set white balance before every shoot and verify it looks right on your camera’s screen before shooting the full set.
Skipping the tripod creates blurry images, especially in lower light where the shutter stays open longer. Even steady hands cannot match a tripod for sharpness.
Over-editing with heavy filters and extreme adjustments creates photos that look nothing like the actual artwork. Saturation boosts, heavy contrast, and Instagram-style filters misrepresent your art and erode buyer trust. Edit to match reality, not to impress.
Quick Checklist Before You Upload
Run through this list every time you prepare photos for a new listing.
Colors in the photo match the original artwork when viewed side by side
The image is sharp and in focus across the entire surface
The artwork is cropped cleanly with no background distractions
You have at least four to five photos covering full view, details, edges, and scale
File format and dimensions meet your platform’s requirements
White balance is accurate with no color casts
No glare, reflections, or hot spots are visible on the surface
Your signature or edition number is visible in at least one shot
FAQs
What camera settings are best for photographing artwork?
Use ISO 100-200 for minimal noise, aperture between f/8 and f/11 for corner-to-corner sharpness, and set custom white balance using a gray card for accurate colors. Shoot in RAW format for maximum editing flexibility, and use a tripod with a self-timer or remote shutter release to prevent camera shake at slower shutter speeds.
How do you photograph art without glare?
Position two lights at 45-degree angles to the artwork, equal distance on each side. Move the lights further toward the sides to reduce reflections. Use a circular polarizing filter on your camera lens to cut glare from glossy or varnished surfaces. For framed art behind glass, remove the glass if possible or shoot in a darkened room wearing dark clothing to prevent your own reflection.
What lighting do you need to photograph paintings?
The best approach uses two diffused lights at 45-degree angles, placed at equal distance from the painting. Daylight-balanced LED lights rated at 5000K to 5500K reproduce colors accurately. Natural light from an overcast day or a large north-facing window also works well. Avoid direct sunlight, on-camera flash, and mixing different color temperature bulbs.
How do you prepare artwork for photography?
Gently clean the surface with a soft brush or microfiber cloth to remove dust. If the piece is framed, consider removing the glass to eliminate reflections. Position the artwork on a clean easel or lean it against a neutral-colored wall. Make sure the piece is straight and stable, and handle unframed work by the edges to avoid fingerprints.
Should I use a tripod to photograph my art?
Yes, a tripod is essential for artwork photography. It keeps the camera perfectly parallel to the artwork to prevent perspective distortion, eliminates camera shake for sharp images at slow shutter speeds, and allows you to lock in your framing so every shot in a series has the same composition. Even smartphone users should use a tripod with a phone mount adapter.
How many photos should I take of my artwork?
Take at least five photos per piece: a full front hero shot, one or two close-up detail shots showing texture and brushwork, a side view showing depth and edges, a scale or context shot showing the piece in a room, and a signature close-up for authentication. More angles give buyers confidence and reduce questions about your listing.
What is the best background for photographing art?
Neutral backgrounds work best. White, light gray, or black backgrounds keep the focus on the artwork without distracting colors or patterns. White foam core board works well for smaller pieces. For larger paintings, a clean white wall or hung fabric backdrop is ideal. Avoid busy backgrounds, textured walls, or anything that draws attention away from the art.
How do I edit photos of my artwork?
Start by cropping and straightening the image to remove background. Correct white balance using a gray card reference or the temperature slider. Adjust exposure so highlights are bright but not blown out and shadows retain detail. Apply a small amount of sharpening. Use lens correction if you shot with a wide-angle lens. Always edit to match the real artwork, not to enhance it beyond reality. Free tools like Snapseed and GIMP handle all these adjustments well.
Ready to Start Selling Your Art Online
Learning how to photograph your art for online selling does not require expensive gear or years of training. It requires a tripod, decent lighting, and the willingness to follow a consistent process every time. Start with what you have, whether that is a smartphone and a window or a DSLR and a pair of softboxes, and practice the techniques in this guide. Your first few shoots will take longer than you expect, but the process becomes second nature quickly.
The artists who sell consistently online are not necessarily the most talented. They are the ones who present their work clearly, accurately, and professionally. Your art deserves photos that do it justice. Set up your shot, master the lighting, dial in your settings, take multiple angles, edit carefully, and watch your online sales grow.