
Screen printing has been around for over a thousand years, yet it remains one of the most popular methods for creating bold, vibrant designs on everything from t-shirts to posters. If you have ever wondered what is screen printing and how does it work, you are in the right place.
Our team has spent years testing different printing methods in real-world scenarios. We have printed thousands of garments and helped dozens of beginners set up their first home studios. In this guide, we will break down exactly how screen printing works, what equipment you actually need, and whether it is the right method for your projects.
By the end of this article, you will understand the complete screen printing process from start to finish. You will also know how it compares to other printing methods and what it takes to get started yourself.
Table of Contents
What is Screen Printing
Screen printing is a technique where ink is transferred onto a surface through a fine mesh screen that has been prepared with a stencil. The stencil blocks ink from passing through certain areas, creating your desired design on the material below.
This method is also commonly called silkscreen printing because the original screens were made from silk fabric. Today, most screens use synthetic polyester mesh, but the name has stuck around. The technique dates back to ancient China around 960 AD, though it became widely popular in the United States during the 1960s thanks to artists like Andy Warhol.
The magic of screen printing lies in its versatility. You can use it on fabric, paper, wood, metal, glass, and plastic. This makes it perfect for custom t-shirts, posters, signage, and promotional merchandise. Unlike digital printing, screen printing lays down thick layers of ink that sit on top of the material rather than soaking in, resulting in colors that truly pop.
How Does Screen Printing Work – Step by Step
Understanding how screen printing works comes down to mastering a series of interconnected steps. Each stage builds on the last, and skipping or rushing any of them will affect your final result. Here is the complete screen printing process step by step.
Step 1: Create Your Design and Prepare the Film Positive
Start with a digital design in solid black and white. The black areas will be where ink passes through, and the white areas will be blocked. Print this design onto a transparent film positive, which acts like a photographic negative.
Step 2: Coat the Screen with Emulsion
Apply a thin layer of photo emulsion to your mesh screen using a scoop coater. This light-sensitive liquid creates the stencil once exposed. Work in a dimly lit room since regular light will harden the emulsion prematurely.
Step 3: Expose the Screen
Place your film positive on the coated screen and expose it to a bright UV light source. The light hardens the emulsion everywhere except where your design blocks it. This typically takes 5 to 15 minutes depending on your light strength.
Step 4: Wash Out the Screen
Rinse the screen with cool water. The unhardened emulsion under your design washes away, leaving open mesh where ink will pass through. The hardened emulsion remains everywhere else, forming your stencil.
Step 5: Set Up Your Printing Station
Mount your prepared screen onto a screen printing press or secure it above your printing surface. Place your material flat underneath, ensuring it will not shift during printing.
Step 6: Apply the Ink
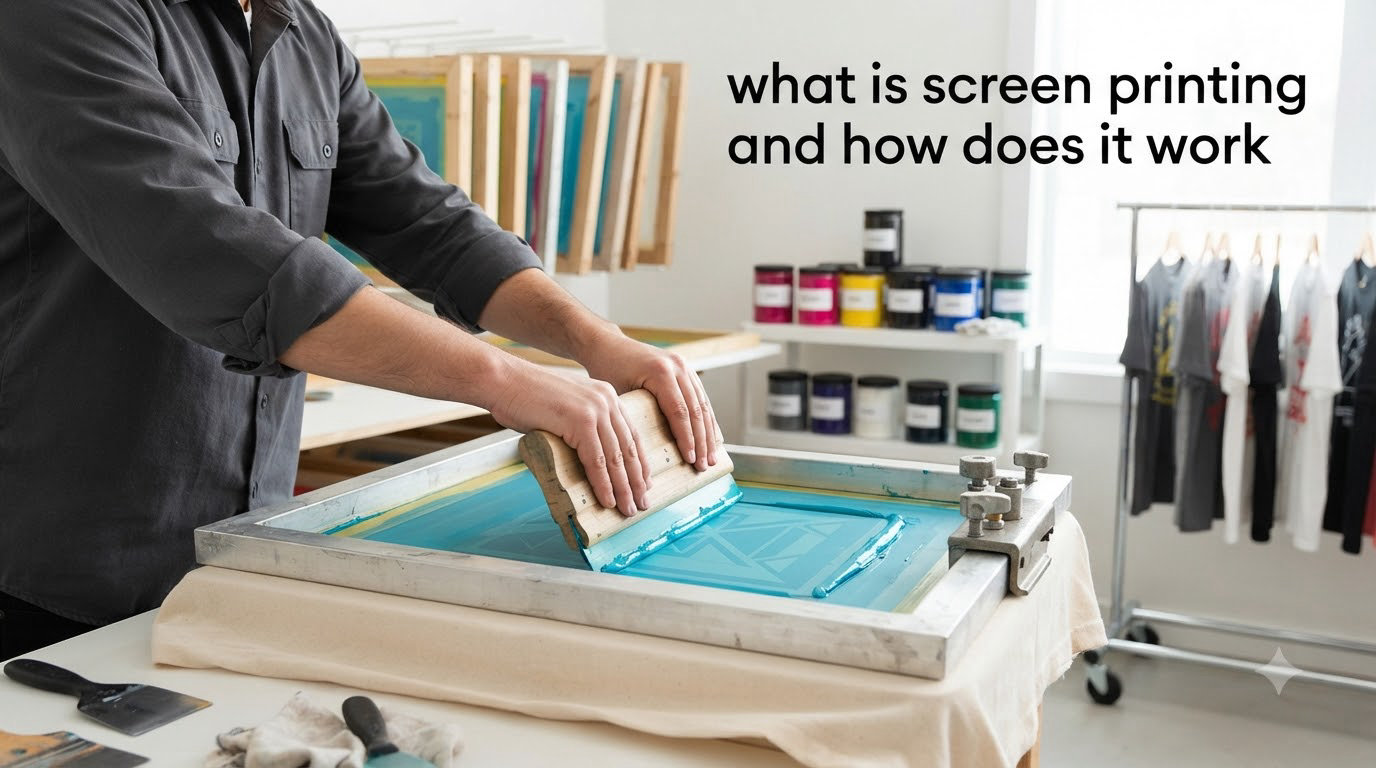
Place a line of ink at the top of your screen. Pull the squeegee across the screen at a 45-degree angle with firm, even pressure. The ink is forced through the open mesh and onto your material below.
Step 7: Cure the Print
Heat cure your print using a heat press, conveyor dryer, or flash unit. This sets the ink permanently so it will not wash out or crack. Curing typically requires temperatures between 320°F and 330°F for 30 to 60 seconds.
Step 8: Clean and Reclaim the Screen
Remove excess ink immediately after printing. When you are done with a design, use emulsion remover to strip the stencil so you can reuse the screen for future projects.
Equipment You Need for Screen Printing
The equipment you choose will depend on whether you are starting a hobby operation at home or building a commercial business. Here is what you actually need to get started.
Essential Equipment for Beginners
Mesh Screens: These are the foundation of the process. Beginners should start with 110 to 160 mesh count screens, which work well for most fabric projects. The mesh count refers to how many threads cross per inch, higher counts create finer detail but require thinner ink.
Squeegee: A rubber blade mounted in a wooden or aluminum handle. The squeegee pushes ink through the mesh. Get a few different sizes to match your screen dimensions.
Photo Emulsion and Sensitizer: This light-sensitive coating creates your stencil. You will also need a scoop coater to apply it evenly.
UV Light Source for Exposure: You can start with a simple work light or dedicated exposure unit. The stronger the light, the faster your exposure times.
Inks: Plastisol ink is the standard for textiles because it does not dry until cured. Water-based inks are more environmentally friendly but require more technique to master.
Heat Source for Curing: A heat press, flash dryer, or even a clothes iron on high setting can work for small projects.
Cleaning Supplies: Emulsion remover, ink degrader, and scrub brushes for reclaiming screens.
Optional Equipment for Better Results
A screen printing press holds multiple screens and allows for precise registration when printing multi-color designs. A conveyor dryer automates the curing process for higher volume. If you are serious about the craft, these investments pay off quickly.
Pros and Cons of Screen Printing
Screen printing excels in specific scenarios but has limitations you should understand before committing. Here is an honest breakdown based on our real-world testing.
Advantages of Screen Printing
Vibrant, Opaque Colors: The thick ink layer creates colors that stand out even on dark fabrics. You can achieve true Pantone color matching, which is essential for brand consistency.
Exceptional Durability: Properly cured screen prints outlast the garment itself. We have tested shirts with over 100 wash cycles where the print looked nearly new.
Cost-Effective for Bulk Orders: Once your screen is prepared, each additional print costs very little. Orders of 50 or more pieces typically see significant per-unit savings.
Versatility Across Materials: Screen printing works on cotton, polyester, blends, wood, metal, glass, and more. Few other methods offer this range.
Special Effects Options: You can use metallic inks, glow-in-the-dark, puff additives, and discharge inks that remove dye rather than layering on top.
Cons of Screen Printing
High Setup Costs for Small Runs: Preparing screens takes time and materials. For single items or very small orders, the cost per piece is high.
Limited Color Gradients: Screen printing works best with solid colors. Photographic images and smooth gradients are difficult to achieve without advanced techniques like halftones.
Not Ideal for On-Demand Printing: Each design requires screen preparation. This makes it impractical for printing one-offs or handling frequent design changes.
Learning Curve: Mastering screen exposure timing, ink consistency, and curing temperatures takes practice. Expect some failed prints while learning.
Chemical Handling: Photo emulsion and cleaning chemicals require proper ventilation and safety precautions.
Screen Printing vs Other Methods
Choosing the right printing method depends on your specific needs. Here is how screen printing stacks up against the alternatives.
| Feature | Screen Printing | DTG Printing | Heat Transfer | Sublimation |
|---|---|---|---|---|
| Best For | Bulk orders, bold designs | Detailed photos, small runs | Quick custom jobs | Polyester, all-over prints |
| Setup Time | Moderate to high | Minimal | Low | Low |
| Cost Per Print (bulk) | Low | High | Medium | Low |
| Color Vibrancy | Excellent | Good | Good | Good |
| Feel on Fabric | Can feel raised | Soft, no feel | Can feel plasticky | No feel |
| Durability | Excellent | Good | Moderate | Good |
| Minimum Order | 12-24 pieces | 1 piece | 1 piece | 1 piece |
Screen printing vs digital printing (DTG) is the most common comparison we see. DTG sprays ink directly onto the fabric like a specialized inkjet printer. It excels at detailed photographs and one-off custom orders but cannot match screen printing’s vibrancy or cost efficiency for bulk production.
Heat transfer involves printing onto special paper and then pressing it onto the garment with heat. It is faster to set up but the transfers can crack or peel over time. Sublimation only works on polyester and light-colored items but produces permanent, dye-based prints that never crack or fade.
Tips for Beginners
Can you teach yourself screen printing? Absolutely. Thousands of people have learned through online tutorials, community forums, and good old trial and error. Here is what we wish we knew when starting out.
Start with a Simple Kit
Beginner kits from reputable suppliers like Ryonet include everything you need for under $200. This removes the guesswork from equipment selection and gets you printing faster.
Master Screen Exposure First
Exposure timing is the most common frustration for beginners. Start with test strips to dial in your exact timing. Too short and the emulsion washes away. Too long and fine details get lost.
Work in a Well-Ventilated Area
The chemicals used in screen printing require proper airflow. Set up your washout and ink mixing stations near open windows or use exhaust fans. Wear gloves when handling emulsion and cleaning chemicals.
Buy Extra Materials for Practice
Based on forum feedback, beginners typically ruin 10 to 20 practice shirts before achieving consistent results. Buy inexpensive test garments or use old clothes for your first attempts.
Track Everything
Keep a notebook of your exposure times, mesh counts, and ink brands. When something works, you will want to replicate it. When it fails, you need to know what to change.
Common Mistakes to Avoid
Applying emulsion too thick leads to longer exposure times and poor detail. Printing on damp screens causes ink to bleed. Insufficient curing results in prints that wash out. Take your time with each step and follow manufacturer recommendations.
Frequently Asked Questions
What are the cons of screen printing?
The main cons of screen printing include high setup costs for small runs, difficulty with color gradients and photographic images, a learning curve for beginners, and the need to handle chemicals safely. It is also not ideal for on-demand or single-item printing since each design requires screen preparation.
Can you screen print on merino wool?
Yes, you can screen print on merino wool using water-based or discharge inks. However, wool requires lower curing temperatures to prevent damage, and the fabric’s texture can make fine detail challenging. Test your process on sample fabric first.
What is screen printing mostly used for?
Screen printing is mostly used for custom t-shirts and apparel, promotional merchandise like tote bags and hats, posters and art prints, signage, and team uniforms. It is especially popular for bulk orders where durability and vibrant colors matter.
Can you teach yourself screen printing?
Yes, you can teach yourself screen printing using online tutorials, community forums, and beginner kits. Many successful printers learned through self-study. Expect to practice on 10 to 20 test garments before achieving consistent results, and focus on mastering screen exposure timing first.
Conclusion
Screen printing remains one of the most versatile and durable printing methods available today. Whether you are creating custom merchandise for your brand, printing posters for an art show, or starting a full-scale production business, understanding what is screen printing and how does it work gives you a foundation for success.
The process requires patience and practice, but the results speak for themselves. Vibrant colors that last for years, cost-effective bulk production, and the ability to print on virtually any material make screen printing a skill worth learning.
If you are ready to start your screen printing journey, begin with a simple kit, practice on inexpensive materials, and connect with the online printing community for support. With persistence, you will be creating professional-quality prints in no time.