
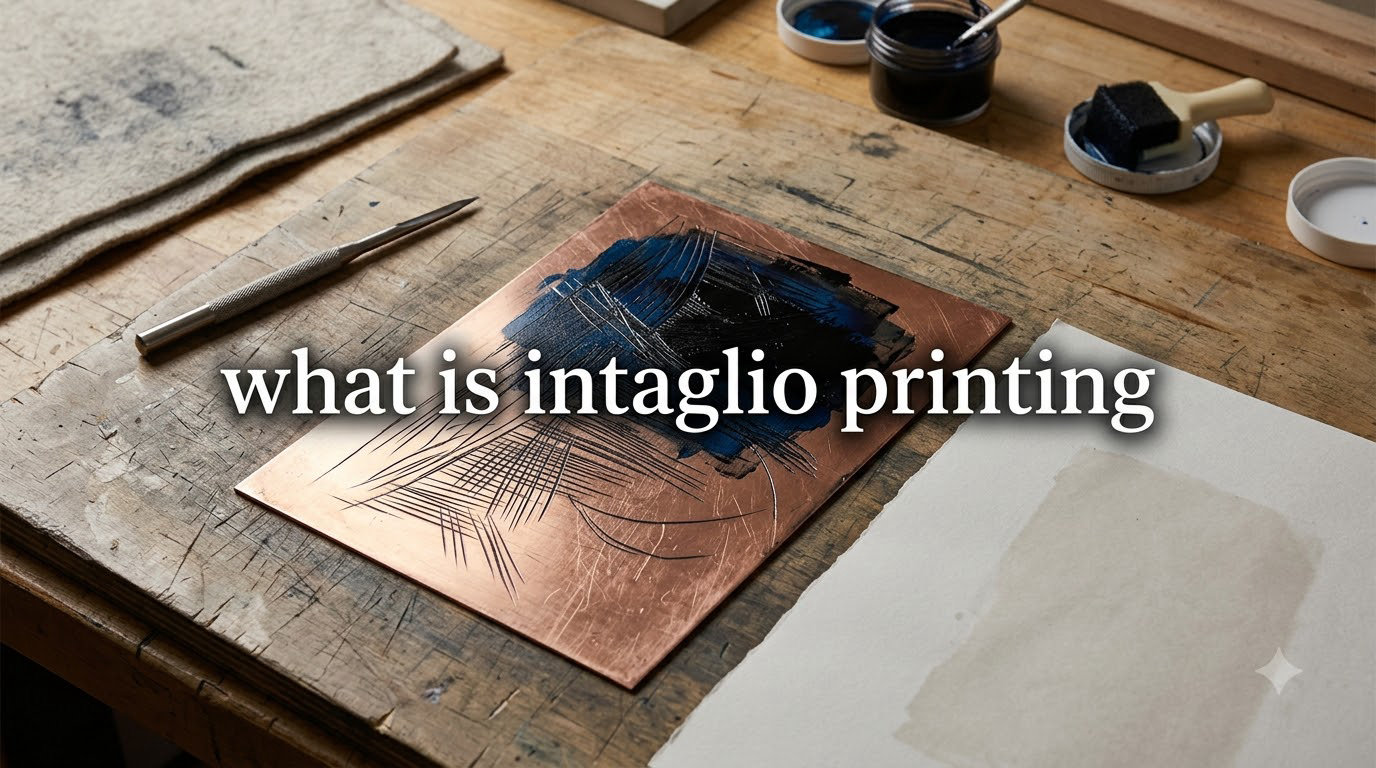
Intaglio printing is a revered printmaking technique where artists create images by incising lines into a metal plate, allowing ink to fill the recessed areas and transfer onto paper under pressure. This method produces prints with exceptional detail, rich textures, and tonal depth that no other printmaking process can replicate.
In this guide, you will learn exactly how intaglio printing works, the five distinct techniques that define this art form, the tools you need to get started, and why masters like Rembrandt and Goya chose this method for their most celebrated works.
Table of Contents
What Is Intaglio Printing
Intaglio printing refers to any printmaking process where the image is created from ink held in recessed lines or grooves below the surface of a printing plate. The word “intaglio” comes from the Italian word intagliare, meaning “to cut into” or “to incise.”
Unlike relief printing where the raised surfaces hold the ink, intaglio works in reverse. The artist cuts, scratches, or chemically etches the design into a copper or zinc plate. Ink is forced into these recessed areas, excess ink is wiped from the surface, and then paper is pressed into the grooves to lift the ink and create the image.
The result is a print with distinctive characteristics: fine lines that can hold incredible detail, tonal gradations from light grays to deep velvety blacks, and a physical platemark embossed into the paper from the pressure of the printing press.
How Does Intaglio Printing Work
The intaglio printing process follows a precise sequence that has remained largely unchanged for over 500 years. Understanding each step helps appreciate why this technique produces such distinctive results.
Step 1: Preparing the Plate
The artist begins with a flat metal plate, traditionally copper for its durability and ability to hold fine detail, or zinc as a more affordable alternative. The plate surface is polished smooth and cleaned thoroughly to remove any oils or contaminants that might interfere with the process.
Step 2: Creating the Image
Using one of the five intaglio techniques, the artist incises the design into the plate surface. This might involve physically cutting lines with a burin, drawing through an acid-resistant ground with a needle, or using chemical processes to create tonal areas. Each technique produces a different visual quality in the final print.
Step 3: Inking the Plate
Specialized intaglio ink is applied across the entire plate surface. The ink is worked into every recessed line and groove using a stiff brush or card. This ensures all the incised areas are completely filled with ink.
Step 4: Wiping the Surface
This step is unique to intaglio and critical to the process. Using tarlatan cloth (stiff muslin), cheesecloth, or even newspaper, the printer carefully wipes away all surface ink while leaving ink in the recessed lines. Some artists intentionally leave a thin film of ink on the plate surface to create atmospheric effects known as “plate tone.”
Step 5: Printing
Dampened paper is placed over the inked plate and run through an etching press. The press uses two rollers and a flatbed to apply tremendous pressure, forcing the soft paper into the recessed lines to pick up the ink. The paper must be damp to properly conform to the plate’s grooves.
Step 6: Drying and Editioning
The finished print is carefully lifted from the plate and placed between blotting papers to dry flat. Each impression is numbered as part of a limited edition, with artist proofs marked separately. The plate can produce a limited number of high-quality impressions before wear begins to affect the image.
The 5 Main Intaglio Techniques
Intaglio printing encompasses five distinct techniques, each offering unique visual qualities and requiring different tools and skills. Master printmakers often combine multiple techniques on a single plate to achieve complex tonal and textural effects.
Engraving
Engraving is the oldest intaglio technique, dating back to the 15th century. The artist uses a burin, a sharp V-shaped tool with a wooden handle, to physically carve lines directly into the metal plate. The burin is pushed through the metal, removing a thin curl of copper and creating a clean, crisp line with sharp edges.
Engraved lines are characterized by their precision and uniformity. The technique allows for incredibly fine detail through methods like hatching (parallel lines) and crosshatching (intersecting lines) to create tonal gradations. Because the incised lines are clean and sharp, engraved prints have a distinctive clarity and crispness.
The main challenge with engraving is that mistakes are difficult to correct. Once a line is cut into the plate, it cannot be undone. This demands steady hands and confident decision-making from the artist.
Etching
Etching offers more freedom than engraving by using acid to do the cutting. The plate is coated with an acid-resistant ground, traditionally made of asphaltum, beeswax, and resin. The artist draws through this ground with an etching needle, exposing the metal beneath.
The plate is then submerged in an acid bath, typically nitric acid or ferric chloride. The acid bites into the exposed metal where the ground was scratched away, creating recessed lines. The longer the plate stays in the acid, the deeper the lines become, allowing for tonal variation through repeated biting.
Because the artist draws freely through the ground rather than cutting metal directly, etching produces lines with more fluidity and spontaneity than engraving. The technique was favored by artists like Rembrandt and Goya for its expressive quality.
Drypoint
Drypoint is the most direct of all intaglio techniques. The artist simply draws directly onto the plate surface with a sharp needle, scratching lines into the metal. No acid or chemical process is involved.
As the needle pushes through the metal, it raises a rough ridge of metal called a burr along the sides of the line. This burr holds additional ink during printing, creating characteristically soft, fuzzy lines with rich, velvety blacks. The burr is delicate and wears down quickly under the pressure of printing, so drypoint editions are typically small.
The immediate, tactile quality of drypoint makes it ideal for expressive, sketch-like images. However, the technique requires significant pressure to print effectively and the plates wear faster than with other methods.
Aquatint
Aquatint is used to create tonal areas rather than lines. The plate is dusted with fine resin particles, which are then heated until they adhere to the surface. When etched in acid, the resin protects tiny islands of metal while the exposed areas between particles are bitten, creating a porous surface that holds ink.
The result resembles watercolor washes or tonal drawings. By selectively stopping out areas and re-etching, artists can create subtle gradations from light gray to deep black. Aquatint is often combined with etching or engraving to add atmospheric backgrounds or shading to linear compositions.
The technique was invented in the 18th century and became popular for reproducing the effects of watercolor paintings. It requires careful control of acid strength and timing to achieve smooth tonal transitions.
Mezzotint
Mezzotint is unique among intaglio techniques because it works from dark to light rather than light to dark. The artist begins by roughening the entire plate surface using a rocker, a curved blade with fine teeth that creates thousands of tiny pits in the metal.
If printed at this stage, the plate would produce a solid black field. The artist then uses burnishers and scrapers to smooth areas of the plate, reducing their capacity to hold ink and creating lighter tones. Highlights are achieved by completely smoothing areas back to their original polished state.
Mezzotint produces extraordinarily rich dark tones and subtle gradations, making it ideal for reproducing paintings and creating dramatic chiaroscuro effects. The technique was developed in the 17th century specifically for reproducing oil paintings as prints.
Intaglio vs Relief Printing
Understanding the difference between intaglio and relief printing clarifies why each technique produces such distinct results. These two approaches are essentially opposites in how they transfer ink to paper.
In relief printing, including woodcut and linocut, the artist carves away the areas that will not print. The raised surfaces that remain are inked and pressed onto paper. The printed lines are the positive raised areas of the block.
In intaglio, the opposite occurs. The artist creates recessed lines that hold the ink while the raised surface is wiped clean. The printed lines come from the grooves below the surface. This fundamental difference means intaglio plates require much higher pressure to force paper into the grooves, while relief printing needs only enough pressure to transfer ink from the raised surface.
The visual results differ significantly. Relief prints tend to have bold, graphic qualities with strong contrasts between inked and uninked areas. Intaglio prints can achieve finer detail, subtle tonal variations, and a wider range of textures. The platemark embossed into the paper by an intaglio press is also a telltale characteristic absent in relief prints.
Famous Intaglio Artists and Examples
Throughout history, many of the world’s greatest artists have embraced intaglio printmaking for its expressive potential and technical precision. Their works demonstrate the full range of what these techniques can achieve.
Rembrandt van Rijn created over 300 etchings that are considered among the finest in the medium. His etching “The Three Crosses” shows masterful use of drypoint and burr to create dramatic light effects. He treated the etching plate with the same freedom as his drawings, reworking plates between states to achieve desired effects.
Francisco Goya used etching and aquatint to create his series “Los Caprichos” and “The Disasters of War.” The combination of etched lines with tonal aquatint backgrounds allowed him to achieve haunting, atmospheric effects that served his satirical and political commentary.
Albrecht Durer was a master engraver whose prints demonstrated the incredible precision possible with the burin. His “Knight, Death and the Devil” and “Melencolia I” remain touchstones for technical excellence in engraving.
James McNeill Whistler elevated etching to a fine art form with his atmospheric “Nocturnes” and Venice scenes. His sensitive, delicate line work showed how etching could capture subtle effects of light and weather.
Tools and Materials for Intaglio Printmaking
Getting started with intaglio printmaking requires investment in specific tools and materials. While professional print shops have expensive presses, beginners can start with simpler setups.
Essential tools include:
- Metal plates (copper or zinc)
- Burin or engraving tools
- Etching needles
- Etching ground and soft ground materials
- Acid bath or ferric chloride solution
- Intaglio inks
- Tarlatan cloth or cheesecloth for wiping
- Etching press (or hand burnishing alternative)
- Printing papers (specifically dampened for intaglio)
For beginners without access to a press, hand burnishing offers an alternative. Using a wooden spoon or burnishing tool, the artist rubs the back of the paper directly over the inked plate to transfer the image. While limited in size and requiring more effort, this method allows exploration of intaglio techniques without major equipment investment.
Many printmaking supply companies offer starter kits containing the basic tools needed for etching or drypoint. Local printmaking studios often provide press access through membership or class enrollment, making it possible to learn the full process before committing to equipment purchases.
Frequently Asked Questions
What is the meaning of intaglio printing?
Intaglio printing is a printmaking technique where images are created from ink held in recessed lines incised into a metal plate. The word comes from Italian ‘intagliare’ meaning ‘to cut into.’ Unlike relief printing where raised surfaces hold ink, intaglio uses grooves below the plate surface.
What are the 5 intaglio techniques?
The five main intaglio techniques are: (1) Engraving – cutting lines with a burin, (2) Etching – using acid to bite lines through a ground, (3) Drypoint – scratching directly with a needle to create a burr, (4) Aquatint – creating tonal areas with resin dust, and (5) Mezzotint – rocking the plate for tonal effects.
What is an example of intaglio printing?
Famous examples include Rembrandt’s etchings like ‘The Three Crosses,’ Goya’s ‘Los Caprichos’ series using etching and aquatint, and Durer’s engravings such as ‘Knight, Death and the Devil.’ Modern applications include fine art prints, currency, and postage stamps.
Is intaglio printing difficult?
Intaglio printing requires learning specific techniques and using specialized tools, but beginners can start with simpler methods like drypoint. The main challenges include achieving proper wiping of the plate and obtaining sufficient pressure for printing. Many artists start with hand burnishing before using a press.
What is the difference between etching and engraving?
Engraving involves physically cutting lines directly into metal using a burin tool. Etching uses acid to bite lines into the plate after the artist draws through a protective ground. Engraving produces cleaner, sharper lines while etching allows for more fluid, spontaneous marks.
Can you do intaglio printing without a press?
Yes, intaglio prints can be made without a press using hand burnishing. The artist places damp paper over an inked plate and rubs the back with a wooden spoon, burnisher, or similar tool to transfer the image. This method works best for smaller prints and requires more effort than using a press.
Conclusion
Intaglio printing represents one of the most versatile and expressive forms of printmaking ever developed. From the precise lines of engraving to the atmospheric tones of aquatint, these five techniques offer artists endless possibilities for creative expression.
What is intaglio printing? It is a process that transforms metal plates into vehicles for artistic vision, producing prints that collectors and museums have treasured for centuries. Whether you are drawn to the historical significance of the medium or the unique aesthetic qualities it produces, learning intaglio printmaking connects you to a tradition spanning over 500 years.
Start with drypoint or basic etching techniques, practice your wiping skills, and explore the remarkable range of marks possible with these time-honored methods. The satisfaction of pulling your first successful print from the plate makes every moment of learning worthwhile.