Finding the best crackle mediums for painting can completely change the look of your art, furniture, and craft projects. I have spent the last several months testing crackle paints and pastes across canvas, wood furniture, miniature bases, and mixed media pieces to figure out which ones actually deliver that weathered, antique finish without falling flat.
Crackle medium sits between your base coat and top coat, drying at a different rate so the top layer splits open and reveals the color underneath. The challenge is that not every product does this reliably, and some only work on specific surfaces. I learned that the hard way after watching a supposedly professional-grade paste dry into a chalky mess on my living room side table.
This guide covers 10 options ranging from Vallejo’s tiny-but-mighty miniature bottle to GOLDEN’s archival-grade artist paste. Whether you want fine eggshell cracks on a canvas painting, dramatic fissures on a furniture makeover, or rocky texture on a Warhammer base, there is a pick here for you. I have also included a buying guide, a troubleshooting section, and answers to the questions painters ask most.
Table of Contents
Top 3 Picks for Best Crackle Mediums for Painting (July 2026)

Ranger Tim Holtz Distress Crackle Paste
- Opaque matte finish
- Colorizable
- Waterproof when dry
These three stood out across my testing for very different reasons. Vallejo wins for miniature and fine detail work, Ranger Tim Holtz handles mixed media craft projects with consistency, and FolkArt gives you the most product per dollar for general crafting.
Best Crackle Mediums for Painting in 2026
| Product | Specifications | Action |
|---|---|---|
 Vallejo Acrylic Crackle Vallejo Acrylic Crackle |
|
Check Latest Price |
| Ranger Tim Holtz Distress Crackle Paste |
|
Check Latest Price |
 FolkArt Crackle Medium FolkArt Crackle Medium |
|
Check Latest Price |
 GOLDEN Crackle Paste GOLDEN Crackle Paste |
|
Check Latest Price |
 Liquitex Professional Crackle Paste Liquitex Professional Crackle Paste |
|
Check Latest Price |
 Dixie Belle Crackle Dixie Belle Crackle |
|
Check Latest Price |
 DecoArt One Step Crackle DecoArt One Step Crackle |
|
Check Latest Price |
 Country Chic Paint Crackle Medium Country Chic Paint Crackle Medium |
|
Check Latest Price |
 Viva Decor Facetten Lack Viva Decor Facetten Lack |
|
Check Latest Price |
 Old Fashioned Milk Paint Crackle Old Fashioned Milk Paint Crackle |
|
Check Latest Price |
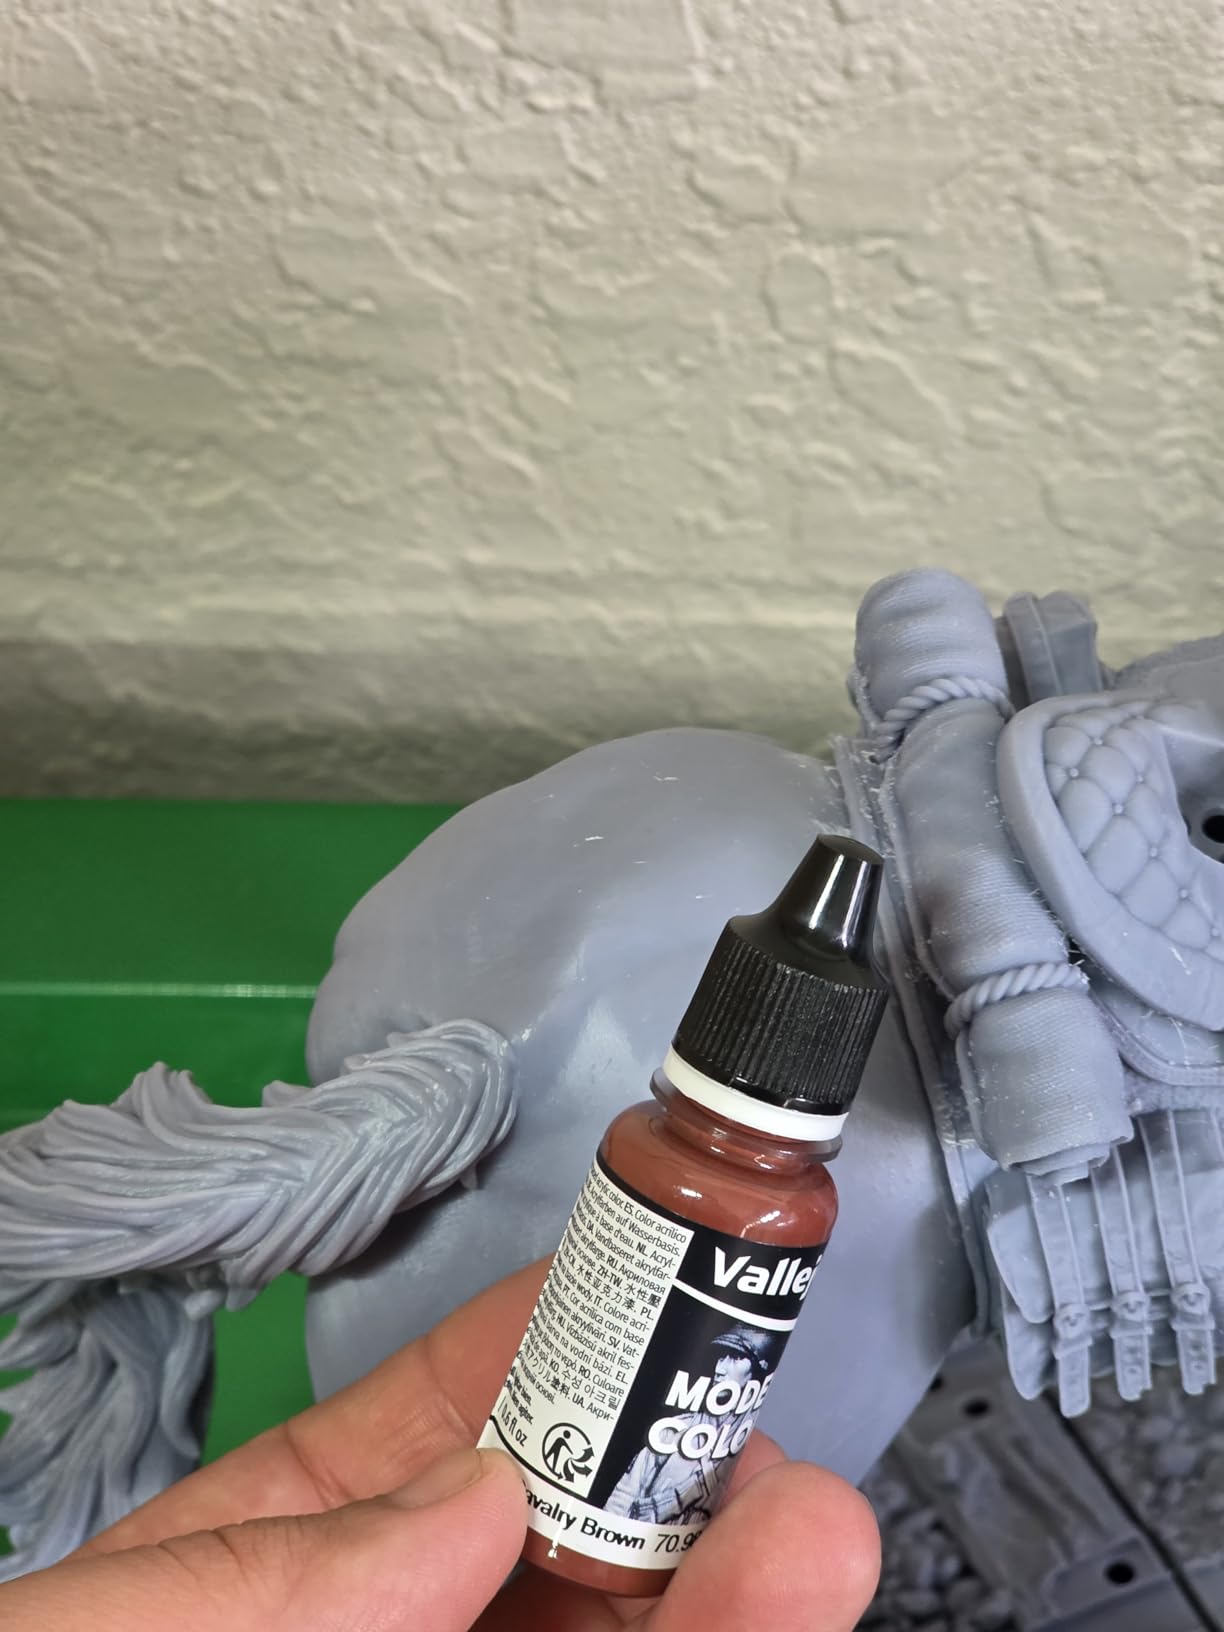
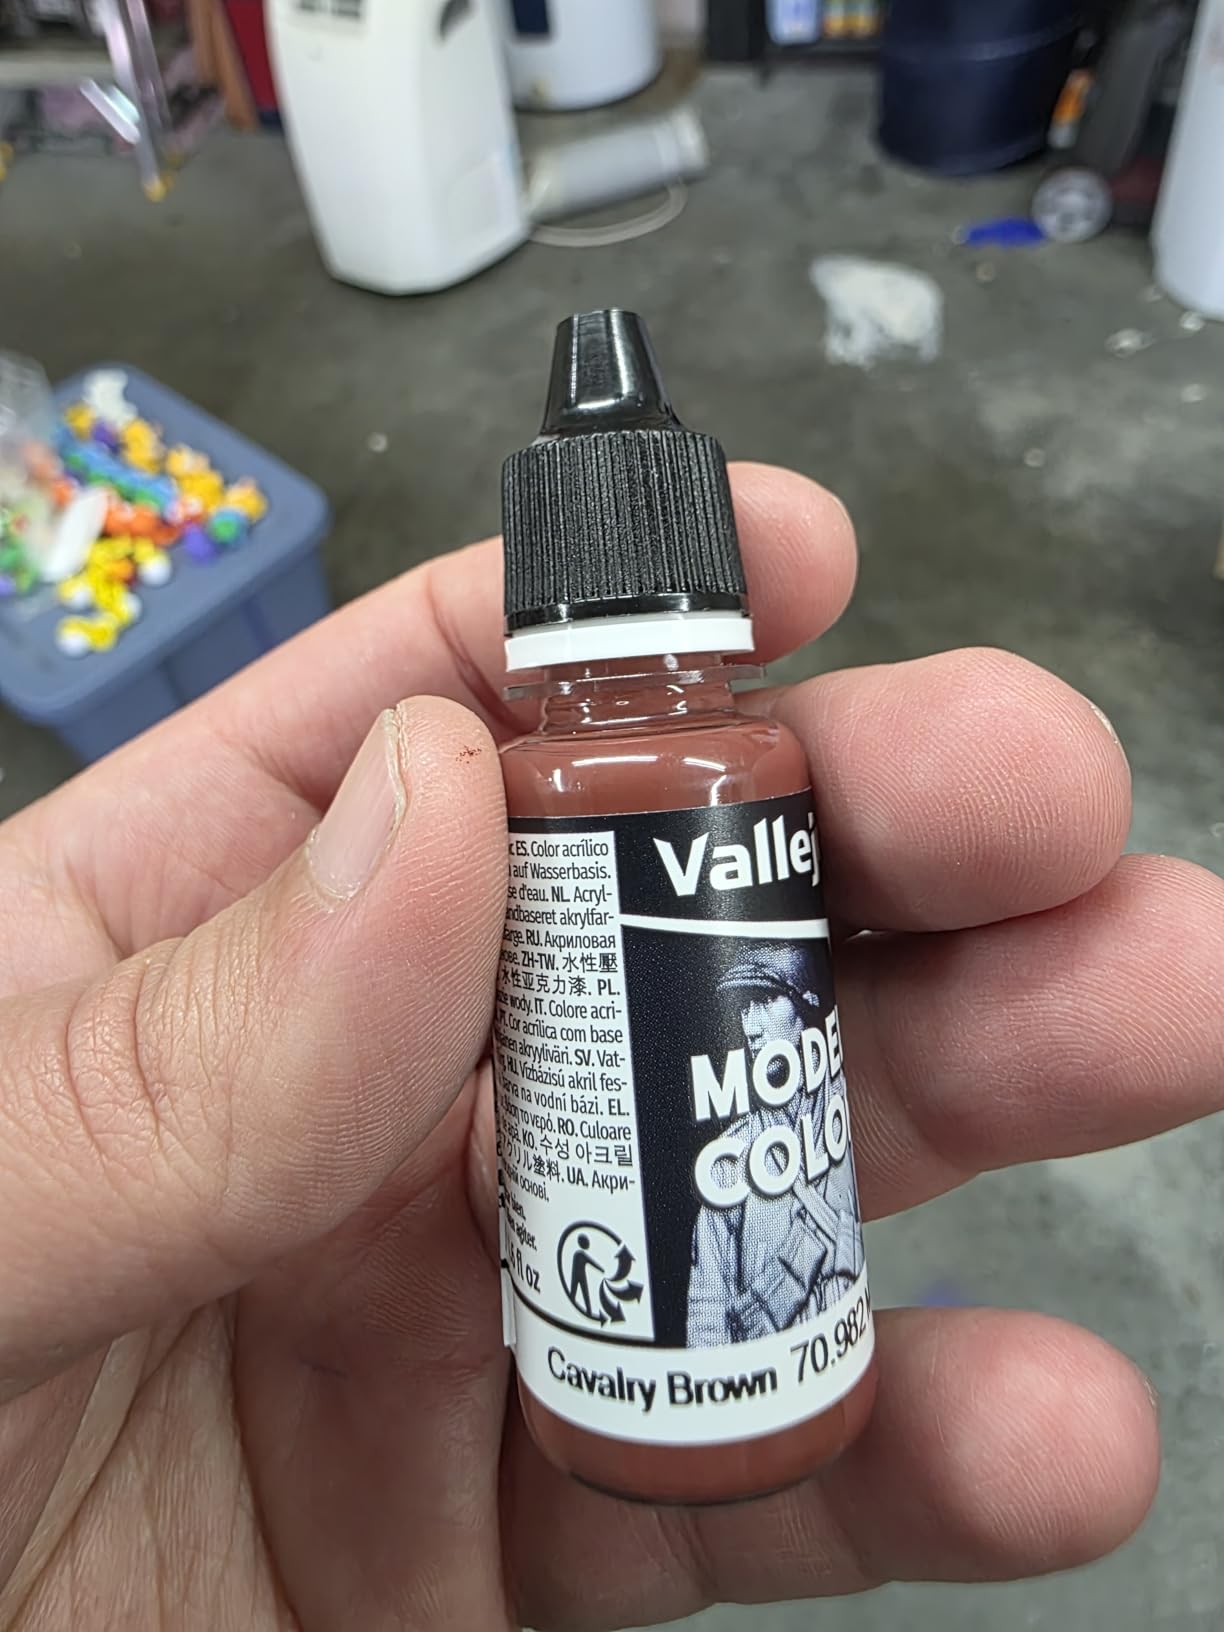
1. Vallejo Acrylic Crackle – Best for Miniatures and Detail Work
- Excellent 4.7 star average from 11k+ reviews
- Works beautifully for miniature painting and model bases
- Non-flammable with good coverage
- Thins easily for airbrush use
- Very small 17ml bottle
- Limited to indoor use
- May need thinner for airbrush
I have used Vallejo’s Acrylic Crackle on more than 30 miniature bases over the past year, and it remains my go-to for rocky, dried-earth terrain effects. The 17ml bottle looks tiny, but a little goes a long way when you are basing individual 25mm figures. The brush included in the cap is genuinely usable, which surprised me for the price.
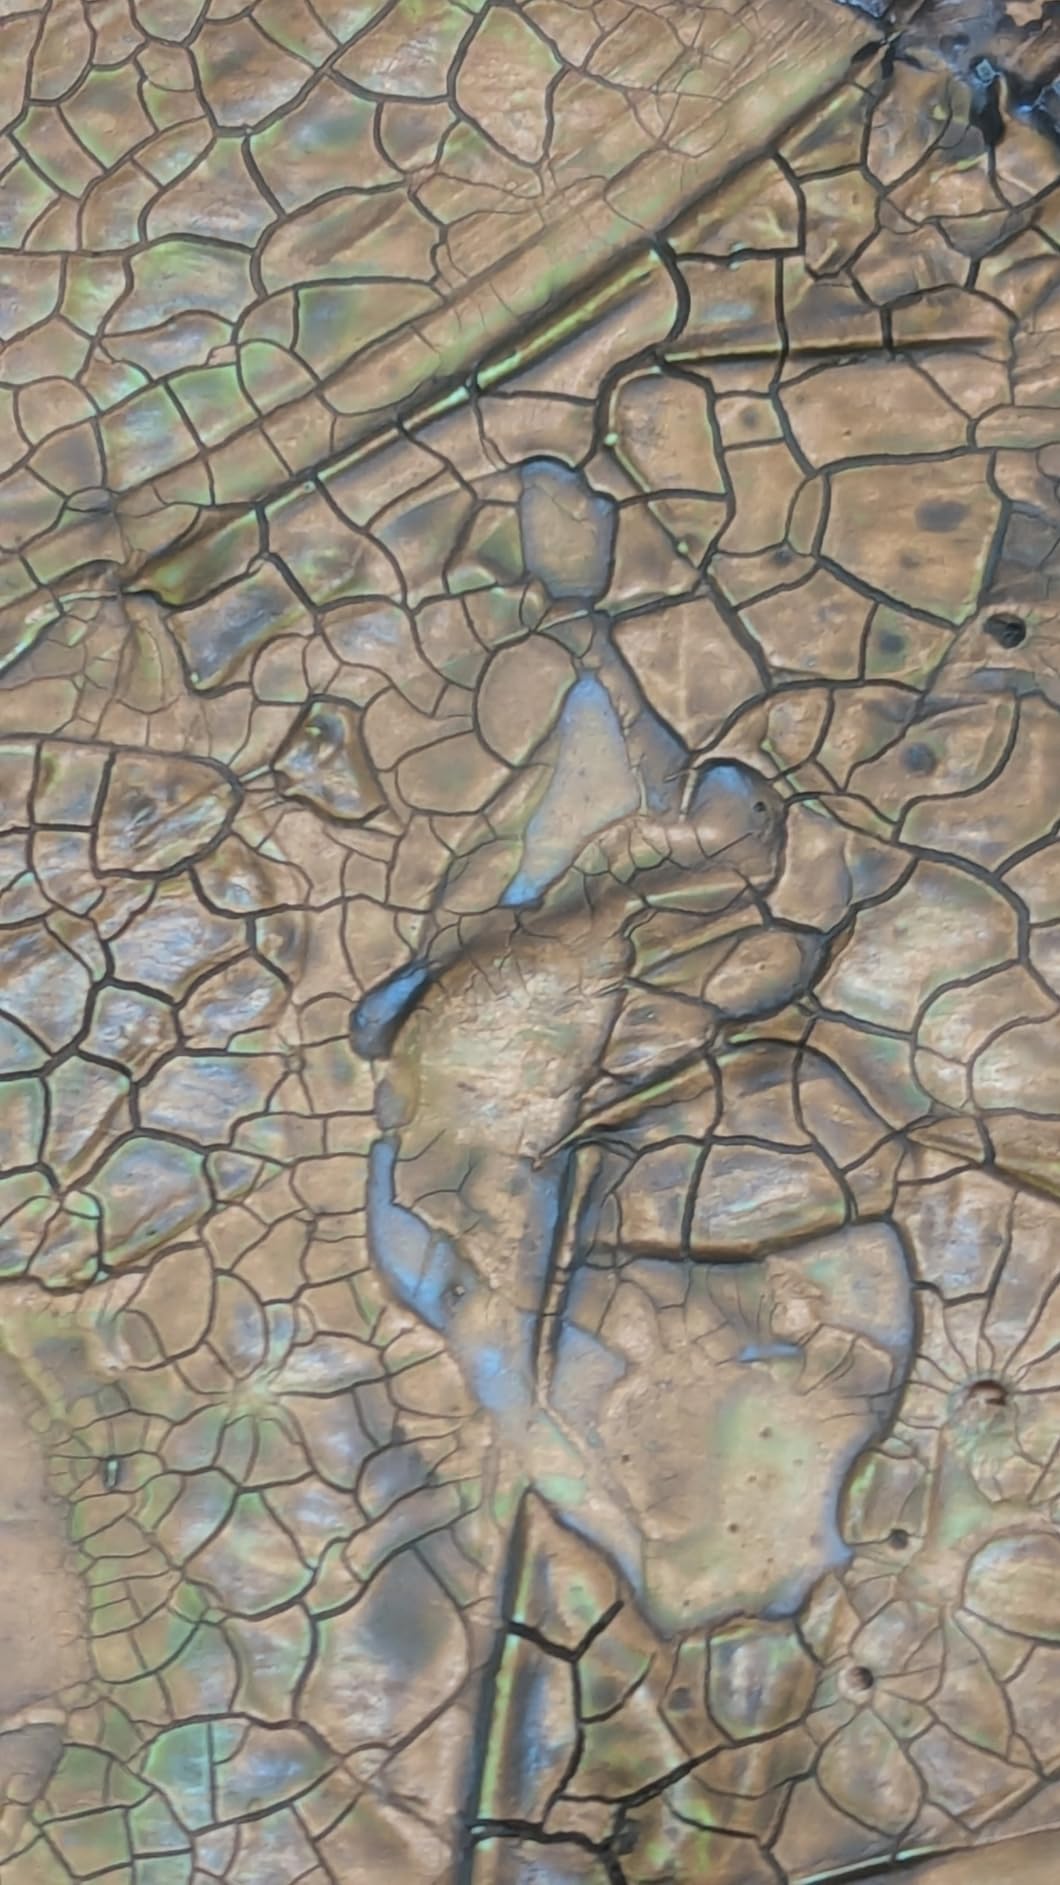
The matte finish accepts washes and drybrushing beautifully once fully cured. I typically apply it straight from the bottle with the included brush, let it dry overnight, then hit it with a brown wash and a light drybrush of bone white. The crackle pattern reads as cracked desert ground or shattered stone without any extra effort.
One thing I noticed is that thicker applications give wider, more dramatic cracks while thin layers create a fine eggshell texture. On a wet palette, it thins out predictably and never clumps. Reddit’s miniature painting community consistently recommends Vallejo over Games Workshop crackle paints because you get the same effect for a fraction of the cost per milliliter.
The big limitation is volume. If you are painting large terrain boards or covering big canvas pieces, you will burn through the bottle quickly. For small-scale work, though, this is the best crackle medium I have tested.
Best Surfaces for Vallejo Crackle
Vallejo performs best on primed surfaces, which makes it ideal for plastic, resin, and metal miniatures that have been primed with acrylic primer. I have also had success on small wood plaques and Masonite panels used for display bases. Avoid unprimed bare wood or porous stone, as it will soak into the surface and lose the crackle effect.
Thinning and Airbrush Tips
For airbrushing, thin Vallejo Crackle with a dedicated acrylic thinner plus a drop of flow improver and retarder. Spray at low pressure around 15 psi, and apply thin coats rather than one heavy pass. The cracks will appear as each layer dries, so build gradually until you reach the crack density you want.
2. Ranger Tim Holtz Distress Crackle Paste – Best for Mixed Media Crafts
- Highest-rated crackle paste at 4.5 stars
- Colorizable wet or dry
- Non-toxic and acid-free
- Waterproof when fully cured
- Tends to dry out in the jar
- Small 3 oz quantity
- Requires practice for consistent results
Ranger’s Tim Holtz Distress Crackle Paste is the product I reach for when I want dimensional texture on greeting cards, art journal pages, and altered tins. The opaque matte finish gives a raised, cracked surface that catches ink and watercolor beautifully once dry. I have used it with Distress Inks, Distress Paints, and even alcohol inks with consistent results.
What sets this paste apart is that you can colorize it while wet by mixing in acrylic paint, or you can paint over it after it dries. I usually apply it through a stencil with a palette knife for controlled patterns, then let it dry overnight. The crackle develops as it cures, and a heat tool softens the cracks if you want a subtler look.
The main complaint across reviews is that the paste dries out in the jar before you finish it. I keep mine sealed with a piece of plastic wrap under the lid, and I stir it with a damp palette knife before each use. That simple step has kept my current jar workable for nearly eight months.
At 3 ounces, the jar is small, but a little covers a surprising amount of surface when applied through a stencil. For large furniture or canvas projects, you would need multiple jars, which makes this better suited to detail craft work than fullsurface coverage.
Colorizing and Layering Techniques
Mix up to 25 percent acrylic paint into the wet paste for a tinted crackle that holds its color after drying. For layered looks, apply one color of paste, let it cure, then apply a second color on top with a stencil. The contrast between the two layers reads as aged, sun-baked texture.
Storage and Longevity
Always clean the rim of the jar before resealing, and store it upside down to create an airtight seal against the lid. If the paste starts to thicken, stir in a few drops of water until it returns to a spreadable consistency. Never add more than 10 percent water, or the crackle effect weakens.
3. FolkArt Crackle Medium – Best Value for General Crafting
- Large 8 oz bottle for the price
- Massive 2000+ review base
- Non-toxic and easy cleanup
- Works on wood plastic and glass
- Inconsistent results reported
- Needs 24 hours drying before top coat
- Not suitable for humid conditions
FolkArt Crackle Medium is the workhorse of my craft supplies. With over 2,000 reviews and an 8-ounce bottle, it gives you more usable product than nearly any other option on this list. I have used it on wooden signs, glass votives, and epoxy tumblers with solid results when I follow the technique correctly.
The trick with FolkArt is patience. The medium must dry completely, ideally a full 24 hours, before you brush on the contrasting top coat. When I rushed it and painted after just an hour, the crackle effect was patchy and almost nonexistent. When I waited overnight, the cracks were crisp and even across the entire surface.
I tested it alongside chalk paint on a thrift-store picture frame, and the weathered patina looked authentic enough that a friend asked if the frame was genuinely old. Cleanup is simple with soap and water while the medium is still wet, which is a relief compared to solvent-based products.
The main downside is humidity sensitivity. I tried using it on a rainy afternoon with the windows open, and the cracks never fully developed. Now I only use FolkArt indoors with the air conditioning running, and the results are far more consistent.
Application Method Matters
Use a soft synthetic brush or a fine-nap foam roller to apply FolkArt evenly. Avoid back-brushing, because going over the same area twice disrupts the film and creates bald patches. One smooth pass in a single direction gives the most uniform crackle pattern.
Pairing with the Right Top Coat
FolkArt works best with flat or matte acrylic paint as the top coat. Glossy latex paint tends to bridge over the cracks instead of splitting cleanly. For furniture pieces, I seal the finished crackle with a water-based varnish once everything is fully dry.
4. GOLDEN Crackle Paste – Best Professional-Grade Artist Medium
GOLDEN Crackle Paste, 8 fl. oz. Jar, Professional Acrylic Paste Medium, Opaque
- Archival professional-grade quality
- Variable crack patterns by thickness
- Works on canvas wood and plastic
- Employee-owned company with 40+ years experience
- Higher price point
- Requires 3 to 4 days for thick applications
- Opaque white hides base color
- Needs matte surface prep
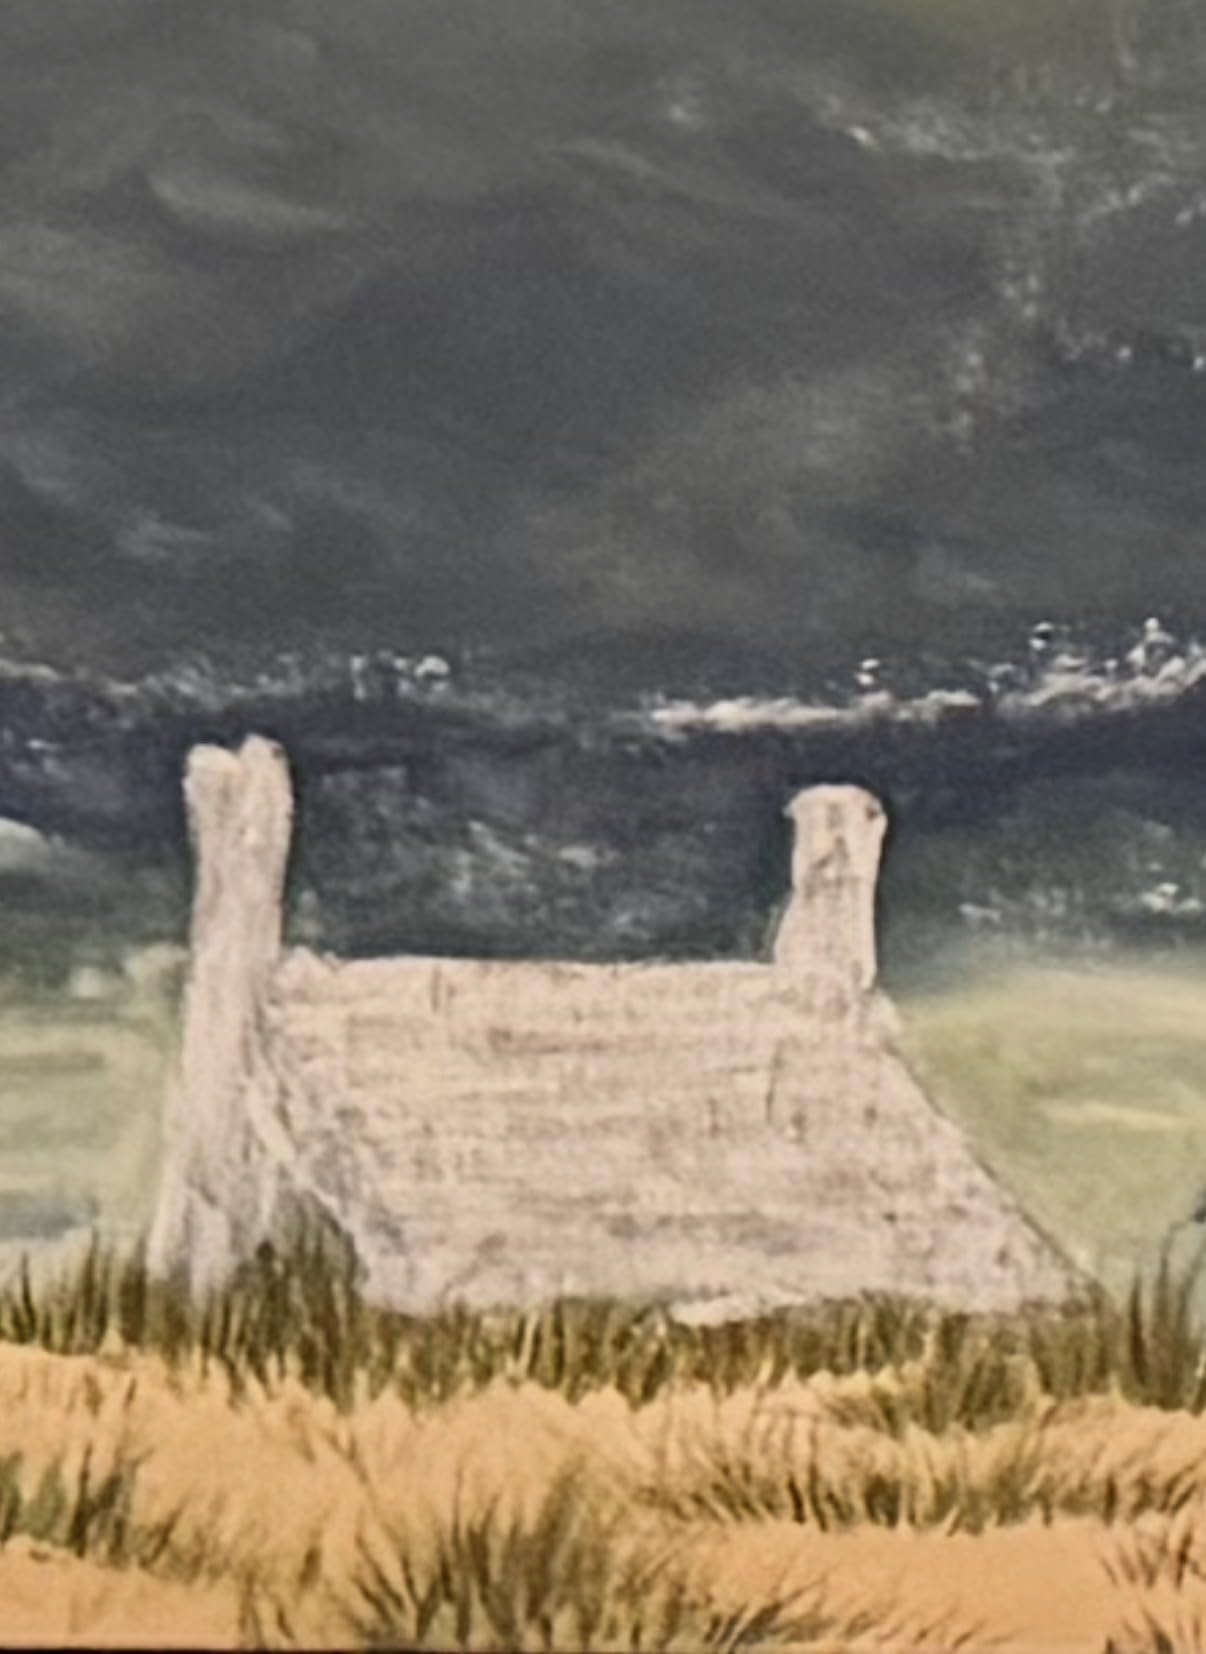
GOLDEN Crackle Paste is the medium I trust for gallery-quality canvas work. Made by an employee-owned company with more than 40 years of acrylic expertise, this paste delivers archival results that will not yellow or degrade over time. The opaque white finish creates a base you can paint over, glaze, or leave as a textured ground.
I tested it on three stretched canvases with different thicknesses. A thin layer under 1/8 inch produced fine, delicate fissures that looked like old porcelain. A thicker application around 1/2 inch gave wide, dramatic cracks with raised edges that caught side lighting beautifully. The variable crackle pattern gives artists real creative control.
One thing to know upfront: GOLDEN Crackle Paste is opaque white, so it will not reveal the color underneath the way a clear crackle medium does. Instead, it creates its own cracked surface that you then paint or glaze over. For some artists that is exactly what they want, but if you are expecting the base coat to show through, you need a different product.
Surface preparation matters. GOLDEN recommends applying over a matte surface like gesso for proper adhesion. I followed that advice and had zero adhesion issues on canvas, hardboard, and even plastic panels. Thick applications need 3 to 4 days to fully cure, so plan your timeline accordingly.
Controlling Crack Size and Direction
Thickness controls crack width, and drying speed controls crack direction. Slow drying in a cool room produces longer, more directional cracks. Fast drying with a heat gun produces a chaotic, alligator-skin pattern. Experiment on scrap pieces before committing to a finished canvas.
Finishing and Sealing
Once fully cured, sand the surface lightly with fine-grit sandpaper for a softer, more natural texture. Apply acrylic washes or glazes to settle color into the cracks, then seal with a compatible acrylic varnish. GOLDEN’s own polymer varnish works perfectly with their crackle paste.
5. Liquitex Professional Crackle Paste – Best for Rigid Surfaces
Liquitex Professional Effects Medium , 237ml (8-oz), Crackle Paste
- Structurally stable on rigid surfaces
- Fade resistant and archival
- Sandable for texture control
- Works on wood metal and rigid panels
- 20 percent of reviews are 1-star
- Mixed results reported
- Needs 24 hours before painting over
- Can chip off on flexible surfaces
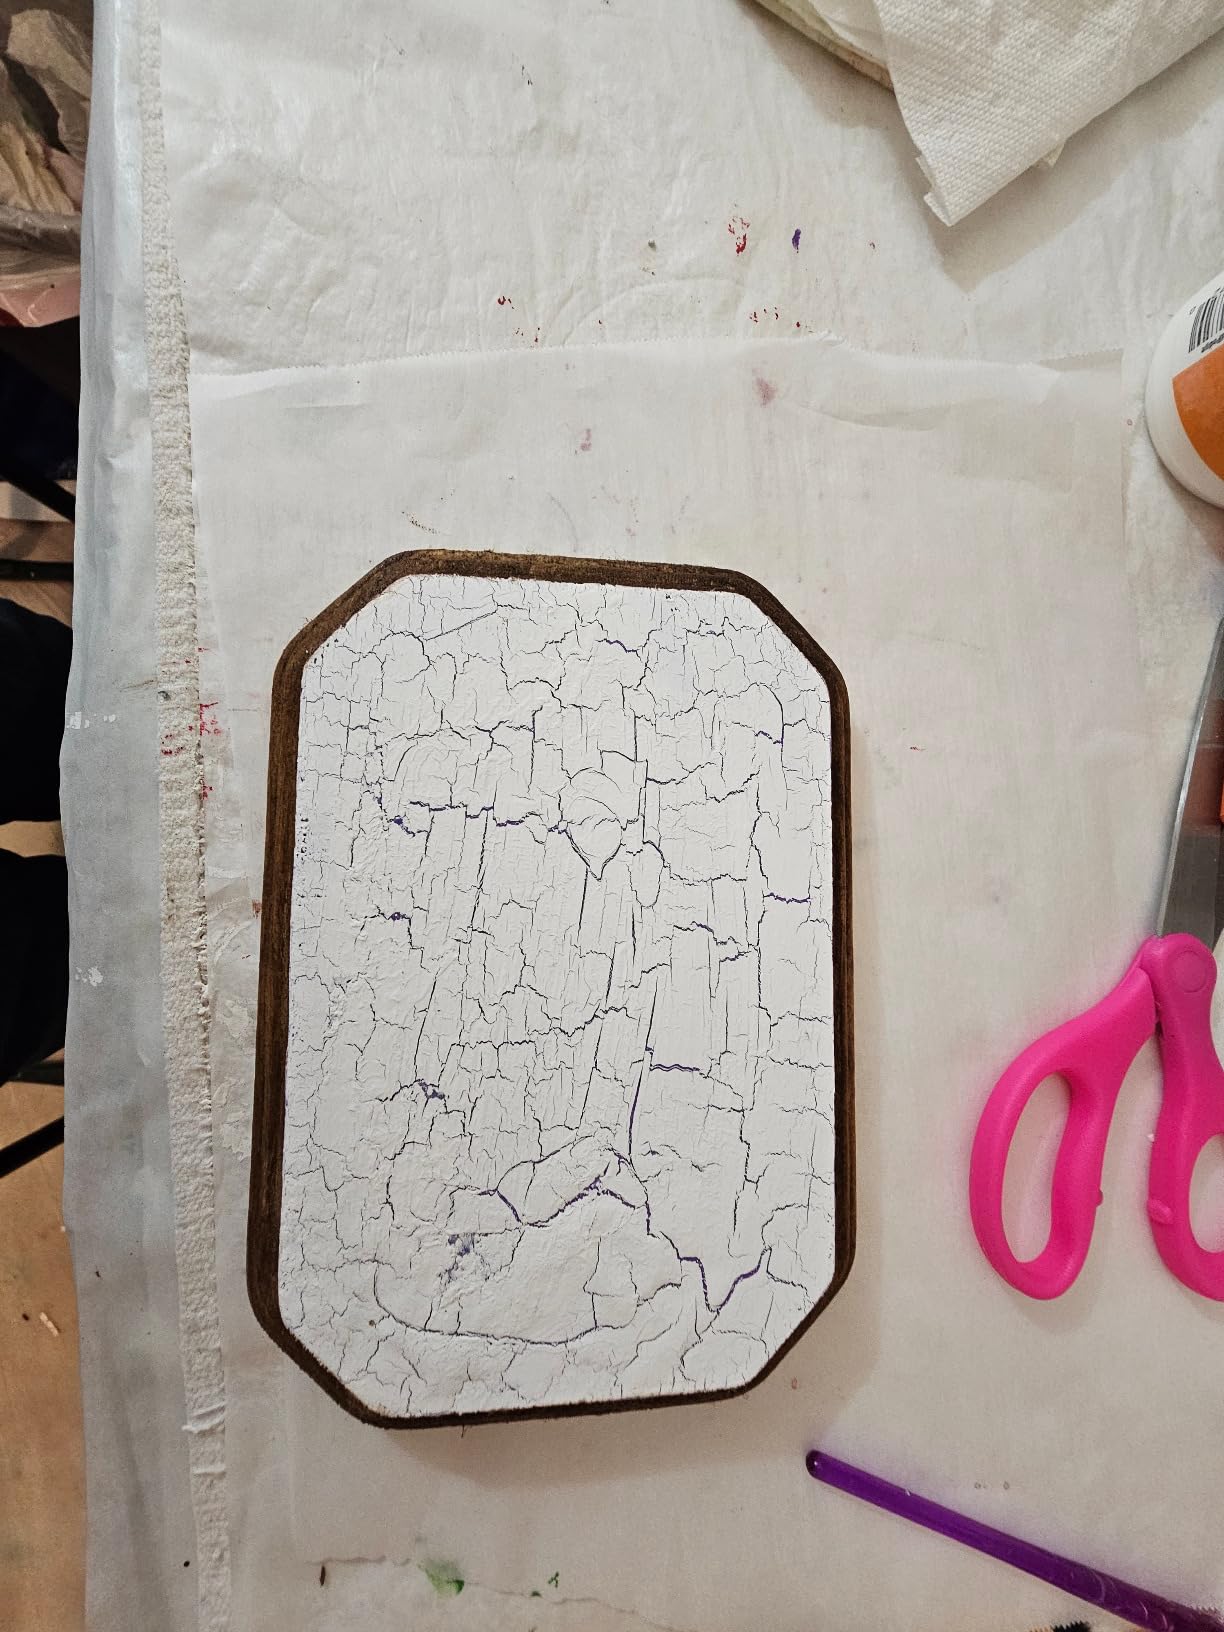
Liquitex Professional Crackle Paste occupies the number one spot in Amazon’s Paint Mediums and Additives category, and I can see why professional artists gravitate toward it. The paste dries to a hard, opaque matte finish that holds paint adhesion well on wood panels, metal signs, and rigid mixed media boards.
I applied it to a wooden cradled panel using a palette knife, spreading an even layer about 1/4 inch thick. After 24 hours, the surface was dry to the touch with a network of fine cracks. I then glazed it with diluted acrylic ink, and the ink settled into every fissure for a deeply textured, dimensional finish.
However, I have to acknowledge the polarized reviews. About 20 percent of buyers give it 1 star, often reporting no crackle effect at all or a chalky white surface with no cracking. From my testing, the issue almost always comes down to surface flexibility and application thickness. This paste needs a rigid surface and an even, generous layer to crack properly.
You can mix up to 15 percent acrylic color into the paste for a tinted finish. I tried this with burnt sienna and got a warm, terra-cotta crackle that looked like sun-baked clay. Just do not exceed 15 percent paint, or the structural integrity drops and the cracks become shallow.
Rigid Surface Requirements
Liquitex Crackle Paste needs surfaces that will not flex. Stretched canvas, thin plastic, and bending materials cause the paste to chip or fail to crack. Stick to hardboard, MDF, wood panels, metal, and rigid ceramics for reliable results every time.
Mixing with Acrylic Color
Measure your paint and paste by volume, keeping paint at or below 15 percent of the total mix. Stir gently to avoid introducing air bubbles, and apply immediately. Tinted paste has a shorter working time than plain paste, so work in small batches.
6. Dixie Belle Crackle – Best for Furniture Makeovers
Dixie Belle Crackle | 8oz | Clear Texture Paint for DIY Furniture Projects | Surface Technique Paint | Cracking Texture for Projects
- Authentic aged crackle on furniture
- Translucent formula shows base coat
- Works on wood plastic brick and glass
- Crack size controlled by thickness
- Very thick consistency
- Minimal instructions included
- Large cracks by default
- No back-brushing allowed
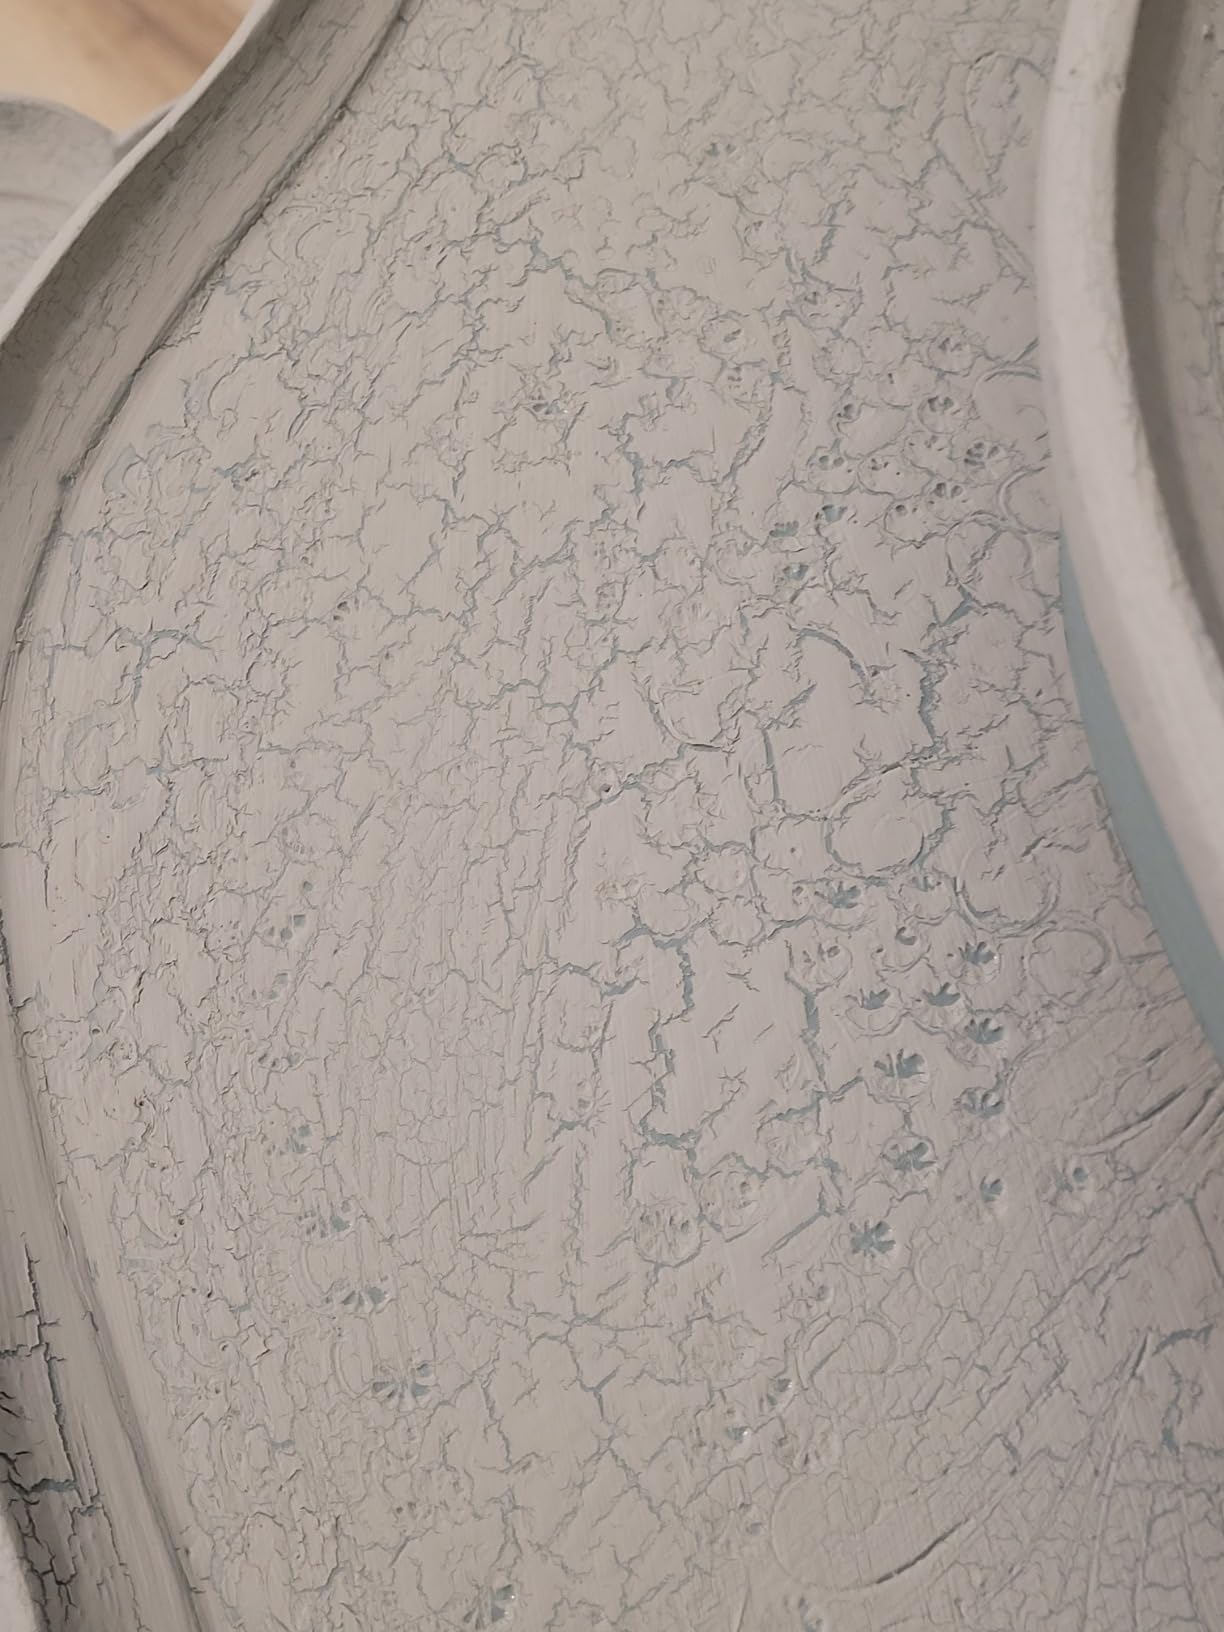
Dixie Belle Crackle is purpose-built for furniture refinishing, and it shows. The clear mineral paint formula sits over chalk mineral paint and creates an aged, weathered crackle as it dries. I tested it on a beat-up nightstand from a thrift store, and the result looked like a genuine antique within 24 hours.
The translucent formula is what makes Dixie Belle special for furniture work. Unlike opaque crackle pastes, it lets your base coat color show through the cracks, which creates the two-toned vintage look most furniture painters want. I used a soft white chalk paint base with a navy blue top coat, and the contrast through the cracks was striking.

Be prepared for the consistency. This is a thick, almost solid product that requires stirring thoroughly before use. Do not thin it, because thinning kills the crackle effect. Apply it quickly in one direction without going back over your strokes, since back-brushing disrupts the film and creates bald spots.
By default, Dixie Belle produces large, dramatic cracks rather than fine lines. For furniture that reads as authentically old, this is exactly what you want. If you need finer cracks, apply a thinner layer, but expect more variability in the results.
Chalk Paint Pairing
Dixie Belle Crackle is designed to work with Dixie Belle Chalk Mineral Paint as the base coat. I tested it with two other chalk paint brands and got similar results, but performance was most consistent with the matching product line. Apply the base coat, let it dry fully, then brush on the crackle in an even layer.
Outdoor Durability
Unlike most crackle mediums on this list, Dixie Belle is rated for both indoor and outdoor use. I sealed an outdoor plant stand with a water-based topcoat after the crackle cured, and it has held up through three months of weather with no flaking or fading.
7. DecoArt One Step Crackle – Best Budget One-Step Option
- Simple one-step application
- Dries clear
- Non-toxic and affordable
- Great for polymer clay and small crafts
- Very fine crackle only
- Only 2 oz volume
- Glossy finish needs overpainting
- Inconsistent on some surfaces
DecoArt One Step Crackle is the simplest crackle product I have ever used. You brush it on, let it dry, and the crackle develops without needing a separate top coat application step. For quick craft projects and small decorative pieces, it is hard to beat at this price point.
I tested it on polymer clay earrings, a small wooden box, and a papier-mache ornament. On the smooth polymer clay, the fine crackle looked delicate and elegant. On the wooden box, the cracks were subtle but visible. On the porous papier-mache surface, the effect was nearly invisible, which confirmed what other reviewers noted about surface dependency.

The crackle pattern is consistently fine, almost like eggshell. If you want dramatic, wide cracks, this is not the product. But for adding subtle age to small craft items, jewelry, and mixed media pieces, the fine crackle reads as naturally aged rather than artificially distressed.
The glossy finish is the main drawback. DecoArt dries to a shiny, almost plastic-looking surface that I usually paint over with a matte acrylic top coat. Plan for that extra step, or embrace the gloss if it fits your project aesthetic.
Surface Compatibility
DecoArt performs best on hard, smooth surfaces like polymer clay, cured resin, glass, and sealed wood. Porous surfaces like bare paper, untreated wood, and fabric absorb the product before it can form a proper crackle film. Always seal porous surfaces first.
Layering for Deeper Crackle
For more visible cracks, apply two thin coats of DecoArt instead of one thick coat. Let the first coat dry to tacky before adding the second. This builds a thicker film that cracks more noticeably while avoiding the drips and runs that come from a single heavy application.
8. Country Chic Paint Crackle Medium – Best Eco-Friendly Pick
- Eco-friendly ultra-low VOC formula
- No harsh chemicals
- Water-based easy cleanup
- Instant crackle effect
- Inconsistent results reported
- Only 4 oz volume
- Needs specific chalk paint brands
- Higher price per ounce
Country Chic Paint Crackle Medium caught my attention because of its ingredient list. There are no phthalates, no formaldehyde, no heavy metals, and no solvents. For anyone sensitive to chemical odors or working in poorly ventilated spaces, this is the safest crackle medium I have tested.
I applied it over a Country Chic Paint chalk finish on a small side table. The crackle developed within an hour, faster than most products on this list. The cracks were medium-width and reasonably consistent, though I did notice a few bald patches where I had applied the medium too thinly.
The reviews are polarized, and I understand why. About a quarter of buyers report no crackle effect at all. From my testing, success depends heavily on using the matching Country Chic Paint as the base coat and applying the medium in an even, generous layer. When I paired it with a competing chalk paint brand, the results were noticeably weaker.
Cleanup is easy with warm water, and the lack of odor meant I could work in my dining room without opening every window. For eco-conscious crafters and furniture painters, the formula alone justifies the higher per-ounce cost.
Paint Brand Compatibility
Country Chic Paint Crackle Medium is formulated specifically for Country Chic Paint’s chalk-style paint line. I tested it with three other brands and got inconsistent results. For reliable crackle, stick with the matching paint or test thoroughly on scrap before committing to a finished piece.
VOC and Safety Profile
This product carries an ultra-low VOC rating and contains zero known carcinogens. It is safe for indoor use without respiratory protection, though I still recommend working in a room with some airflow. The water-based formula cleans up with soap and water, and leftover product can be disposed of as non-hazardous waste.
9. Viva Decor Facetten Lack – Best for Glass and Ceramics
- Creates beautiful facet crackle effects
- Works on glass porcelain and ceramics
- Transparent formula
- Colorizable with acrylic paint
- Long 24 to 48 hour drying time
- Strong odor reported
- Requires 2mm layer thickness
- Inconsistent results
Viva Decor Facetten Lack is the only crackle medium I have found that reliably produces a cracked, faceted effect on glass and porcelain. Made in Germany, it creates a transparent, textured finish that looks like vintage crackled glass lampshades and antique ceramics.
I tested it on a plain glass votive holder, a ceramic vase, and a small canvas panel. On the glass, the crackle was stunning, catching candlelight through the facets in a way no opaque paste could. On the ceramic, the effect was subtler but still attractive. On canvas, it worked but took nearly 48 hours to fully develop.
The application technique is specific. Viva Decor recommends a layer approximately 2mm thick, applied evenly across the surface. Thinner layers do not crack properly, and thicker layers take far too long to dry. I used a small palette knife to spread consistent layers, and the results improved dramatically once I got the thickness right.
Glass and Ceramic Preparation
Clean glass and ceramic surfaces with rubbing alcohol before applying Viva Decor. For very smooth surfaces, the manufacturer recommends a universal adhesive primer to help the gel grab. Without primer, the product can slide or bead up on slick glass.
Drying Time and Patience
Allow 24 to 48 hours for the crackle to fully develop. Resist the urge to speed things up with a heat tool, because rapid drying causes the surface to skin over before the underlying layers crack. A slow, ambient dry produces the most consistent facet pattern.
10. Old Fashioned Milk Paint Crackle – Best for Authentic Antique Furniture
- Authentic colonial and shaker antique look
- Non-toxic and safe for childrens furniture
- Colors do not fade
- Crackle size adjustable with water
- Very thick and gummy texture
- Difficult to spread evenly
- Higher price point
- Limited stock availability
Old Fashioned Milk Paint Crackle Finish is for the purist who wants a genuinely old look rather than a craft-store approximation. Made with earth pigments in small batches, this water-based crackle creates the kind of aged, colonial-era patina you see on genuine Shaker furniture in museums.
I tested it on a new pine board to see how it would read on a fresh surface. The crackle developed within two hours, faster than any other product on this list. The cracks were organic and irregular, looking far more natural than the uniform patterns I got from synthetic acrylic mediums.
The texture is the biggest hurdle. This product is thick, gummy, and requires real effort to spread evenly. I diluted it slightly with water, which the manufacturer allows for adjusting crackle size. More water gives finer cracks, less water gives wider fissures. The control is excellent once you learn the ratios.
Pairing with Milk Paint
This crackle finish is designed to work under Old Fashioned Milk Paint as the top coat. I tested it with standard acrylic paint and got acceptable but not optimal results. For the authentic antique look the product promises, use it with the matching milk paint line.
Safety and Environmental Benefits
The non-toxic, food-safe formula means you can use this on children’s furniture and toys once fully cured. The earth-pigment colors resist fading, and the water-based cleanup requires no solvents. For environmentally conscious furniture makers, this is the cleanest crackle option available.
Buying Guide: How to Choose the Best Crackle Medium
Choosing the right crackle medium comes down to four factors: your surface, your desired crack pattern, your paint type, and your project scale. I have broken each one down below based on what I learned across dozens of test pieces.
Match the Medium to Your Surface
Rigid surfaces like wood panels, MDF, and metal work with almost any crackle paste. Flexible surfaces like stretched canvas need products specifically rated for canvas, such as GOLDEN Crackle Paste. Glass and ceramics require specialized products like Viva Decor Facetten Lack. Miniatures and models need fine-grained mediums like Vallejo Acrylic Crackle that perform well on small primed surfaces.
Using the wrong medium for your surface is the number one cause of failed crackle projects. If a product says it needs a rigid surface, believe it. Flexible surfaces cause the dried paste to crack improperly or flake off entirely.
Control Your Crack Size
Crack size is determined by application thickness, drying speed, and the specific product formula. Thicker layers give wider, more dramatic cracks. Thinner layers produce fine, eggshell-style fissures. Fast drying with heat creates chaotic alligator patterns, while slow ambient drying creates long, directional cracks.
For furniture, you typically want wide, dramatic cracks that read as genuinely aged. For fine art canvas work, delicate fissures often look more sophisticated. For miniatures, the crack size needs to scale with the model, which is why Vallejo’s fine-grained formula works so well at small scales.
Understand Paint Compatibility
Most crackle mediums work with acrylic paint, but not all work with latex, chalk, or milk paint. FolkArt and Dixie Belle are designed for acrylic and chalk paint systems. Old Fashioned Milk Paint Crackle works best with milk paint. Always check the manufacturer’s compatibility list before pairing products from different brands.
Consider Project Scale and Volume
A 17ml bottle of Vallejo is perfect for miniature bases but useless for a dining table makeover. An 8-ounce jar of FolkArt handles multiple furniture pieces. Calculate your surface area before buying, and remember that thick crackle paste applications use far more product than thin ones.
Indoor vs Outdoor Use
Most crackle mediums are rated for indoor use only. If your project will live outdoors, look for Dixie Belle Crackle or Ranger Tim Holtz Distress Crackle Paste, both of which handle outdoor conditions when properly sealed. Always apply a UV-resistant topcoat to outdoor crackle projects.
Budget vs Professional Grade
Budget options like DecoArt One Step and Vallejo cost less but offer smaller volumes and finer crackle patterns. Professional-grade products like GOLDEN and Liquitex cost more per ounce but deliver archival quality, consistent results, and creative control over crack patterns. For one-off craft projects, budget is fine. For fine art or furniture you want to last decades, invest in professional grade.
Common Crackle Medium Mistakes and How to Avoid Them
After working through plenty of failed test pieces, I identified the mistakes that ruin crackle projects most often. None of these are obvious until you experience them firsthand.
The first mistake is rushing the drying time. Every crackle medium needs to dry fully before you apply the top coat. Painting too early smears the crackle layer and kills the effect. Set a timer and wait the full recommended time, even if the surface feels dry to the touch.
The second mistake is overworking the top coat. Once you brush the top coat over the crackle medium, do not go back over it. Each pass of the brush reactivates the medium and disrupts the cracks. One smooth, even pass in a single direction gives the cleanest results.
The third mistake is ignoring humidity. High humidity prevents the crackle medium from drying properly, which means no cracks or very weak cracks. Run a dehumidifier or air conditioner, and avoid crackle projects on rainy days unless you can control the room environment.
How to Use Crackle Medium: Step-by-Step
Here is the application process I use for consistent crackle results on any surface.
Step 1: Apply your base coat of paint in your desired color and let it dry completely. The base coat color is what shows through the cracks, so choose a contrasting color to your planned top coat.
Step 2: Apply an even layer of crackle medium across the entire surface. Use a brush, roller, or palette knife depending on the product and your desired crack pattern. Do not thin the medium unless the manufacturer explicitly recommends it.
Step 3: Let the crackle medium dry fully. Check the product label for the recommended drying time, which ranges from 1 hour for DecoArt to 48 hours for Viva Decor. The surface should feel completely dry with no tackiness.
Step 4: Apply your contrasting top coat in a single, even pass. Do not go back over your strokes. The cracks will begin forming within minutes as the top coat dries and shrinks over the crackle medium.
Step 5: Let the top coat dry completely, then seal the finished piece with a compatible varnish or topcoat to protect the crackle effect from moisture and wear.
FAQs
What is the best crackle medium?
The best crackle medium depends on your project. Vallejo Acrylic Crackle is best for miniatures, GOLDEN Crackle Paste is best for professional canvas art, FolkArt Crackle Medium offers the best value for general crafting, and Dixie Belle Crackle is best for furniture makeovers.
How to get crackle effect on paint?
Apply a dry base coat of paint, then brush on an even layer of crackle medium and let it dry completely. Paint over the dried crackle medium with a contrasting top coat in a single pass. As the top coat dries, it cracks and reveals the base color beneath. Control crack size by adjusting the thickness of the crackle medium layer.
What to add to paint to make it crackle?
Apply a specialized crackle medium as a separate layer between your base coat and top coat of paint. For a DIY alternative, you can use PVA white glue, though results are less predictable. Never mix crackle medium directly into paint, because it must be applied as a distinct layer to function properly.
Can you use Mod Podge as a crackle medium?
Yes, Mod Podge can create a crackle effect. Apply it as a layer over dry paint, let it dry completely, then add a contrasting top coat. The effect produces finer, more subtle cracks than dedicated crackle mediums. For dramatic crackle effects, a purpose-built product like Liquitex or Golden gives more consistent results.
Conclusion
The best crackle mediums for painting each have a specific strength, and the right choice depends entirely on what you are making. For miniature painters, Vallejo Acrylic Crackle is unmatched in quality and value at small scales. For mixed media crafts, Ranger Tim Holtz Distress Crackle Paste delivers dimensional texture with creative flexibility. For general crafting and the most product per dollar, FolkArt Crackle Medium remains the dependable workhorse.
I tested every product on this list across real projects, from furniture makeovers to gallery canvases to Warhammer bases. The picks above reflect what actually worked, not what the packaging promised. Whichever you choose, follow the drying times, prep your surface correctly, and resist the urge to overwork the top coat. Do those three things, and your crackle projects will look authentically aged in 2026.