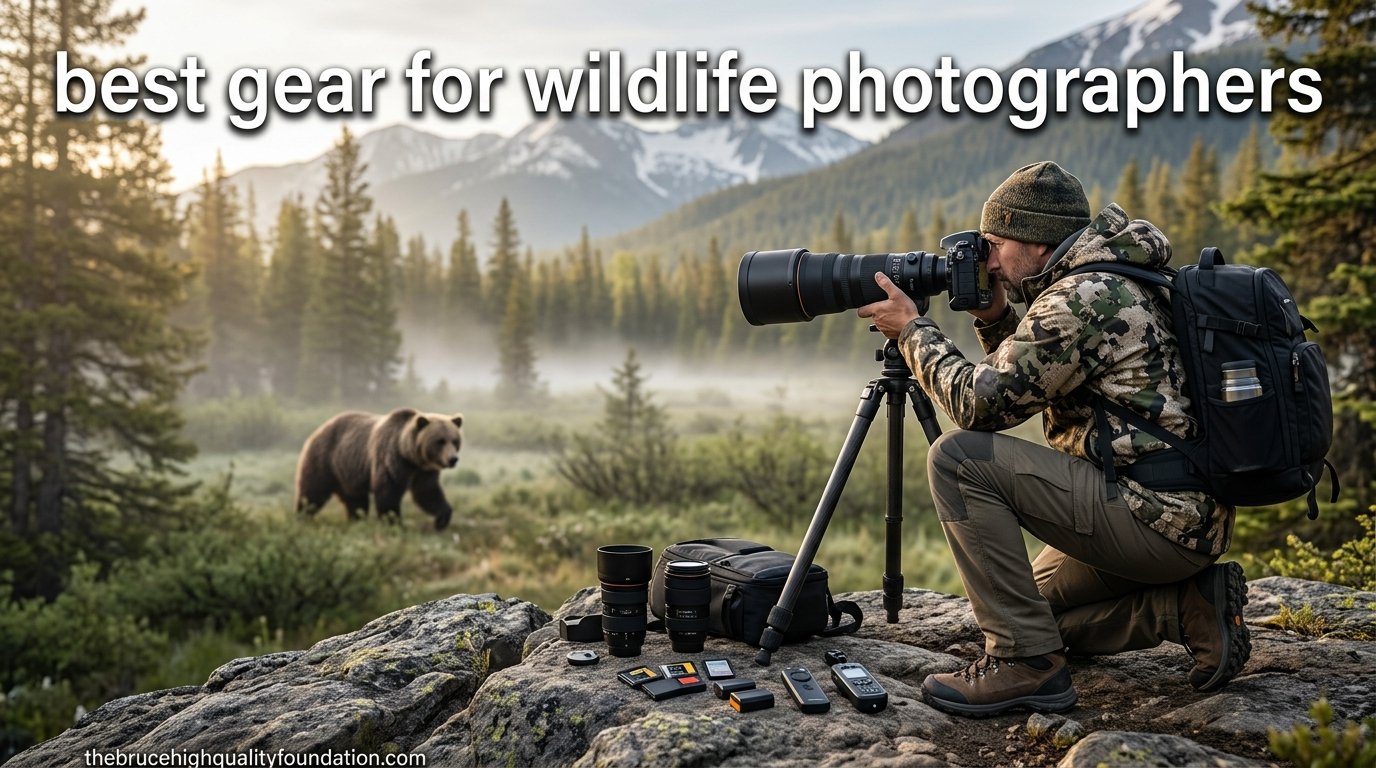
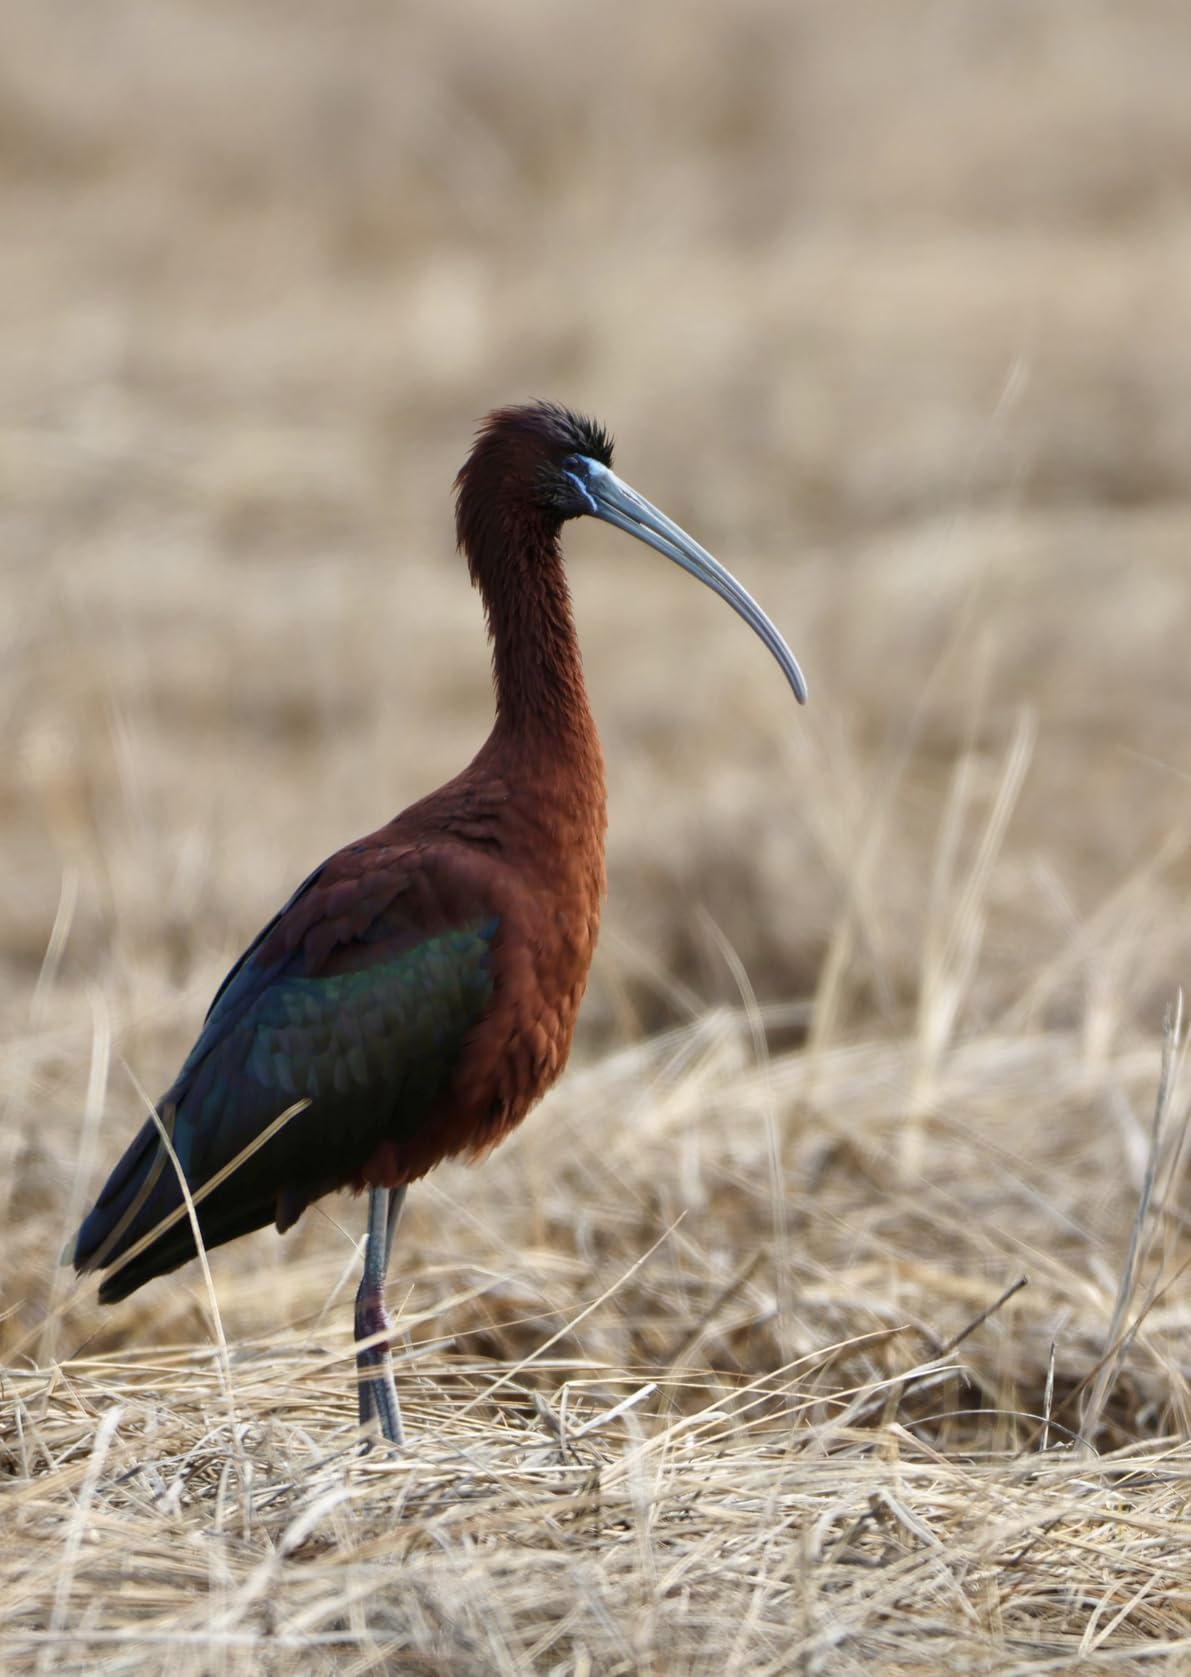
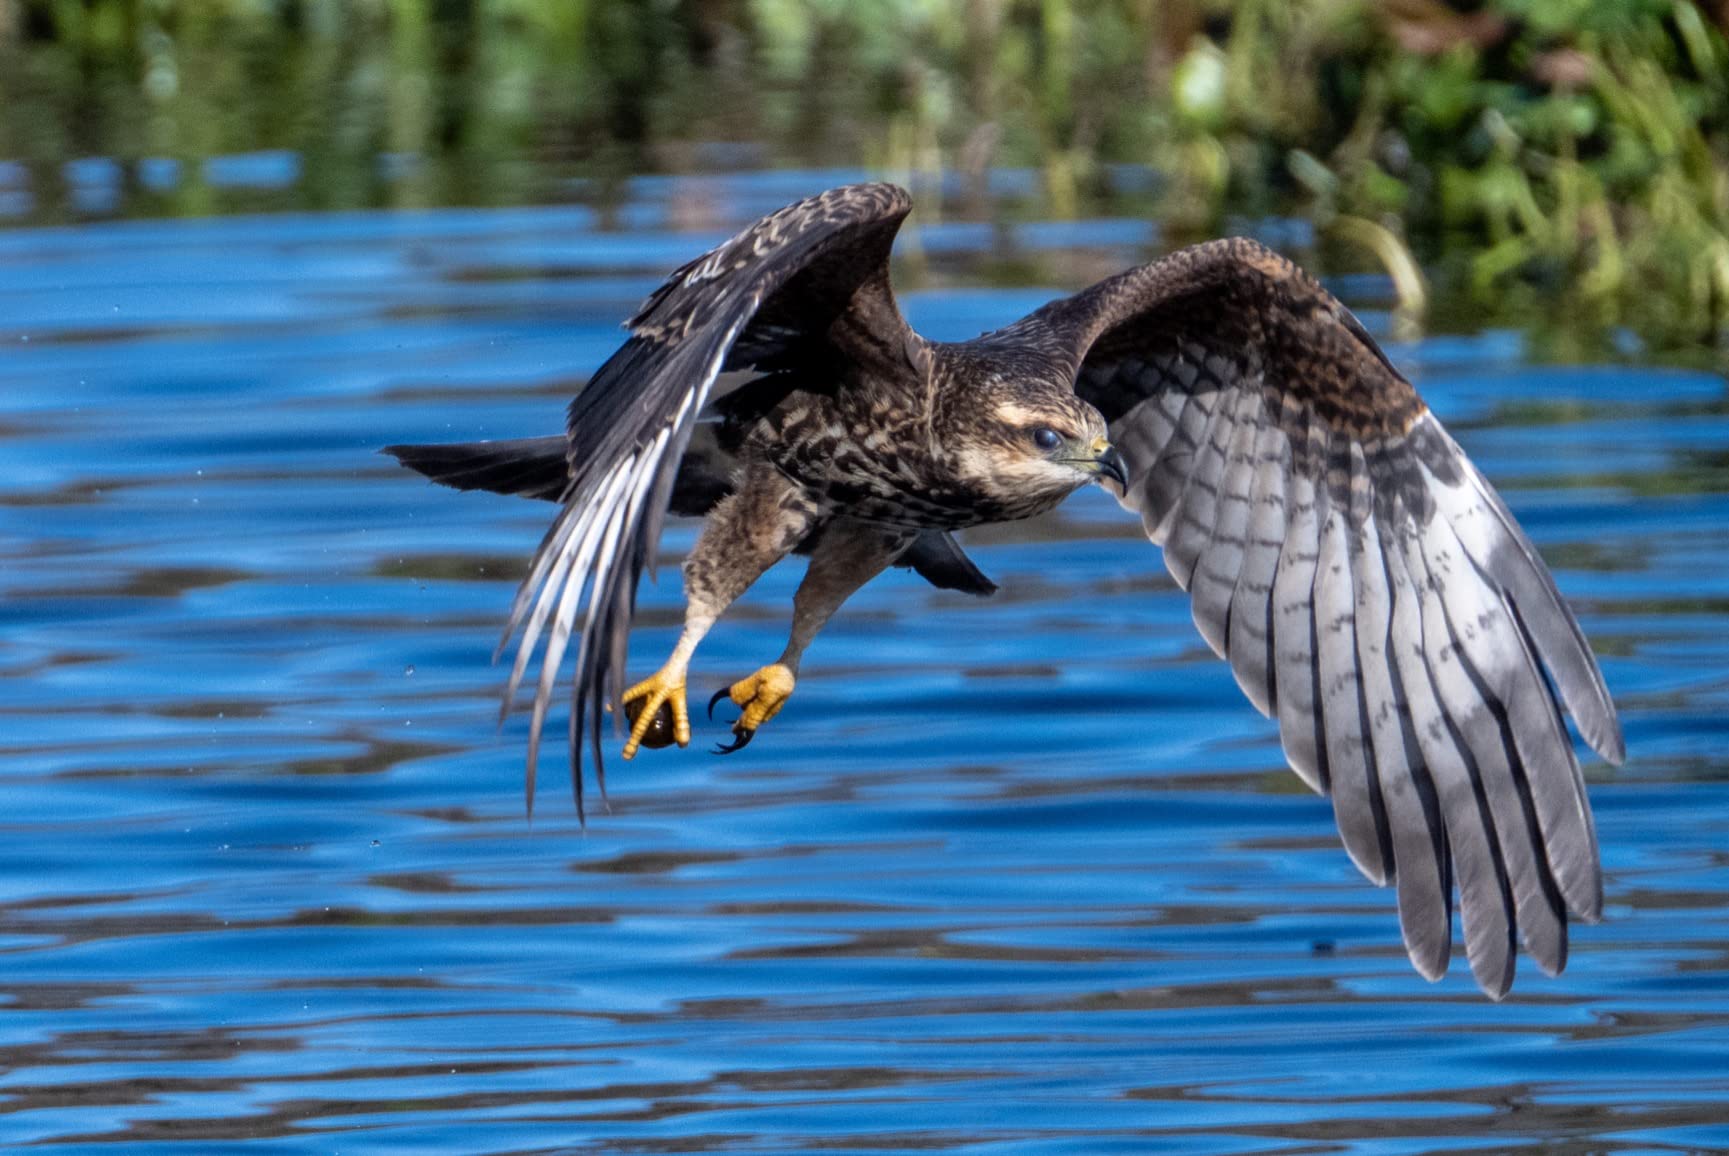
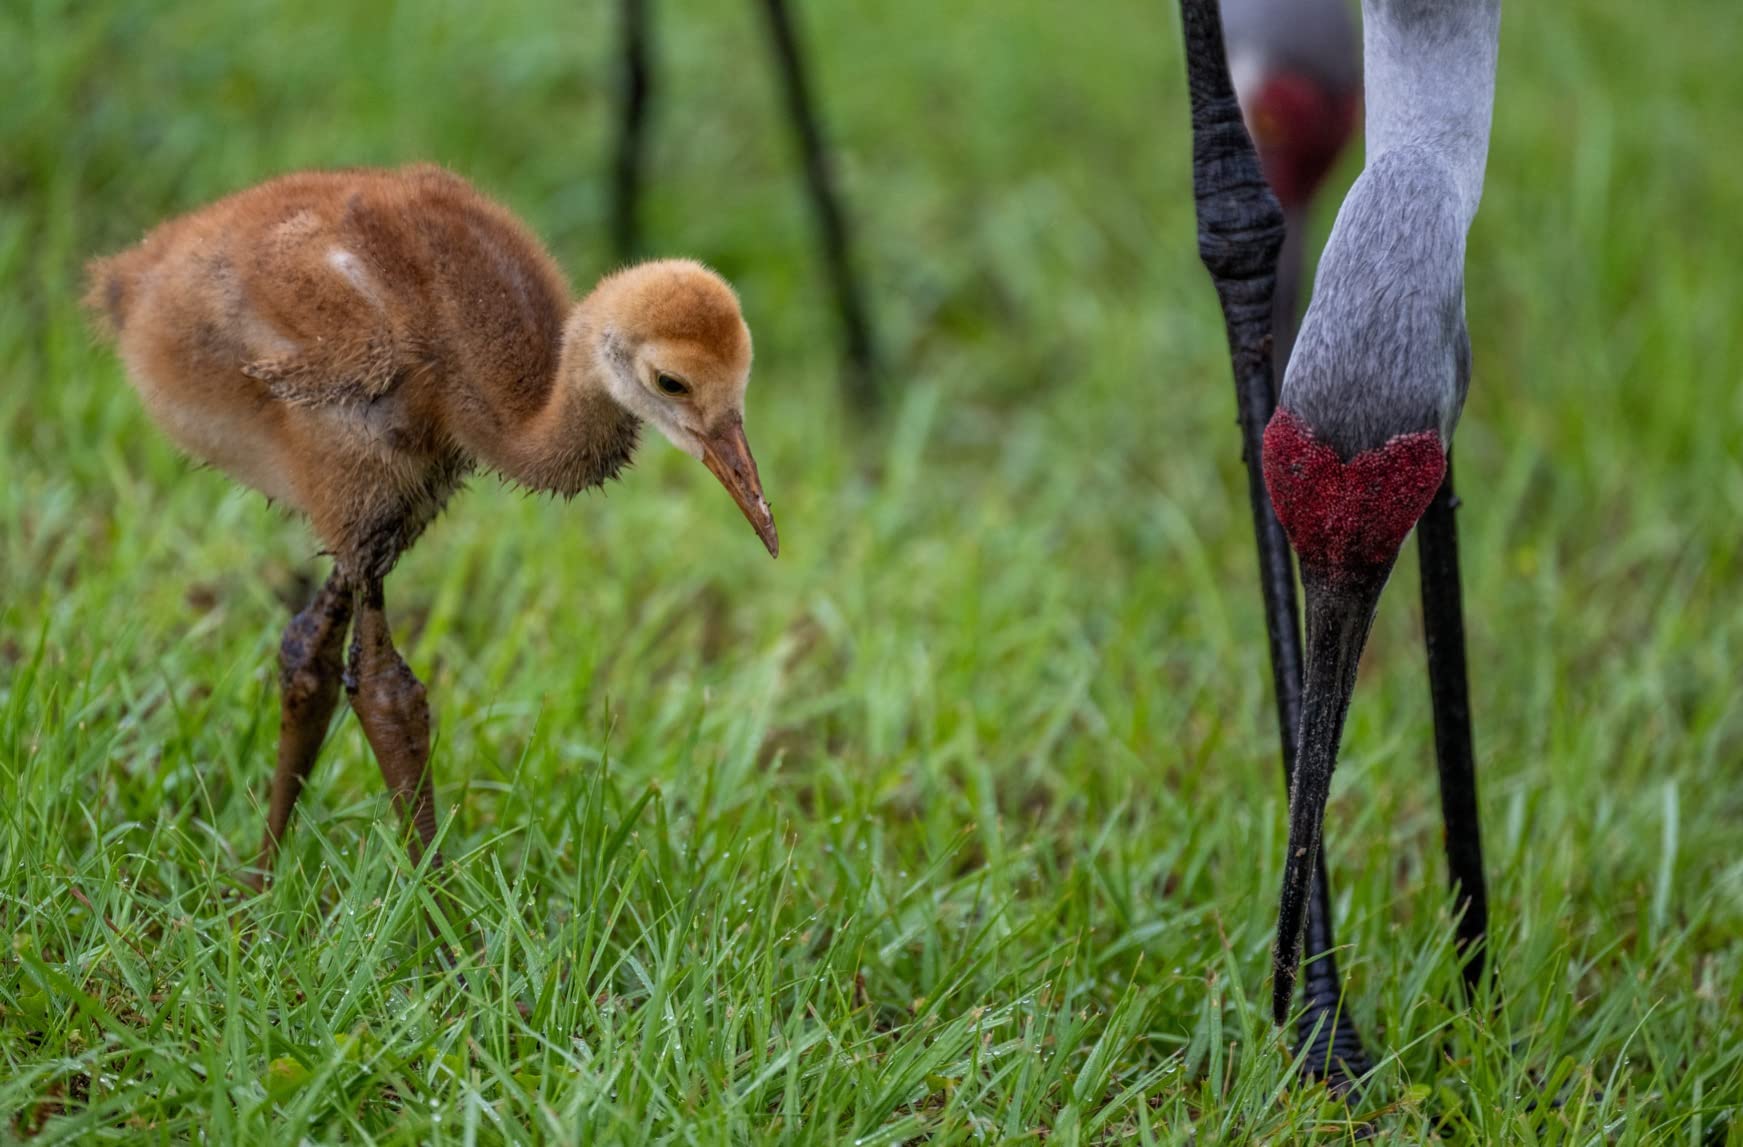
Wildlife photography pushes your gear harder than almost any other genre. You are dealing with distant, fast-moving subjects, unpredictable weather, and long hours in rough terrain. The best gear for wildlife photographers has to handle all of that while still delivering sharp, detailed images.
I have spent the last several years shooting birds, mammals, and everything in between across forests, wetlands, and open savanna. Along the way, our team tested dozens of cameras, lenses, support systems, and field accessories to figure out what actually works when the pressure is on. Some items impressed us. Others fell apart after a single trip.
This guide covers 10 pieces of wildlife photography equipment that earned their place in the field. We included camera bodies, telephoto lenses, gimbal heads, camera bags, rain covers, bean bags, and even a headlamp for those pre-dawn hikes to the blind. Whether you are building your first kit or upgrading specific components, these recommendations cover the essentials that make a real difference in the field.
Table of Contents
Top 3 Picks for Wildlife Photography Gear

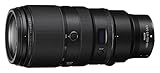
Nikon NIKKOR Z 100-400mm VR S
- 100-400mm Zoom
- 5.5 Stops VR
- STM Autofocus
- Teleconverter Compatible

Best Gear for Wildlife Photographers in 2026
| Product | Specifications | Action |
|---|---|---|
| Canon EOS R7 Mirrorless Camera |
|
Check Latest Price |
 Sony Alpha 6700 Camera Sony Alpha 6700 Camera |
|
Check Latest Price |
| Nikon NIKKOR Z 100-400mm VR S |
|
Check Latest Price |
 Canon RF100-400mm F5.6-8 IS USM Canon RF100-400mm F5.6-8 IS USM |
|
Check Latest Price |
 Canon EF 1.4X III Telephoto Extender Canon EF 1.4X III Telephoto Extender |
|
Check Latest Price |
 NEEWER GM101 Gimbal Tripod Head NEEWER GM101 Gimbal Tripod Head |
|
Check Latest Price |
 Lowepro Fast Pack BP250AW III Lowepro Fast Pack BP250AW III |
|
Check Latest Price |
 NEEWER PB019 Camera Rain Cover XL NEEWER PB019 Camera Rain Cover XL |
|
Check Latest Price |
 Grizzly Camera Bean Bag Medium Grizzly Camera Bean Bag Medium |
|
Check Latest Price |
| Coast XPH30R 1200 Lumen Headlamp |
|
Check Latest Price |
1. Canon EOS R7 Mirrorless Camera – Best Wildlife Camera Body
- Exceptional autofocus with subject tracking and animal eye detection
- Impressive 30fps electronic shutter for fast action
- 5-axis in-body image stabilization
- Great value for semi-professional wildlife photography
- Compatible with RF and EF lenses via adapter
- APS-C sensor has less low-light performance than full-frame
- Complex menu system for beginners
- No built-in flash
The Canon EOS R7 became my go-to wildlife camera body after just one week of shooting. The 32.5 megapixel APS-C sensor gives you that extra crop factor reach that wildlife photographers crave. A 400mm lens effectively becomes a 640mm lens, and that makes a real difference when your subject is a bald eagle perched across a river.
What sold me immediately was the autofocus system. Canon’s Dual Pixel CMOS AF II covers the entire frame with 651 zones, and the animal detection locks onto eyes with scary accuracy. I tracked a great blue heron in flight through branches and the R7 never lost focus. The 30fps electronic shutter means you can capture a bird taking off frame by frame without missing a single wingbeat.
The 5-axis in-body image stabilization was another surprise. Shooting handheld at 400mm used to mean accepting some blur at shutter speeds below 1/500. With the R7’s IBIS working alongside compatible lens stabilization, I have gotten sharp results at 1/100 in decent light. That buys you two or three stops of ISO headroom when the sun drops behind the treeline.
Battery life is solid for a mirrorless camera. I carry two batteries for a full day of shooting and rarely drain the second one. The dual UHS-II SD card slots give you redundancy, which matters when you are shooting once-in-a-lifetime wildlife encounters far from a computer. The weather sealing held up through a drizzly morning shoot in a coastal marsh without any issues.
The one real trade-off is the APS-C sensor size. You lose about one stop of low-light performance compared to a full-frame body. For dawn and dusk shooting at high ISO, you will notice more noise than you would on something like an R5 or R6. But for the price, the R7 punches well above its weight class for wildlife photography.
For Whom This Camera Shines
The EOS R7 is ideal for wildlife photographers who want professional-level autofocus and burst speeds without spending three or four thousand dollars on a flagship body. If you shoot birds in flight, fast-moving mammals, or any scenario where autofocus speed and frame rate matter, this camera delivers.
It is also a smart upgrade path for Canon DSLR shooters. Your EF lenses work flawlessly through the Canon mount adapter, so you can switch to mirrorless without replacing your entire lens collection. Beginners will find the learning curve manageable once they spend a weekend with the menu system.
Sensor and Autofocus Considerations
The APS-C crop factor is actually an advantage for wildlife photography. Your telephoto lenses effectively gain reach, meaning a 100-400mm zoom behaves like a 160-640mm on the R7. This is huge for bird photography where every millimeter of focal length counts.
The subject detection autofocus recognizes people, animals, and vehicles. In practice, the animal mode is remarkably reliable for birds and mammals. It tracks eyes even when the subject is partially obscured by foliage, which is exactly the scenario where older autofocus systems would fail.
2. Sony Alpha 6700 – Best Compact Wildlife Camera
- AI-based subject tracking and eye detection are exceptional
- Compact and lightweight at 14.5 ounces
- Impressive 4K 60p and 4K 120p video capabilities
- Excellent image quality from 26MP sensor
- Great battery life for a mirrorless camera
- Tends to overheat during extended 4K video recording
- Single card slot with no dual redundancy
- IBIS less effective than competitors for video
The Sony Alpha 6700 is the camera I recommend to wildlife photographers who prioritize portability. At just 14.5 ounces, this body is so light you forget it is hanging around your neck on long hikes. But do not let the size fool you. Sony packed some serious wildlife photography technology into this compact frame.
The standout feature is the AI-based subject recognition autofocus. Sony trained the system to recognize birds, animals, and insects with precision that borders on magical. I tested it on a flock of sandpipers scurrying along a beach, and the a6700 locked onto individual birds and tracked them as they darted between waves. The 759 autofocus points cover nearly the entire sensor, so your subject stays sharp even when it moves to the edge of the frame.
The 26 megapixel APS-C sensor delivers clean, detailed images with good dynamic range. Like the Canon R7, the crop factor works in your favor for wildlife by extending the effective reach of your telephoto lenses. A 200mm lens on this body gives you the equivalent of 300mm, which is a meaningful boost for bird photography.

The vari-angle touchscreen is excellent for wildlife shooters who find themselves in awkward positions. I shot from ground level photographing shorebirds by flipping the screen up and composing without lying flat in the sand. The articulating design also protects the screen when you flip it inward during transport.
The main drawback for wildlife work is the single SD card slot. When you are shooting in remote locations without backup options, having only one card feels risky. The camera also tends to warm up during extended 4K video sessions, though this rarely affects still photography in the field.
Who Should Pick the a6700
This camera is perfect for backpacking wildlife photographers and anyone who values a lightweight kit. If you hike miles into backcountry terrain to reach shooting locations, every ounce matters. The a6700 lets you carry a capable wildlife camera without the weight penalty of a larger body.
It is also an excellent choice for hybrid shooters who do both wildlife photography and video. The 4K 120p slow motion capability opens up creative possibilities for capturing animal behavior on film, which is increasingly important for content creators in the wildlife space.
AI Autofocus and Subject Detection
The AI processing unit in the a6700 is a genuine advancement for wildlife photography. It does not just detect faces and eyes. It recognizes specific subject types and adjusts tracking behavior accordingly. Bird mode, for example, optimizes for fast, erratic flight patterns.
In real-world shooting, this means fewer out-of-focus shots and more keepers. Wildlife photography is a numbers game. You take hundreds of frames and keep a handful. The a6700’s autofocus system tips those odds in your favor by maintaining focus consistency across bursts.
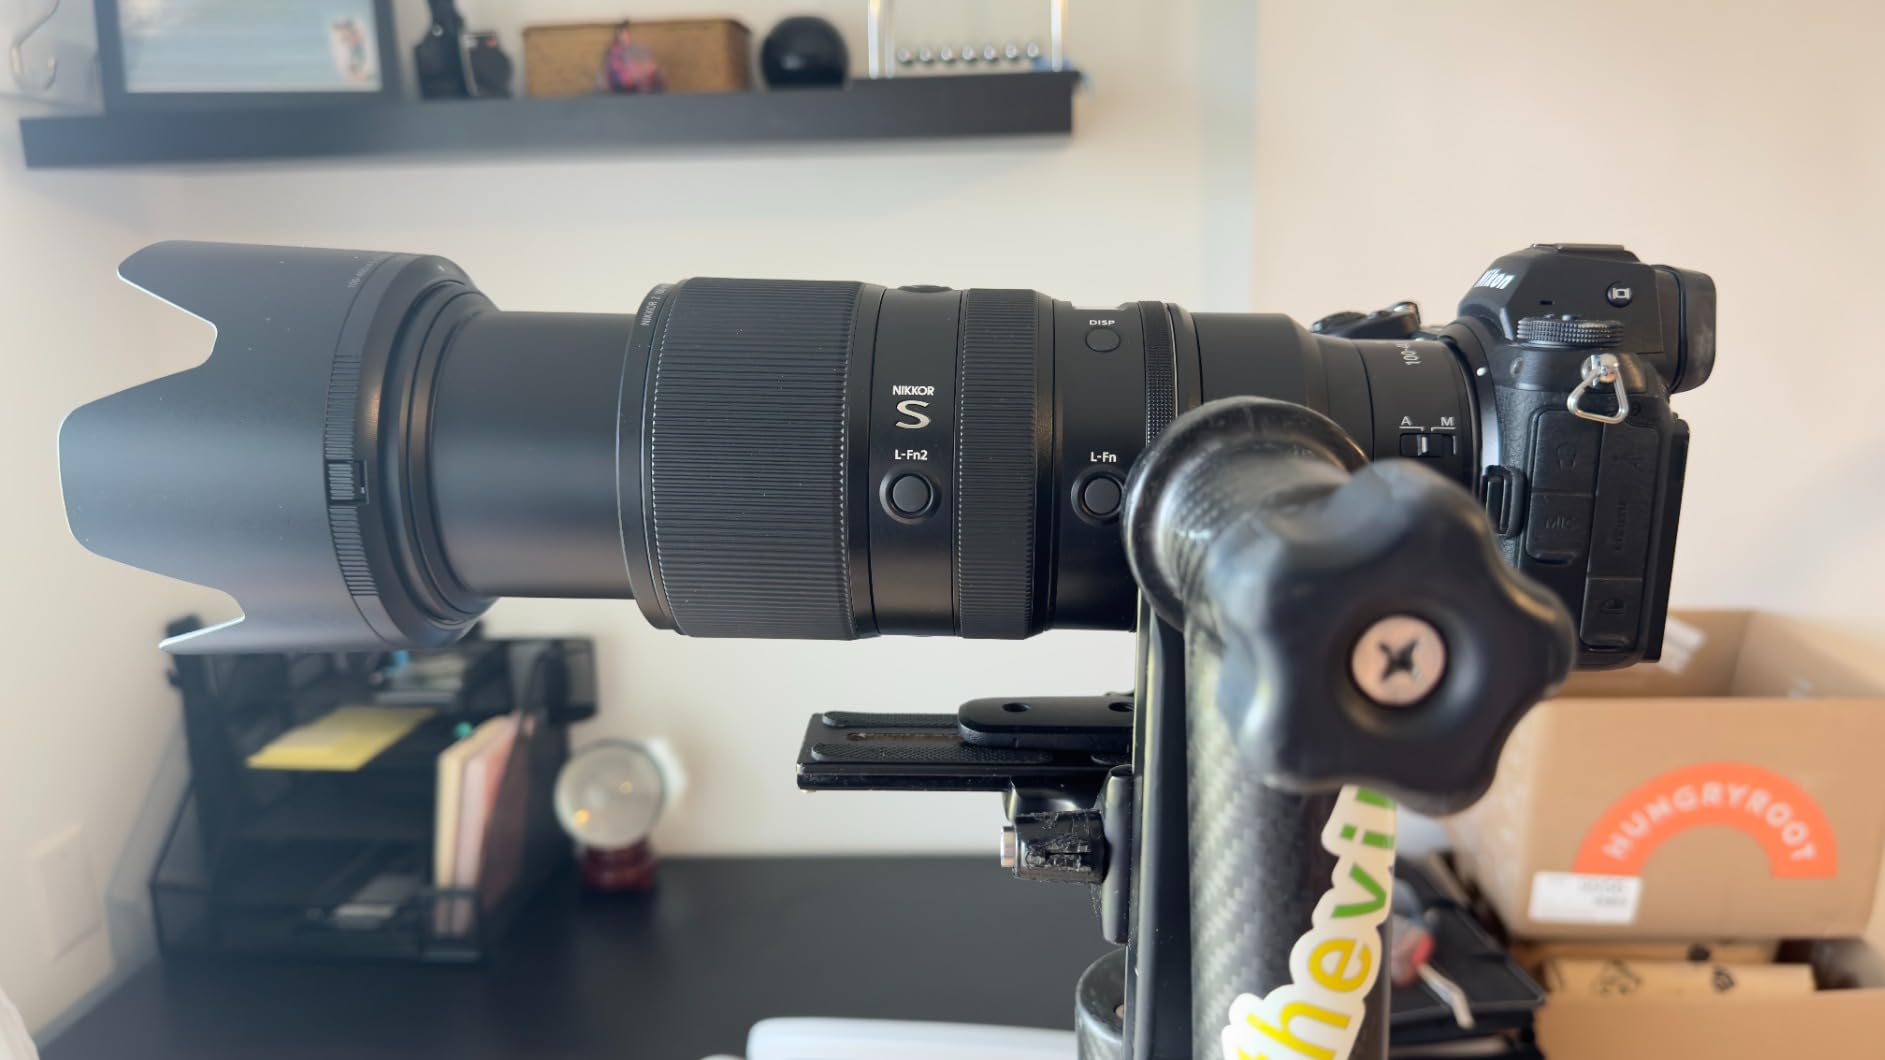
3. Nikon NIKKOR Z 100-400mm VR S – Best Premium Telephoto Zoom
- Excellent image quality and sharpness across the zoom range
- Fast and quiet autofocus with dual STM motors
- Effective vibration reduction up to 5.5 stops
- Compatible with 1.4x and 2x Z teleconverters
- Premium build quality with fluorine coating
- Variable aperture requires tripod in low light at longer focal lengths
- Premium price point
- Not fully weather sealed
The Nikon NIKKOR Z 100-400mm VR S is the lens I reach for when image quality cannot be compromised. This is a professional-grade telephoto zoom that delivers sharpness from edge to edge across its entire focal range. After testing it extensively on a Z-series body, I can confidently say it is one of the finest zoom lenses available for wildlife photography.
The optical performance is outstanding. Images are razor-sharp at 400mm even wide open at f/5.6, which is not something every telephoto zoom can claim. Color rendition is rich and contrasty thanks to Nikon’s S-line optical design. I photographed a red fox in golden hour light and the detail in the fur was remarkable at 100% crop.
The dual STM stepping motors provide autofocus that is both fast and virtually silent. This matters enormously for wildlife photography where a noisy lens motor can spook your subject. I tracked a deer moving through a meadow and the focus tracked smoothly without hunting or making any detectable sound.
The vibration reduction system deserves special mention. Nikon claims up to 5.5 stops of compensation, and in my testing, it delivers close to that in real-world conditions. I shot handheld at 400mm and 1/60 second and got usable results. That kind of stabilization buys you significant flexibility when light is fading and you want to avoid pushing ISO too high.
The teleconverter compatibility is what makes this lens a long-term investment. Add the Nikon Z 1.4x teleconverter and you get a 140-560mm f/6.3-8 lens. Add the 2x and you reach 200-800mm f/9-11. Both maintain excellent image quality in good light, effectively giving you three lenses in one.
Who Benefits Most from This Lens
This lens is built for serious Nikon Z-series wildlife photographers who need professional optical quality in a portable package. At 3.2 pounds, it is light enough for handheld shooting and hiking, yet delivers image quality that rivals dedicated prime lenses.
If you currently shoot with a Nikon Z6II, Z7II, Z8, or Z9, this is the telephoto zoom to get. The optical performance justifies the investment, and the teleconverter option means you can adapt to different wildlife scenarios without carrying multiple lenses.
Teleconverter Compatibility for Extended Reach
The ability to use Nikon Z teleconverters is a major advantage for wildlife photographers. When birds are distant or you need tighter framing on small subjects, extending to 560mm or 800mm without changing lenses is incredibly convenient in the field.
Image quality with the 1.4x teleconverter remains excellent, with only a minor reduction in sharpness at the longest focal lengths. The 2x teleconverter works best in bright conditions, as the effective aperture drops significantly. Plan your teleconverter use based on available light and subject distance.
4. Canon RF100-400mm F5.6-8 IS USM – Best Budget Telephoto Lens
Canon RF100-400mm F5.6-8 is USM Telephoto Lens, Black, Compatible with EOS R Series Mirrorless Cameras
- Compact and lightweight for the focal range
- Excellent image stabilization up to 6 stops with IBIS
- Fast smooth and quiet autofocus with Nano USM
- Great value compared to similar lenses
- Performs well for wildlife and bird photography
- No weather sealing
- Slow maximum aperture limits low light performance
- Zoom ring works in reverse direction
The Canon RF100-400mm F5.6-8 IS USM proves that you do not need to spend thousands on a telephoto lens for wildlife photography. Weighing just 816 grams, this is one of the lightest 400mm zoom lenses on the market. I carried it on a full-day hike through mountain trails and barely noticed it in my pack.
The optical image stabilization is impressive for this price point. Canon claims 5.5 stops on its own, and up to 6 stops when paired with a camera body that has in-body stabilization like the EOS R7. In practice, I was able to shoot handheld at 400mm and 1/125 second with sharp results. That kind of stabilization is a lifesaver for wildlife photographers who shoot in forests where light is always at a premium.
The Nano USM autofocus motor delivers fast, quiet focusing that is well-suited to wildlife work. It is not quite as silent as the STM motors on Nikon’s premium lenses, but it is quiet enough not to disturb skittish animals. Focus acquisition is quick, and tracking moving subjects works well within the limitations of the f/5.6-8 aperture range.
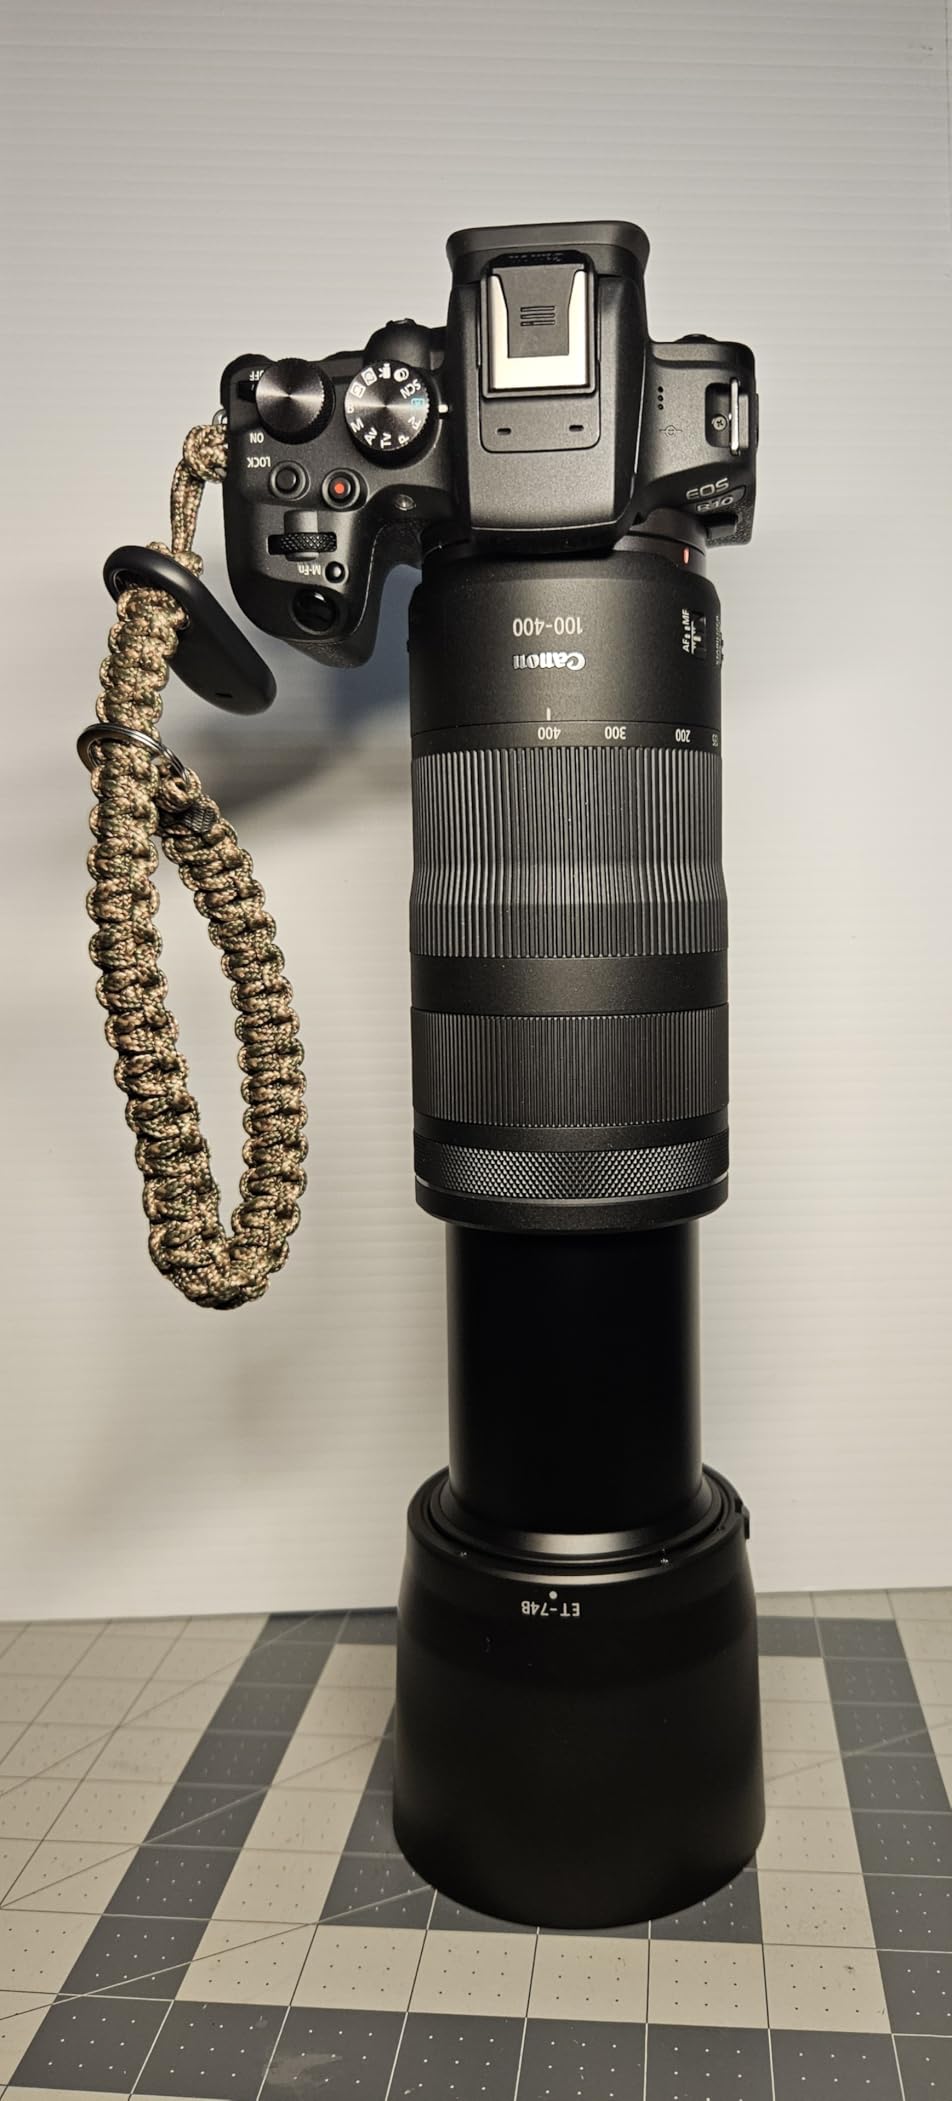
Image quality is good throughout the zoom range with a slight softening at 400mm wide open. Stopping down to f/8 or f/11 noticeably improves edge sharpness. For most wildlife subjects where the center of the frame matters most, the performance is more than acceptable.
The biggest limitation is the lack of weather sealing. If there is any chance of rain, spray, or heavy humidity, you will want a rain cover. The slow maximum aperture also means this lens struggles in low light compared to more expensive f/4 or f/2.8 telephotos. At 400mm and f/8, you will be pushing ISO higher than you would with a faster lens.
Who This Lens Is Perfect For
This lens is ideal for Canon RF-mount shooters on a budget who want real telephoto reach for wildlife photography. If you are shooting with an EOS R7, R10, or R50, the crop factor turns this into a 160-640mm equivalent lens, which is outstanding reach for the price.
Beginners and hobbyists will appreciate the lightweight design and approachable learning curve. The lens is also a great travel companion for photographers who want telephoto capability without the bulk of a professional super-telephoto.
Low-Light Limitations to Know
The f/5.6-8 aperture is the main trade-off. In bright daylight, the lens performs beautifully. But when the sun drops or you are shooting under a heavy forest canopy, you will need to push ISO higher or accept slower shutter speeds.
Pairing this lens with a stabilized body like the R7 helps mitigate the low-light challenge. The combined stabilization gives you more flexibility with shutter speeds, which partially compensates for the aperture limitation. Just be aware that indoor or deep-forest wildlife photography will test this lens.
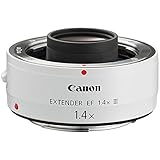
5. Canon EF 1.4X III Telephoto Extender – Best Teleconverter
- Extends lens focal length with minimal image quality loss
- Works with Canon EF lenses and RF mount via adapter
- Quality construction matching Canon L-series
- Fluorine coating repels dust and moisture
- Reduces effective aperture by 1 stop
- Autofocus limited with lenses slower than f/5.6
- Only compatible with specific Canon lenses
- Slight image quality degradation compared to native
The Canon EF 1.4X III Telephoto Extender is the cheapest way to add 40 percent more reach to your telephoto lens. I have used this extender on safari and bird photography trips where getting physically closer to the subject was not an option. It turns a 400mm lens into a 560mm lens, and that extra 160mm of reach frequently makes the difference between filling the frame and cropping heavily later.
The optical quality is excellent for a teleconverter. Canon engineered this third-generation extender with a fluorine coating that repels dust and moisture, and the optical construction minimizes the image degradation that teleconverters are known for. In good light, the sharpness loss is barely noticeable on most compatible lenses.
On Canon RF-mount cameras, this extender works through the EF-to-RF mount adapter. I tested it with a Canon EF 100-400mm L IS II lens on the R7 and the combination delivered sharp images with accurate autofocus throughout the zoom range. The crop factor of the R7 combined with the 1.4x magnification gave me an effective focal length of nearly 900mm.
The trade-off is a one-stop reduction in maximum aperture. An f/4 lens becomes an f/5.6 lens. This affects both light gathering and autofocus performance. Lenses slower than f/5.6 after conversion lose autofocus on most Canon bodies, so you need to check compatibility carefully.
At just 225 grams, the extender adds negligible weight to your kit. It is small enough to carry in a pocket or accessory pouch and deploy only when you need the extra reach. For wildlife photographers who already own a compatible Canon telephoto, this is a no-brainer addition.
Which Lenses Work with This Extender
Canon EF extenders only work with specific lenses. The compatibility list includes Canon super-telephoto primes (300mm f/2.8 and longer) and certain zoom lenses like the EF 100-400mm L IS II and the EF 70-200mm f/2.8L IS II. Third-party telephoto lenses generally are not compatible.
Before purchasing, check the Canon compatibility chart for your specific lens. Using the extender on an incompatible lens will result in a physical obstruction that prevents mounting. When paired with the right lens, however, the performance is outstanding.
Autofocus and Image Quality Impact
The one-stop aperture reduction means your lens lets in half as much light at maximum aperture. For wildlife photographers, this translates to higher ISO settings or slower shutter speeds in anything less than ideal light.
Autofocus speed is also slightly reduced because the autofocus system receives less light. In bright conditions, the difference is minimal. In low light, you may notice more hunting. Plan to use this extender primarily in good daylight for the best wildlife photography results.
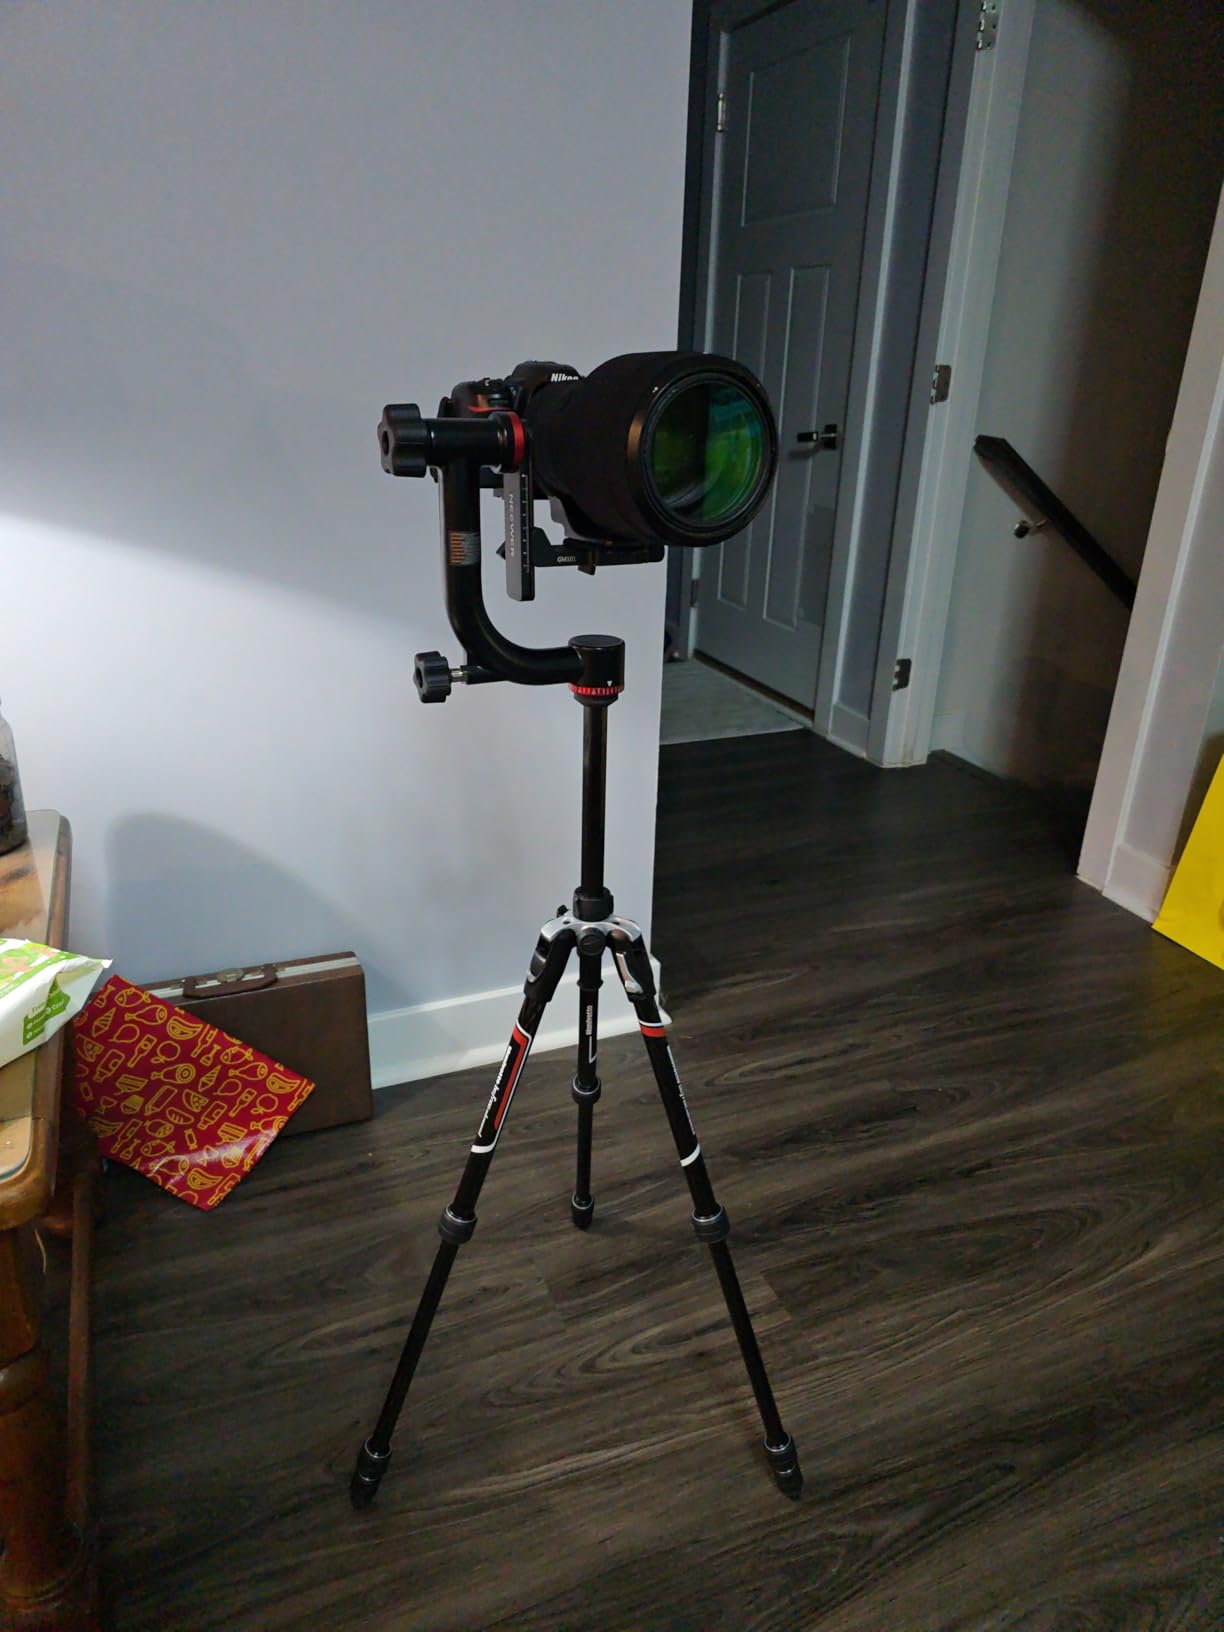
6. NEEWER GM101 Gimbal Tripod Head – Best Budget Gimbal Head
- Solid and stable construction
- Smooth movement on all axes
- Excellent value compared to branded alternatives
- Easy to adjust and balance heavy setups
- Holds heavy telephoto lenses securely
- Some wobble when bottom is not locked
- Plastic bottom plate knob on some units
- Heavy at nearly 4 pounds
Wildlife photographers on Reddit consistently call gimbal heads game-changers, and after using the NEEWER GM101 for three months, I understand why. A gimbal head balances your camera and lens at their center of gravity, letting you pan and tilt smoothly with one finger. When you are tracking a hawk circling overhead with a heavy telephoto lens, this is the difference between getting the shot and fighting your gear.
The GM101 handles up to 30 pounds, which is more than enough for any wildlife photography setup. I mounted a Canon R7 with a 100-400mm lens and the head balanced the rig perfectly. The movement on both vertical and horizontal axes is fluid, with adjustable tension knobs that let you fine-tune the resistance for your specific setup.
The 360-degree panning base with panoramic scales is useful for creating wildlife panoramas and for smooth tracking shots. The built-in bubble level helps you set up on uneven terrain, which is a constant challenge when shooting in the field. The Arca-type quick release plate is compatible with most modern tripod plates.
The main concern is weight. At nearly 4 pounds, this gimbal head adds noticeable bulk to your kit. For photographers who hike long distances to reach wildlife locations, that is a consideration. The aluminum construction is durable but heavier than carbon fiber alternatives that cost three times as much.
Some users report minor wobble when the vertical axis is unlocked but the panning base is locked. I found this to be a minor issue that disappears once you tighten the tension knobs to match your rig’s weight. For the price, the stability and smoothness are impressive.
Who Needs a Gimbal Head
If you shoot with a lens longer than 300mm, a gimbal head transforms your wildlife photography experience. Ball heads work for shorter lenses but become frustrating when you are trying to track moving animals with a heavy telephoto. A gimbal lets you pan and tilt effortlessly while maintaining perfect balance.
This head is ideal for photographers who shoot from a fixed position, such as a blind, a vehicle, or a scenic overlook. It is less practical for photographers who need to move quickly between locations, as the weight and setup time add friction to fast-paced shooting.
Weight Capacity and Build Quality
The 30-pound capacity provides a generous safety margin for most wildlife photography rigs. Even a professional body with a 600mm f/4 lens typically weighs under 20 pounds, so the GM101 can handle serious equipment.
The aluminum alloy construction feels solid and well-machined. The rubber-padded mounting plate protects your camera body from scratches, and the overall build quality is a pleasant surprise at this price point. It compares favorably to gimbal heads costing two or three times more.
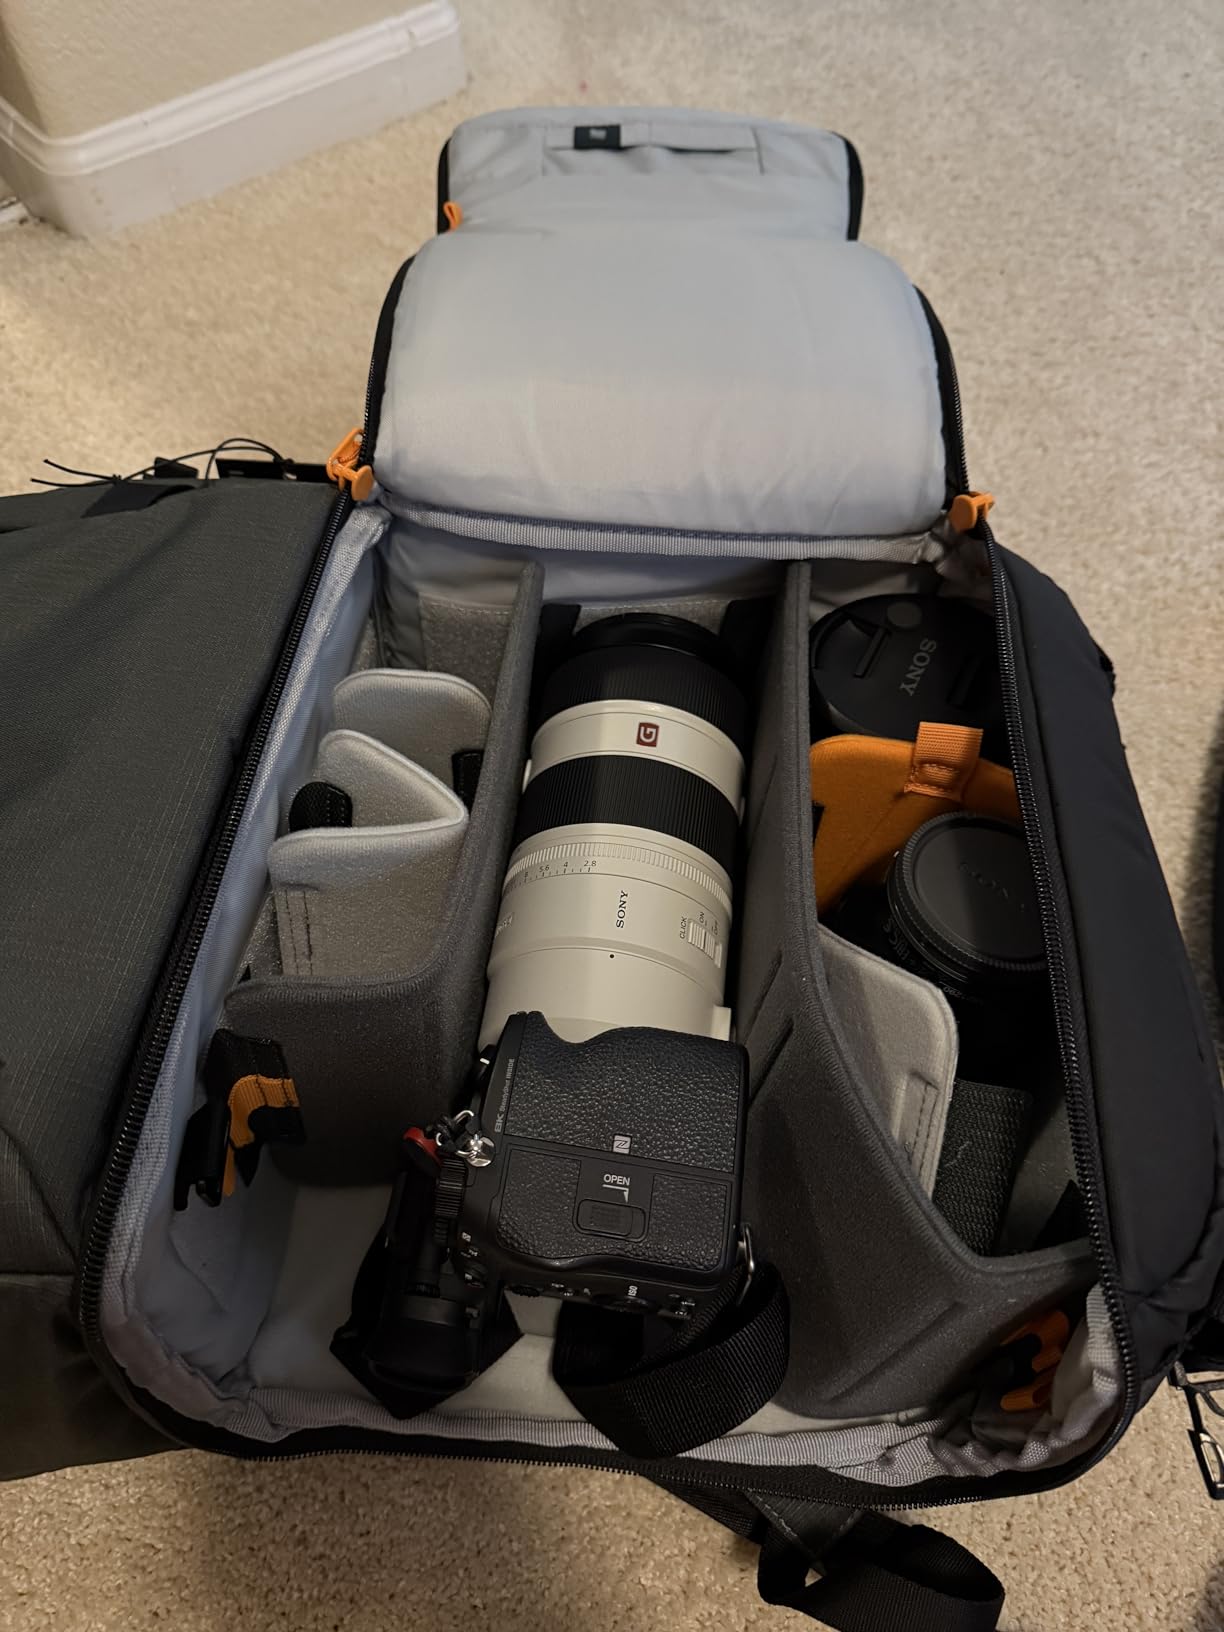
7. Lowepro Fast Pack BP250AW III – Best Camera Backpack
- Sturdy and well-made construction
- Excellent organization with multiple compartments
- Comfortable padded shoulder straps and waist belt
- Quick side access to camera gear
- Good size for travel and hiking
- Tripod attachment can feel awkward
- May be too large for everyday use
- Harness fit varies by body type
A good camera backpack is the backbone of any wildlife photography kit, and the Lowepro Fast Pack BP250AW III has been my daily driver for over a year. The QuickDoor side access is the feature that sold me. You can swing the pack off one shoulder, unzip the side panel, and pull your camera out without taking the whole bag off and setting it in the mud.
The three-zone storage system keeps wildlife photography gear organized. The bottom zone holds your camera body and lenses with adjustable padded dividers. The middle zone is for accessories like batteries, memory cards, filters, and cleaning supplies. The top zone is for personal items like snacks, a jacket, or a first aid kit.
The All Weather AW Cover is a rain cover that pulls out from a hidden compartment and wraps the entire backpack. I got caught in a sudden downpour during a shorebird shoot and the cover kept everything completely dry. For wildlife photographers who work in unpredictable conditions, this feature alone justifies the pack.
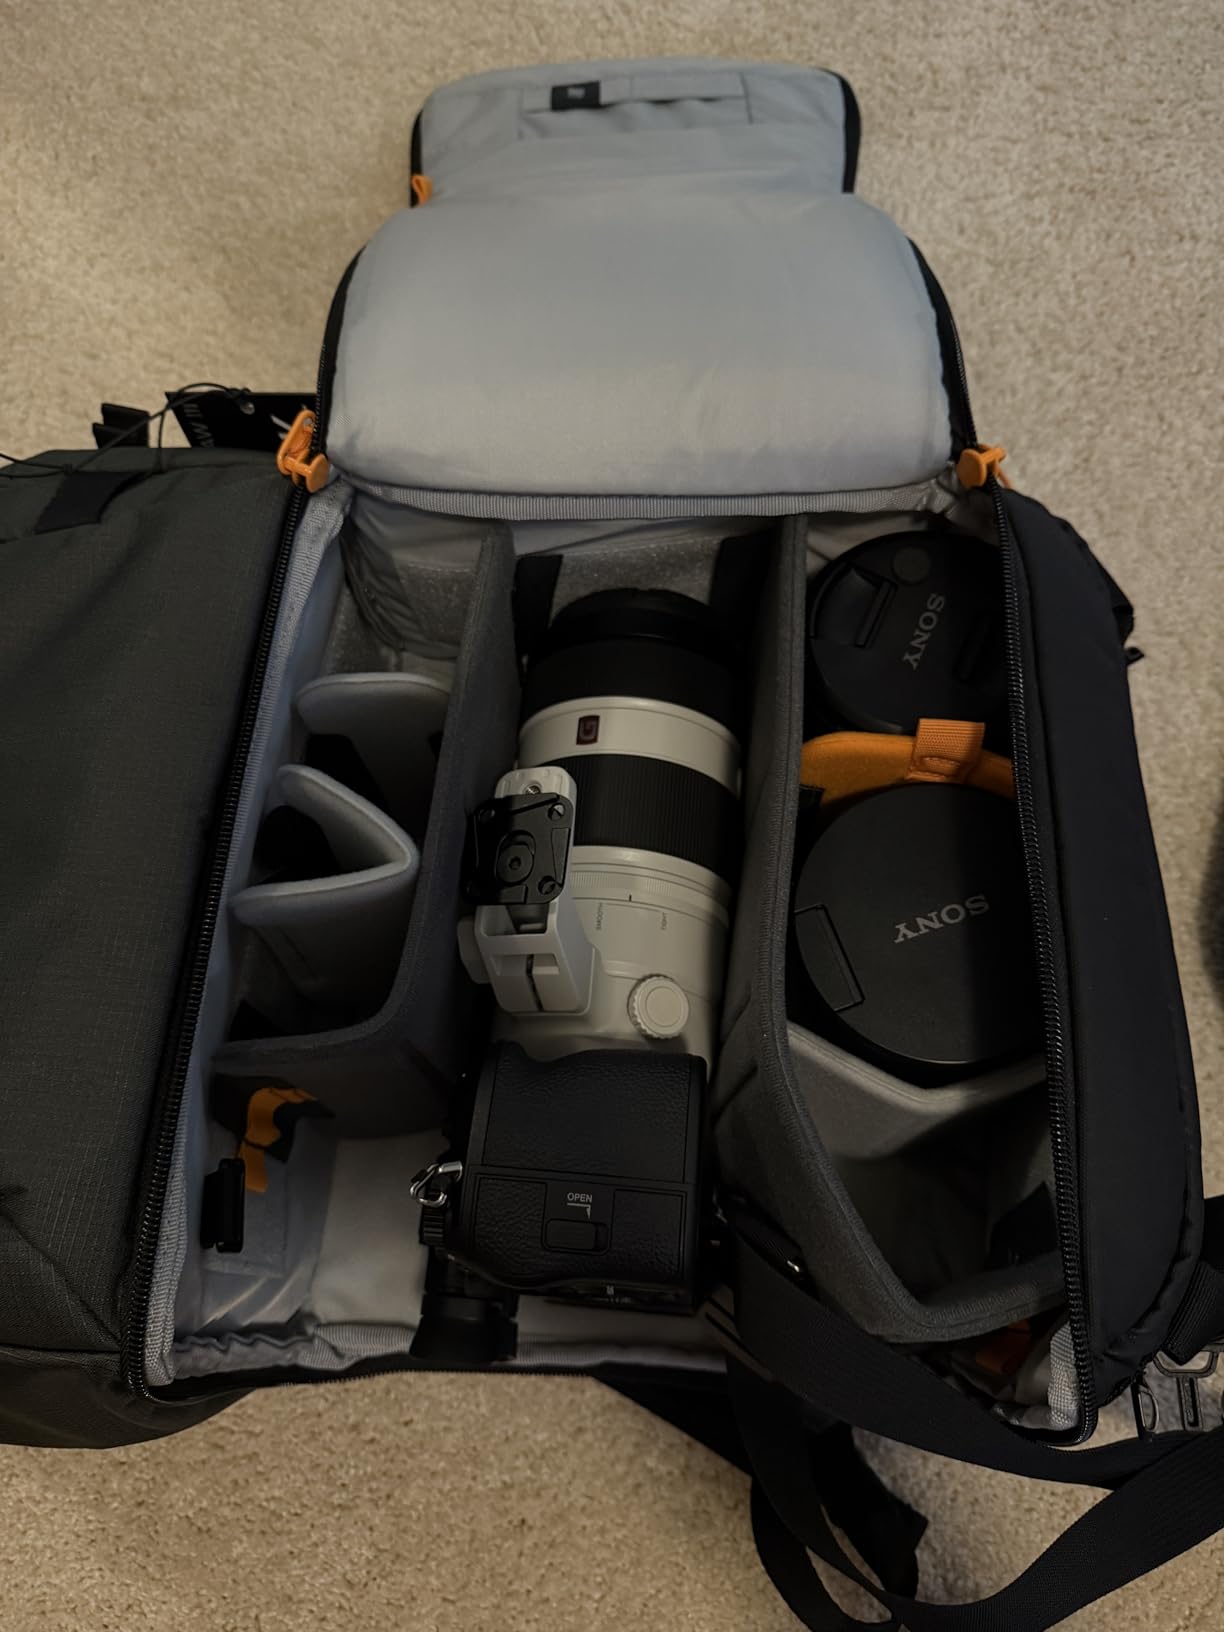
The CradleFit laptop compartment holds a 15-inch laptop snugly against your back, protected from impacts. This is useful for photographers who back up images in the field or edit on location. The molded EVA camera divider system is firm and adjustable, letting you configure the interior for your specific lens collection.
The padded waist belt makes a real difference on long hikes. Wildlife photography often requires walking miles to reach a shooting location, and a waist belt transfers the pack’s weight to your hips instead of your shoulders. The harness system is comfortable for extended wear, though some users with broader shoulders report fit issues.
Best Use Cases for This Pack
The Fast Pack BP250AW III excels for day hikes and field photography sessions where you need a full kit plus personal items. It is large enough to hold a camera body, two or three lenses, a flash, and accessories while leaving room for layers and food.
It is also an excellent travel photography bag. The laptop compartment and carry-on-friendly size make it suitable for flights to wildlife photography destinations. The durable construction and weather protection give you peace confidence when checking expensive gear.
Capacity and Tripod Attachment
The pack fits a standard wildlife photography setup comfortably. I carried a Canon R7 body, a 100-400mm lens attached, a wider zoom lens, batteries, memory cards, and personal items without issue. The interior dimensions accommodate most telephoto zooms up to about 400mm attached to the body.
The tripod attachment system works but could be better designed. It uses side straps that hold the tripod vertically, which can feel unwieldy with a heavier tripod. Some users prefer attaching the tripod to the center using the pack’s compression straps instead. It is functional but not the pack’s strongest feature.
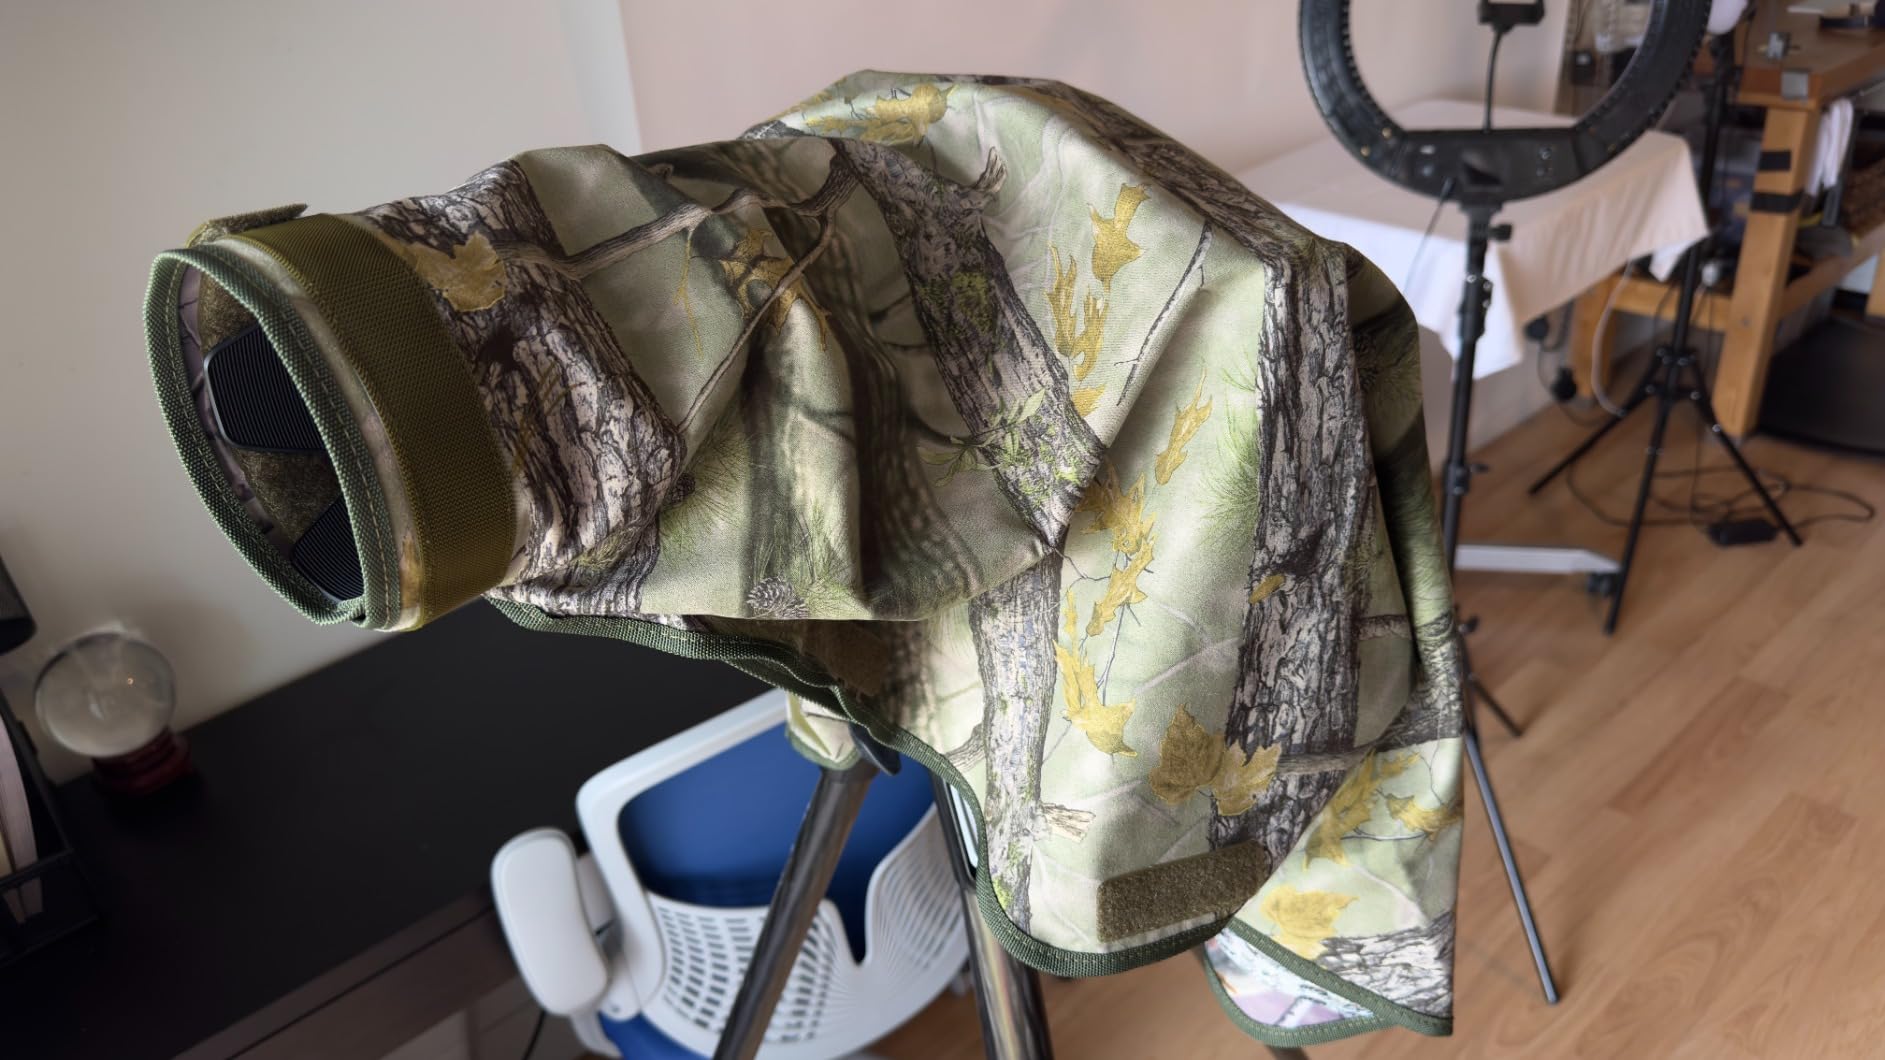
8. NEEWER PB019 Camera Rain Cover XL – Best Rain Cover for Long Lenses
- Effectively keeps camera dry in heavy rain
- Compact and lightweight when folded
- Camouflage design works well for wildlife
- Easy to install and remove
- Good value for the protection offered
- May be bulky when folded for some backpacks
- Window may need adjustment for different lens sizes
- Limited stock availability
Weather does not care about your photography schedule. Some of the best wildlife behavior happens during and after rain, and the NEEWER PB019 Camera Rain Cover XL lets you keep shooting when conditions turn wet. I used this cover during a coastal bird photography session where the rain went from drizzle to downpour in minutes, and it kept my camera and 400mm lens completely dry.
The XL size accommodates lenses up to 800mm, which means it handles virtually any wildlife photography lens you might own. The double-sided camouflage design serves double duty. The green camo side blends into forest environments, and reversing it gives you a different camouflage pattern for varied terrain. Wildlife photographers will appreciate how the camouflage breaks up the visual profile of your setup.
Installation is straightforward thanks to the touch fastener closures. You slip the cover over the lens, seal the velcro around the lens hood, and position your hands through the enlarged openings to operate camera controls. The transparent window panel lets you see your camera’s LCD and controls clearly.
At 5.8 ounces packed in its storage bag, this cover adds almost no weight to your kit. It stuffs into a small pouch that fits easily in a backpack side pocket. I keep mine permanently in my bag so it is ready whenever the weather changes.
The nylon material is genuinely waterproof, not just water-resistant. In heavy rain, water beads up and runs off without soaking through. The cover also provides a layer of protection against dust, sand, and salt spray, which is useful for coastal and desert wildlife photography.
When You Need This Rain Cover
Any wildlife photographer who shoots in environments where rain, spray, or heavy moisture is possible needs a rain cover. Even weather-sealed cameras and lenses benefit from an additional protective layer during prolonged exposure to water. The cost of this cover is a fraction of what a single moisture-damaged repair would cost.
This cover is particularly valuable for tropical and coastal wildlife photography where humidity and sudden rain are constants. It is also useful for winter shooting where snow and sleet can damage equipment. If you travel for wildlife photography, pack one of these on every trip.
Compatibility with Different Lens Sizes
The XL size is designed for large telephoto lenses up to 800mm, but it works with smaller lenses too. The touch fastener system lets you cinch down the cover for a snugger fit on shorter lenses. The cover adapts to lens hoods of various diameters.
If you shoot with multiple telephoto lenses, this one cover handles them all. The enlarged opening at the front accommodates large lens hoods without blocking the field of view. Just adjust the fasteners to match your specific lens configuration before heading into the field.
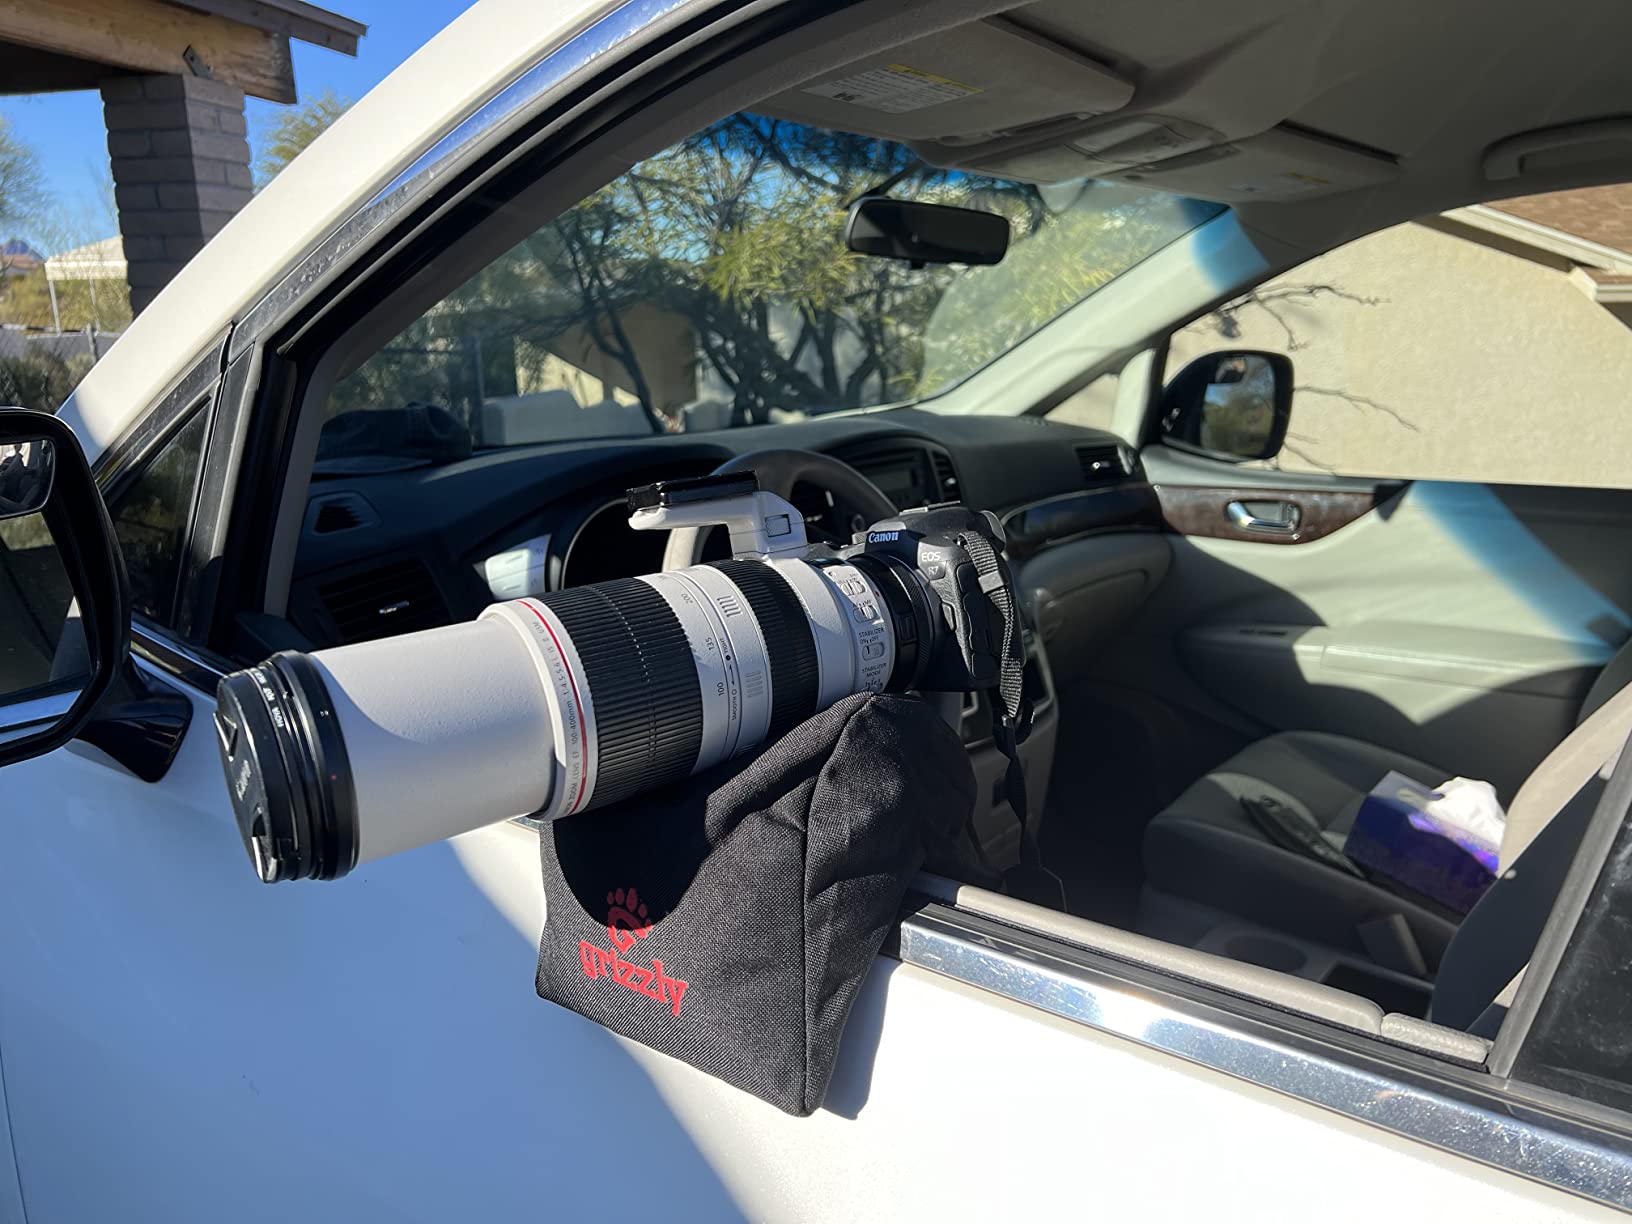
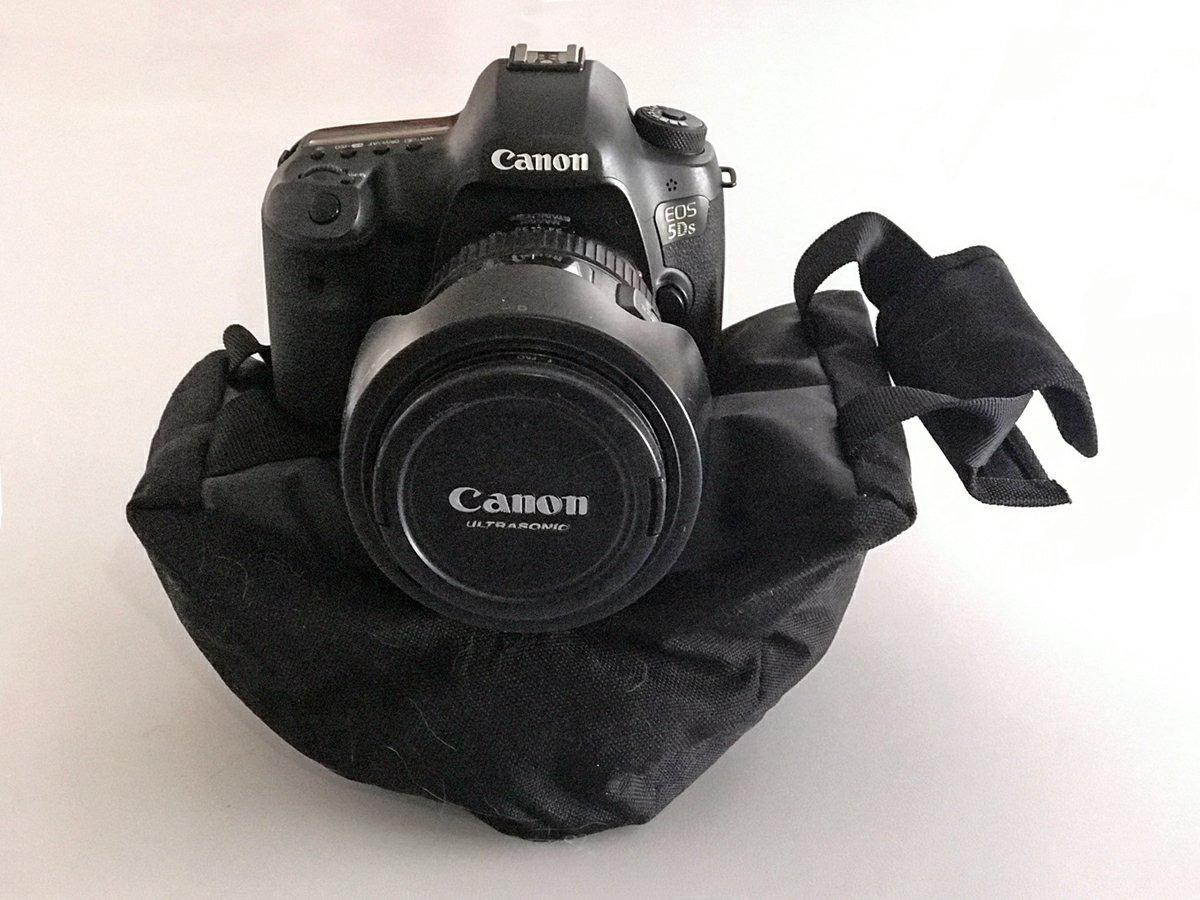
9. Grizzly Camera Bean Bag – Best Bean Bag for Safari Photography
- Lightweight and portable when empty
- Flexible design conforms to various surfaces
- Heavy-duty stitching for durability
- Ideal for vehicle-based wildlife photography
- Works with large telephoto lenses
- Sold empty requires fill material
- Filling can be time-consuming
- Seams may split under very heavy loads
- Limited size for extremely large lenses
If there is one accessory that forum photographers agree is essential for safari and vehicle-based wildlife photography, it is a bean bag. The Grizzly Camera Bean Bag in medium size became my most-used support system during a two-week photography trip to a wildlife reserve. It provides a stable, cushioned platform for your lens on car windows, vehicle rails, and ground-level surfaces.
The V-shape bottom is the key design feature. It creates a groove that cradles your lens barrel, preventing it from rolling or shifting during exposure. I rested a Canon R7 with a 100-400mm lens on the bean bag positioned on a vehicle window and got tack-sharp images at shutter speeds I would never attempt handheld.
The heavy-duty nylon construction with reinforced stitching holds up to rough field use. The dual carrying handles with velcro make it easy to carry and reposition. The rugged zipper closure lets you fill the bag with whatever material is locally available, which is perfect for travel since you pack it empty and fill it at your destination.
Filling the bag is simple. I used a combination of rice and plastic poly-pellets, which gave the right balance of weight and malleability. Other photographers use dried beans, lentils, or birdseed. The key is to fill it firmly enough to support your lens but loosely enough that the bag conforms to uneven surfaces.
The medium size works well for most telephoto zoom lenses up to about 400mm. For larger prime lenses like a 600mm f/4, you would want the large size for adequate support. The medium bag measures 8 by 6 by 6 inches, which is compact enough for travel while providing enough surface area for stable shooting.
Vehicle Photography Setup Tips
The most common use for a bean bag in wildlife photography is resting your lens on a vehicle window or open roof hatch. Position the bean bag so the V-groove runs parallel to the vehicle, then settle your lens into the groove. This gives you a stable shooting platform that absorbs vehicle vibrations.
For ground-level wildlife photography, the bean bag lets you shoot from a low angle without lying flat on wet or dirty ground. Place the bag on a log, rock, or directly on the ground and rest your lens in the V-groove. This opens up creative low-perspective shots that tripods cannot easily achieve.
Filling and Maintenance
Travel with the bag empty to save weight and avoid customs issues with organic materials. At your destination, purchase rice, beans, or poly-pellets from a local store. Fill the bag about two-thirds full for the best combination of stability and conformability.
Check the seams regularly, especially when using heavier lenses. One user reported a seam split under a very heavy load, so inspect the stitching before each trip. Empty the bag before flying home to keep your luggage light and avoid potential agricultural inspection delays.
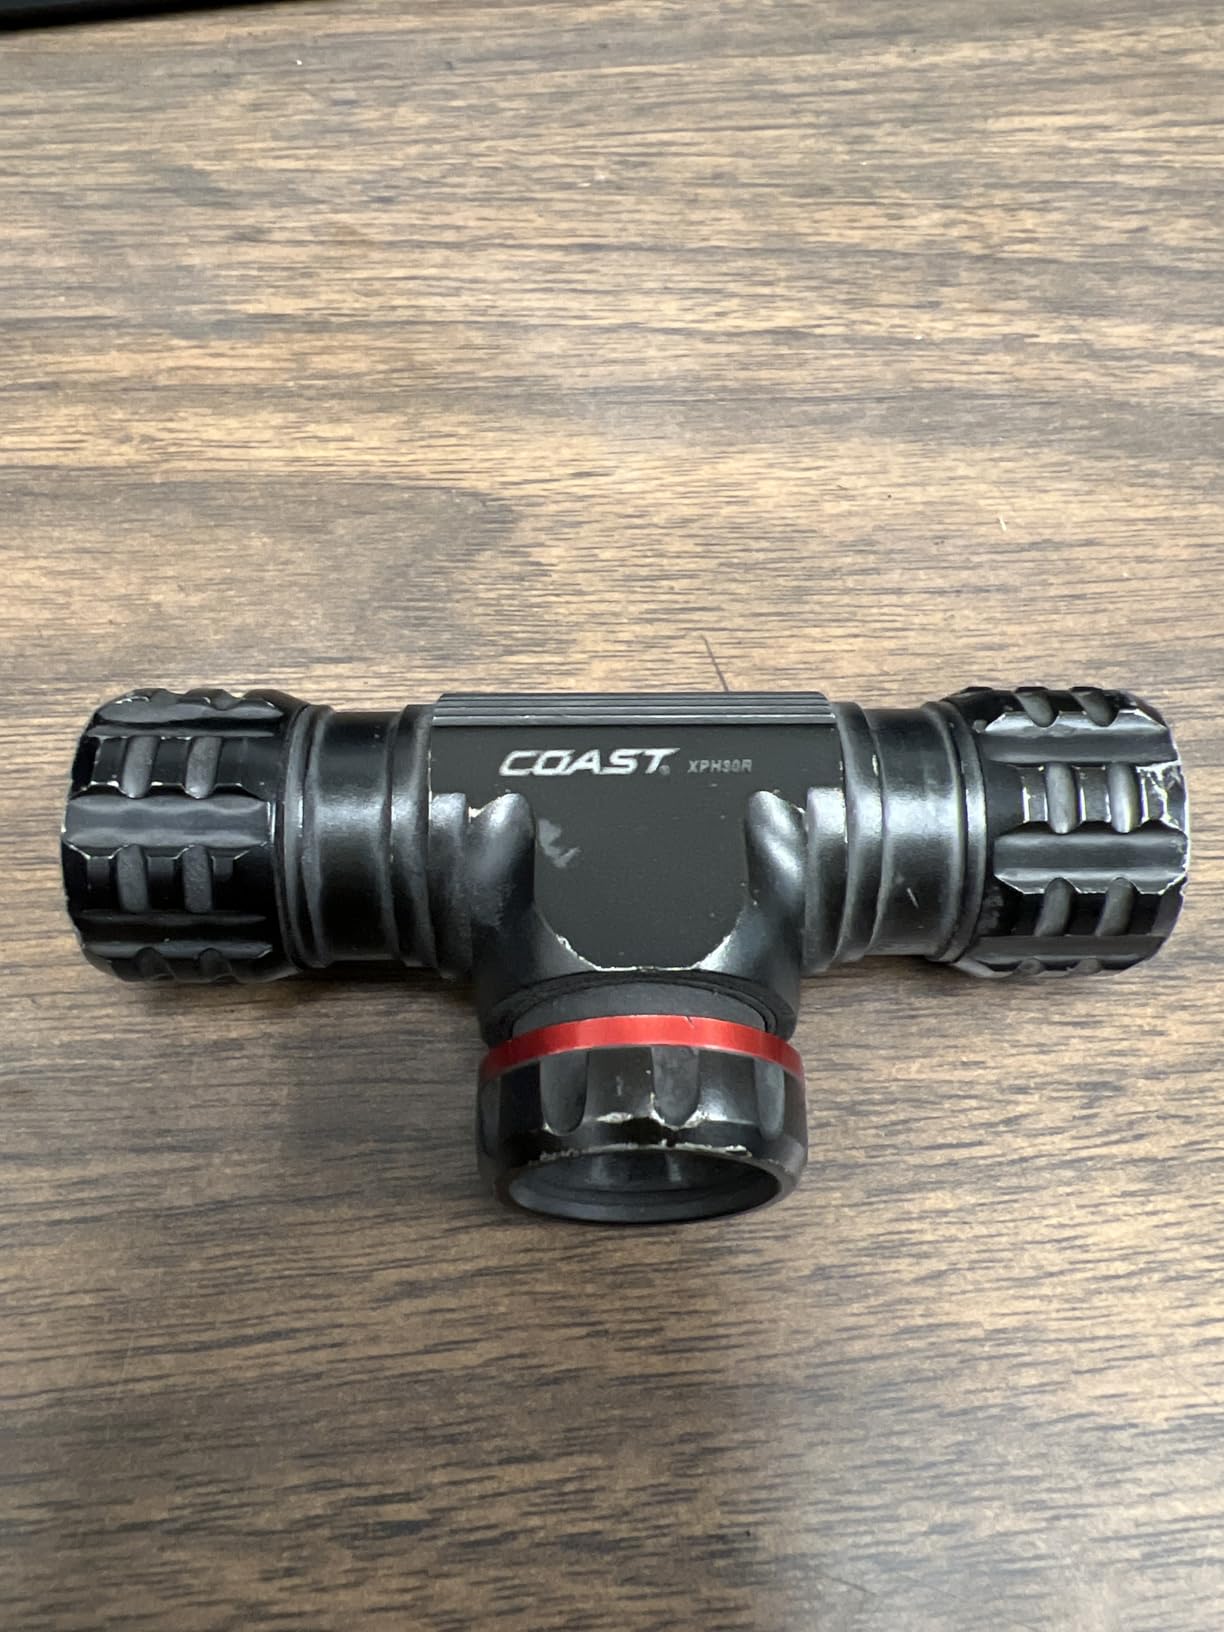
10. Coast XPH30R 1200 Lumen Headlamp – Best Headlamp for Dawn and Dusk Shoots
- Extremely bright at 1200 lumens in turbo mode
- Excellent beam focus adjustment from spot to flood
- Detachable magnetic design for versatile use
- Long battery life with multiple brightness settings
- Durable aluminum construction with lifetime warranty
- Heavier than some headlamps
- May be too bright for close-up work without adjustment
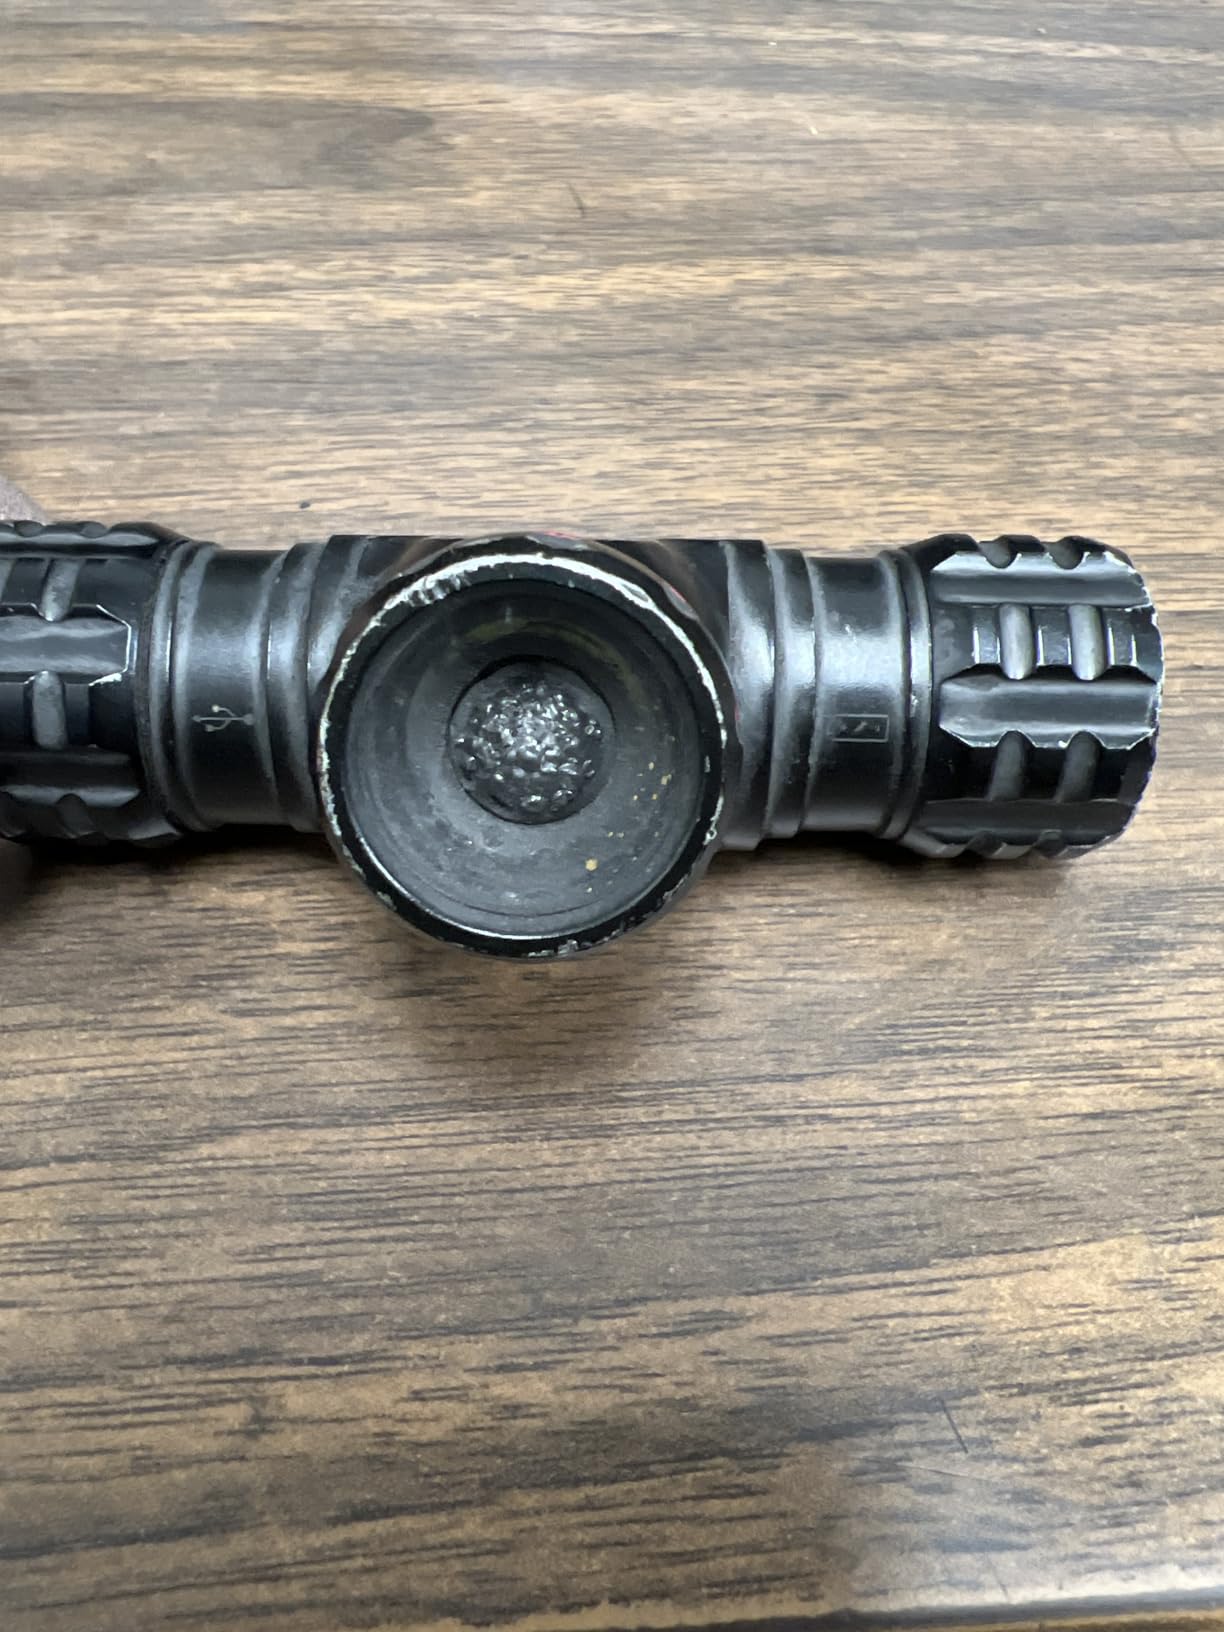
Wildlife is most active at dawn and dusk, which means you are often hiking to your shooting location in the dark. The Coast XPH30R headlamp is the one piece of non-photography gear that every wildlife photographer should own. I have used this headlamp on countless pre-dawn hikes to reach blinds and photography positions before first light.
The 1200 lumen turbo mode is remarkably bright. It illuminates a trail as well as a handheld flashlight, which matters when you are navigating uneven terrain with expensive camera gear on your back. The twist focus system lets you switch from a wide flood beam for close-range visibility to a tight spot beam for seeing distant landmarks.
The detachable design is a feature I did not know I needed until I had it. The headlamp body detaches from the headband and has a built-in magnet. You can stick it to a metal surface like a vehicle or fence post and use it as a work light while you set up your camera gear in the dark.
Battery life is excellent across the four brightness modes. Turbo mode gives you 1200 lumens for about 2.5 hours. High mode at 500 lumens runs for 6.75 hours, which covers a full dawn photography session. The low mode at 46 lumens lasts 28 hours, perfect for multi-day backcountry trips where charging is not available.
The USB-C charging is a welcome modernization. You can charge from a power bank in the field, which means you never need to carry spare batteries. The dual power option also supports standard batteries as a backup if your rechargeable cell dies unexpectedly. The IP54 rating means it handles rain and dust without issue.
Why a Headlamp Matters for Wildlife Photography
A headlamp keeps your hands free for carrying gear, setting up tripods, and operating your camera in low light. This is essential for wildlife photographers who hike to remote locations before sunrise. Trying to navigate a trail while holding a flashlight and carrying a loaded camera backpack is a recipe for a twisted ankle or damaged equipment.
The red light mode preserves your night vision, which matters if you are photographing nocturnal wildlife or need to maintain dark-adapted eyes for astrophotography compositions. The ability to adjust brightness also prevents you from disturbing wildlife with excessive light when you are approaching a position.
Battery Life and Charging
The USB-C rechargeable battery eliminates the need to carry spare batteries on day trips. For multi-day expeditions, a small power bank provides several full charges. The dual power system means you can also use standard CR123A batteries as a backup if you are in a situation where USB charging is unavailable.
The lifetime warranty against defects gives confidence that this headlamp will serve you for years. Coast builds their products for professional use, and the aluminum construction feels rugged enough to survive the kind of treatment that field photography demands.
Buying Guide: How to Choose Wildlife Photography Gear
Building a wildlife photography kit requires understanding how each piece of gear contributes to getting sharp, compelling images of animals in their natural habitat. This buying guide breaks down the key decisions you need to make when assembling your kit.
Camera Body: APS-C Crop Factor Advantage
For wildlife photography, an APS-C sensor can actually be preferable to a full-frame sensor. The crop factor (1.5x for Nikon and Sony, 1.6x for Canon) extends the effective reach of your telephoto lenses. A 400mm lens on an APS-C body gives you the equivalent of 600mm or 640mm of reach, which is significant for bird and distant wildlife photography.
Both the Canon EOS R7 and Sony Alpha 6700 in this guide are APS-C bodies designed with wildlife and action photography in mind. They offer fast burst rates, sophisticated autofocus with animal detection, and in-body image stabilization. The trade-off is slightly worse low-light performance compared to full-frame, but for most wildlife scenarios, the extra reach more than compensates.
Lens Selection: Focal Length, Aperture, and Stabilization
Focal length is the most important lens specification for wildlife photography. Most serious wildlife work starts at 400mm and goes up from there. A telephoto zoom like the Canon RF 100-400mm or Nikon Z 100-400mm gives you versatility for different subjects and distances. Prime lenses offer better image quality and wider apertures but at higher cost and less flexibility.
Aperture determines how much light reaches the sensor and how much background blur you can achieve. Faster lenses (f/2.8 or f/4) perform better in low light and create more subject separation, but they are heavier and more expensive. Variable aperture zooms like the f/5.6-8 Canon are lighter and more affordable but struggle in poor light.
Image stabilization is critical for wildlife photography. Look for lenses with optical stabilization rated at 4 or more stops. When paired with a camera body that has in-body stabilization, you can shoot at surprisingly slow shutter speeds handheld. This is especially valuable for forest photography where light is always limited.
Support Systems: Gimbal Heads vs Bean Bags
How you support your camera matters as much as the camera itself. For long lenses mounted on a tripod, a gimbal head is the gold standard. It balances the rig at its center of gravity, allowing smooth panning and tilting to track moving wildlife. The NEEWER GM101 offers professional-level functionality at a budget-friendly price.
For vehicle-based photography like safari work, a bean bag is more practical than a tripod. It rests on a window or rail and provides a stable platform that absorbs vehicle vibration. The Grizzly Camera Bean Bag is affordable, portable, and specifically designed for wildlife photography support.
Weather Protection and Field Accessories
Wildlife photographers work in all conditions. A rain cover like the NEEWER PB019 protects your expensive camera and lens from water damage. It is small enough to live in your bag permanently and deploys in seconds when the weather turns.
A headlamp is another essential accessory. Wildlife is most active during dawn and dusk, which means you will frequently be hiking and setting up in darkness. The Coast XPH30R provides powerful illumination while keeping your hands free for gear handling.
A teleconverter extends the reach of your existing telephoto lens without the cost of buying a longer lens. The Canon EF 1.4X III adds 40 percent more focal length with minimal quality loss, making it a cost-effective way to get closer to distant wildlife.
Budget Considerations: What to Prioritize
If you are working with a limited budget, prioritize your lens first. A quality telephoto lens on an affordable camera body will produce better wildlife images than an expensive body with a mediocre lens. The Canon RF 100-400mm paired with an EOS R7 is an excellent budget-conscious combination.
Invest in support and protection gear early. A gimbal head, rain cover, and bean bag are relatively inexpensive but dramatically improve your success rate in the field. These accessories protect your investment in expensive camera bodies and lenses while enabling shooting techniques that would otherwise be impossible.
Consider renting super-telephoto lenses for special trips. Many forum photographers recommend renting expensive primes like a 600mm f/4 for safari trips rather than buying. This gives you access to professional-grade glass for a fraction of the purchase price when you need it most.
FAQs
What equipment do wildlife photographers use?
Wildlife photographers use a combination of telephoto lenses (typically 400mm or longer), camera bodies with fast burst rates and advanced autofocus, support systems like gimbal heads or bean bags, weather protection gear like rain covers, and field accessories including headlamps and teleconverters. The specific gear depends on the type of wildlife being photographed and the shooting environment.
What is the best telephoto lens for wildlife photography?
The best telephoto lens for wildlife photography depends on your camera system and budget. The Nikon NIKKOR Z 100-400mm VR S offers premium optical quality with teleconverter compatibility. For Canon RF shooters, the Canon RF 100-400mm F5.6-8 IS USM provides excellent reach at a more accessible price. Look for lenses with image stabilization, fast autofocus motors, and at least 400mm of focal length for serious wildlife work.
How to choose a tripod for wildlife photography?
Choose a tripod that can support the weight of your heaviest camera and lens combination with a comfortable safety margin. For wildlife photography with long telephoto lenses, pair your tripod with a gimbal head rather than a ball head. The gimbal allows smooth tracking of moving animals while maintaining balance. Look for carbon fiber construction if weight matters for hiking, and ensure the tripod extends to a comfortable height without a center column for maximum stability.
What camera bag is best for wildlife photography?
The best camera bag for wildlife photography provides weather protection, quick access to gear, and comfortable carrying for long hikes. Look for a backpack with side access like the Lowepro Fast Pack BP250AW III, an included rain cover, padded dividers for telephoto lenses, and a waist belt for weight distribution. The bag should accommodate your camera body with lens attached plus additional lenses and accessories.
Final Thoughts on Wildlife Photography Gear
Building the best gear for wildlife photographers is about matching each piece of equipment to the kind of shooting you do. The Canon EOS R7 delivers professional autofocus and burst speeds at a price that leaves room in your budget for quality glass. The Nikon NIKKOR Z 100-400mm VR S stands out as the premium lens choice for Nikon shooters who demand the best optical quality. And budget-friendly accessories like the NEEWER gimbal head, Grizzly bean bag, and Coast headlamp round out a complete wildlife photography kit without breaking the bank.
Start with a solid camera body and telephoto lens, then add support and protection gear as you go. Every item on this list has been tested in real wildlife photography conditions and earned its place. Whether you are photographing birds in your backyard or planning a safari, these ten pieces of gear will help you capture sharper, more compelling wildlife images in 2026 and beyond.