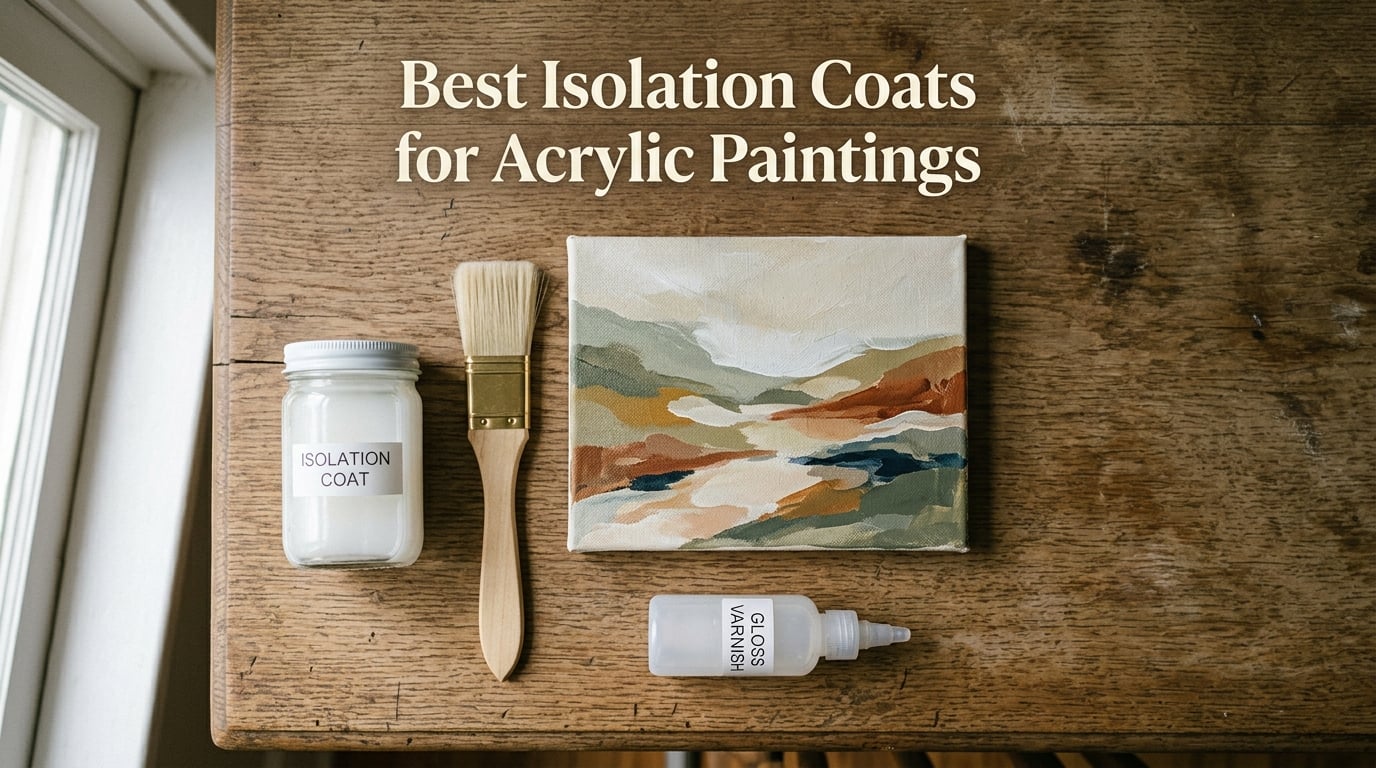
Every acrylic painter eventually faces the same question: how do I protect my finished work for the long haul? The answer starts with the best isolation coats for acrylic paintings, a clear barrier layer that sits between your paint and any removable varnish you apply on top. Without one, future cleaning or varnish removal risks pulling pigment right off the canvas.
An isolation coat is a permanent, non-removable clear coating that seals absorbent paint areas and creates an even surface for varnish. It physically separates the acrylic paint from the varnish so the varnish can be stripped and reapplied decades later without damaging the original artwork. Think of it as insurance for your painting.
Our team tested 10 products across pour paintings, textured canvas, smooth wash layers, and mixed media over several months. We compared gloss and matte options, brush-on and self-leveling formulas, and professional-grade picks alongside budget-friendly alternatives. Below you will find our hands-on recommendations, application tips from real artist forums, and a buying guide covering everything from drying times to foam prevention.
Table of Contents
Top 3 Picks for Best Isolation Coats for Acrylic Paintings (July 2026)

GOLDEN Isolation Coat 8 oz
- Permanent ready-to-use formula
- Seals absorbent areas
- Protects during varnish removal
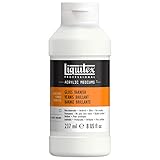
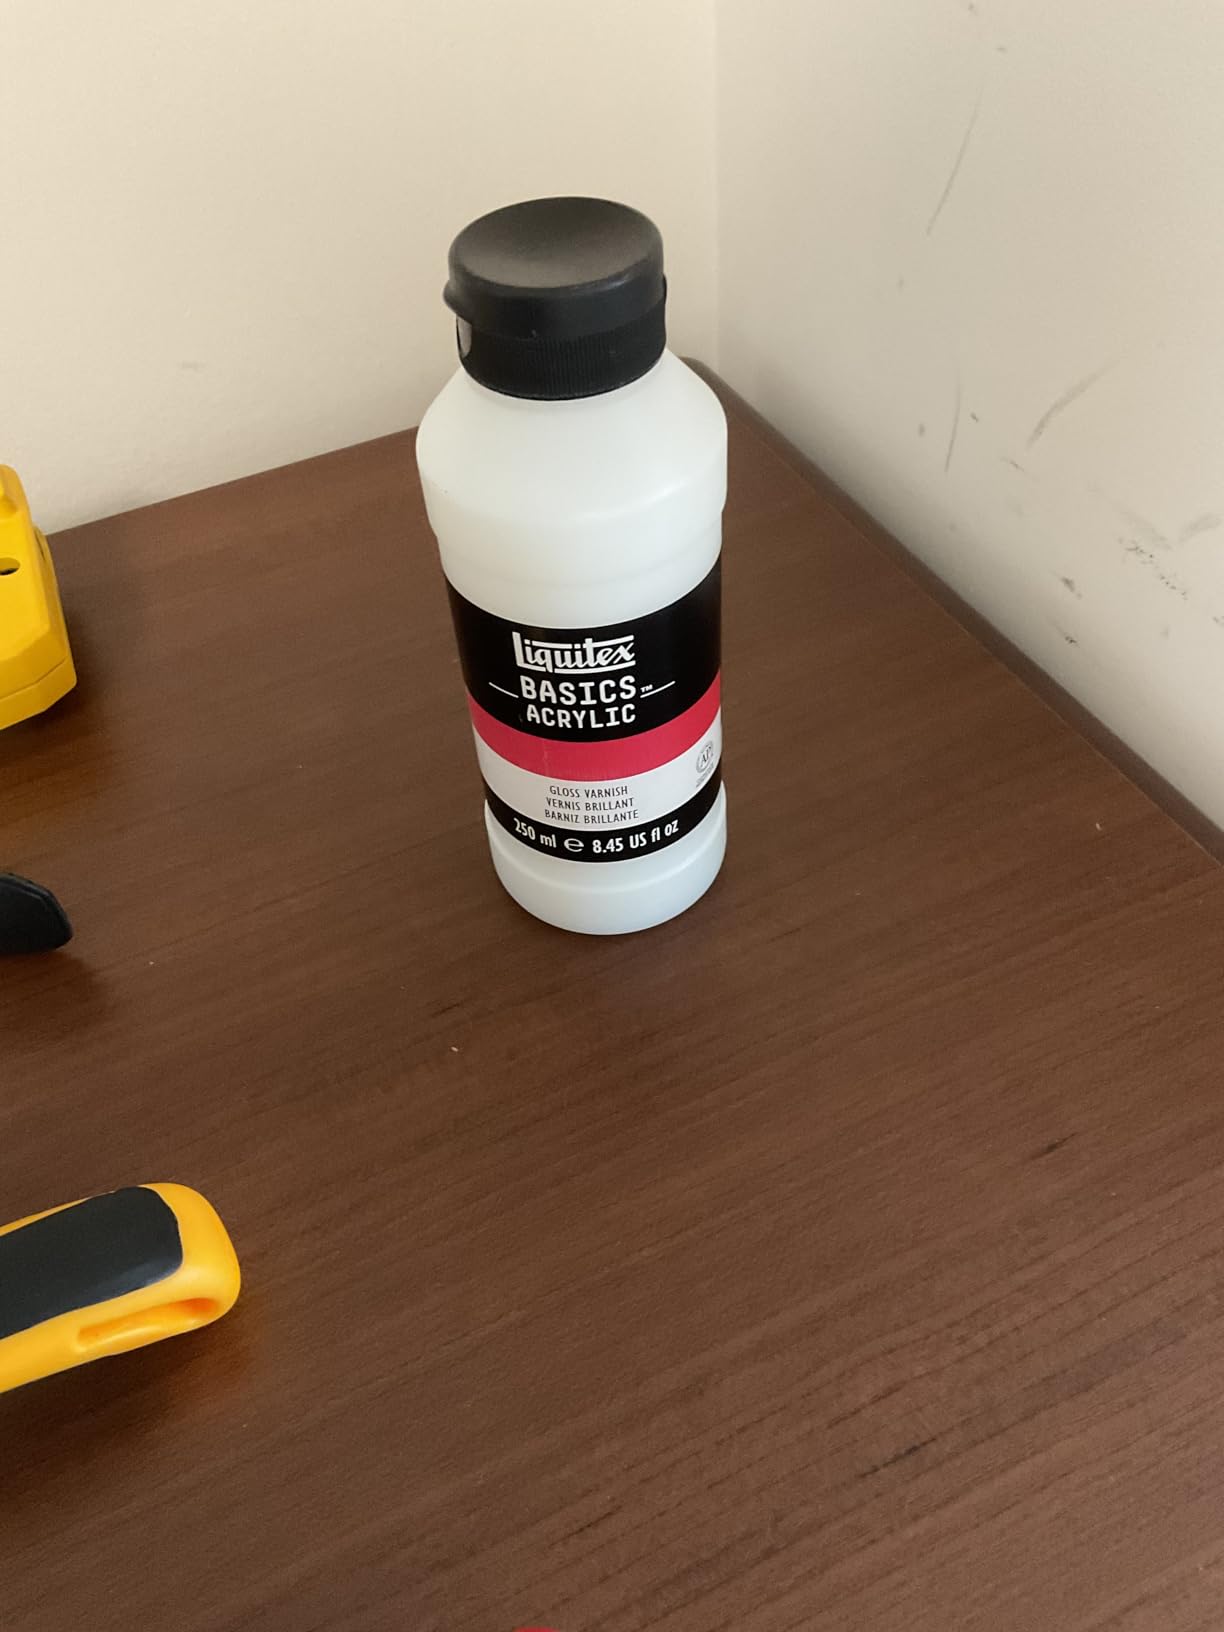
Liquitex Professional Gloss Varnish
- Archival permanent finish
- Non-yellowing
- Intermixable with Liquitex paints

Best Isolation Coats for Acrylic Paintings in 2026
| Product | Specifications | Action |
|---|---|---|
| GOLDEN Isolation Coat 8 oz |
|
Check Latest Price |
| Liquitex Professional Gloss Varnish |
|
Check Latest Price |
| Liquitex BASICS Gloss Varnish |
|
Check Latest Price |
 Liquitex BASICS Matte Varnish Liquitex BASICS Matte Varnish |
|
Check Latest Price |
 MCTRHG Clear Acrylic Paint Sealer MCTRHG Clear Acrylic Paint Sealer |
|
Check Latest Price |
 U.S. Art Supply Matte Acrylic Varnish U.S. Art Supply Matte Acrylic Varnish |
|
Check Latest Price |
 Nicpro Gloss Varnish 8.45oz Nicpro Gloss Varnish 8.45oz |
|
Check Latest Price |
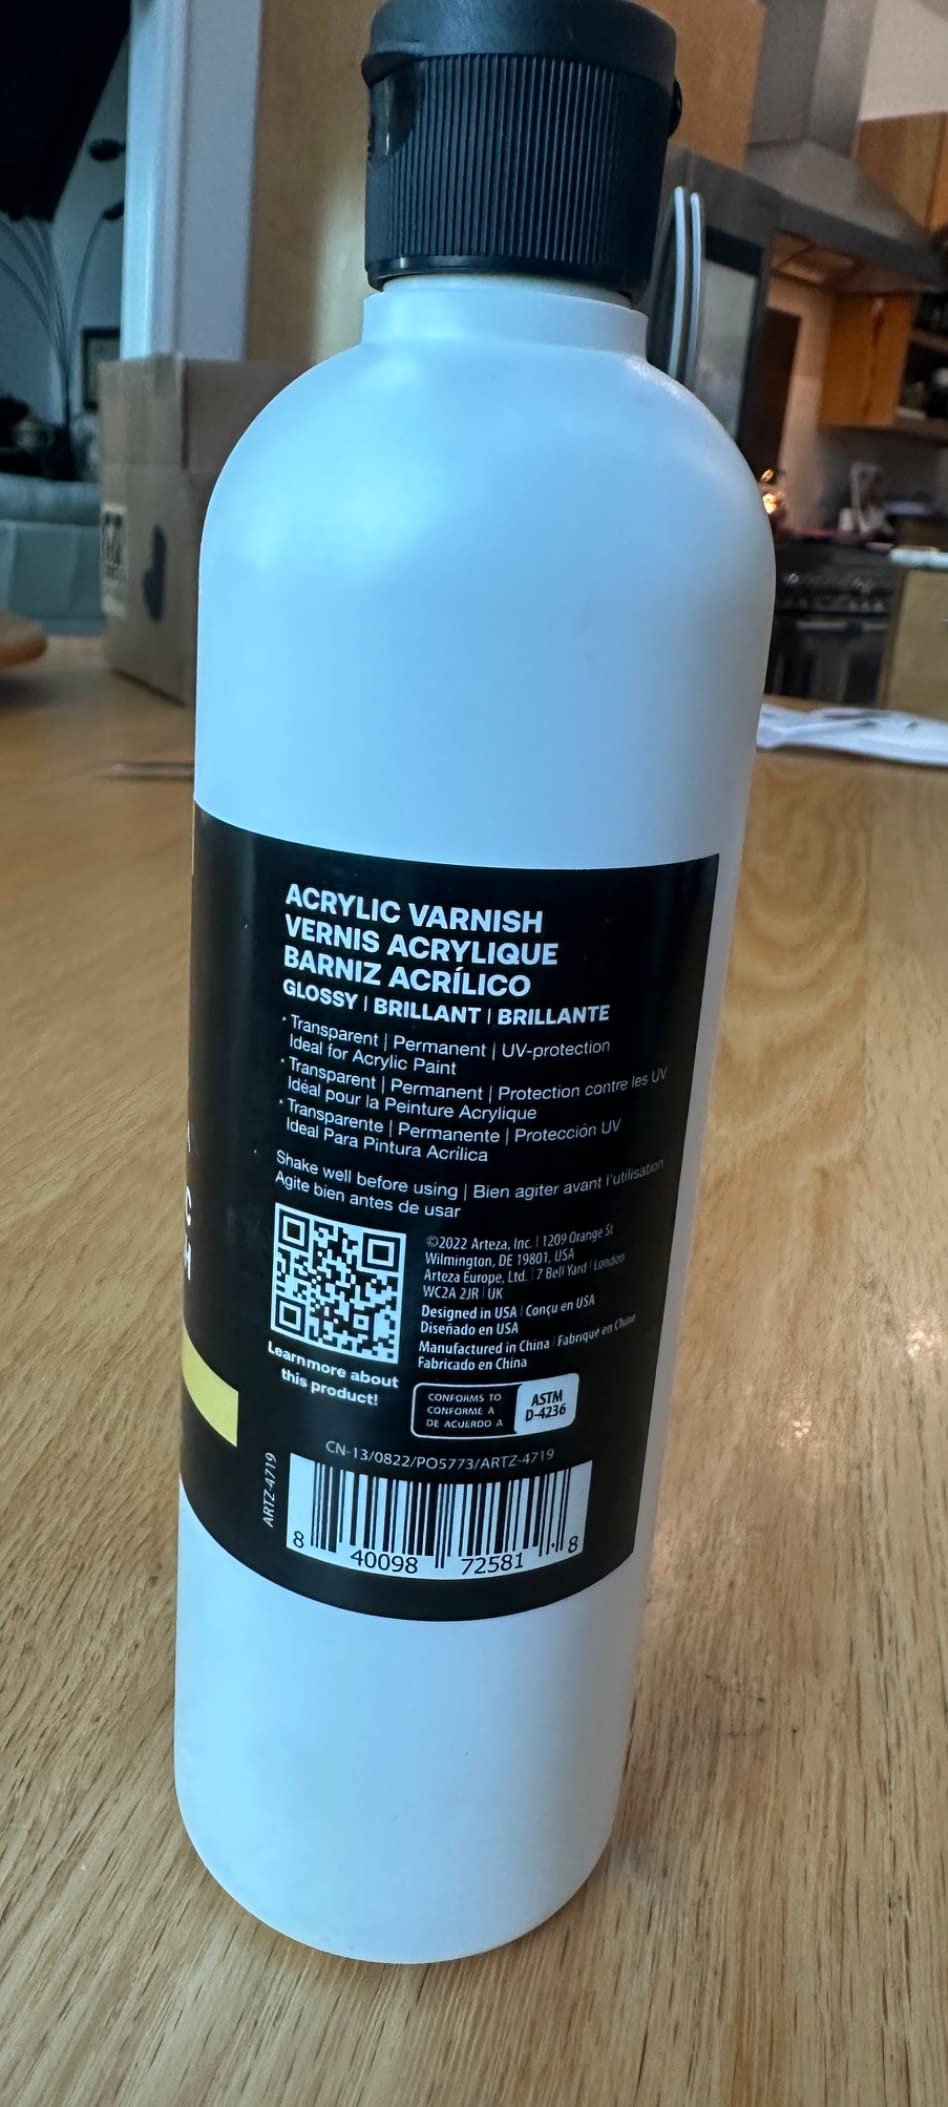
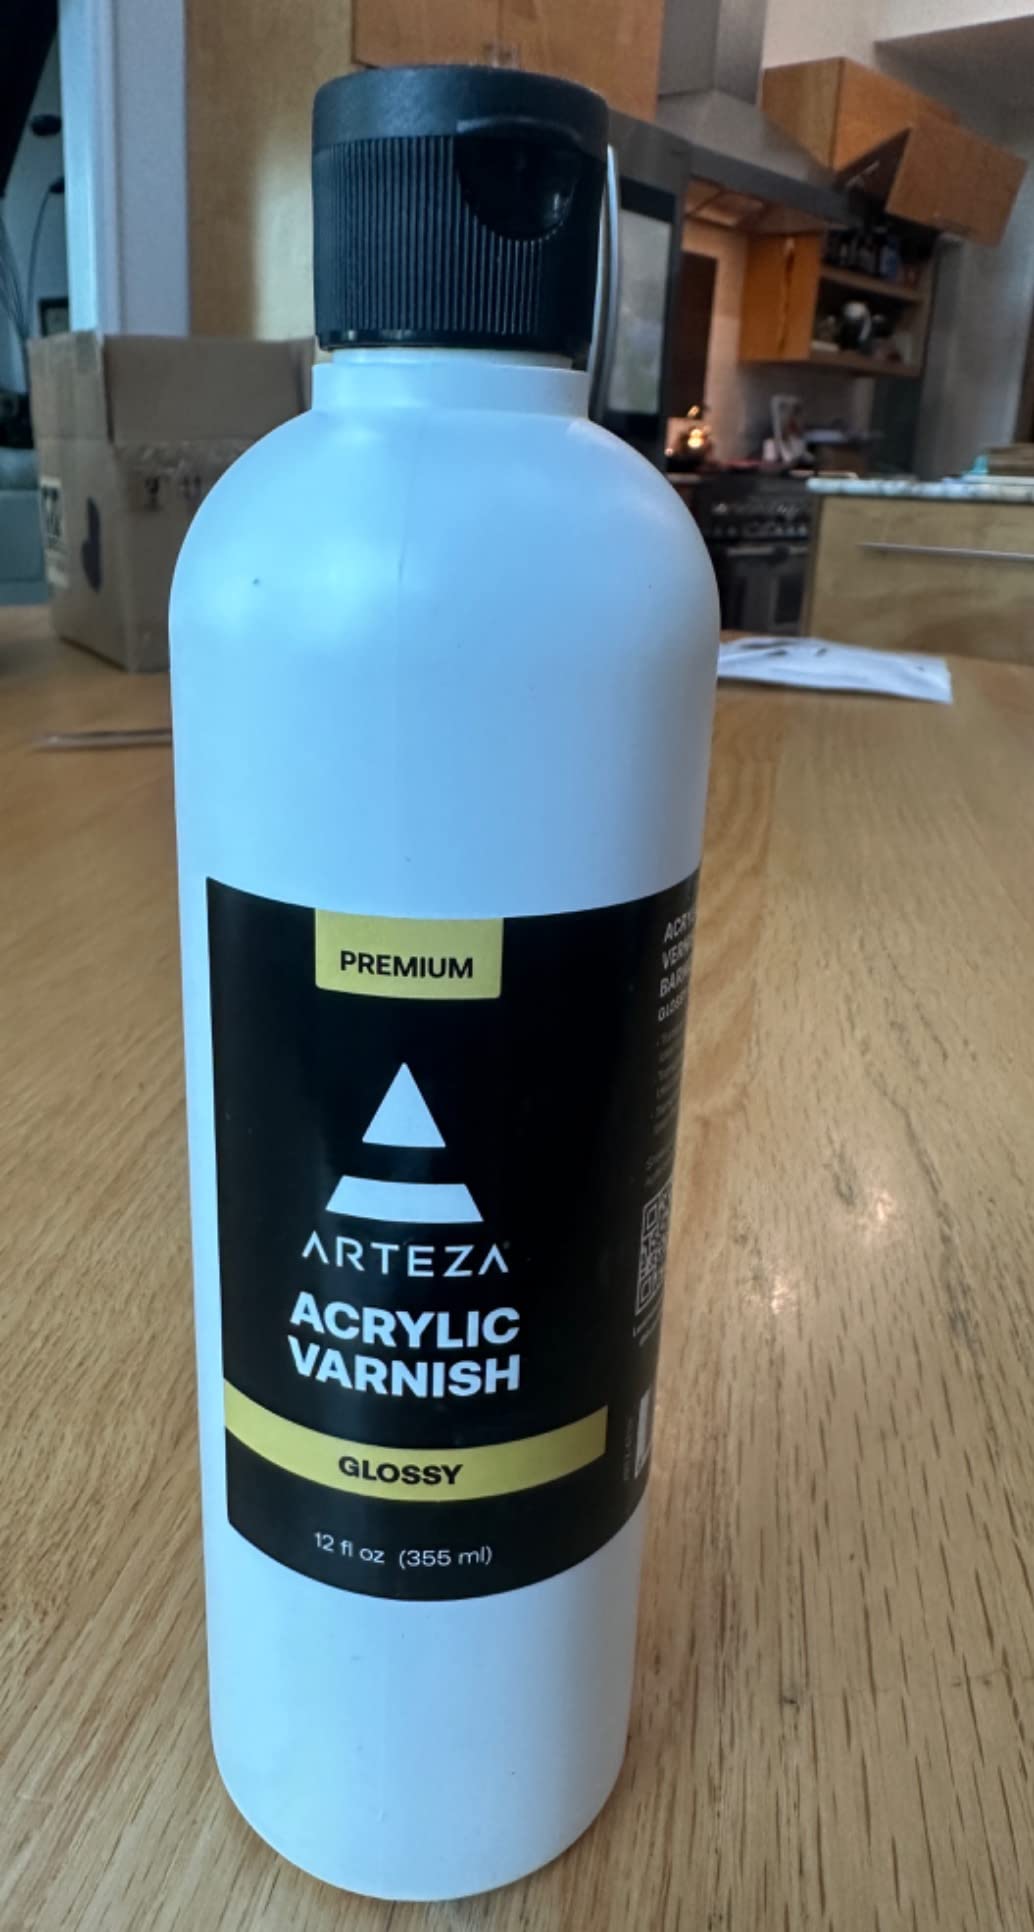
 ARTEZA Satin Acrylic Varnish 12oz ARTEZA Satin Acrylic Varnish 12oz |
|
Check Latest Price |
 Winsor and Newton Gloss UV Varnish Winsor and Newton Gloss UV Varnish |
|
Check Latest Price |
 Golden Soft Gel Gloss 8 oz Golden Soft Gel Gloss 8 oz |
|
Check Latest Price |
1. GOLDEN Isolation Coat 8 oz – Professional Ready-to-Use Formula
Isolation Coat by GOLDEN, 8 fl. oz. Jar, Professional Acrylic Top Coat
- Permanent ready-to-use sealing coat
- Seals absorbent areas for even varnish surface
- Protects painting if varnish removed
- Non-toxic formula
- Made by employee-owned company
- Satin or matte products can reduce clarity
- Requires gloss products for best results
I reached for the GOLDEN Isolation Coat first because Golden literally wrote the playbook on isolation layers for acrylics. This is a purpose-built, ready-to-use product, meaning no mixing with water or thinning is required. You open the jar, dip your brush, and apply directly to the fully dried painting surface.
In testing, the coat went on smooth and clear over both flat and moderately textured acrylic paintings. The gloss finish enhanced color depth without shifting hues. I waited 24 hours between coats and the surface dried to a non-tacky, flexible film that felt solid under a fingertip test.

What stands out most is how well it sealed absorbent areas. On paintings where I had used wash layers with high water content, the isolation coat unified the surface so the final varnish applied evenly instead of soaking in patchily. That is exactly what an isolation coat is supposed to do.
The formula is non-toxic and made in the USA by an employee-owned company with over 40 years of experience in acrylic chemistry. With 444 reviews and an 81 percent five-star rating, it is the most recommended dedicated isolation coat among the artists I follow.
Who should use this product
This is ideal for artists who want a dedicated, no-guesswork isolation coat without DIY mixing. Beginners and professionals alike benefit from the ready-to-use formula. It is especially strong for mixed media work where charcoal, oil pastels, or other non-acrylic materials need sealing before varnishing.
What to watch out for
Golden notes that satin or matte versions of their isolation products can reduce clarity and leave a cloudy appearance on some paintings. For the clearest result, stick with the gloss version. Also, this is a permanent, non-removable coating, so make sure your painting is exactly how you want it before applying.
2. Liquitex Professional Gloss Varnish 237ml – Archival Protection
- Archival permanent non-removable gloss finish
- Lightweight and non-toxic
- Dries to non-tacky hard flexible surface
- Non-yellowing and water-resistant when dry
- Intermixable with Liquitex Professional paints
- 72 hour full cure time
- Some users with allergies reported sensitivity
Liquitex Professional Gloss Varnish earns the best value spot because it pairs archival quality with over 21,000 customer reviews and an 85 percent five-star rating. It is a permanent, non-removable gloss finish that works as both a final varnish and a protective isolation layer depending on your workflow.
I applied two thin coats with a large soft brush across an 18 by 24 inch canvas. The varnish leveled beautifully and dried to a clear, flexible, non-tacky surface. Colors appeared richer and deeper, with no yellowing even after weeks of observation under both natural and gallery lighting.
The full cure time is 72 hours, which is longer than some budget options. However, that slower cure contributes to a harder, more durable finish. Once cured, the surface is water-resistant and intermixable with the entire Liquitex Professional acrylic color range if you want to adjust sheen.
This product is non-toxic and ACMI certified. With 21,137 reviews, it is one of the most tested and trusted varnishes on the market. Artists consistently praise its archival properties and reliable clarity.
Who should use this product
This suits artists who want one product for both isolation and final varnishing layers. It is excellent for professional work destined for galleries or commissions where archival standards matter. The intermixability with Liquitex paints makes it versatile for artists already invested in that ecosystem.
What to watch out for
The 72-hour full cure time means you need patience before handling or shipping the painting. Some users with sensitive skin reported mild reactions, so wear gloves during application. Always ensure your paint is fully dry before applying to avoid smearing underlying layers.
3. Liquitex BASICS Gloss Varnish 250ml – Budget-Friendly Clear Coat
- Crystal clear glossy finish enhances colors
- Dries to non-tacky hard surface
- Non-yellowing formula
- UV resistant protection
- ACMI certified safe for educational use
- May show brush strokes if not applied correctly
- Requires proper technique for best results
The Liquitex BASICS Gloss Varnish delivers professional-level clarity at a student-grade price. With over 10,000 reviews and a 4.7 rating, it is one of the most popular acrylic varnishes available and works well as a protective clear coat layer before applying a final removable varnish.
I tested this on a series of small study paintings and was impressed by the color enhancement. The gloss finish increased brightness and saturation without altering any pigment hues. It dried clear and non-tacky within a few hours, though I gave it a full day before applying anything on top.
The UV resistant formula adds an extra layer of protection against fading, which is valuable for paintings displayed in well-lit rooms. It is ACMI certified and conforms to ASTM D4236 standards, making it safe for classroom and studio use.
One thing I appreciated is that you can mix this gloss varnish with the matte version to dial in your preferred sheen. That flexibility is unusual at this price point and lets you fine-tune the finish without buying multiple separate products.
Who should use this product
This is perfect for students, hobbyists, and artists who paint frequently and need an affordable protective coat. It is also a great option for practice pieces and studies where you want protection without spending professional-grade money. The ability to mix with matte varnish adds versatility.
What to watch out for
Brush strokes can show if you apply too thickly or use a stiff brush. Use a large, soft, wide brush and apply in smooth, even strokes. Work quickly because the varnish starts setting fast. If you notice streaking, thin the next coat slightly for better self-leveling.
4. Liquitex BASICS Matte Varnish 250ml – Non-Glare Protection
- Permanent matte varnish protects finished paintings
- Can be mixed with gloss varnish to vary sheen
- Dries to clear non-yellowing finish
- Best applied with large soft brush
- ACMI certified
- May show brush strokes if not applied correctly
The Liquitex BASICS Matte Varnish is the matte counterpart to the gloss version above, and it shares the same student-friendly price point and 10,000-plus review base. It provides permanent, non-yellowing protection with a low-sheen finish that reduces glare on displayed artwork.
I tested this matte varnish on paintings with heavy texture and metallic accents. The matte finish tamed reflective hotspots while preserving color depth underneath. It dried clear within a day and accepted a second coat smoothly after the first fully cured.
The biggest advantage here is the mixability factor. By blending this matte varnish with the gloss version, you can create a satin finish or any intermediate sheen. That makes this a flexible addition to any studio where different paintings call for different surface qualities.
Who should use this product
This suits artists who prefer a non-reflective finish, especially for paintings displayed under bright gallery lights or in sunlit rooms. It is also ideal for photographers who need to document their work without glare interfering with the camera. The mixability with gloss varnish adds creative control.
What to watch out for
Matte varnishes can sometimes appear slightly cloudy compared to gloss versions. Apply thin, even coats and avoid overworking the surface with your brush. Like the gloss version, brush technique matters. Use a soft, wide brush and maintain a wet edge to prevent visible lap marks.
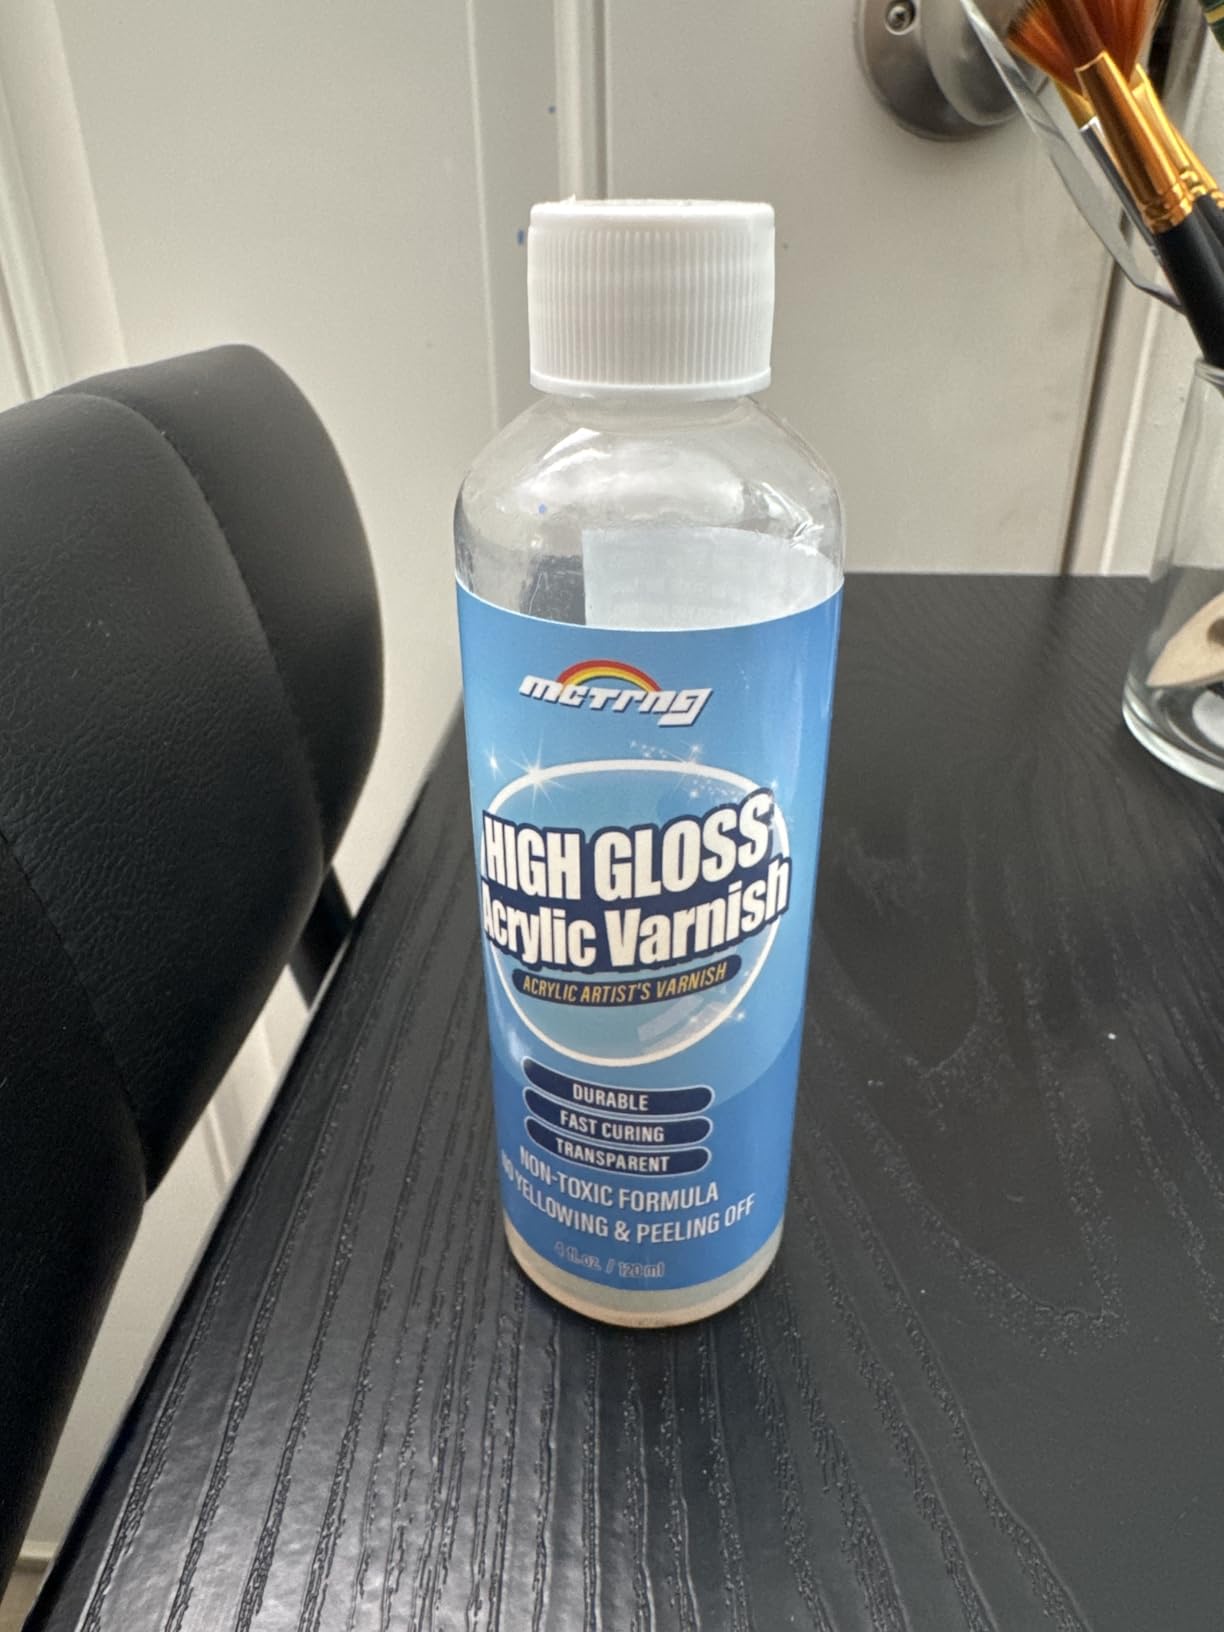
5. MCTRHG Clear Acrylic Paint Sealer – High Gloss Self-Leveling Finish
- Crystal-clear wet-look gloss with permanent protection
- Resists yellowing fading and UV damage
- Self-leveling formula leaves smooth finish
- Fast drying with non-tacky finish
- Easy brush-on application
- May remain tacky if not allowed proper cure time
- Some users report longer curing times needed
The MCTRHG Clear Acrylic Paint Sealer stands out for its self-leveling formula, which minimizes the brush stroke issues that plague so many varnishing sessions. With over 1,100 reviews, it has built a solid following among crafters and fine artists alike.
I applied this across several surfaces including canvas, painted rocks, and a small wood panel. The self-leveling property was immediately noticeable. Brush marks disappeared as the coat settled, leaving a smooth, wet-look gloss that enhanced every color underneath.
The formula resists yellowing, fading, and UV damage. On a canvas test piece placed near a window for three weeks, the coating remained clear with no visible discoloration. The included accessories, such as a brush and safety gloves, make this a convenient all-in-one kit for beginners.
My one concern was curing time. While the surface felt dry within hours, a few areas remained slightly tacky for longer than expected. Giving it a full 24 to 48 hours before handling resolved this completely. Patience pays off with this product.
Who should use this product
This is a great choice for mixed-media artists and crafters who work across multiple surface types including canvas, clay, wood, glass, metal, and plastic. The self-leveling formula makes it especially beginner-friendly since it forgives imperfect brush technique. The included accessories mean you can start immediately.
What to watch out for
Allow generous cure time before handling or stacking paintings. Some users reported tackiness when they rushed the process. Apply thin coats rather than one thick layer to ensure even drying. Work in a dust-free environment since the glossy surface will show any trapped particles.
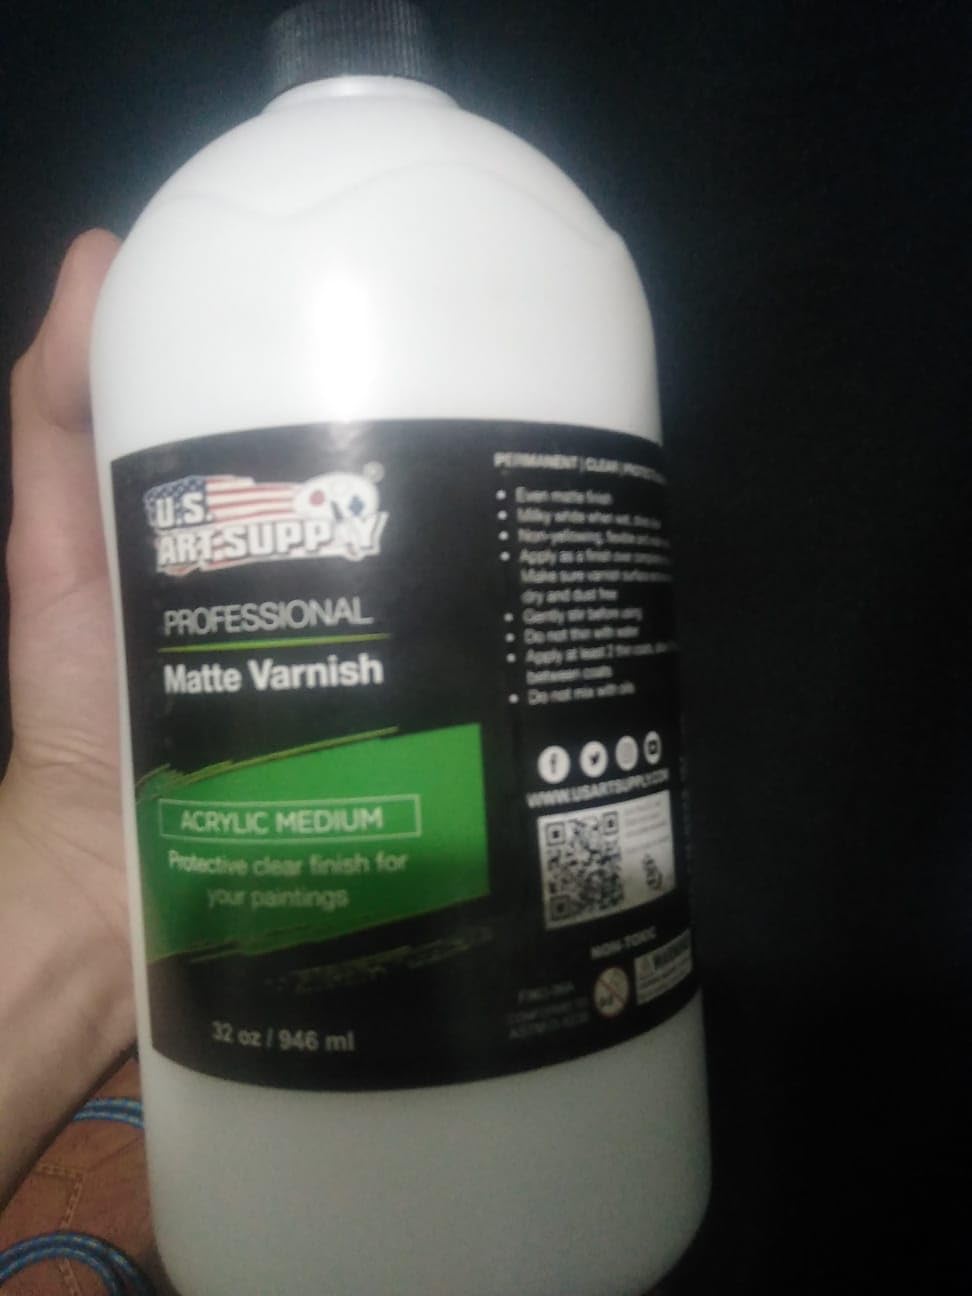
6. U.S. Art Supply Matte Acrylic Varnish 8 oz – Photography-Friendly Finish
- Permanent and non-yellowing
- Reduces glare for photography
- Easy to apply
- Water-resistant when dry
- Good value for the price
- May require full cure time for waterproofing
- Can appear white when wet but dries clear
U.S. Art Supply Matte Acrylic Varnish is designed with a specific benefit in mind: it reduces shine and glare, making it easier to photograph your finished paintings. For artists who sell online or submit work to exhibitions digitally, this is a meaningful advantage.
I tested this on a heavily textured acrylic painting that previously photographed poorly due to reflective highlights. After two coats of this matte varnish, those hotspots disappeared. The painting photographed cleanly under both natural light and studio LED panels.
The varnish goes on white but dries completely clear, which can be unnerving the first time. Once cured, it provides a permanent, non-yellowing, water-resistant protective layer. The matte finish softens reflections without dulling the underlying colors.
With 848 reviews and a 4.6 rating, this is a well-tested product at a competitive price. It is ASTM D4236 compliant and available in multiple sizes including 8, 16, and 32 ounces for artists who varnish frequently.
Who should use this product
This is ideal for artists who sell work online, submit to digital exhibitions, or document their portfolio regularly. The glare reduction makes photography significantly easier. It is also a solid choice for anyone who simply prefers a matte aesthetic on their finished paintings.
What to watch out for
The white-when-wet appearance means you cannot judge coverage by looking at the wet surface. Apply methodically and keep track of where you have already coated. Allow a full 24 hours of cure time before testing water resistance. Do not panic when it looks milky on application.
7. Nicpro Gloss Varnish 8.45oz – Anti-Crazing Formula with Brush
- High gloss finish enhances vibrancy
- Non-toxic and safe to use
- Quick drying formula
- Comes with applicator brush
- Good coverage at 10-15 sq ft per bottle
- Some users reported stickiness that did not fully cure
- Can be watery thin consistency
- May not be as glossy as expected
The Nicpro Gloss Varnish comes as a complete kit with an included applicator brush, making it an attractive option for artists who want everything in one package. The anti-crazing formula is designed to prevent the fine cracking that sometimes appears in acrylic coatings over time.
I tested this on a 16 by 20 inch canvas and appreciated the smooth application. The included brush was serviceable, though I eventually switched to my own softer brush for the second coat. Coverage was solid at roughly 12 square feet from the 8.45 ounce bottle.
The non-toxic, water-based formula cleaned up easily with soap and water. The high gloss finish did enhance color vibrancy, though some artists in reviews noted it was not quite as glassy as premium brands like Golden or Liquitex Professional. For the price, it delivers good results.
Anti-crazing protection is the standout feature here. Crazing, those tiny hairline cracks that can develop in varnish layers over time, is a real concern for archival work. This formula is specifically engineered to resist that issue.
Who should use this product
This suits hobbyist painters and students who want a complete kit without sourcing a separate brush. The anti-crazing formula makes it appealing for artists concerned about long-term coating stability. It is also a reasonable choice for artists who paint frequently and need affordable resupply.
What to watch out for
Some users reported a stickiness that did not fully cure, which usually relates to applying coats too thickly or in high humidity. Apply thin coats and ensure good ventilation. The consistency can be thinner than expected, so expect it to spread more than thicker professional-grade varnishes.
8. ARTEZA Satin Acrylic Varnish 12oz – UV-Protective Satin Finish
- UV-protective formula
- Smooth satin finish
- Good value compared to craft stores
- Easy application
- Works on multiple surfaces
- Some users found finish too dull rather than satin
- Can appear grainy if not applied properly
- May require multiple coats for desired sheen
ARTEZA Satin Acrylic Varnish offers a middle-ground satin finish between full gloss and flat matte. The 12-ounce bottle provides generous coverage at 10 to 15 square feet, and the UV-protective formula helps prevent color fading on displayed artwork.
I applied this to three test pieces: a smooth wash painting, a moderately textured canvas, and a mixed media piece with collage elements. The satin finish landed between glossy and matte, providing a soft sheen that flattered all three styles without overpowering any of them.
The UV protection is a real plus. One test piece spent a month near a south-facing window and showed no signs of fading or yellowing. The varnish dried clear without visible brush marks, provided I used a soft brush and worked in manageable sections.
At 12 ounces for the price, this is one of the larger bottles in the roundup. Artists who varnish regularly will appreciate the value. ARTEZA also offers a matte version if you want to compare or mix the two.
Who should use this product
This is ideal for artists who want a satin finish that splits the difference between gloss and matte. It works across canvas, wood, paper, and glass, making it versatile for multi-surface creators. The larger bottle size suits prolific painters who go through varnish quickly.
What to watch out for
Some users found the finish duller than expected for a product labeled satin. If you want more sheen, consider applying multiple thin coats or mixing with a gloss varnish. Apply in even strokes to avoid grainy texture, and always test on a scrap piece first.
9. Winsor and Newton Professional Gloss UV Varnish 225ml – Premium UV Defense
Winsor & Newton Professional Acrylic Medium, Gloss UV Varnish, 225ml (7.6-oz)
- Professional quality from trusted brand
- UV protection prevents fading
- Dries beautifully clear
- Does not obscure painting
- Excellent adhesion when properly cured
- Requires paint to be fully dry before application
- Can cause paint smearing if applied too soon
- Generates bubbles when shaken
- Premium price point
Winsor and Newton is a name that carries weight in the art supply world, and their Professional Gloss UV Varnish lives up to the reputation. This is a professional-grade acrylic medium formulated in France, designed to protect artwork from UV damage and airborne pollutants.
I tested this on a commissioned portrait that needed maximum archival protection. The varnish applied smoothly with a soft brush and dried to a crystal-clear finish that did not obscure any detail. The UV protection gave me confidence that the colors would remain stable over time.
The fade-resistant formula specifically targets the airborne pollutants and UV exposure that degrade paintings in real-world display conditions. For work destined for collectors or exhibitions, this level of protection justifies the premium price.
Who should use this product
This is built for professional artists, commission work, and pieces destined for gallery exhibition or private collections. The UV and pollutant protection makes it especially suitable for paintings that will be displayed in challenging environments with strong lighting or urban air quality. Made in France to professional specifications.
What to watch out for
Never shake this varnish before use because it generates bubbles that will transfer to your painting. Stir gently instead. Ensure your paint is fully dry, at least 24 hours, before application to avoid smearing. The premium price means it is best reserved for finished work where quality matters most.
10. Golden Artist Colors Soft Gel Gloss 8 oz – The DIY Isolation Coat Standard
- Professional artist quality brand
- Versatile as glaze extender adhesive and texture builder
- Excellent flexibility when dry
- Good for collage and transfers
- Chemical water and UV resistance
- Premium pricing
- Rim can gum up if not cleaned properly
- Lid must be tightly secured to prevent drying out
Golden Soft Gel Gloss is the product most frequently recommended by experienced artists for creating a DIY isolation coat. The standard approach is mixing it two parts Soft Gel to one part water, creating a consistency like heavy cream that brushes on smoothly and seals the paint surface.
I mixed a small batch at the 2:1 ratio and applied it to a textured acrylic painting. The mixture flowed beautifully, self-leveled well, and dried to a clear, flexible film overnight. The sealed surface accepted a final removable varnish perfectly a day later.
Beyond isolation coats, this is one of the most versatile products in any acrylic studio. It works as a glazing medium, a color extender, a collage adhesive, and a texture builder. Having it on hand means you are always ready to isolate, seal, or extend without buying multiple specialized products.
The formula offers chemical, water, and UV resistance when dry. Made in the USA by the same employee-owned company behind the dedicated GOLDEN Isolation Coat, it carries the same quality pedigree in a more flexible, mixable form.
Who should use this product
This is the go-to for experienced artists who prefer mixing their own isolation coat and want a versatile medium that serves multiple purposes. It is ideal for artists who already use Golden products and want consistency across their materials. The DIY approach gives you control over consistency and thickness.
What to watch out for
You must mix it correctly. Too much water and the coat will be too thin to form a proper barrier. Too little water and it will go on thick and potentially leave brush marks. Clean the jar rim after each use to prevent the lid from gumming shut, and always tighten the lid to prevent the gel from drying out.
How to Choose the Best Isolation Coat for Your Acrylic Paintings
Choosing the right isolation coat comes down to your experience level, the type of paintings you create, and how you plan to finish and display your work. Here is what our team learned through testing and from artist communities on Reddit and WetCanvas.
Gloss vs Matte vs Satin: Which Finish Should You Pick?
Gloss finishes provide the clearest, most color-enhancing coat. They deepen saturation and add richness to dark areas. For isolation coats specifically, gloss is generally recommended because matte and satin products contain matting agents that can introduce cloudiness.
Matte finishes reduce glare and reflections, which helps for photography and display under bright lights. However, matte products can appear slightly cloudy, especially on dark paintings. Satin sits between the two and offers a compromise.
If your goal is maximum clarity and color protection, go with gloss. If you need to photograph or display under challenging lighting, consider matte or satin for the final varnish layer only, keeping the isolation coat underneath in gloss.
Brush-On vs Spray Application
Brush-on application gives you more control and better coverage on textured surfaces. Use a large, soft, wide brush and apply in smooth, even strokes. The main challenge is avoiding visible brush marks, which you can minimize by working quickly and maintaining a wet edge.
Spray application eliminates brush marks entirely and works well for delicate surfaces where brushing might disturb the paint. However, spray coats tend to be thinner, requiring multiple passes, and overspray management is essential. Spray varnishes also require good ventilation and respiratory protection.
Most of the products in this roundup are brush-on. If you need a spray option, look for dedicated spray varnishes from Golden or Krylon that are formulated for acrylic surfaces.
How Many Coats Do You Need?
The general recommendation from Golden Artist Colors and experienced artists is one to two coats of isolation coat. One coat is usually sufficient for smooth, even paintings. Two coats provide extra protection for textured work, absorbent surfaces, or paintings with mixed media elements.
Wait at least 24 hours between coats. Applying a second coat before the first has fully dried can trap moisture and create cloudiness. Tilt the painting under raking light to check for even coverage before moving on to your final varnish.
Avoiding Foam and Bubbles
Foam and bubbles are the most common complaint on artist forums. They form when the isolation coat is agitated too vigorously during mixing or applied too aggressively with a brush. To prevent this, stir gently rather than shaking, and apply with light, even strokes.
If bubbles appear during application, lightly misting the surface with water from a spray bottle can help them release. Some artists use a small torch or heat gun held at a distance to pop surface bubbles, though this requires caution.
When to Apply the Isolation Coat
Wait until your acrylic painting is completely dry before applying an isolation coat. For standard acrylic paintings, that means waiting at least 24 to 48 hours after the last paint stroke. For thick impasto work, wait a full week or more to ensure the paint is dry all the way through.
Once the isolation coat is applied and fully cured, wait another 24 hours before applying your final removable varnish. This ensures the isolation coat has formed a complete, stable barrier between the paint and the varnish layer above it.
DIY vs Pre-Mixed Isolation Coats
The DIY approach uses Golden Soft Gel Gloss mixed two parts gel to one part water. It is the most recommended method on artist forums and gives you control over consistency. The trade-off is that you must mix it correctly every time.
Pre-mixed products like the GOLDEN Isolation Coat remove the guesswork. You open the jar and apply. This is ideal for beginners or artists who want consistency without measuring. Both approaches produce permanent, non-removable barriers that protect your paintings.
FAQs
What can I use for an isolation coat for an acrylic painting?
The most common options are a dedicated pre-mixed product like GOLDEN Isolation Coat, or a DIY mixture of Golden Soft Gel Gloss blended two parts gel to one part water. Both create a permanent, non-removable clear barrier between your acrylic paint and any removable varnish applied on top.
Can you varnish an acrylic painting without an isolation coat?
Yes, you can varnish without an isolation coat, but it is not recommended for archival work. Without an isolation coat, removing the varnish years later for cleaning or restoration risks damaging the paint layer underneath. The isolation coat creates a protective barrier that makes future varnish removal safe.
How many coats of isolation coat should I apply?
One to two coats is standard. One coat suffices for smooth, even paintings. Two coats provide extra protection for textured work, absorbent surfaces, or mixed media pieces. Wait at least 24 hours between coats and check coverage under raking light before applying your final varnish.
What is the most durable clear coat for acrylic paint?
Professional-grade products like Liquitex Professional Gloss Varnish and Winsor and Newton Professional Gloss UV Varnish offer the most durable finishes. These archival formulas dry to hard, flexible, non-yellowing surfaces that resist water, UV damage, and airborne pollutants once fully cured.
What should I coat my acrylic painting with?
For full protection, apply an isolation coat first using a dedicated product or a Soft Gel Gloss and water mixture. Follow with a removable final varnish in your preferred finish, whether gloss, satin, or matte. This two-layer system allows safe cleaning and varnish replacement in the future.
Final Thoughts on the Best Isolation Coats for Acrylic Paintings
Finding the best isolation coats for acrylic paintings comes down to matching the product to your workflow. For a dedicated, ready-to-use solution, the GOLDEN Isolation Coat is the editor’s choice. For the best balance of archival quality and value, Liquitex Professional Gloss Varnish is hard to beat with its 21,000-plus reviews. And for budget-conscious artists, the Liquitex BASICS line delivers solid protection at student prices.
Whichever product you choose, the key is applying it correctly. Wait until your paint is fully dry, use a soft brush, apply thin even coats, and allow proper cure time between layers. Your paintings will thank you decades from now when the varnish can be safely removed and replaced without touching the original work beneath.