
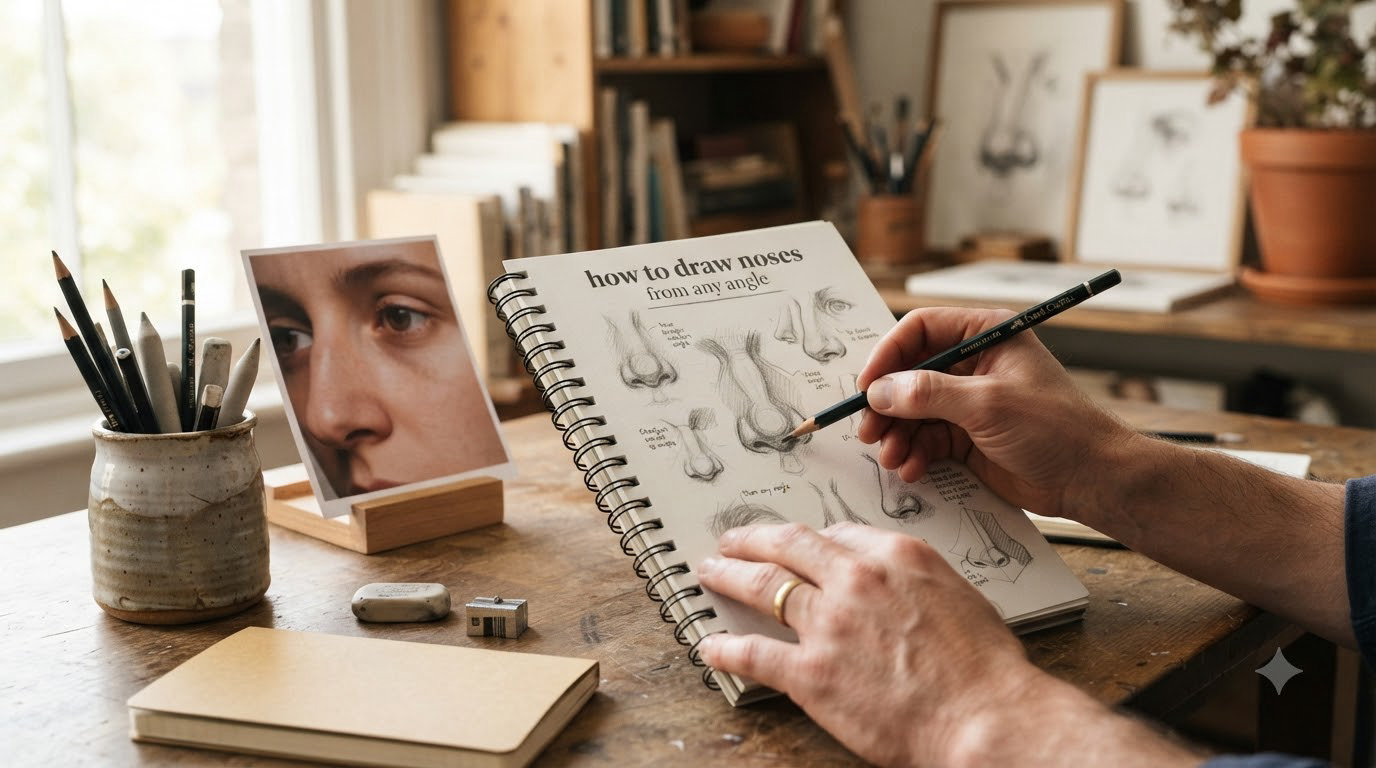
I’ve spent years watching artists freeze up when they reach the nose in a portrait. Something about that protruding 3D form makes our brains short-circuit. After teaching hundreds of students to draw, I can tell you: noses are actually one of the easier facial features once you understand the trick. The secret is treating the nose as a geometric shape first, then adding detail second. In this guide, I’ll show you how to draw noses from any angle using the same fundamental approach.
By the end of this tutorial, you’ll have a repeatable method for front views, side profiles, and that tricky 3/4 angle everyone struggles with. I’ll also share the common mistakes that trip up beginners and exactly how to fix them. Let’s start building your nose-drawing skills.
Table of Contents
- Understanding Nose Anatomy
- The Geometric Foundation – Seeing Noses as 3D Forms
- How to Draw a Nose from the Front View
- How to Draw a Nose from the Side View
- How to Draw a Nose at a 3/4 Angle (Step by Step)
- Light and Shadow Basics for Realistic Noses
- Common Mistakes and How to Fix Them
- Why Noses Feel Hard (And How to Overcome)
- Practice Tips That Actually Work
- FAQs
- Conclusion
Understanding Nose Anatomy
Before you can draw a nose convincingly, you need to know what you’re actually drawing. The nose consists of five key parts that work together as one form.
The Bridge: This is the bony ridge running from the brow down to the eyes. It creates the nose’s height and angle relative to the face. When you see someone’s nose from the side, the bridge is what you typically see first.
The Septum: The cartilage that separates your nostrils vertically. This piece connects the bridge to the tip and determines how wide or narrow the nose appears from different angles.
The Ball (Tip): The rounded end of the nose, made entirely of cartilage. This is the focal point of the nose and catches light beautifully from most angles. Getting this shape right makes noses look realistic instead of flat.
The Nostrils (Alar): The two openings on either side. Artists often make the mistake of drawing these too prominently. From most angles, you only see the outer edges or “flares” of the nostrils.
The Philtrum: The small indented area between the nose and upper lip. This often gets forgotten but adds important depth and realism to your drawings.
Understanding cartilage versus bone matters too. The bridge is bone, while the tip and nostrils are cartilage. This is why the bridge stays straight while the tip has more organic variation between people.
The Geometric Foundation – Seeing Noses as 3D Forms
Here is where most tutorials lose people. They dive into drawing the outline of a nose, fighting every curve and angle. That’s the hard way. The easy way is building the nose from basic shapes first.
Think of the nose as a pyramid with an elongated top. The broad base sits at the nostrils while the point reaches up toward the brow. Add a small sphere or circle on the front of that pyramid for the ball of the nose. That’s your basic 3D structure.
Now add planes. The nose has distinct flat surfaces facing different directions. You have the front plane (facing you), side planes (angled away on each side), and the bottom plane (facing down toward the nostrils). Each plane will receive light differently, which gives the nose its 3D appearance.
Surface direction is crucial for shading. Every point on the nose faces a particular direction. If you imagine tiny arrows pointing outward from the surface, those arrows tell you how light hits that spot. The front-facing surfaces catch more light while the side planes fall into shadow. This concept sounds abstract but becomes intuitive with practice.
The key insight from art educators like Andrew Loomis is this: once you see the nose as geometric primitives in 3D space, drawing from any angle becomes a matter of rotating those shapes. You’re not memorizing nose outlines anymore. You’re constructing forms.
How to Draw a Nose from the Front View
Front-facing noses are straightforward once you have the geometric foundation in place. Start with your vertical centerline to keep everything symmetrical. Sketch a light vertical oval for the nose shape.
Step 1: Draw a light vertical line to mark the center of the face and the nose’s axis. Lightly sketch a rectangle or trapezoid that will become your nose bridge.
Step 2: Add a small circle at the bottom center of the bridge. This circle represents the ball of the nose. Don’t make it too large. A small, confident shape works better than a hesitant, oversized one.
Step 3: Sketch the side planes extending down from the bridge. These should angle outward slightly before curving back in toward the nostrils. Think of them as panels on either side of the central pyramid.
Step 4: Draw the nostrils as subtle darker areas beneath the nose ball. Remember, you typically see only the edges or flares of the nostrils from the front. Don’t draw full circular openings.
Step 5: Add your shadow shapes. The shadow side of the nose will be one of the side planes. The underside of the nose ball creates a cast shadow on the face below.
Step 6: Refine your outlines over your construction lines. Many beginners keep their construction lines visible. Professionals bury them. Press lighter and make your final lines confident.
How to Draw a Nose from the Side View
Profile views compress the nose into a simple silhouette with key landmarks. This is where knowing your anatomy pays off.
Step 1: Start with the forehead slope and the brow ridge. The nose begins where the forehead ends. The angle between them varies between individuals.
Step 2: Draw the bridge as a simple line or thin shape. From the side, the bridge is a diagonal stroke more than a complex form. It connects the brow to the nose tip.
Step 3: Add the nose tip. From the side, you see the ball of the nose as a smooth curve. It should project outward from the face more than you expect. Many beginners make the nose tip too flat.
Step 4: Sketch the upper lip area and the philtrum. The nose doesn’t float alone. It connects to the face through the philtrum and relates to the upper lip’s position.
Step 5: Draw the nostril edge visible from this angle. The side view shows one nostril opening and its outer flare. Keep this subtle. It should read as a shadow shape, not a black hole.
Step 6: Add shading to the underside of the nose bridge and around the nostril area. The profile view creates clear light and shadow separation that you can lean into for realism.
How to Draw a Nose at a 3/4 Angle (Step by Step)
This is the most searched angle in nose drawing tutorials. The 3/4 view shows both the front and side of the nose simultaneously, which creates natural perspective challenges. Here’s how to handle it.
Step 1: Establish your centerline, but offset it. The nose’s axis will tilt toward one side of the face. Draw a light line that captures this angle. The nose will sit along this tilted axis, not a straight vertical.
Step 2: Sketch the visible bridge portion. From 3/4 view, you see part of the bridge head-on and part receding away. The side you see most clearly will have more detail and value contrast.
Step 3: Add the nose ball, but understand foreshortening. The ball is now partially hidden by its own form. You’re seeing the near side of it more prominently. The far side disappears behind the bridge.
Step 4: Draw the closest nostril with full detail. This nostril is fully visible and should be your darkest shadow shape. The far nostril is foreshortened and might be barely visible or hidden entirely.
Step 5: Add the side plane shadow on the far side of the nose. This shadow wraps around the form and helps push the nose into 3D space. It connects the bridge shadow to the nostril shadow.
Step 6: Sketch the near-side plane of the nose. This is your primary light-catching surface. It should be lighter in value than the shadow side and the shadow underneath the ball.
The trick with 3/4 angles is accepting that one side of the nose does much less work than the other. The near side creates your value patterns while the far side supports with subtle transitions into shadow.
Light and Shadow Basics for Realistic Noses
Shading is where noses transform from flat drawings into 3D forms. But you need the right approach, or you’ll end up with a muddy mess.
Start with a clear light source direction. Pick one direction and commit. Top-left lighting is traditional. Side lighting creates drama. Front lighting flattens forms. Whichever you choose, apply it consistently across your entire nose drawing.
The shadow pattern on a nose follows the form. You have the cast shadow underneath the nose ball. You have the form shadow on the side planes that face away from light. You have the highlight on the nose ball’s light-facing surface. Each of these has a distinct value relationship.
Cast shadow is darkest. It sits on the face below the nose and falls away from the source of light. Form shadow is mid-dark, sitting on the surfaces turned away from light. The highlight is the lightest value, sitting on the surfaces pointing most directly at the light source.
Don’t blend everything smoothly. Leave some edge variation. Hard edges on shadow boundaries read as crisp form transitions. Soft edges in the shadow suggest curved, polished surfaces. The nose ball benefits from a mix of both.
The highlight on the nose tip rarely sits at the absolute center. It shifts based on your light angle and the nose’s individual shape. Look for where the light actually hits brightest, not where you expect it to be.
Common Mistakes and How to Fix Them
After reviewing forum discussions and teaching experiences, I’ve identified the mistakes that appear most often. Here’s how to fix each one.
Mistake 1: Drawing nostrils too large. When students struggle with noses, they often over-emphasize the nostrils. The result looks pig-like instead of human. The fix: draw nostrils as subtle shadows, not prominent shapes. If your nostrils take up more than 20% of your nose drawing, they’re probably too big.
Mistake 2: Making the nose too wide. We tend to exaggerate features when uncertain. Most noses are narrower than our first instinct tells us. The fix: compare the nose width to the eye width. A realistic nose is usually about the same width as one eye.
Mistake 3: Forgetting the neck relationship. Noses connect to faces that connect to bodies. A floating nose looks disconnected. The fix: extend your construction lines down to show the philtrum, upper lip, and at least hints of the chin. Context saves drawings.
Mistake 4: Flat shading with no form understanding. If your shading looks like flat color patches, you might be drawing the shadow shape, not the form. The fix: your values should transition across the surface based on which way each part of the nose faces.
Mistake 5: Avoiding the construction phase. Beginners often want to draw the final outline immediately. Skipping construction leads to proportions that feel off. The fix: force yourself to draw light construction shapes first. Your final drawing will be more accurate and you’ll build better habits.
Why Noses Feel Hard (And How to Overcome)
Let me address what most tutorials skip: the emotional experience of learning to draw noses. If you’ve felt frustrated, you’re not alone. There’s a psychological reason it feels hard.
The nose has no single clear outline. Unlike eyes where the eyelids create obvious shapes, the nose blends into surrounding planes. Your brain wants to find a simple outline, but the nose doesn’t offer one. This mismatch between expectation and reality creates frustration.
The solution is accepting that you cannot draw a nose by tracing its outline. You must construct it from the inside out. Start with basic shapes that create the form. The edges will emerge naturally from that construction. Stop trying to draw a nose shape. Start trying to build a nose form.
Practice also requires patience with yourself. Artists on Reddit’s learn to draw community consistently report that the breakthrough moment comes after weeks of dedicated practice. You’re not missing a secret technique. You’re building visual library. Keep drawing, keep comparing to references, keep constructing forms instead of outlines.
Practice Tips That Actually Work
Effective practice isn’t just drawing more. It’s drawing with intention. Here are methods that produce real improvement.
Draw noses from references daily. Spend 15 minutes sketching noses from photos. Focus on the construction: Can you see the pyramid form? Can you identify the planes? Don’t worry about finishing. Just practice seeing.
Try the blind contour exercise. Without looking at your paper, draw the outline of a nose in one continuous line. This trains your hand-eye coordination and breaks you from symbol-based drawing.
Construct before rendering. Spend 50% of your time on construction shapes and 50% on refining. Most artists do the opposite and wonder why their proportions are off.
Study value patterns before details. Squint at nose photos to simplify the light and shadow. Practice getting those big value shapes right before adding surface details.
FAQs
How to draw a nose at a 3/4 angle?
Draw the nose axis tilted toward one side. Start with the visible bridge portion on the near side, add the nose ball with foreshortening, and emphasize the closest nostril. The key is accepting that the near side does most of the work while the far side recedes into shadow.
What’s the easiest way to sketch a nose?
Build the nose from basic shapes. Think of it as a pyramid with an elongated top plus a small sphere at the front for the nose ball. Start with these simple 3D forms, then add detail. This geometric approach works for any angle and eliminates the need to memorize complex outlines.
What are common mistakes when drawing noses?
The most frequent errors include drawing nostrils too large, making the nose wider than it should be, forgetting how the nose connects to the face and neck, applying flat shading without understanding form, and skipping the construction phase entirely. Each of these has a specific fix focused on construction and observation.
What is the hardest part about drawing noses?
The hardest part is that noses have no single clear outline to trace. Your brain expects to find a simple shape, but the nose blends into surrounding planes. The solution is constructing the nose from basic geometric forms instead of trying to draw its outline. Once you embrace this inside-out approach, the difficulty disappears.
Conclusion
Drawing noses from any angle comes down to understanding one principle: treat the nose as 3D geometric construction first, then add detail second. Once you see the pyramid form and sphere, once you understand how light hits different planes, drawing any angle becomes a matter of rotating that construction to match your viewpoint.
Your next step is practice. Grab a reference photo, sketch the geometric foundation lightly, then build from there. Start with the front view. Move to the side view. Eventually tackle the 3/4 angle. Within a few weeks of consistent practice, you’ll notice that nose drawings that once felt impossible start feeling natural. The key is starting with form, not outline. Trust the process.