
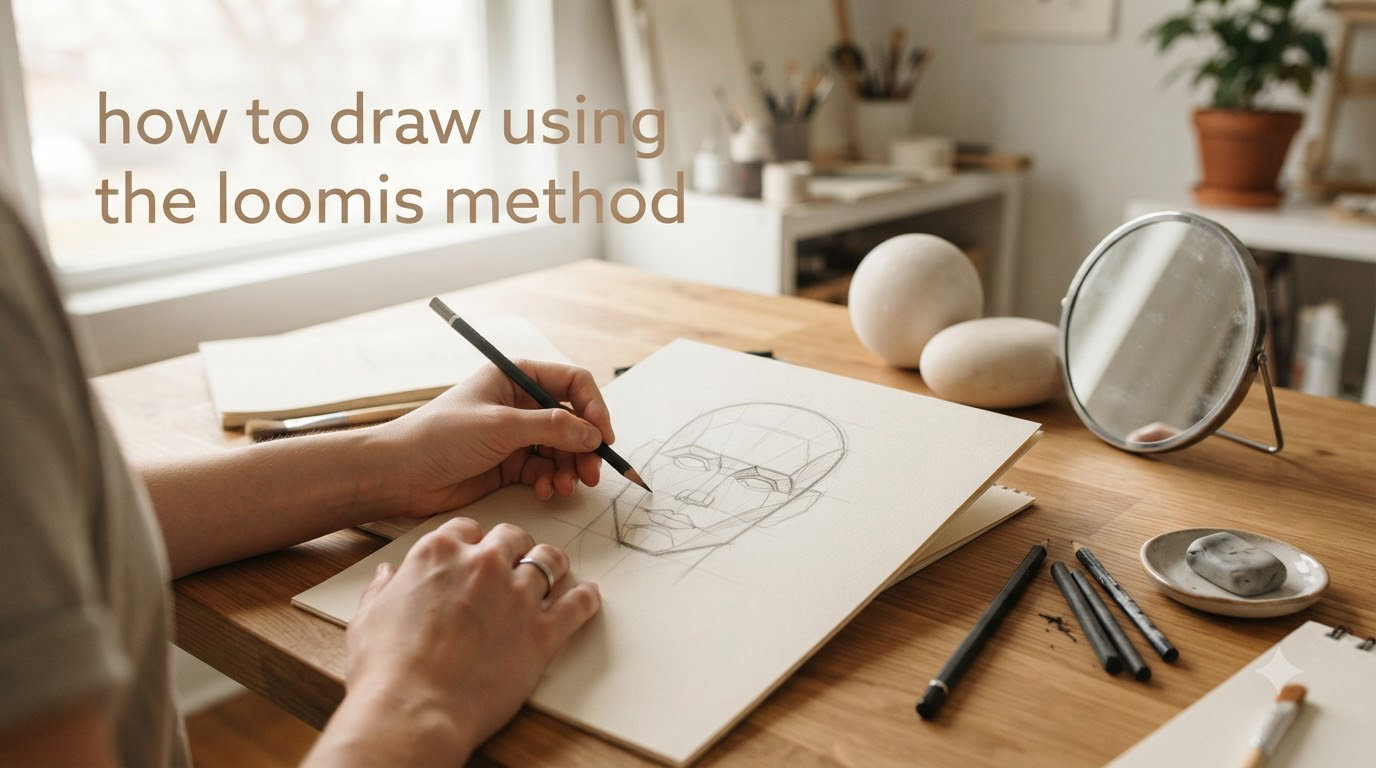
If you have ever stared at a blank page, wanting to draw a face but not knowing where to start, you are not alone. Getting the proportions right feels impossible at first. Every eye looks misplaced. Every nose turns out crooked. This frustration is exactly why the Loomis method exists.
The Loomis method gives you a reliable system for building heads that look real. Instead of guessing, you follow construction lines and simple shapes until your drawing has correct proportions. Artists have used this method since Andrew Loomis first published it in his classic drawing books. It works for any skill level, from complete beginners to working professionals. This guide walks you through every step so you can start drawing faces with confidence.
Table of Contents
Understanding the Loomis Method
What is the Loomis Method?
The Loomis method is a drawing technique that uses geometric forms and measured guidelines to construct the human head accurately. Andrew Loomis, an American illustrator from the early 20th century, developed this system and shared it through his books like “Drawing the Head and Hands” and “Figure Drawing for All It Is Worth.” The core idea is simple: break complex forms down into basic shapes you can draw confidently, then build outward from there.
At its heart, the method relies on circles, ovals, and straight lines. These become your map for placing every feature correctly. You do not need to be good at drawing shapes freehand. The construction lines do the heavy lifting so your final lines can be loose and expressive.
Why Learn the Loomis Method?
This method solves the biggest problem beginners face: knowing where to put things. When you understand how the Loomis method works, you stop copying reference photos blindly. Instead, you analyze them. You see the underlying structure that makes a face look correct, not just look like a tracing.
Another major benefit is consistency. Without a system, you might draw one face well and then struggle with the next one. The Loomis method gives you the same starting point every time. Over time, the construction becomes second nature, and you internalize proportions naturally.
The Planar Head Concept
The planar head is a way of seeing the skull and face as flat surfaces angled in different directions. Imagine light hitting a 3D shape. The surfaces that face the light are bright, while the surfaces turned away are dark. Artists use this concept to add depth and form to their drawings.
In the Loomis method, the planar head helps you understand not just where things are, but how they wrap around the form. The brow ridge, cheekbones, and jaw each sit on different planes. When you draw from imagination, thinking in planes lets you keep your heads from looking flat.
Skull Anatomy Basics
You do not need to become a medical student, but knowing the major skull landmarks helps enormously. The frontal bone forms the forehead and brow area. The parietal bones make up the top and sides of the cranium. The zygomatic bones create your cheekbones, and the nasal bone forms the bridge of your nose.
The mandible, or jawbone, is separate from the skull and attaches at the temporomandibular joint. This is why the jaw has some mobility in real life, and why you need to draw it carefully when constructing a head. Understanding these basics helps you draw heads that look structurally sound rather than like hollow masks.
Materials and Tools Needed
Essential Drawing Supplies
You do not need expensive equipment to learn the Loomis method. A standard pencil like an HB or 2B works fine for construction lines. Use a sketchbook with paper that can handle some erasing without tearing. A kneaded eraser and a regular eraser help you clean up construction lines later.
Ruler or straightedge helps initially while you are learning proportions. Eventually, you should move away from rulers so your eye develops a sense of measurement. But for starting out, a ruler keeps your construction lines accurate and helps you see the correct relationships.
Recommended Optional Tools
A drawing board or easel can improve your posture and angle of view. Some artists like using mechanical pencils for ultra-clean construction lines. Reference photos of faces are essential for practice, preferably with neutral expressions and good lighting that shows the planar structure clearly.
Step 1: Draw the Circle (Cranium)
The first shape in the Loomis method is a simple circle for the cranium. This represents the brain case and makes up roughly the top half of the head. Draw it lightly because you will be adding many more lines later. The size of the circle sets your overall head proportions, so keep it reasonable.
Finding the Right Proportions
Do not make the circle too large. In the final head, the cranium circle should occupy slightly more than half the total head height. If your circle is too big, your head will look elongated and top-heavy. Practice by drawing several circles of different sizes, then completing heads from each one. You will quickly see which proportions look correct.
Common Mistakes with the Circle
New artists often draw circles that are too small or place them incorrectly on the page. Another frequent error is making the circle perfectly round when in reality, the cranium is slightly wider front to back than side to side. An oval or egg shape might feel more natural for the actual skull shape. Use whichever feels comfortable as long as proportions stay correct.
Step 2: Create the Crosshair and Axis Lines
The crosshair consists of two lines: a vertical center line running through the middle of your circle, and a horizontal line crossing it at right angles. These lines are crucial reference points for everything that follows. Every feature placement relates back to these axes.
Vertical Center Line
This line divides the face into left and right halves. It helps you keep the face symmetrical and serves as a reference for where features should align. When drawing any view of the head, the center line curves to match the perspective. In a front view, it stays straight. In a profile or 3/4 view, it curves to show depth.
Horizontal Axis Line
The horizontal line sits roughly at the eye level. It marks where the eyes will eventually go. In the front view, this line is straight across. In perspective views, it appears foreshortened, curving upward or downward depending on your angle.
Why Both Lines Matter
Without these reference lines, keeping a face symmetrical becomes incredibly difficult. Your brain wants to see balance, but without guides, small errors accumulate. The crosshair gives your eye a framework to check against. Every line you draw afterward can be measured against these axes to confirm correct placement.
Step 3: Slice the Sides (Side Plane)
Now you need to establish the width of the head and create space for the jaw. Draw lines extending outward from the sides of your circle, then curve them inward to form the beginnings of the jaw. This creates the side planes that give the head its 3D quality.
Creating the Jaw Width
The sides of the circle are not the widest point of the head in most people. The cheekbones typically sit slightly forward and out from where the circle edge falls. Slice the circle about one-third down from the top, angling the lines outward to represent cheekbone width. Then curve these lines back inward to create the jaw narrowing.
The Oval Foundation
Think of the lower portion of the head as an oval that sits beneath your cranium circle. This oval represents the facial mass, including the cheekbones, mouth, and chin area. It connects to the cranium at the temples and narrows toward the jaw. When viewed from the front, this oval is roughly as wide as the eye line is long.
Step 4: Establish Key Guidelines
These construction lines divide the face into sections, showing you exactly where major features belong. The standard divisions come from dividing the head into thirds. Each guideline marks a critical transition point on the face.
Hairline Position
The hairline sits at the top of the forehead, marking where hair begins. It is typically located about one-third down from the top of the head. However, hairlines vary significantly between individuals. Some sit higher, some lower. Use this as a starting point and adjust based on your reference or the character you are designing.
Brow Line
The brow line marks the ridge where the frontal bone curves above the eyes. This is where the eyebrows sit, and it creates a strong horizontal feature on the face. In the Loomis construction, the brow line sits at roughly the halfway point between the hairline and the nose line. This line also roughly aligns with the top of the ear.
Nose Line
The nose line is one of the most important guides in the Loomis method. It marks the bridge of the nose and sits roughly halfway between the brow line and the chin line. The nose itself extends slightly below this line, but the line helps you place the nose tip and nostrils correctly. This is where the lower portion of the facial oval gets its name as the “nose oval.”
Chin Line
The chin line marks the bottom of the face and helps establish overall facial height. It sits about one-third below the nose line. The distance from the nose line to the chin is roughly equal to the distance from the brow line to the hairline. This proportion creates a balanced lower third of the face.
Step 5: Draw the Jaw Line
The jaw is where many beginner drawings fall apart. The jawbone sweeps down from the ears, narrows toward the chin, and creates the distinctive jaw angle that gives faces their character. Getting this right is essential for a head that looks structurally sound.
Connecting to the Cranium
Your jaw lines should connect smoothly to the sides of the cranium at the temple area. Think of the jaw as starting from the cheekbone area and sweeping down and inward. The angle where the jaw meets the chin should be gentle, not sharp. Most male jaws have a more pronounced angle, while female jaws tend to be smoother and more vertical.
Jaw Angle Variations
Not all jaws look the same. Some faces have strong, square jaws with obvious angles. Others have softer, more tapered jawlines. Practice drawing different jaw shapes so you can adapt the basic Loomis construction to different face types. Watch the angle where the jaw meets the chin and where the jaw attaches to the skull behind the ear.
Step 6: Place Facial Features
With all your construction lines in place, actually drawing the features becomes much simpler. Each element has a logical position relative to the guidelines you have already drawn. This is where your construction pays off.
Placing the Eyes
The eyes sit on the horizontal axis line you drew earlier. They are typically one eye-width apart, with each eye being one eye-width from the side of the head. In the Loomis method, you often draw eyes as simple shapes first, then refine them. Remember that the eyes wrap around the curved surface of the face, so the far eye appears slightly narrower due to perspective.
Positioning the Nose
The nose follows the vertical center line and extends from the brow line down to the area halfway between the nose line and the chin line. The nose tip sits at the nose line. Think of the nose as a series of planes rather than a single outline. The bridge comes forward, the tip projects outward, and the nostrils recede into shadow.
Drawing the Mouth and Lips
The mouth sits roughly halfway between the nose line and the chin line. The lips should sit slightly above this midline, with the upper lip typically thinner than the lower lip. Think of the lips as wrapping around the cylindrical form of the face. The corners of the mouth align with the pupils of the eyes in a front-facing head.
Placing the Ears
Ears typically align with the brow line at the top and the nose line at the bottom. In the front view, ears are mostly hidden by the head shape, but you still need to know where they go. In profile and 3/4 views, ears become prominent features. Draw them as simplified shapes first, then add the internal structure of the helix and lobe.
Drawing Different Views
The Loomis method works for any angle, not just the front view. Once you understand the principles, you can rotate the head in your mind and construct it from any perspective. Each view requires adjusting how you draw the construction lines.
Front View
In the front view, all vertical lines stay straight and all horizontal lines stay level. The features are symmetrical across the center line. This is the easiest view for learning the basics because you do not need to account for perspective distortion. Master the front view first before moving to more complex angles.
Side/Profile View
The profile view requires curving your center line to show the head turning away from you. The features on the visible side of the face compress slightly, while the far side disappears into shadow. The ear moves to the side of the head, and the nose projects prominently forward. Notice how the jaw sweeps back from the chin to the ear.
3/4 View
The 3/4 view shows both sides of the face, with one closer and one farther away. This is one of the most common angles for portraits and character art. The center line curves but does not disappear entirely. The near eye appears larger than the far eye. The nose crosses over the center line toward the viewer.
Common Mistakes to Avoid
Even with a solid method, artists run into predictable problems. Knowing these pitfalls helps you avoid them and progress faster in your practice.
One of the most common mistakes is placing the eyes too high on the face. Because the forehead is visible, beginners often give too much space between the brows and the top of the head. Remember that the eyes sit at the horizontal midpoint of the total head, not the midpoint of the visible face.
Another frequent error is drawing construction lines too dark. Keep your initial lines light so they can guide you without cluttering your final drawing. Pressing hard makes the lines difficult to erase later, and your finished piece will have a muddy appearance.
Many artists rush the construction phase because it feels less important than the final drawing. This is backwards thinking. The construction is where accuracy happens. If your foundation is wrong, no amount of careful line work on top will fix it. Spend real time getting the structure right.
Forgetting to check your work against the center lines is another pitfall. Every few minutes, hold your drawing up to a mirror or flip it horizontally to check for asymmetry. Your brain gets used to what you are drawing and stops noticing errors. Distance helps you see problems clearly.
Practice Tips for Mastery
The Loomis method requires practice like any skill. You will not master it overnight, and that is completely normal. Here is how to practice effectively.
Start by drawing heads from references using the full construction method. Focus on accuracy over speed. Spend ten to fifteen minutes on each construction, really studying how the guidelines relate to the actual features you see. This builds your eye for proportion in a way that quick sketches cannot.
After you feel comfortable with reference work, try drawing from imagination. Construct a head using the Loomis method without any photo in front of you. This is where the method becomes truly valuable. You might be surprised how different it feels to draw a face from imagination versus copying a reference.
Practicing daily, even for just fifteen minutes, produces better results than occasional long sessions. The consistent repetition helps your hand learn what your eye sees. Many artists find that after two to three months of daily practice, the construction becomes automatic and they can focus more on expression and character.
Draw fifty heads before worrying about whether they look good. Quantity builds confidence and skill faster than obsessing over quality. Some of the fifty will be disasters, and that is fine. Each one teaches you something, even the failures.
FAQs
What is the Loomis method for drawing?
The Loomis method is a drawing technique developed by illustrator Andrew Loomis that uses geometric construction and measured guidelines to accurately draw the human head from any angle.
What are common mistakes when using the Loomis method?
Common mistakes include placing features too high or low on the face, drawing construction lines too dark, rushing the construction phase, and not checking symmetry against the center lines regularly.
How long does it take to learn the Loomis method?
Most artists need 2-3 months of consistent daily practice to become comfortable with the method. True mastery typically takes 6-12 months of regular practice drawing dozens of heads from both references and imagination.
Is the Loomis method good for beginners?
Yes, the Loomis method is excellent for beginners because it provides a structured, systematic approach to learning facial proportions. Rather than guessing where features go, beginners have clear guidelines to follow.
Does the Loomis method always work?
The Loomis method works consistently when applied correctly. Some artists find it requires slight adaptation for certain face shapes or art styles, but the fundamental principles of construction apply universally.
What is the 70/30 rule in drawing?
The 70/30 rule suggests spending 70% of your effort on understanding and building the construction, and 30% on the final linework. This emphasizes that a solid foundation produces better results than rushed finishing work.
Final Thoughts on the Loomis Method
The Loomis method is not the only way to draw heads, but it is one of the most reliable. For decades, artists have used these principles to build strong foundations for their portrait work. The systematic approach removes guesswork and lets you focus on what you actually want to draw.
Start with the basics. Draw the circle, add your crosshair, establish the guidelines, and place features within that framework. Practice until the construction becomes instinct. Then move on to different angles and expressions. Each new skill builds on what came before.
Do not worry if your early attempts look awkward. Every artist who learned this method went through that phase. The key is persistence. Draw heads daily, study references, and give yourself permission to make mistakes while you are learning. The method works. Your job is simply to practice until it becomes part of how you see.
The satisfaction of drawing a face that looks correct, that has proper proportions and form, is worth the effort. When you reach that point, you will have a skill that serves you throughout your artistic journey, whether you are drawing portraits, characters, or anything involving the human face.