
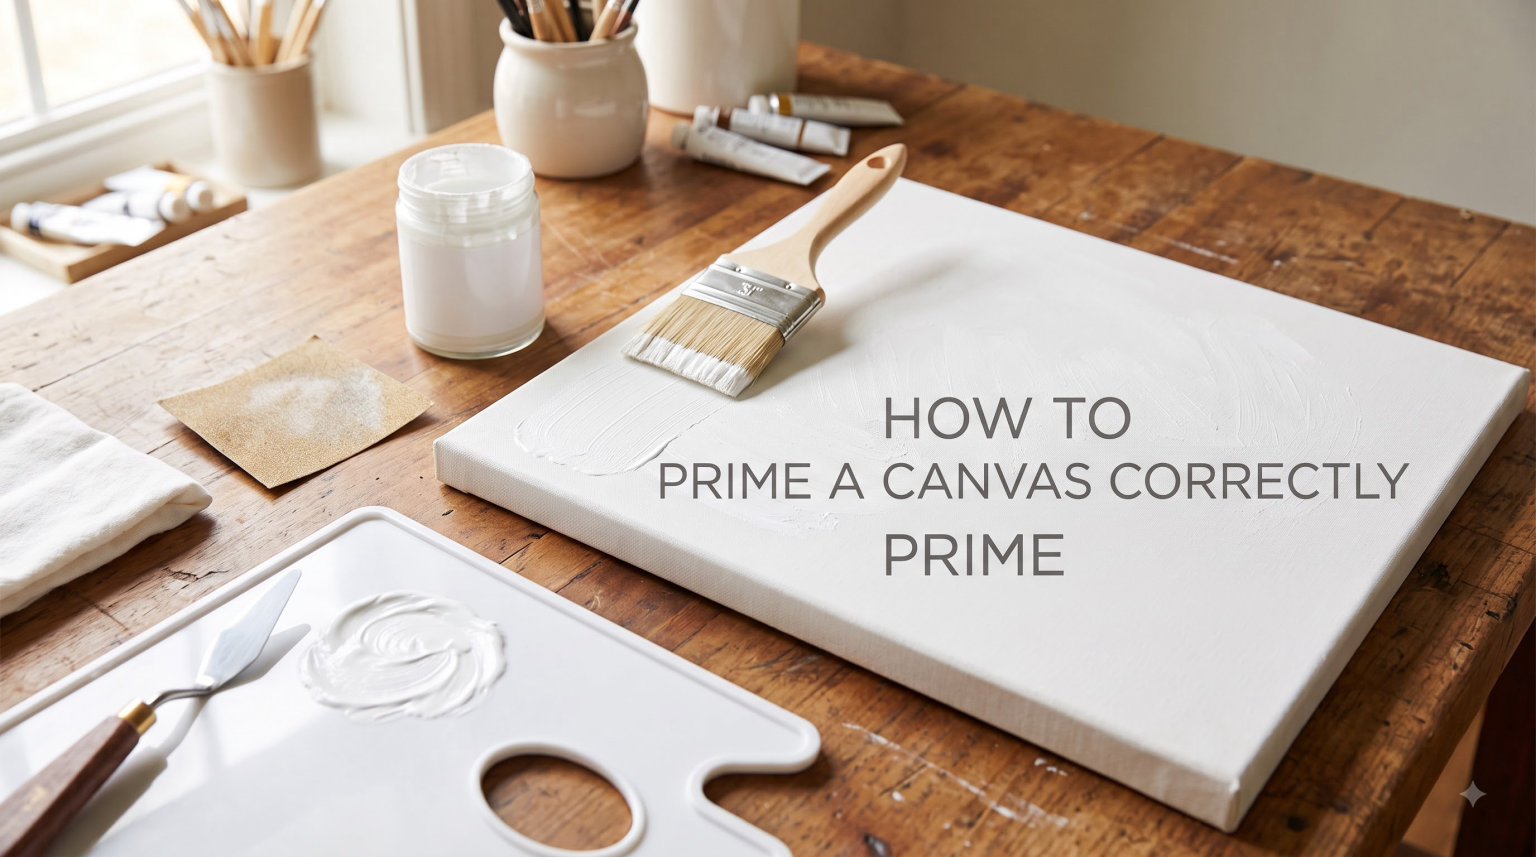
Priming a canvas is the single most important step you can take to ensure your paintings last for decades. I learned this the hard way when my first oil painting developed unsightly brown spots just six months after completion. The culprit? Skipping the sizing step and using the wrong primer for the medium.
In this guide, I will show you exactly how to prime a canvas correctly for both acrylic and oil painting. You will learn the materials you need, the step-by-step process, and the common mistakes that ruin even the most carefully prepared surfaces.
Whether you are working with a raw cotton canvas or a pre-primed linen that needs an extra coat, this guide covers everything you need to know to create a professional-grade painting surface in your own studio.
Table of Contents
What Is Canvas Priming and Why It Matters
Canvas priming is the process of applying a preparatory coating to raw fabric before painting. The primer creates a barrier between the canvas fibers and your paint, preventing the oils in oil paint from rotting the fabric and giving acrylic paint something to grip onto.
Without proper priming, your canvas remains too absorbent. Paint sinks in immediately, colors appear dull, and the fabric deteriorates over time. Priming also provides what artists call “tooth” — the subtle texture that holds paint in place and allows for controlled brushwork.
Many beginners confuse priming with sizing. Sizing is the process of sealing the canvas fibers with a glue-based solution, traditionally rabbit skin glue. Priming applies the white or tinted ground layer on top. For oil painting, you need both steps. For acrylic painting, modern acrylic gesso handles both functions in one application.
Materials and Tools Needed
Gathering the right supplies before you start makes the priming process smooth and professional. You will need gesso or primer appropriate for your painting medium, a wide flat brush or foam brush, fine-grit sandpaper, and a clean container for diluting.
Additional essentials include a drop cloth to protect your work surface, paper towels for cleanup, a stir stick, and a dust mask if you are sanding multiple canvases. Work in a well-ventilated area, especially with oil-based primers.
For most artists, a 2-inch to 4-inch flat synthetic brush works best for application. Some prefer foam brushes for smoother results, though they wear out quickly. Keep 220-grit and 320-grit sandpaper on hand for between-coat smoothing.
How to Prime a Canvas Correctly: Step-by-Step Instructions
Follow these steps to achieve a professional primed surface every time. I have refined this process over hundreds of canvases in my own studio.
Step 1: Prepare Your Workspace
Lay down a drop cloth to protect your floor or table. Set up in a dust-free area with good ventilation. Temperature matters: aim for 65 to 75 degrees Fahrenheit with relative humidity below 70 percent for optimal drying.
Secure your canvas on a flat surface or easel. Make sure it is stable and will not shift during application. Remove any dust with a clean, dry cloth before you begin.
Step 2: Stir the Gesso Thoroughly
Gesso separates during storage, with heavier particles settling at the bottom. Stir vigorously for at least 60 seconds until the consistency is uniform. Do not shake the container, as this introduces air bubbles that transfer to your canvas.
The gesso should flow like heavy cream. If it seems too thick, add water gradually — no more than 10 percent by volume. Thinning too much reduces coverage and can cause the primer to crack.
Step 3: Apply the First Coat with Vertical Strokes
Load your brush with gesso and start at the top of the canvas. Apply using vertical strokes, working from one side to the other. Maintain even pressure and do not overload the brush.
Work quickly but deliberately. Cover the entire surface in one session to avoid lap marks where wet and dry edges meet. Pay attention to the edges and corners, which often get neglected.
Step 4: Allow Complete Drying
Acrylic gesso typically dries to the touch in 30 to 60 minutes under good conditions. Oil-based primers need 12 to 24 hours or longer. Do not rush this step.
Touch the surface lightly in an inconspicuous area. It should feel completely dry and slightly chalky, not cool or tacky. Humidity and temperature dramatically affect drying time.
Step 5: Sand Lightly Between Coats
Once dry, lightly sand the entire surface with 220-grit sandpaper. Use gentle circular motions. You are not trying to remove the gesso, just smooth the raised fibers and brush marks.
Wipe away dust with a clean, slightly damp cloth. Wait a few minutes for any moisture to evaporate before applying the next coat.
Step 6: Apply the Second Coat with Horizontal Strokes
Stir your gesso again and apply a second coat using horizontal strokes. This cross-hatching technique ensures complete coverage and builds a stronger surface.
Apply slightly less pressure than the first coat. The goal is a thin, even layer rather than heavy buildup. Thick coats crack and take forever to cure.
Step 7: Sand Again and Inspect
After the second coat dries completely, sand lightly with 320-grit sandpaper for an even smoother finish. Check the canvas under good light for any thin spots, drips, or uneven areas.
Hold the canvas at an angle to catch the light. Any dull spots indicate thin coverage that needs touching up.
Step 8: Apply a Third Coat (Optional)
For oil painting or if you want an ultra-smooth surface, apply a third coat. Alternate direction again — return to vertical strokes. Most artists find two coats sufficient for acrylic painting on pre-sized canvas.
For portraits or detailed work, three coats provide the glass-smooth surface that supports fine detail. Just remember that each additional coat adds drying and sanding time.
Step 9: Final Sanding
After your final coat dries, do a final sanding with 320-grit or even 400-grit sandpaper for a smooth finish. Some artists prefer the texture of unsanded gesso — it holds paint beautifully for expressive brushwork.
If you want to maintain texture, skip this step or use very light pressure with higher-grit paper.
Step 10: Cure Before Painting
Acrylic gesso needs 24 to 48 hours to fully cure, even when dry to the touch. Oil-based primers require 3 to 7 days minimum. Rushing to paint on uncured primer causes adhesion problems.
Store primed canvases vertically in a clean, dry place. Avoid stacking face-to-face, as they may stick together.
Types of Primers Compared
Choosing the right primer depends on your painting medium, desired surface texture, and archival requirements. Each type has distinct advantages and limitations.
| Primer Type | Best For | Drying Time | Texture | Archival Quality |
|---|---|---|---|---|
| Acrylic Gesso (White) | Acrylic and oil painting | 30-60 minutes between coats | Moderate tooth | Excellent |
| Acrylic Gesso (Clear) | Preserving canvas texture | 30-60 minutes between coats | Minimal | Excellent |
| Oil-Based Primer | Oil painting on sized canvas | 12-24 hours between coats | Smooth to moderate | Excellent |
| Traditional Rabbit Skin Glue + White Lead | Historical oil techniques | 24+ hours between coats | Very smooth | Excellent with proper sizing |
| Casein Gesso | Water-based alternatives | 2-4 hours between coats | Moderate to rough | Good |
| Colored Gesso | Tinted grounds for mood | 30-60 minutes between coats | Moderate | Excellent |
Acrylic gesso dominates the market for good reason. It works with both oil and acrylic paints, cleans up with water, and dries quickly. Traditional oil primers remain the choice of many professional oil painters who want that classic, slightly absorbent ground.
Clear gesso preserves the natural canvas weave while still providing tooth and protection. Artists working with raw linen or canvas who want that organic texture visible in the final piece should consider this option.
Sanding Technique and Multiple Coats
Sanding between coats transforms a good priming job into a professional one. The process knocks down raised canvas fibers and smooths brush marks that would otherwise show through your paint layers.
Use 220-grit paper between the first and second coats. Switch to 320-grit for the final sanding. Work in gentle circular motions with minimal pressure. You are polishing, not removing material.
How many coats do you need? Two coats suffice for most acrylic work. Oil painters should apply three coats minimum on sized canvas. Each coat adds protection and builds the surface quality that supports your painting technique.
Drying times vary significantly by product and environment. A humid day can double the drying time of acrylic gesso. Oil primers in cold studios may take days to cure properly. When in doubt, wait longer.
Oil vs Acrylic Painting Considerations
The medium you plan to use determines your priming approach. Acrylic paint is more forgiving, bonding well with modern acrylic gesso without additional preparation. Oil paint requires more careful preparation.
Oil paint contains linseed or other vegetable oils that slowly oxidize and generate acidity. Without proper sizing and priming, these oils penetrate the canvas fibers and cause them to rot. The result is brittle, cracking paint that eventually falls off.
For oil painting, you must size the canvas first with rabbit skin glue or synthetic PVA sizing. This seals the fibers completely. Then apply an oil-based primer or acrylic gesso formulated for oil painting compatibility.
Acrylic paint adheres well to properly primed canvas without sizing. The polymer in acrylic gesso bonds chemically with acrylic paint layers. You can even paint acrylic over an oil-primed surface, though the reverse is not recommended.
Some artists paint oil over acrylic-primed canvas successfully. The key is ensuring complete curing of the acrylic primer and avoiding thick impasto in early layers. When unsure, test a small sample first.
Troubleshooting Common Priming Problems
Even experienced artists encounter priming issues. Here is how to fix the most common problems.
Uneven Coverage and Thin Spots
Thin spots appear as darker areas where the canvas weave shows through. They result from insufficient gesso or uneven application. Sand lightly and apply an additional thin coat to affected areas.
Prevention is easier than correction. Work methodically across the canvas and check your coverage by viewing at an angle under light before the gesso dries.
Brush Marks and Streaks
Visible brush marks usually mean the gesso was too thick or you worked too slowly. Sand between coats to minimize them. For future canvases, thin the gesso slightly and work in larger sections.
Foam brushes eliminate brush marks entirely but wear out quickly on large canvases. Consider a paint roller for big surfaces, rolling in multiple directions for even coverage.
Drips and Runs
Excess gesso collects along the bottom edge of vertical canvases. Check the edges during application and smooth any buildup with your brush. Once dry, sand drips flat and touch up with a small brush.
Cracking or Peeling Primer
Cracks indicate the gesso was applied too thickly or the canvas flexed before curing. Peeling suggests contamination on the canvas surface or incompatibility between layers. Sand affected areas and reapply thinly.
Always ensure your canvas is taut and stable before priming. Movement during drying causes stress that cracks the primer.
Gritty or Lumpy Texture
Contamination in your gesso or brush introduces grit. Strain old gesso through fine mesh before use. Clean brushes thoroughly and avoid stirring with dirty implements.
Pro Tips and Best Practices
After priming hundreds of canvases, I have developed a few techniques that save time and improve results.
Work in batches. Priming several canvases at once is more efficient than individual sessions. Set up an assembly line: stir gesso, apply first coat to all canvases, sand all, apply second coat.
Control your environment. A dehumidifier in summer and space heater in winter maintain optimal conditions for drying. Good air circulation speeds curing without creating dust that settles on wet gesso.
Label your primed canvases with the date and number of coats. This helps you track curing time and ensures you do not paint on canvas that needs more preparation.
For small studios, prime canvas by the yard before stretching. You can work on a table or floor with better access to the edges. Store rolled primed canvas vertically to prevent cracking.
Experiment with texture on practice pieces before committing to important work. Some paintings benefit from a rough, toothy surface. Others demand glass-smooth preparation.
How to Prime a Canvas Correctly: FAQs
What can I use to prime a canvas?
Acrylic gesso is the most common primer for canvas. You can also use oil-based primers for oil painting, traditional rabbit skin glue with white lead, casein gesso, or clear gesso. For household alternatives, PVA glue mixed with titanium white pigment works in a pinch, though it is not archival quality.
Why do you sand a canvas?
Sanding between coats of primer smooths the surface and removes raised canvas fibers. This creates a professional painting surface with consistent tooth. Sanding also improves adhesion between coats and eliminates brush marks that would show through your paint layers.
What is sizing glue?
Sizing glue is a sealant applied to raw canvas before priming, traditionally made from rabbit skin glue. It fills the pores in canvas fibers and prevents oil paint from penetrating and rotting the fabric. Modern alternatives include PVA sizing. Sizing is essential for oil painting but optional when using modern acrylic gesso for acrylic painting.
How many coats of primer do I need?
Apply two to three coats of primer for most painting. Two coats work well for acrylic painting on pre-sized canvas. Oil painting requires three coats minimum on properly sized canvas. Each coat should be thin and even. Additional coats create smoother surfaces ideal for detailed work.
Can I paint immediately after priming?
No, you must wait for the primer to fully cure. Acrylic gesso needs 24 to 48 hours. Oil-based primers require 3 to 7 days. While the surface may feel dry to the touch within hours, premature painting can cause adhesion problems and cracking. When in doubt, wait longer.
What’s the difference between gesso and primer?
Gesso is a specific type of primer made from pigment, binder, and chalk. Modern acrylic gesso uses acrylic polymer as the binder. Traditional gesso uses animal glue. The term primer is broader and includes oil-based primers, clear gesso, and other preparatory coatings. In practice, artists often use the terms interchangeably when referring to canvas preparation.
Do I need to size canvas before priming?
For oil painting, yes. Sizing seals the canvas fibers and prevents oil from rotting the fabric. Apply rabbit skin glue or synthetic sizing, let it dry, then prime. For acrylic painting, sizing is optional. Modern acrylic gesso contains sizing agents and works as both sealer and primer in one application.
How do I fix uneven primer coverage?
Sand the affected area lightly with fine-grit sandpaper to smooth any ridges. Wipe away dust and apply a thin additional coat of gesso to the thin spots only. Blend edges into surrounding areas. Allow to dry completely and sand again before painting.
What causes primer to crack or peel?
Primer cracks when applied too thickly, when the canvas flexes during curing, or when environmental conditions fluctuate dramatically. Peeling results from contamination on the canvas surface, poor adhesion between layers, or incompatibility between sizing and primer materials. Always work in stable conditions and apply thin, even coats.
Conclusion
Learning how to prime a canvas correctly takes your artwork from amateur to professional. The process requires patience and attention to detail, but the results are worth the effort. A properly primed canvas provides the foundation for paintings that will last for generations.
Remember the essentials: prepare your workspace, apply thin even coats, sand between layers, and allow proper curing time. Whether you choose modern acrylic gesso or traditional oil primers, the principles remain the same. Build the surface carefully, and your paintings will thank you.
Now that you understand the complete priming process, grab your supplies and prepare your next canvas. The time invested in proper preparation pays dividends in every brushstroke that follows.