
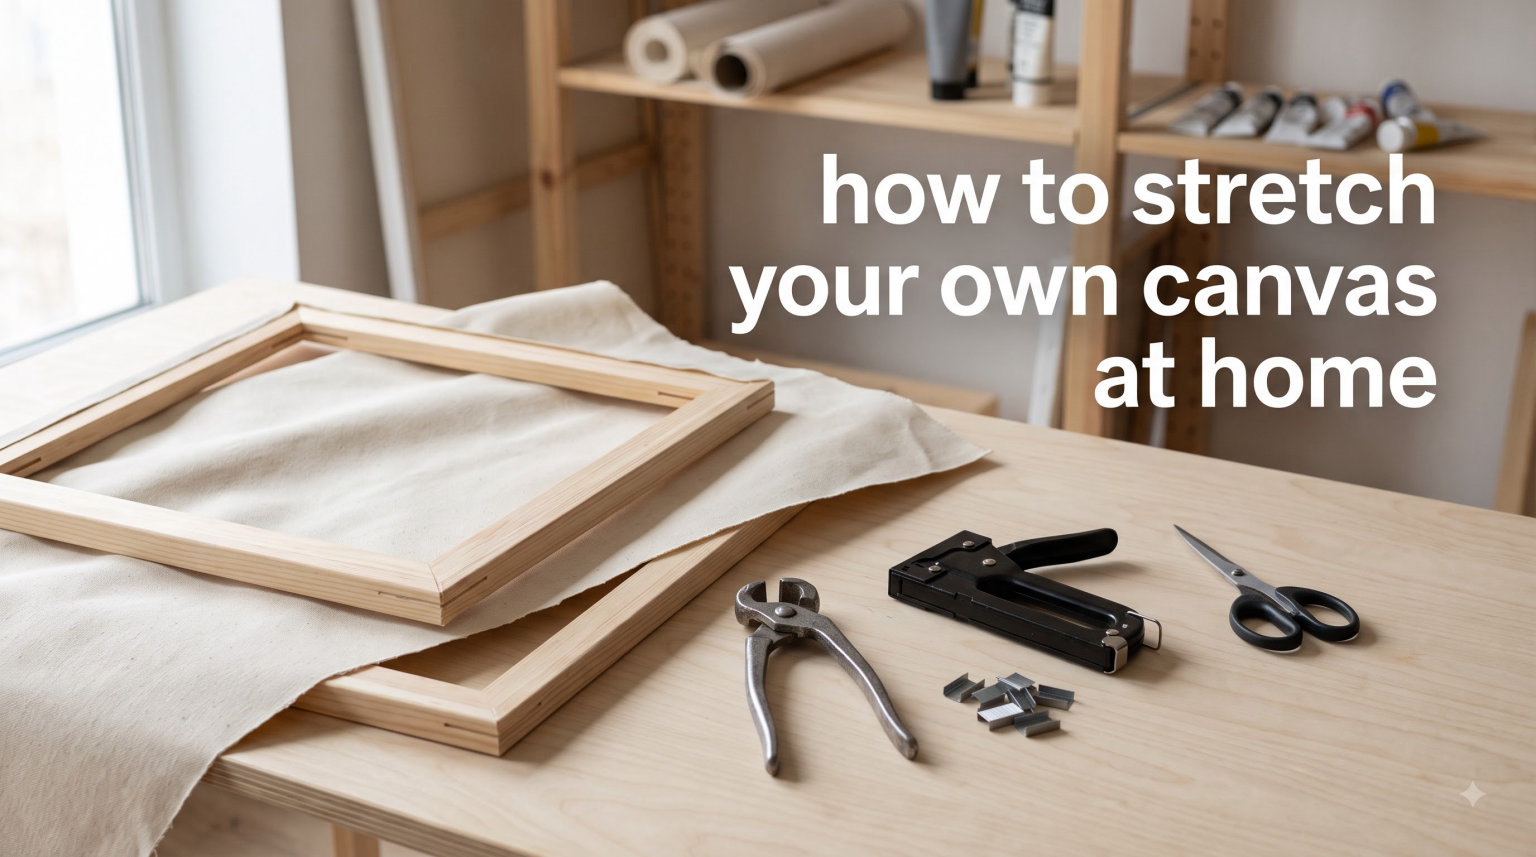
I remember the first time I tried to stretch my own canvas at home. My hands were shaking. I had spent forty dollars on raw canvas, and the fear of ruining it was real. But after thirty minutes of fumbling with a staple gun and some trial and error, I had a perfectly taut surface ready for paint. That was five years ago, and I have not bought a pre-stretched canvas since.
Learning how to stretch your own canvas at home is one of those skills that seems intimidating until you actually do it once. It opens up a world of custom sizes, better materials, and significant cost savings. Whether you are a beginner painter or an experienced artist looking to take control of your surfaces, this guide will walk you through every step.
Before we dive in, you might want to learn canvas stretching techniques that bridge the gap between street art methods and gallery presentation. The fundamentals are the same no matter where your art ends up.
Table of Contents
Is It Easy to Stretch a Canvas Yourself?
Yes, stretching your own canvas is absolutely something you can learn in an afternoon. You do not need special artistic talent or years of experience. What you need is the right technique, the proper tools, and patience for your first attempt.
Most beginners complete their first canvas in 45 minutes to an hour. By your third or fourth attempt, you will be finishing in 20 minutes flat. The key is understanding the center-out stapling method, which we will cover in detail below.
Why Stretch Your Own Canvas
Before we get into the how, let us talk about the why. Is it worth it to stretch your own canvas? In most cases, absolutely.
Cost savings: A 36×48 inch pre-stretched canvas can cost sixty to eighty dollars. The materials to stretch that same size yourself run about twenty to twenty-five dollars. If you paint regularly, those savings add up fast.
Custom sizes: Need a 17×23 inch canvas for a specific project? Good luck finding that in a store. When you stretch your own, you can make any dimension you want.
Material quality: Pre-stretched canvases often use lower-grade cotton or thin stretcher bars. When you DIY, you choose the canvas weight, the wood quality, and the primer.
Canvas reclamation: Painted something you hate? You can remove old canvas and reuse the stretcher bars, something you cannot do with a store-bought frame.
Tools and Materials You Will Need
Having the right tools makes all the difference. Here is everything you need to stretch your own canvas at home.
Essential Tools
Stretcher bars: These are the wooden frames that hold your canvas. You can buy them in pairs at art supply stores or online. Get two pairs for your desired dimensions.
Canvas pliers: These special pliers grip the canvas fabric and give you leverage to pull it tight. They are not absolutely required, but they save your hands and create better tension. Expect to pay fifteen to thirty dollars.
Staple gun: A heavy-duty staple gun is essential. Electric or pneumatic models work best, but a manual staple gun will do for smaller canvases. You will need T50 staples.
Rubber mallet: For knocking together the stretcher bars and inserting corner wedges.
Measuring tape and scissors: For cutting your canvas to size with precision.
Materials
Raw canvas: Available by the roll or yard at art supply stores. Cotton duck canvas is standard for beginners. Linen is premium but more expensive and harder to stretch.
Corner braces or wedges: These small wooden triangles or plastic wedges help maintain tension over time.
Gesso: White primer that prepares the canvas for paint. You will apply this after stretching.
How to Stretch Your Own Canvas at Home: Step-by-Step
Now for the main event. Follow these steps in order, and you will have a professional-quality stretched canvas by the end.
Step 1: Assemble the Stretcher Frame
Start by connecting your stretcher bars. Most have pre-cut slots that interlock at the corners. Lay two bars on the floor in an L shape, slot them together, then add the other two bars to complete the rectangle.
Use your rubber mallet to tap the corners firmly. You want a tight fit. Check that your frame is square by measuring diagonally from corner to corner. Both measurements should be identical. If they are not, adjust until they match.
If you are building a large canvas (over 30 inches on any side), install cross bars now. These provide extra support and prevent the frame from warping.
Step 2: Measure and Cut Your Canvas
Lay your assembled frame face down on your raw canvas. You need enough fabric to wrap around the stretcher bars and staple to the back. A good rule is to allow three to four inches of overhang on all sides.
Mark your canvas with a pencil, then cut carefully with sharp scissors. Do not rush this step. A clean cut makes stapling easier.
Important tip: Canvas can shrink slightly when primed. If you are cutting it very close, add an extra half inch to be safe.
Step 3: Position the Canvas
Place your stretcher frame face down on top of your cut canvas. Center it so the overhang is even on all four sides. The frame should be sitting on the back side of the canvas.
If your canvas has a distinct weave pattern, make sure it runs parallel to your stretcher bars. This looks more professional and prevents warping issues later.
Step 4: The Center-Out Stapling Technique
This is the most critical step for getting a wrinkle-free canvas. The technique is called center-out stapling, and it is how professionals create that drum-tight surface.
Start at the center of one side, not the corner. Pull the canvas up and over the stretcher bar, keeping the tension firm but not straining. Staple once in the center.
Move to the opposite side. Pull the canvas taut from the center outward, and staple in the center. You are creating tension between these two points.
Now do the same on the remaining two sides. Center staple, then move to the opposite side for another center staple.
With all four sides anchored at the center, return to your first side. Work outward from the center staple, placing staples every two to three inches. After each staple on one side, move to the opposite side and place a corresponding staple. This keeps tension even.
Continue this pattern until you are about three inches from each corner.
Step 5: Fold the Corners
Corners are where most beginners struggle. The goal is a clean, flat fold that looks professional from the front and back.
Pull the canvas at a 45-degree angle toward the center of the frame back. You will see a natural fold forming. Tuck the excess fabric under, creating what looks like a hospital corner on a bed sheet.
Hold the fold firmly and place two to three staples to secure it. The corner should be tight and flat, not bulky.
Some artists trim the excess fabric after folding for a cleaner look, but this is optional.
Step 6: Check Tension
Flip your canvas over and tap the surface. It should sound like a drum, tight and resonant. Press gently with your finger. The canvas should not give much, maybe a millimeter or two.
Check for wrinkles or loose spots. If you find any, flip the canvas back over and add more staples to tighten that area.
Insert corner wedges into the slots at each corner if your stretcher bars have them. Tap them gently with your mallet to add extra tension.
Wet vs Dry Canvas Stretching
Should you stretch canvas wet or dry? The answer depends on your materials.
Dry stretching: This is the standard method and works well for most cotton canvas. It is simpler, cleaner, and what most beginners should start with.
Wet stretching: Some artists dampen cotton canvas with a spray bottle before stretching. As the fabric dries, it shrinks and creates even tighter tension. This technique is especially useful for large canvases or loose-weave fabrics.
If you choose the wet method, use clean water and dampen, not soak, the canvas. Stretch it as described above, then let it dry completely before gessoing. You may need to re-tighten corners after drying.
I personally stretch dry for sizes under 24 inches and use the wet method for anything larger. It is worth experimenting to see what works for your style.
Gessoing Your Canvas
Once your canvas is stretched, you need to prime it before painting. This is where gesso comes in.
Gesso is a white paint mixture that seals the canvas fibers and creates a smooth, paintable surface. Without it, oil paint will eventually rot the canvas, and acrylic paint will soak in unpredictably.
You can buy pre-gessoed canvas, but priming your own lets you control the texture. Some artists prefer a smooth surface with fine sanding between coats. Others like the grip of a single un-sanded layer.
Apply two to three thin coats of gesso with a wide brush or foam roller, sanding lightly between coats. Let each coat dry completely before adding the next.
What happens if you do not gesso your canvas? Your paint will behave differently, soaking in and drying faster than expected. Colors may appear duller, and the fabric texture will be more prominent. For oil painters, unprimed canvas is actually a disaster, as the oil will degrade the fabric over time.
Troubleshooting Common Canvas Stretching Problems
Even with good technique, things can go wrong. Here is how to fix the most common issues.
Fixing Wrinkles and Loose Spots
Wrinkles usually happen when tension is uneven or you stapled too quickly. The fix is usually simple: remove the staples in the wrinkled area, pull the canvas tighter, and re-staple.
For stubborn wrinkles, try the wet stretching method. Lightly dampen the wrinkled area, let it sit for ten minutes, then re-stretch and staple.
If wrinkles appear after gessoing, your canvas was not tight enough to begin with. Next time, pull harder during the initial stretching.
Dealing with Loose Corners
Loose corners are the most frustrating problem for beginners. They happen when the corner fold is not tight enough or the stapling pattern was uneven.
Remove the corner staples and re-fold. Pull the fabric at a sharper angle toward the center. You should feel resistance as you fold.
If corners stay loose, your canvas may be cut too large, leaving excess fabric that prevents tension. Trim carefully and re-staple.
When Tension Is Uneven
If one side feels tighter than the other, you did not alternate sides while stapling. Remove staples from the loose side and re-stretch, working center-out and alternating with the opposite side after every staple.
Canvas pliers help immensely with this. They give you the leverage to maintain consistent tension across the entire frame.
Physical Strain and Hand Pain
Stretching canvas is physical work. If you have hand pain, carpal tunnel, or limited grip strength, invest in canvas pliers. They reduce the strain significantly.
Take breaks between sides. Do not try to power through a large canvas in one session. Your hands will thank you.
FAQs
Is it easy to stretch a canvas yourself?
Yes, stretching your own canvas is manageable for beginners. With the right tools and the center-out stapling technique, most people complete their first canvas in under an hour. The process becomes faster and easier with practice.
Is it worth it to stretch your own canvas?
Stretching your own canvas is worth it for most artists. You save 50-70% compared to buying pre-stretched canvases, get custom sizes not available in stores, and control the quality of materials used.
Should you stretch canvas wet or dry?
Dry stretching works for most cotton canvas and is recommended for beginners. Wet stretching involves lightly dampening the canvas before stretching, which creates extra tension as it dries. Use the wet method for large canvases over 30 inches or loose-weave fabrics.
What happens if I don’t gesso my canvas?
Without gesso, paint soaks into canvas fibers unpredictably, colors appear duller, and the fabric texture shows through. Oil paint will eventually rot unprimed canvas. Always apply two to three coats of gesso before painting.
Conclusion
Learning how to stretch your own canvas at home is a rite of passage for serious painters. It gives you control over your materials, saves money, and lets you work at any size you can imagine.
Remember, your first canvas might not be perfect, and that is completely normal. Every professional artist has warped corners and wrinkles in their past. The important thing is to start. Buy some stretcher bars, get a staple gun, and try it.
Within three attempts, you will wonder why you ever bought pre-stretched canvas. There is something deeply satisfying about creating your own painting surface from raw materials. It connects you to centuries of artistic tradition and gives your work a foundation you built yourself.
Now grab those tools and make your first frame. The canvas is waiting.