
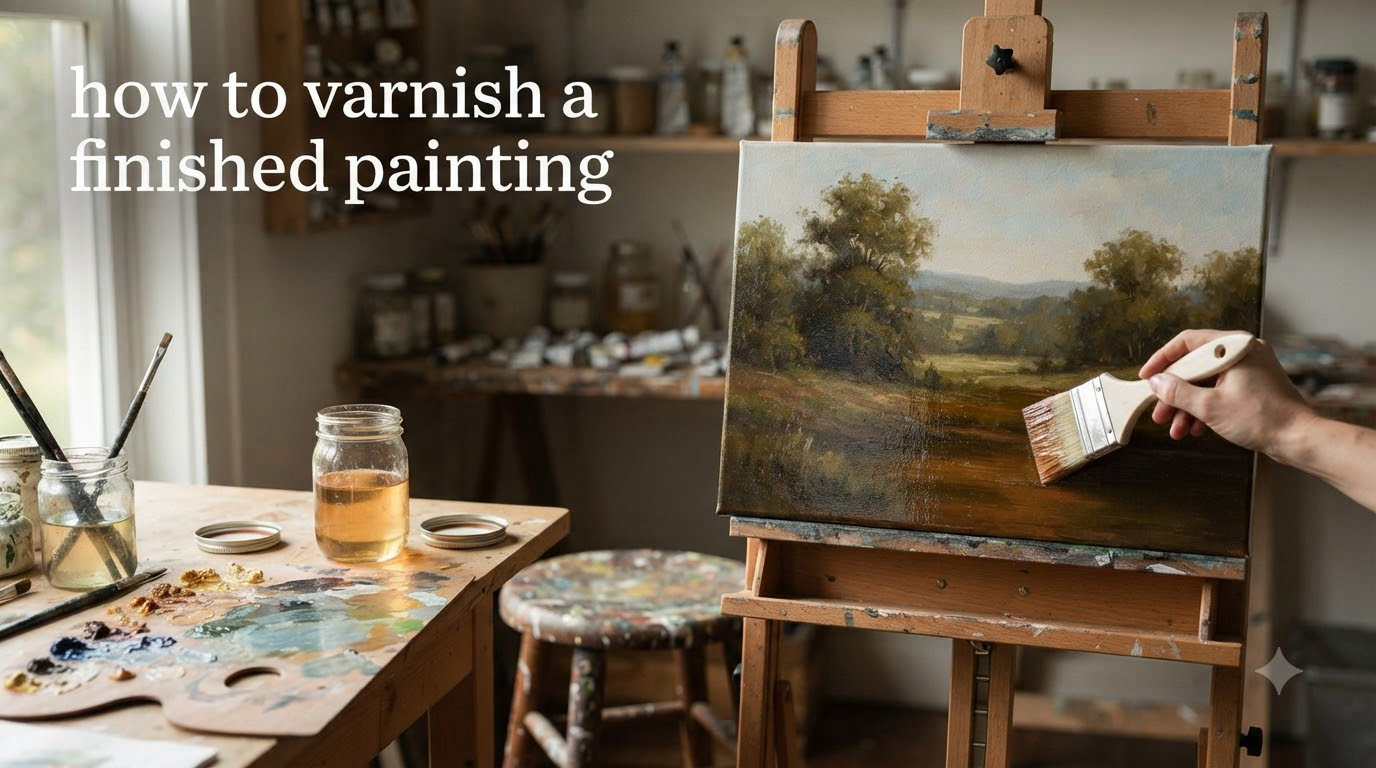
You spent hours perfecting your painting. The colors are exactly right. The composition works. But before you hang it on the wall or ship it to a buyer, there is one final step that can make or break its longevity. Learning how to varnish a finished painting properly will protect your work from dust, UV damage, and the slow yellowing that happens over time.
I have varnished hundreds of paintings over the past decade. Some turned out beautifully. Others taught me hard lessons about bubbles, streaks, and sticky finishes that never quite dried. This guide covers everything I wish I had known when I started.
You will learn why varnish matters, which type to choose, and how to apply it without ruining your artwork. We will cover both acrylic and oil paintings, brush versus spray application, and the isolation coat that many beginners skip to their regret.
Table of Contents
Why Varnish Your Painting
Varnish is a transparent protective coating that sits on top of your finished paint layer. It serves three main purposes that matter whether you paint for pleasure or profit.
Physical protection comes first. Dust settles on paintings over time. On thick impasto work, that dust becomes nearly impossible to remove without damaging the paint underneath. Varnish creates a sealed barrier you can gently clean in the future.
UV protection keeps colors from fading. Even paints rated as lightfast will shift over years of sun exposure. A varnish with UV filters absorbs harmful rays before they reach your pigments.
Color enrichment happens immediately. Unvarnished acrylic paint often looks slightly chalky or dull. Oil paintings can appear uneven where some areas sunk in while drying. Varnish unifies the surface and makes colors pop with renewed depth.
Best of all, modern removable varnishes let future conservators strip and replace the coating without touching your original paint. This reversibility is why galleries and museums insist on varnished work.
Types of Varnish Finishes
Not all varnish looks the same. You need to choose between three main finishes based on your painting style and where the work will hang.
Gloss Varnish
Gloss varnish reflects the most light and creates the deepest color saturation. Dark colors look richer. Highlights sparkle. This is the traditional choice for oil paintings and works where you want maximum visual impact.
The downside comes with glare. In brightly lit rooms or spaces with windows opposite the painting, gloss varnish can be hard to view comfortably.
Matte Varnish
Matte varnish absorbs light and eliminates glare completely. Contemporary galleries often prefer this modern look. Pastel paintings and delicate works on paper benefit from the soft, velvety appearance.
However, matte finishes can look slightly cloudy on dark paintings. They also show fingerprints and smudges more readily than gloss options.
Satin Varnish
Satin sits in the middle ground. You get some color enrichment without intense glare. Most artists find this the most forgiving choice for home display. It works well on both light and dark color palettes.
I keep all three finishes in my studio. Gloss for dramatic oil work, satin for most acrylic pieces, and matte for delicate studies or works destined for bright commercial spaces.
Application Methods: Brush vs Spray
How you apply varnish matters as much as which varnish you choose. Each method has loyal followers and specific use cases.
Brush Application
Brush-on varnish gives you maximum control. You work slower, watch the coverage, and fix issues as they appear. This method works best for smaller paintings and artists who want to ensure complete coverage.
Use a wide, soft brush designed for varnish application. Foam brushes work but can create bubbles. Natural hair brushes shed occasionally, which ruins a finish. I prefer synthetic mongoose or soft nylon brushes about three inches wide.
Work in thin, even coats. Thick layers dry slowly and can crack over time. Watch for drips on the edges and catch them immediately.
Spray Application
Spray varnish creates the most even coat possible. No brush marks. No bubbles from agitation. This is the professional choice for large paintings or work with delicate texture you do not want to disturb.
The trade-off is cost and setup. You need a well-ventilated space, ideally outdoors or in a spray booth. Overspray can coat nearby surfaces. You also use more product per painting since some drifts away in the air.
Hold the can twelve to sixteen inches from the surface. Use sweeping horizontal passes with fifty percent overlap between rows. Multiple thin coats beat one heavy application every time.
How to Varnish a Finished Painting: Step-by-Step
Here is the exact process I follow for every painting I varnish. Adjust based on whether you work in acrylic or oil, but the core steps remain the same.
Step 1: Wait for Complete Drying
Acrylic paintings need at least three days to dry, though two weeks is safer. Oil paintings require six months to a year depending on thickness. Touch the surface in an inconspicuous area. If it feels cool or tacky, wait longer.
Step 2: Prepare Your Workspace
Work in a clean, dust-free room. Lay the painting flat if possible. This prevents drips and runs. Good lighting helps you spot uneven coverage as you work.
Step 3: Apply an Isolation Coat (Acrylic Only)
Acrylic painters should apply an isolation coat before the final varnish. This transparent layer separates your paint from the varnish, making future removal possible without damage.
Mix gloss medium with water according to manufacturer instructions, usually one-to-one. Brush on thinly and evenly. Let dry completely, typically three to six hours.
Step 4: Stir and Test Your Varnish
Stir the varnish gently. Do not shake, which introduces bubbles. Test on a small sample painting or corner first. This reveals any compatibility issues before you commit the entire piece.
Step 5: Apply the First Coat
Work quickly and confidently. For brush application, load your brush and apply in long, even strokes. Cover the entire surface methodically. For spray, maintain consistent distance and speed.
Do not overwork the varnish. One smooth pass per area prevents brush marks and bubbles.
Step 6: Let Dry and Assess
Wait the recommended drying time, usually three to six hours. Check coverage in good light. Most paintings need two coats for full protection.
Step 7: Apply the Second Coat
Apply the second coat perpendicular to the first. If your first coat went horizontally, go vertically this time. This cross-hatching ensures complete coverage.
Step 8: Final Curing
Let the final coat cure for at least seventy-two hours before framing or shipping. Full chemical curing can take up to two weeks, but the surface will be handleable after three days.
What Is an Isolation Coat and When Do You Need One?
An isolation coat is a permanent, transparent barrier between your paint and the final varnish. Think of it as insurance for your artwork.
Acrylic paintings absolutely need this layer. Acrylic paint remains slightly porous and can absorb varnish permanently. Without isolation, removing varnish in the future requires solvents that will damage your original paint.
Oil paintings typically do not need isolation coats because oil paint cures to a hard, non-porous surface. Traditional oil varnishes are designed to sit on top without bonding chemically.
Apply isolation coat using a soft varnish brush or foam applicator. Work in thin, even layers. One coat is usually sufficient. Let it dry completely before adding final varnish.
The most common mistake is using matte or satin medium for your isolation coat. Always use gloss medium for this layer, even if your final varnish will be matte. Gloss creates the clearest barrier. Satin and matte mediums contain matting agents that can cloud your painting.
Drying Times and Curing Periods
Timing is everything in varnishing. Rush any step and you risk trapping moisture, creating cloudiness, or worse, a finish that never fully hardens.
Between isolation coat and first varnish coat: Wait at least six hours, preferably overnight.
Between varnish coats: Most varnishes need three to six hours between layers. Check the manufacturer instructions. The surface should feel dry to touch, not cool or tacky.
Before handling: Allow seventy-two hours minimum before framing or stacking paintings.
Full cure: Water-based acrylic varnishes cure in about two weeks. Solvent-based varnishes can take thirty days to reach full hardness.
Temperature and humidity affect all these times. High humidity slows drying significantly. Cold temperatures prevent proper curing. Aim for sixty-eight to seventy-five degrees Fahrenheit with moderate humidity.
Common Mistakes to Avoid
I have made every mistake on this list. Learn from my failures so you do not repeat them.
Shaking the varnish bottle creates tiny bubbles that transfer to your painting and dry permanently. Stir gently instead.
Varnishing too soon traps solvents in paint layers. This causes clouding, soft spots, and eventually cracking. Patience pays off.
Thick coats look like shortcuts but dry slowly and unevenly. Multiple thin coats always win.
Dusty environments ruin finishes. Every speck landing in wet varnish becomes permanent. Clean your space thoroughly before starting.
Sticky or tacky varnish usually means high humidity or cold temperatures during application. You can try gentle heat from a hair dryer on low setting, but often you must remove the tacky layer with solvent and start over.
Streaky results happen from over-brushing or uneven application. Work methodically across the surface without going back over areas.
Skipping the isolation coat on acrylic paintings makes future conservation impossible. Do not skip this step for any work you want to last.
When NOT to Varnish
Sometimes the best choice is leaving paint unvarnished. Here are the exceptions to the varnishing rule.
Works on paper often benefit from framing behind glass instead of varnishing. The paper substrate can warp or react poorly to varnish coatings.
Experimental media combinations may not be compatible with standard varnishes. Test thoroughly before committing.
Delicate watercolor or gouache paintings should never receive standard varnish. These water-based mediums require specialized fixatives if any coating is used at all.
Paintings intended to be reworked should wait. Varnish is a final finish. Once applied, adding more paint becomes difficult or impossible without removal.
Extremely thick impasto with deep crevices can trap varnish in ways that never dry properly. Consider whether your texture suits varnishing at all.
Frequently Asked Questions
Do you varnish after painting?
Yes, varnish is applied after a painting is completely finished and fully dry. For acrylic paintings, wait at least three days to two weeks. For oil paintings, wait six months to a year depending on paint thickness. Varnish serves as a final protective layer, not a painting medium.
Is it better to apply varnish with a brush or rag?
Brush application is generally preferred over rag application for most artists. Brushes give you better control over coverage and thickness. Rags can work for oil paintings using traditional varnishes, but they risk leaving fibers and create uneven application. For acrylic paintings, use a soft synthetic brush designed specifically for varnish application.
What to put on painting when finished?
Apply a removable protective varnish as the final step on finished paintings. For acrylic paintings, first apply an isolation coat using gloss medium, then add your chosen varnish finish. For oil paintings, apply an appropriate oil varnish directly after the paint has fully cured for six months to a year. Choose between gloss, satin, or matte finishes based on your desired final appearance.
Is it better to spray or brush acrylic varnish?
Both methods work well for acrylic varnish. Spray application creates the most even, brush-mark-free finish and is ideal for large paintings or textured work. Brush application gives you more control, costs less per painting, and works better in small spaces without ventilation. Beginners often find brush application easier to learn, while professional artists frequently prefer spray for final presentation pieces.
How long does varnish take to dry?
Most acrylic varnishes dry to the touch within three to six hours between coats. Allow seventy-two hours before handling, framing, or shipping. Full chemical curing takes up to two weeks for water-based varnishes and up to thirty days for solvent-based products. Temperature and humidity significantly affect drying times.
Can you varnish over existing varnish?
You can apply a new coat of varnish over an existing varnish layer if the original is clean and fully cured. However, this is not recommended for conservation purposes. Ideally, remove old varnish using appropriate solvents before applying fresh varnish. This prevents buildup of yellowed layers and maintains the reversibility that makes varnishing valuable for preservation.
Conclusion
Learning how to varnish a finished painting is an essential skill that separates amateur work from professional presentation. The process takes patience and attention to detail, but the results are worth every minute.
Remember the fundamentals. Wait for complete drying. Apply an isolation coat for acrylics. Work in thin, even layers. Let each stage cure properly before moving forward.
Your paintings deserve protection that lasts. With proper varnishing technique, your artwork will remain vibrant and protected for decades to come.