
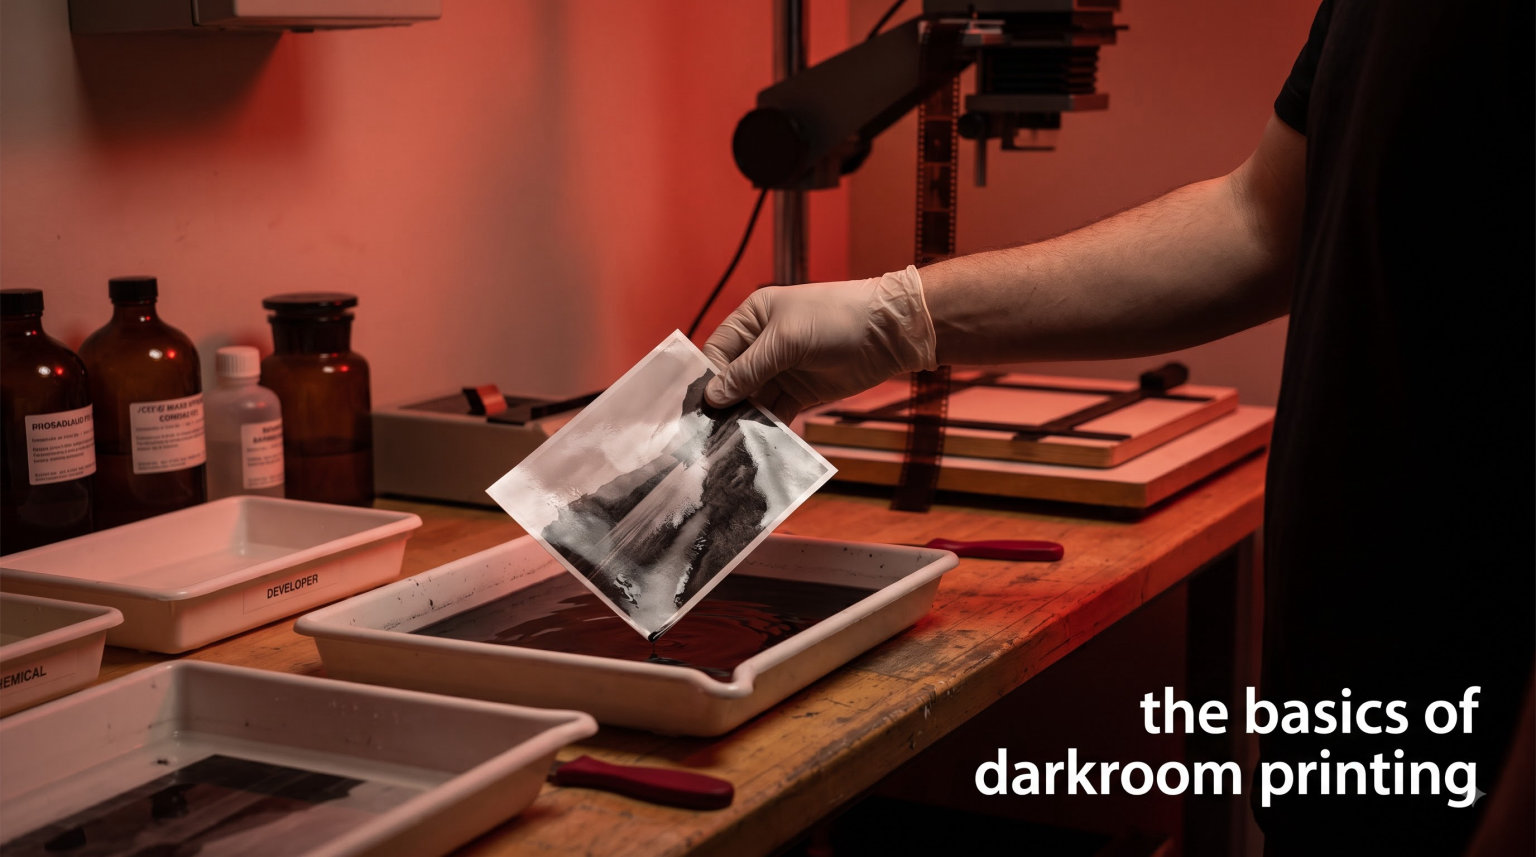
There is something deeply satisfying about watching an image slowly appear in developer solution, emerging from nothing more than light and chemistry. Darkroom printing is the craft of creating photographs by exposing light through a negative onto light-sensitive paper, then developing that image through a precise chemical process. This guide covers everything you need to know to start printing your own black and white photographs at home.
The process rewards patience and attention to detail. Experienced darkroom printers often describe printing as meditation in motion, a slow art where rushing leads to mistakes and careful observation leads to beautiful prints. Over the course of this guide, you will learn how darkroom printing works, what equipment you need, how to make test strips for proper exposure, and how to finish your prints for archival quality. By the end, you will have the knowledge to begin your printing journey with confidence.
Table of Contents
How Darkroom Printing Works
The science behind darkroom printing relies on light-sensitive silver halide crystals suspended in an emulsion coating on photographic paper. When light passes through your negative and onto this paper, it causes a chemical change in the emulsion. This change is invisible at first, called a latent image. The developing chemical then reduces the exposed silver halides to metallic silver, making the image visible. The stop bath halts this development instantly. The fixer removes any remaining light-sensitive crystals, making your print permanent and immune to further exposure.
Understanding this three-bath process matters because each step influences the final result. Developer time, dilution, and agitation affect contrast and density. Stop bath ensures consistent development by neutralizing the alkaline developer. Fixer must fully saturate the paper to prevent yellowing or fading over time. The entire process from exposure to finished print typically takes 10-15 minutes once you have learned the basics, though your early prints may take longer as you develop your technique.
The latent image in darkroom printing is remarkably sensitive to small changes in exposure or development. This sensitivity is what gives you creative control. A one-stop difference in exposure, or a few seconds difference in development time, can dramatically change the mood and tonal range of your final print. This is why test strips are so important for beginners and why experienced printers still use them for every important print.
Essential Equipment for Darkroom Printing
The enlarger is the heart of your darkroom printing setup. This is essentially a projection system that shines light through your negative and onto the photographic paper. A typical enlarger consists of a light source, a negative holder, an enlarging lens, and height-adjustable column. The lens focal length should match your negative format: 50mm for 35mm film, 80mm for 6×6 medium format. Without an enlarger, you cannot make traditional darkroom prints.
The easel holds your photographic paper flat and positioned correctly during exposure. Print easels typically have adjustable blades that let you set precise margins for clean borders. Some easels include vacuum systems for holding paper absolutely flat, though standard easels work well for most printing. You will set your easel once for a given print size and then use it consistently for that session.
Your chemical processing needs include three trays large enough to hold your prints, a safe light for illumination, a timer for accurate exposure, and graduated cylinders for mixing chemistry. The safe light must be the correct color for black and white paper, typically red or amber. White light ruins unexposed paper instantly, so always double-check your safe light before loading paper into your easel.
Additional items that make printing easier include print tongs for handling paper through chemicals without scratching, a squeegee for removing excess water before drying, and a grain focuser for precise focusing of your projected image. Many community darkrooms provide shared equipment, so you may only need to bring personal items when starting out. A simple setup can produce excellent results, and you can add specialized tools as your skills develop.
Types of Photographic Paper: RC vs FB
Resin coated (RC) paper has a plastic coating on both sides with the light-sensitive emulsion sandwiched inside. This design means chemicals penetrate quickly and washing time is short, typically just two minutes. RC paper dries fast and lies flat without excessive curling. For beginners, RC paper is forgiving and economical, making it ideal for learning the basics of darkroom printing without worrying about delicate handling or long processing times.
Fibre based (FB) paper has no plastic coating, so the emulsion soaks directly into the paper base. This produces a deeper, richer tonal range that many printers prefer for final exhibition prints. FB paper requires longer washing times, often 30-60 minutes for archival permanence, and it must be dried flat or hung carefully to prevent curling. The extra effort rewards you with prints that can last over a century when properly processed and stored.
Choosing between RC and FB depends on your goals. Use RC paper for practice, test prints, and work where economy matters. Switch to FB paper when you have a print you want to keep permanently, display, or sell. Many printers start with RC until they are confident in their technique, then transition to FB for their best work. Some experienced printers use nothing but FB because they appreciate the archival quality and tonal depth.
Paper surfaces range from glossy to matt with several options in between. Glossy surfaces produce the deepest blacks and most apparent sharpness, making them popular for portraits and scenes with strong contrast. Matt surfaces reduce glare and give a softer, more subtle appearance that suits fine art and documentary work. Satin and lustre surfaces offer a middle ground that many printers find versatile. Experiment with different surfaces to discover what you prefer for various types of images.
Understanding Contrast: Graded vs Multigrade Paper
Contrast refers to the range between your lightest highlights and darkest shadows. Low contrast means grays blend smoothly with few distinct steps. High contrast means strong separation between tones with deep blacks and bright whites. Getting contrast right matters because it affects the emotional impact and readability of your image. Too flat, and the print looks washed out. Too contrasty, and you lose detail in highlights or shadows.
Graded papers come in fixed contrast levels, typically numbered from 0 to 5 or 1 to 4 depending on the manufacturer. Grade 0 or 1 is soft, Grade 3 is medium, and Grade 4 or 5 is hard. You choose the grade that matches your negative before printing. If your negative is low contrast, you might print on Grade 4. If it is high contrast, Grade 1 or 2 helps bring out shadow detail. This system requires having several paper grades available.
Multigrade papers work with colored filters to vary contrast continuously. Yellow filters reduce contrast, and magenta filters increase contrast. You might use a grade 00 filter for very low contrast negatives or a grade 5 filter for very high contrast ones. Most printing happens between filters 1 and 4. The advantage is needing only one paper type while having infinite contrast control. Multigrade paper has largely replaced graded paper because of this flexibility.
For beginners, multigrade paper is usually the better choice because you can adjust contrast after seeing your test strips. If a print looks flat, switch to a higher contrast filter. If highlights are blocking up, try a lower contrast filter. This responsive approach helps you learn what contrast suits different negatives. Once you understand contrast control, you can experiment with graded paper if you prefer its characteristics for specific applications.
Setting Up Your Darkroom
Finding an existing community darkroom is often the smartest first step for beginners. These spaces already have enlargers, trays, and ventilation installed, so you pay only for paper and chemicals. You learn alongside experienced printers who can offer guidance when you encounter problems. Many photography clubs, universities, and art centers maintain darkrooms that welcome members. Postal developing labs offer another starting point if no community darkroom exists near you.
If you set up a home darkroom, choose a space with reliable water access and good ventilation. A bathroom can work, though you must protect surfaces from chemical splashes. Experienced printers recommend painting walls white rather than black, contrary to what many assume. White walls reflect light more evenly and help you see your prints and equipment more clearly. The space should be completely light-tight when doors and windows are closed, but otherwise comfortable for extended printing sessions.
Organize your darkroom with distinct wet and dry sides. The dry side holds your enlarger, easel, paper loader, and finished prints before washing. The wet side contains your processing trays, washing area, and drying space. This separation prevents chemical contamination of your paper and equipment. Keep your workflow linear whenever possible, moving paper from dry to wet without crossing streams. Good organization prevents accidents and produces more consistent results.
Step-by-Step Printing Process
Step 1 involves preparing your chemicals to the correct temperature and dilution. Most developers work best between 20-24 degrees Celsius (68-75 Fahrenheit). Cold solution slows development and can cause uneven results. Too warm, and development accelerates unpredictably. Use a thermometer until you develop a feel for timing by temperature. Mix fresh chemicals according to manufacturer instructions and label containers clearly with contents and date.
Step 2 requires setting up your enlarger and composing your image. Place your negative in the carrier, emulsion side down (or toward the lens, depending on your enlarger design). Raise or lower the enlarger head to fill your paper with the image at your desired size. Check that the image is level and properly positioned within your easel borders. This step determines the final composition, so take time getting it right before exposing any paper.
Step 3 is focusing your projected image. Use a grain focuser or magnifying loupe to examine your image on the baseboard. Turn the enlarger focus knob until you see maximum sharpness in the grain structure. Never rely on eyeballing focus; small adjustments make visible differences when printing at larger sizes. Some printers double-check focus before every exposure, particularly for exhibition prints where maximum sharpness matters.
Step 4 is making test strips to determine correct exposure. Cut a small strip from your paper, perhaps 4×2 inches. Cover most of it with a card and make a test exposure, perhaps 5 seconds. Slide the card to expose another section for another 5 seconds, continuing until you have five increments of 5 seconds each (5, 10, 15, 20, 25 seconds total). Develop the strip and examine it under white light to see which exposure produced the best tonal range. This information guides your full print exposure.
Step 5 means exposing your full print based on what you learned from the test strip. Place paper in your easel, make sure the room is completely dark except for your safe light, and make the exposure. Keep track of your exposure time because you will want to record it for future reference. If your test strip suggested 15 seconds, try 15 seconds for the full print. You can adjust from there.
Step 6 is developing your exposed print in developer solution. Slide the paper into developer with emulsion side down, then immediately begin agitation. Rock the tray gently but consistently, moving it in a smooth circular pattern. Agitation affects development uniformity and overall contrast. Too little agitation causes uneven development. Too much can affect tonal scale. Maintain consistent agitation throughout the 60-90 second development time, depending on your developer and dilution.
Step 7 uses stop bath to halt development immediately. Lift the print from developer and let it drain briefly, then immerse it in stop bath. The acidic stop bath neutralizes the alkaline developer and prevents uneven staining or development. Thirty seconds in stop bath is usually sufficient. You will notice the yellow-orange color of the stop bath indicates it is still active. When it turns blue-green, the stop bath is exhausted and should be replaced.
Step 8 fixes the print to make it permanent. Immerse the print in fixer for the time specified by your fixer manufacturer, typically 2-5 minutes for standard fixers. The fixer removes unexposed silver halides that would otherwise continue to darken when exposed to light. Under-fix prints will yellow and deteriorate over time. Over-fixing can bleach the image. When in doubt, fix longer rather than shorter, then wash thoroughly.
Step 9 is washing your print to remove all residual chemicals. For RC paper, two minutes of thorough washing suffices. For FB paper, 30-60 minutes ensures archival permanence. Use running water or multiple changes of fresh water. Temperature should be similar to your processing temperature to prevent thermal shock. Properly washed prints will remain stable for decades; improperly washed prints may fade within years.
Step 10 is drying your finished print. Place washed prints on a clean, flat surface or squeegee them and hang them to dry. RC paper dries within minutes. FB paper may require several hours on a drying rack. Handle drying prints carefully since the emulsion is soft when wet. Once dry, your print is ready for evaluation, trimming, and if needed, spot treatment to remove any dust marks or imperfections.
Chemicals Explained: Developer, Stop Bath, Fixer
The developer is where the magic happens in darkroom printing. This alkaline chemical reduces exposed silver halide crystals to metallic silver, making the latent image visible. Common developers include Dektol (a powder formula) for standard contrast andtoning developers for special effects. Dilution affects development time and contrast: more diluted developer produces longer development times and potentially better tonal scale. Temperature affects both speed and maximum density achievable.
Developer exhausts with use, so watch for signs of depletion. Slowing development, reduced maximum density, or inconsistent results between prints in the same session indicate exhausted developer. One practical tip from experienced printers is using consistent materials over time. If you use the same paper, developer, and process repeatedly, you learn how they behave and can predict results more accurately. This consistency helps you improve faster than constantly changing variables.
Stop bath is an acidic solution, typically dilute acetic acid, that halts development instantly. Its job is neutralizing the alkaline developer clinging to your print and carried into the stop bath by the paper. Without stop bath, development continues unevenly in the fixer, potentially causing staining. The stop bath should be fresh and active. When it turns from yellow-orange to blue-green, it has been exhausted by accumulated alkali from the developer.
Fixer makes your print permanent by removing unexposed silver halides. There are two main types: rapid fixer with ammonium thiosulfate that works in 30-60 seconds, and standard fixer with sodium thiosulfate that requires 2-5 minutes. Both work by dissolving silver halides so they wash away from the paper. Under-fixing leaves light-sensitive crystals that will darken with exposure, ruining your print over time. Always err on the side of longer fixing, then wash thoroughly.
Chemical safety matters when handling developer, stop bath, and fixer. Wear nitrile gloves to prevent skin contact. Work in ventilated spaces to avoid inhaling fumes. Label all containers clearly and store chemicals away from children and pets. Dispose of exhausted chemicals responsibly according to local regulations. Many communities have hazardous waste collection programs for photographic chemicals. Taking safety seriously protects your health and the environment while ensuring consistent printing results.
Making Test Strips and Determining Exposure
Test strips are the most important tool for avoiding wasted paper and achieving correct exposure. The concept is simple: expose a small piece of paper through your negative at different exposure times, then develop and examine the results to determine which time produces optimal tonal range. Without test strips, you are guessing. With test strips, you have empirical evidence guiding your exposure decisions.
Cut your test strips small, around 4×2 inches, to conserve paper while learning. Some printers use even smaller strips for quick tests. The small size lets you run multiple tests without significant paper cost. Keep a pad of pre-cut test strips ready so you can experiment freely. In the early stages of learning darkroom printing, you may use as many test strips as final prints, which is completely normal and expected.
Start your test strip exposures with five-second increments, as mentioned earlier. Expose sections of your test strip for 5, 10, 15, 20, and 25 seconds, then develop the entire strip. When you examine it under white light, look for the section with good shadow detail and highlight separation. If the 5-second section is too light and the 25-second section is too dark, make another test strip with different increments to narrow down the correct exposure.
An f-stop timer is a valuable tool for calculating exposure adjustments through stops rather than linear increments. If your test strip suggests 15 seconds is close but slightly too light, an f-stop timer tells you that going down one stop from 15 seconds means approximately 7-8 seconds, while going up one stop means approximately 30 seconds. This system makes exposure adjustments intuitive and consistent across different negatives and printing conditions. Many experienced printers consider f-stop timers essential for serious darkroom work.
Dodging and Burning: Basic Techniques
Dodging and burning are techniques for selectively lightening or darkening specific areas during exposure. You dodge to bring out detail in bright areas that would otherwise block up. You burn in to add detail and depth to dark shadow areas. Combined with proper base exposure, these techniques let you balance tonal values across the print and emphasize your compositional vision.
A dodging tool is typically a thin wire with a small disc or square at the end, giving you precise control over which areas receive less light. For larger areas, cardboard held on a thin stick works well. Your hand can also serve as a dodge for very large areas. The key is holding the tool steady during exposure without vibrating the enlarger or moving the paper. Practice makes perfect, and experienced printers develop smooth, confident movements.
Burning in uses the opposite approach: selectively adding exposure to dark areas. Hold cardboard with a cutout matching your burn area over the paper while exposing. You might burn in shadows for 5-10 additional seconds, or burn in a sky for 20-30 seconds depending on how much darker you want that area. Burning requires patience and experimentation. Start conservatively; you can always add more exposure but cannot remove exposure once given.
Limit your manipulations to what serves the image. Some beginners go overboard with dodging and burning, turning simple prints into overworked messes. Aim for subtle corrections that look natural. If you find yourself burning in or dodging many areas on a single print, consider whether the negative needs pre-visualization adjustments instead. A good negative should print cleanly with minimal manipulation. Reserve major burning and dodging for特殊情况 where selective tonal control truly serves the image.
Washing and Drying Your Prints
Proper washing removes all traces of chemicals from your prints, ensuring they remain stable for decades. Incomplete washing leads to staining, yellowing, and eventual image deterioration. The time required depends on your paper type and water quality. RC paper requires about two minutes of thorough washing with agitation. FB paper needs 30-60 minutes for complete chemical removal due to its absorbent base.
Archival washing for FB paper involves using running water at proper temperature or periodic water changes. Some printers use a hypo clearing agent between fixer and final wash to accelerate chemical removal. The key indicator of proper washing is testing wash water for residual fixer. Photographic testing paper can confirm that chemicals have been removed. When in doubt, wash longer rather than shorter.
Squeegee your washed prints before drying to prevent water marks. Use a soft squeegee designed for photographic use and work from center outward gently. Do not press hard or drag the squeegee in a way that might scratch the soft emulsion. Clean squeegees are essential; any grit or contamination transfers directly to your print surface. Some printers use clean sponges or soft rubber squeegees to minimize scratching risk.
Dry RC prints on a clean flat surface or on a drying rack. They curl slightly as they dry but flatten within hours. For FB prints intended for exhibition, drying flat between blotters under weight produces the flattest results. Alternatively, hang FB prints with gentle clips from the corners, allowing them to dry vertically. Whatever method you choose, ensure the drying area is clean and dust-free. Dust settling on wet prints creates spots that show in finished work.
Common Beginner Mistakes to Avoid
Wasting too much paper is the most common beginner frustration. The solution is simple: use test strips extensively before making any full print. Every professional darkroom printer still uses test strips for every significant print. This discipline saves money and materials while teaching you exposure relationships faster than trial and error with full sheets.
Focusing problems plague many beginners. Always use a grain focuser or loupe to verify sharpness before exposing paper. The projected image on the baseboard appears sharp long before it actually is at print scale. Human eyes fool themselves in dim darkroom lighting. A good grain focuser shows you exactly what is sharp on the paper plane, eliminating focusing errors that waste otherwise perfectly exposed prints.
Contrast confusion leads to prints that look washed out or blocked up. Remember that the grade or filter you choose fundamentally changes your tonal range. If your test print looks flat, try a higher contrast filter or grade. If shadows lack detail and highlights block to white, try lower contrast. This adjustment process is normal, and finding the right contrast for each negative is part of learning darkroom printing.
Chemical mistakes cause inconsistent results. Always mix fresh chemicals correctly and watch for exhaustion signs. Agitate consistently during development rather than erratically. Label everything clearly to prevent accidentally using the wrong chemical at any stage. Develop good habits from the start, and they will serve you throughout your printing career.
Keeping Printing Notes
Recording your printing process builds knowledge over time that you cannot otherwise retain. Write down the paper type, developer dilution, exposure time, contrast filter, and any dodging or burning you performed. Include the original negative details if relevant. This information lets you recreate successful prints and understand what worked and why. Without notes, you forget the specific conditions that produced your best results.
Many experienced printers keep a printing journal or notebook. Some use simple notebooks; others use spreadsheets or databases. Whatever format works for you is correct. The act of recording forces you to observe more carefully and think about your process more deliberately. This attention improves your printing faster than passive printing without reflection.
Beyond technical data, note how you feel about the print and what you might change next time. Perhaps the exposure is correct but the contrast needs adjustment. Perhaps a certain negative prints better on FB paper than RC. These observations compound over months and years into deep expertise that cannot be gained any other way. Your notes become a personal reference library that grows more valuable as it accumulates.
Building this habit from your very first print creates a foundation for continuous improvement. Soon you will have dozens of prints documented, then hundreds. Looking back at old entries shows your progression and reminds you of lessons learned. Some printers share their notes with others in the community, contributing to the collective knowledge of the craft.
FAQs
Is it hard to get a black border around the darkroom print?
Not at all. Set your easel correctly and you will get clean, even borders every time. Practice on scrap paper first to get comfortable with your equipment before committing to a final print.
What is not allowed in the dark room?
No white light is allowed since it ruins unexposed paper instantly. No food or drink due to chemical contamination risk. Move slowly and deliberately to avoid accidents with chemicals or equipment.
How long does darkroom printing take?
Your first few prints may take 30-45 minutes each as you learn the process. Once experienced, a standard print takes 10-15 minutes from test strip to finished print. The time investment decreases significantly with practice.
What are two important supplies to have in a darkroom?
A reliable timer for accurate exposure and proper chemical mixing equipment are essential basics. These ensure consistent, repeatable results that let you improve your technique over time.
Conclusion
Darkroom printing rewards patience, attention, and consistent practice more than expensive equipment or rare materials. The basics of darkroom printing you have learned here provide a foundation for creating beautiful black and white prints from your own negatives. Start with simple equipment and RC paper, make extensive use of test strips, and keep notes on every print. These habits will accelerate your learning and produce better results faster.
The craft of darkroom printing connects you to over a century of photographic tradition. Every great image from Ansel Adams to contemporary artists emerged from this same process of light, chemistry, and human vision. You now have the knowledge to begin that journey yourself. Find a community darkroom if you do not have home facilities, gather your first materials, and make your first print. The rewards of seeing your own work emerge in developer solution are unlike anything digital photography can replicate.
Printing is a slow art, and that slowness is part of its value. In a world of instant digital gratification, darkroom printing demands presence and attention. Each print is a unique handmade object, the product of your choices and skills. As you practice, you will develop an intuitive feel for exposure, contrast, and tonal values that no automated system can replace. Welcome to the community of darkroom printers. Your images are waiting to emerge.