
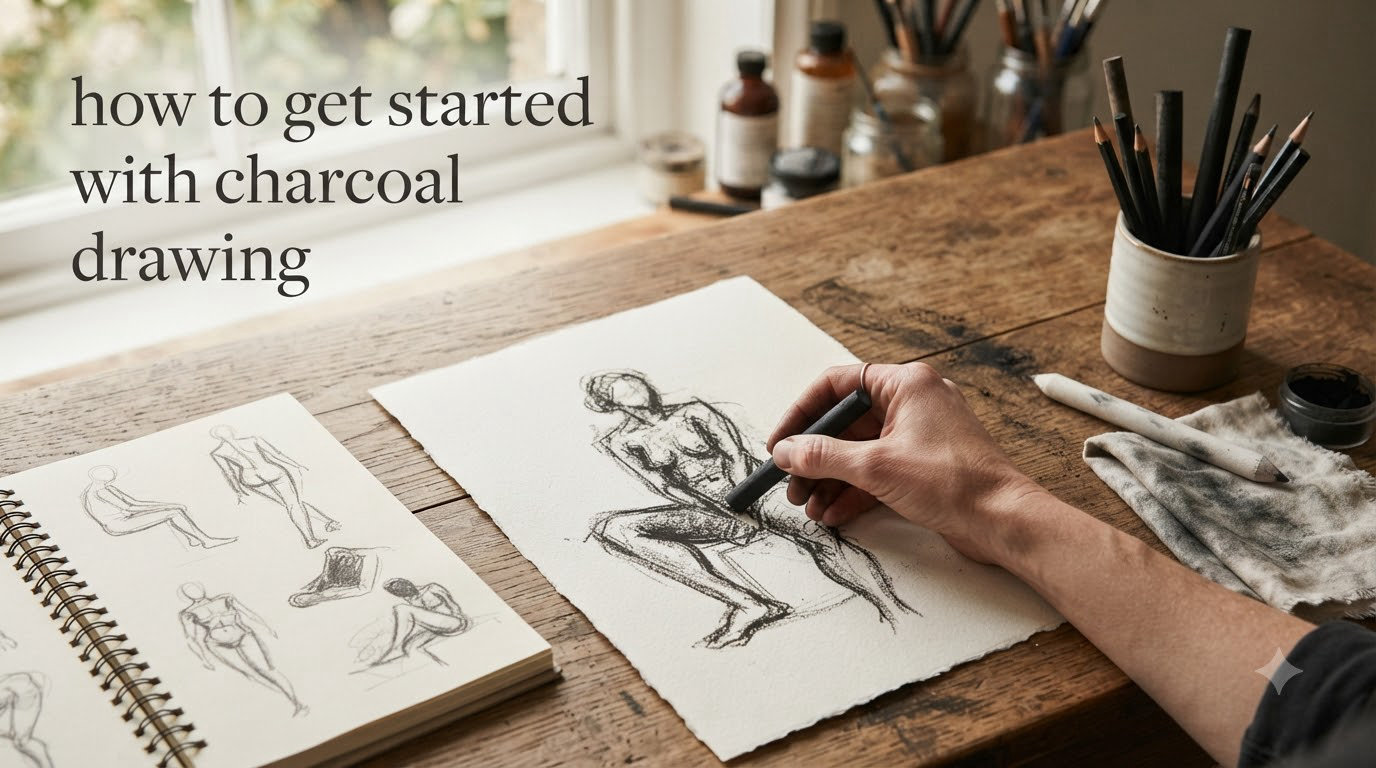
If you have ever wanted to learn how to get started with charcoal drawing, there has never been a better time. Charcoal is one of the most forgiving and expressive drawing mediums available, and it teaches you foundational skills that transfer to every other art form. Unlike graphite, charcoal lets you lay down rich dark values, erase them completely, and rework areas until you are satisfied with the result.
I have spent years working with charcoal, and I remember how intimidating it felt the first time I opened a box of vine charcoal sticks and had no idea what to do with them. The good news is that charcoal drawing for beginners does not require expensive tools or years of training. You need a few basic supplies, a little patience, and a willingness to make mistakes. Artists ranging from studio professionals to famous charcoal artists like William Kentridge have built entire careers on this medium.
This guide walks you through everything: the types of charcoal, the tools you need, the techniques that matter most, and a step-by-step exercise for your first drawing. By the end, you will have a clear path forward and the confidence to start creating.
Table of Contents
Understanding the Different Types of Charcoal
The three main types of charcoal used in drawing are vine charcoal, compressed charcoal, and charcoal pencils. Each one behaves differently, and understanding those differences is the first step to getting started with charcoal drawing.
Vine Charcoal
Vine charcoal is made by burning willow or linden wood sticks in a kiln without oxygen. The result is a soft, lightweight stick that produces light, dusty marks on paper. Vine charcoal is the easiest type to erase, which makes it the best starting point for beginners. You can sketch freely, wipe away mistakes with a kneaded eraser, and try again without damaging your paper.
Vine charcoal comes in three hardness levels: soft, medium, and hard. Soft vine charcoal lays down the darkest marks but crumbles easily. Hard vine charcoal produces lighter strokes and holds its shape longer. Medium sits between the two and is what I recommend for your first sessions.
Compressed Charcoal
Compressed charcoal is made by grinding charcoal into a fine powder and mixing it with a gum binder, then pressing it into sticks or blocks. Because of the binder, compressed charcoal is much denser and darker than vine charcoal. A single stroke can produce a near-black value that vine charcoal simply cannot match.
The tradeoff is that compressed charcoal is harder to erase. Once you lay it down, it bonds more firmly to the paper. This makes it better suited for your final dark values and deep shadows rather than your initial sketching. Many artists use vine charcoal for the layout and switch to compressed charcoal for the darkest darks.
Charcoal Pencils
Charcoal pencils contain compressed charcoal encased in wood, just like a regular pencil. They give you more control over fine lines and detailed work compared to sticks. Charcoal pencils come in different grades from hard to soft, and they are ideal for adding precise details, outlines, and texture at the end of a drawing.
White Charcoal
White charcoal is technically made from a different material (often titanium dioxide), but it is used alongside regular charcoal to add bright highlights on toned or dark paper. It is not essential for beginners, but it opens up creative possibilities once you are comfortable with the basics.
Essential Charcoal Drawing Tools and Materials
You do not need a large collection of supplies to start drawing with charcoal. A handful of well-chosen tools will carry you through your first months of practice. If you are looking for charcoal art supplies and gift ideas for yourself or another aspiring artist, here are the essentials.
Kneaded Eraser
A kneaded eraser is the single most important tool in your charcoal kit. Unlike hard erasers, a kneaded eraser lifts charcoal off the paper without damaging the surface. You can shape it into a point for fine highlights, press it flat to lift large areas of tone, or roll it across the page to lighten an entire section. It works by absorbing charcoal particles rather than rubbing them away.
To clean a kneaded eraser, simply stretch and fold it a few times. The charcoal gets absorbed into the interior. Replace it when it becomes too saturated to lift charcoal effectively, which usually takes a few weeks of regular use.
Blending Stump (Tortillon)
A blending stump is a tightly rolled paper stick used to smooth and blend charcoal on the page. It gives you more control than using your fingers and prevents the natural oils on your skin from affecting the charcoal. Blending stumps come in different sizes, and a medium and a small one will handle most situations.
Workable Fixative
Fixative is a spray that seals charcoal to the paper so it does not smudge. There are two types: workable fixative and final fixative. Workable fixative allows you to keep drawing on top of the sealed layer, which is useful for building up values in stages. Final fixative provides a stronger seal but ends your ability to rework the piece. I recommend starting with workable fixative and applying it between layers.
Additional Helpful Tools
A chamois cloth is excellent for blending large areas smoothly. Masking tape helps secure your paper and creates clean edges. A drawing board gives you a stable surface to work on. None of these are strictly necessary on day one, but they become valuable as you practice more.
Choosing the Right Paper for Charcoal Drawing
The paper you use has a bigger impact on your charcoal drawing than most beginners realize. Charcoal needs paper with “tooth,” which means a slightly rough texture that grabs and holds the charcoal particles. Smooth printer paper or sketchbook paper designed for graphite will not hold charcoal well, and your drawings will look faded and washed out.
Look for paper specifically labeled for charcoal or pastel use. These papers have enough texture to grip the charcoal while still allowing you to blend smoothly. Paper weight matters too: aim for at least 80 lb (130 gsm) paper so it can handle erasing, reworking, and multiple layers without tearing.
Toned Paper vs. White Paper
White paper is the standard starting surface for charcoal drawing, and it works well for learning value relationships. Toned paper (gray, tan, or mid-tone sheets) offers a different approach. On toned paper, the paper itself becomes your midtone, and you work both darker with charcoal and lighter with a white charcoal pencil or eraser. Many artists find toned paper faster and more forgiving because you are only establishing the darks and lights rather than filling the entire page.
For your first drawings, I suggest starting with a mid-weight white drawing paper that has a slight texture. Once you feel comfortable with basic charcoal shading, try a sheet of toned paper to experience the difference.
Recommended Paper Brands
Canson Mi-Teintes is a popular choice among charcoal artists because it comes in a wide range of colors, has two different textures (one smooth side and one textured side), and is widely available. Strathmore makes charcoal-specific pads that work well for beginners. Newsprint is cheap and good for quick practice sketches, but it deteriorates quickly so it is not suitable for finished work.
Basic Charcoal Drawing Techniques
Learning how to get started with charcoal drawing means mastering a handful of fundamental techniques. These techniques form the building blocks for every charcoal drawing you will ever create.
How to Hold Charcoal
The way you hold charcoal affects the kind of marks you make. For broad, sweeping strokes, hold the charcoal stick on its side and use the length of the stick rather than the tip. This creates wide marks perfect for filling in large areas of tone. For more controlled lines, hold it like a pencil near the tip. Experiment with both grips on scrap paper before starting a real drawing.
Applying Charcoal: Pressure and Values
Charcoal responds directly to pressure. Light pressure produces a pale gray mark. Heavy pressure produces a deep, rich black. The range between those extremes is your value scale, and learning to control it is the core skill of charcoal drawing.
A common exercise is to create a value strip: draw a long rectangle on your paper and fill it with a smooth gradient that goes from white (no charcoal) on one end to near-black on the other. This trains your hand to produce consistent pressure and teaches you to see subtle value differences.
Blending Methods
Blending smooths out the charcoal and creates gradations between values. There are several ways to blend, and each produces a different effect.
Using your fingers is the most intuitive method, but it has drawbacks. The oils on your skin can affect how the charcoal adheres to the paper, and you risk smudging areas you did not intend to touch. A blending stump gives you precise control and keeps the drawing clean. A chamois cloth covers large areas quickly and produces an even, soft tone. For the smoothest results, many artists build up layers of light charcoal and blend each layer rather than laying down one heavy layer.
Erasing as a Drawing Technique
With charcoal, erasing is not just about fixing mistakes. It is an active drawing technique. You can use a kneaded eraser to pull out highlights, create texture, and establish light areas. Press the eraser onto the charcoal and lift straight up to create soft highlights. Shape the eraser into a point and drag it to create fine light lines. This subtractive approach is one of the things that makes charcoal so expressive and forgiving.
Step-by-Step: Your First Charcoal Drawing
Here is a simple exercise to walk you through how to get started with charcoal drawing. We will draw a sphere, which is one of the best beginner subjects because it teaches you to observe light, shadow, and value transitions.
Step 1: Gather your materials. You need vine charcoal (soft or medium), a kneaded eraser, a blending stump, a sheet of textured drawing paper, and workable fixative. Place a single light source (a desk lamp works well) to one side of a plain round object like an orange or a ball.
Step 2: Sketch the outline. Using vine charcoal, lightly draw the circular outline of the sphere. Keep the pressure light so you can erase and adjust if needed. Do not worry about perfection; the circle just needs to be roughly even.
Step 3: Establish the shadow side. Identify which side of the sphere faces away from the light. Lightly apply vine charcoal to that entire side. Use the side of the stick for broad coverage rather than the tip. This is your base shadow.
Step 4: Add the cast shadow. Look at the shadow the sphere casts on the surface beneath it. Lightly sketch this shape with vine charcoal and fill it in. The cast shadow should be darkest closest to the sphere and lighter as it moves away.
Step 5: Blend and smooth. Use your blending stump to smooth the transitions between the light and dark sides of the sphere. Blend in the direction of the sphere’s curve, not against it. Work slowly and check your reference often.
Step 6: Pull out the highlight. Take your kneaded eraser, shape it into a rounded point, and gently lift charcoal from the area of the sphere that faces the light source. This creates the bright highlight that gives the sphere its three-dimensional appearance.
Step 7: Add the darkest darks. Switch to compressed charcoal or press harder with your vine charcoal to add the very darkest values. The area where the sphere meets the surface (called the core shadow) and the darkest part of the cast shadow should be your deepest values.
Step 8: Step back and assess. Move several feet away from your drawing and compare it to your reference object. Squint your eyes to see the values more clearly. Adjust any areas that need more charcoal or more erasing. When you are satisfied, apply a light coat of workable fixative to protect the drawing.
Common Beginner Mistakes to Avoid
When I first started working with charcoal, I made every one of these mistakes. Learning what to watch for will save you frustration and help you progress faster.
Going Too Dark Too Fast
This is the number one mistake beginners make with charcoal. Charcoal is naturally dark, and it is tempting to press hard from the start. But once you lay down a heavy layer of compressed charcoal, it is very difficult to lighten. Start with light pressure and vine charcoal, then gradually build up to darker values. You can always add more charcoal, but taking it away is much harder.
Over-Blending
Blending too much produces a flat, muddy gray surface with no texture or life. Charcoal drawings look best when they have a mix of blended areas and visible marks. Blend selectively: smooth out transitions and gradients, but leave some strokes raw and textured for visual interest. If your entire drawing looks like a uniform gray smudge, you have blended too much.
Ignoring Values
Values (the range from light to dark) are what make a charcoal drawing look three-dimensional. Many beginners focus on outlines and shapes but forget to pay attention to how light or dark each area should be. Train your eye by squinting at your reference. Squinting removes detail and shows you the basic value structure. If your drawing has the right values in the right places, it will look convincing even if the shapes are slightly off.
Not Using Reference Photos
Drawing from imagination is a skill that takes years to develop. As a beginner, always use a reference photo or a real object. Many experienced artists on forums emphasize that working from a reference is not cheating; it is how you train your eye to see accurately. One helpful tip: convert your reference photo to black and white before drawing. This removes color information and makes it much easier to see the actual values you need to replicate.
Smudging with Your Hands
Resting your hand on the drawing surface while working is a guaranteed way to smudge your charcoal. Use a scrap sheet of paper under your drawing hand to protect the work beneath it. Some artists use a mahl stick (a long wooden dowel) to steady their hand without touching the paper. Developing this habit early will save you from ruined drawings.
Using the Wrong Paper
Smooth paper is the enemy of charcoal. If your charcoal slides off the surface without leaving a solid mark, your paper does not have enough tooth. Switch to a paper designed for charcoal or pastel, and you will immediately notice a difference in how the charcoal grabs and holds the surface.
Practice Exercises to Build Your Skills
Consistent practice matters more than talent. Here are specific exercises that will accelerate your progress with charcoal drawing.
The Value Strip
Draw a horizontal rectangle and divide it into 10 equal sections. Fill section 1 with the lightest possible gray (barely touching the paper with vine charcoal) and section 10 with the darkest black you can produce with compressed charcoal. Fill the remaining sections with progressively darker values. This exercise trains your hand to produce controlled, consistent pressure and teaches you to see the full range of values available.
Gradient Practice
Create smooth gradients that transition from white to black without visible bands or steps. This is harder than it sounds and builds your blending technique. Practice until you can create a seamless transition using only vine charcoal and a blending stump.
Simple Still Life Studies
Set up two or three simple objects (an egg, an apple, a mug) with a single light source. Draw the setup focusing only on values, not details. These quick studies, done in 15 to 20 minutes each, build your ability to observe and reproduce light and shadow relationships.
Rose Study
Many experienced artists recommend roses as ideal first projects for charcoal because the organic, overlapping petals forgive small errors. Even if your shading is imperfect, a rose still looks recognizably beautiful. Find a clear reference photo of a single rose, convert it to black and white, and draw it using the step-by-step process described above.
FAQs
What type of charcoal is best for beginners?
Vine charcoal (medium hardness) is the best choice for beginners. It is soft, easy to erase, and produces light marks that you can build up gradually. Start with vine charcoal for sketching and layout, then add compressed charcoal or charcoal pencils for darker values and details once you are comfortable.
How do I stop smudging my charcoal drawings?
Place a clean sheet of scrap paper under your drawing hand to prevent direct contact with the charcoal surface. Apply workable fixative between layers to seal your progress. Work from top to bottom (or left to right if you are left-handed) so your hand does not pass over finished areas.
How do you blend charcoal drawings properly?
Use a blending stump (tortillon) for controlled, precise blending in small areas. Use a chamois cloth for smooth blending over larger sections. Build up charcoal in thin layers and blend each layer before adding the next. Avoid over-blending, which creates flat, muddy gray areas with no texture.
What paper should I use for charcoal drawing?
Use paper with visible texture (called tooth) that is specifically designed for charcoal or pastel drawing. Look for paper that is at least 80 lb (130 gsm) in weight. Canson Mi-Teintes and Strathmore Charcoal pads are widely recommended. Avoid smooth printer paper or standard graphite sketch paper, which cannot hold charcoal properly.
Why does my charcoal drawing look too dark?
This usually happens when you apply too much pressure or start with compressed charcoal instead of vine charcoal. Always begin with light pressure and vine charcoal, then gradually build up to darker values. Step back from your drawing frequently and compare the values to your reference. Squinting at both the drawing and reference helps you see whether your values match.
Conclusion
Learning how to get started with charcoal drawing comes down to understanding a few types of charcoal, gathering a small set of tools, and practicing the core techniques of applying, blending, and erasing. Start with vine charcoal and textured paper. Work from light to dark. Use your kneaded eraser as much as your charcoal. And always reference a real object or photo rather than drawing from imagination until your eye is trained.
The artists who improve the fastest are the ones who practice regularly and accept that early drawings will not look perfect. Charcoal is a medium that rewards experimentation and patience. Set up a simple still life, grab a stick of vine charcoal, and start making marks. Once you have a few drawings you are proud of, you may want to consider digitizing your charcoal artwork to share it or build a portfolio.
Every accomplished charcoal artist started exactly where you are right now. The only difference between them and someone who never improved is that they kept drawing.