
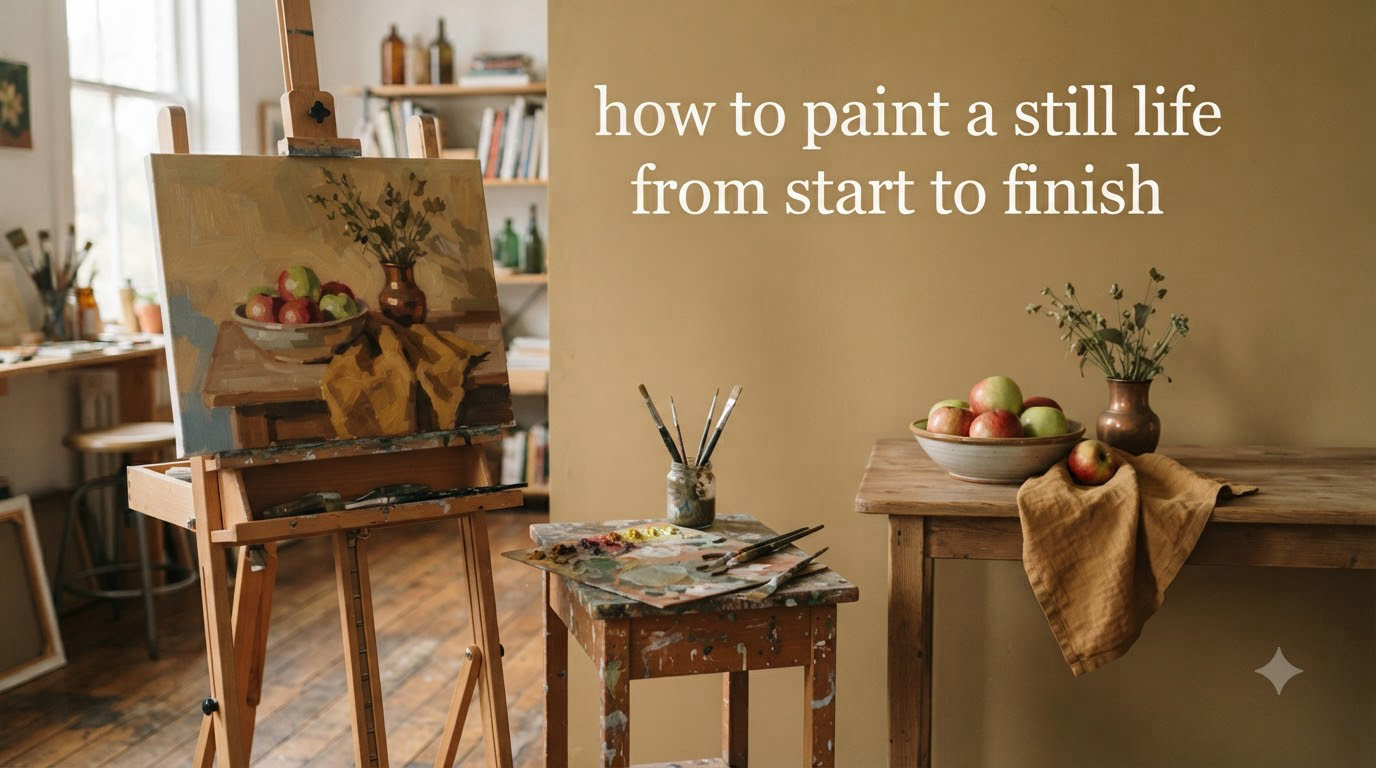
Still life painting is one of the most rewarding ways to develop your skills as an artist. The practice teaches you to see objects as shapes of light and shadow while building your understanding of color, composition, and form. Whether you are working with oils or acrylics, this guide walks you through the complete process from setting up your composition to applying the final touches.
In this guide, you will learn exactly how to paint a still life from start to finish. We cover everything from choosing your objects and setting up your lighting to blocking-in shapes, developing values, and refining details. By the end, you will have a clear roadmap for creating your own still life paintings with confidence.
Table of Contents
Materials and Supplies You Will Need
Before you begin, gather your materials. Having everything ready keeps your workflow smooth and helps you focus on painting rather than searching for supplies mid-process.
Essential Supplies
You will need a canvas or painting surface. Stretched canvas in the 11×14 or 16×20 inch range works well for most beginners. These sizes are large enough to show detail but not so large that they feel overwhelming.
Paint is your next consideration. Both oil and acrylic work beautifully for still life painting. Oil paint stays workable longer, which helps when you are learning to blend. Acrylic paint dries quickly and allows you to build layers fast. Choose whichever fits your preference and ventilation situation.
Your brush collection should include a mix of sizes and shapes. A set of filbert brushes in sizes 2, 4, and 8 covers most of your needs. Add a couple of flat brushes for broader strokes and a small detail brush for fine work.
You will also need a palette for mixing colors, an easel to hold your canvas at a comfortable angle, and a palette knife for moving paint around. A palette cup holds your brush rinsing water or medium.
Color Palette Recommendations
Start with a limited palette that includes titanium white, raw umber, yellow ochre, cadmium red, ultramarine blue, and viridian green. These colors mix into a wide range of hues and help you learn color relationships without getting overwhelmed by choices. As you grow more confident, you can expand your palette with additional pigments.
Setting Up Your Still Life Composition
The first step in still life painting is setting up your composition. This stage matters more than most beginners realize. A strong composition provides a foundation that supports everything else in your painting.
Choose objects that interest you and offer variety. A good still life grouping includes objects with different shapes, textures, and colors. Try combining a fruit bowl, a glass pitcher, a draped cloth, and some fruits or vegetables. The light catches glass and metal differently than fabric or produce, giving you valuable practice with varied surfaces.
Arrange your objects with intention. Place your focal point slightly off-center using the rule of thirds as a guide. Stack objects to create visual interest through overlap. A general tip for still lifes is that the background should never be as busy as the piece itself. Keep your background simple so your subject stands out.
Position your light source to create clear, readable shadows. A strong directional light from a window or lamp works best for beginners. This light creates a full range of values from bright highlights to deep shadows, making it easier to see and paint the forms accurately. Your light source should remain consistent throughout your painting session.
Creating Your Reference Setup
Consider setting up near a window with consistent natural light. North-facing windows provide soft, even lighting without harsh direct sun. If natural light is not available, a daylight-balanced lamp positioned to one side creates a reliable artificial light source.
Once your setup is complete, spend time looking at it before you start painting. Squint at your arrangement to simplify shapes. Notice how the light separates your objects into distinct value areas. What still lifes do is help the artist work on painting shapes, overlapping shapes, values, colours, reflections, shadows. Let this observation sink in before you pick up your brush.
Step 1: Blocking-In Your Still Life
Blocking-in is the foundation of your painting. During this stage, you establish the major shapes, their placement, and the basic value structure. Do not rush this step. A solid blocking-in makes everything that follows easier.
Start by drawing your composition on the canvas with a thin brush and diluted paint. Use raw umber thinned with odorless mineral spirits for oils or water for acrylics. Map out the key objects and their proportions. Check your proportions by comparing sizes and angles against each other.
Once your drawing is established, begin blocking in the large value shapes. Identify your darkest areas, your lightest areas, and everything in between. Using thinned paint, fill in these large value zones roughly. Work quickly and loosely. The detail is good, but you need to begin your painting by separating your subjects into the light and shadow areas.
This stage typically takes 15 to 30 minutes depending on your canvas size and the complexity of your arrangement. Your goal is not to add detail but to establish where the major value shifts occur. You are creating a roadmap for the painting process ahead.
Understanding Value Mapping
Value mapping helps you see your painting as abstract shapes rather than recognizable objects. Squint at your setup and notice the major masses of light and shadow. Paint these as simplified shapes first. Do not worry about edges or details at this stage.
Map out where the light hits your objects and where they fall into shadow. Include the cast shadows that fall onto the table or ground plane. These cast shadows often anchor objects to their surface and give your painting spatial depth.
Step 2: Building the Base Layer
With your blocking-in complete, move on to establishing your base colors. This layer introduces the actual hues you will build upon as you develop your painting. Work thin at this stage, allowing your underpainting to show through slightly.
Start by establishing the local color of each object. The local color is the true color of an object in ordinary light, before you factor in shadows and highlights. Paint the broad areas of color loosely, keeping your strokes directionless at first.
Think about temperature relationships as you work. Are your lit areas warm or cool? Are your shadows warmer or cooler by comparison? Place your warm and cool colors in conversation with each other across the painting. This temperature variation creates visual energy and prevents your painting from feeling flat.
At this stage, avoid over-blending. Let the colors sit next to each other with some variation. You can always blend later, but you cannot easily recover distinct brush strokes once they are fully smoothed out. Leave some texture and life in the paint surface.
Color Mixing Fundamentals
Mix your colors on the palette before applying them. A limited palette requires more mixing but creates more harmonious results. Use complementary colors to gray down colors that need to recede. Use the colors from your local palette to build vibrant mixtures for areas in the light.
When mixing skin tones or fabric colors, start with your earth tones and add small amounts of your brighter pigments. Work slowly, adding color incrementally. It is easier to intensify a mixture than to try to brighten a muddy one.
Step 3: Developing Values and Form
Value work is where your painting comes alive three-dimensionally. This stage requires patience and careful observation. Try to get a wider range of values, choosing a strong light source will help with this. Your goal is to capture the full range from your darkest darks to your lightest lights.
Build up your midtones first, establishing the main color areas in their correct values. Then move to your halftones, the areas that fall between light and dark on curved surfaces. Halftones are crucial for creating three-dimensional form. Without them, objects look flat and cardboard-like.
Add your highlights last. Highlights should be saved for the areas receiving the most direct light. They are the points that catch the eye and create sparkle and realism. Use your lightest value and the smallest brush for these areas. Too many highlights or highlights in the wrong places make a painting look unrealistic.
Look at specular reflections on curved surfaces. These are the points where light reflects most directly back to the viewer. They are often the brightest points on an object but also the most localized. Study your glass or metal objects carefully to see how these reflections behave.
Creating Depth Through Value Contrast
Objects in the foreground should generally have stronger value contrast than objects in the background. This contrast recession helps create the illusion of space. Darken your background objects slightly and soften their edges to push them back in the composition.
Also consider atmospheric perspective in your still life. Colors in the distance tend to be cooler and less saturated than colors in the foreground. This does not mean making your background gray, but rather shifting the temperature slightly cooler and reducing chroma.
Step 4: Refining Details and Edges
With your major forms established, move into the detail phase. This is where your painting transitions from a general impression to a finished work. Work carefully and take your time with this stage.
Edge control becomes crucial in this phase. Some edges in your painting should be hard and defined while others should be soft and blurred. Hard edges draw attention and create focal points. Soft edges create distance and atmosphere. Study your reference and decide where each type of edge belongs.
Add surface texture appropriate to your subjects. Fabric shows soft, broken edges and subtle value transitions. Metal and glass show sharp reflections and crisp transitions. Produce shows matte surfaces with gentle gradations. Match your brushwork to the material you are depicting.
Look at contact shadows where objects touch surfaces or each other. Look at specular reflections, self shadowing from light sources, ambient lighting, and contact shadows. These small details anchor objects in space and make them feel real rather than floating.
Evaluating Your Work
Step back from your painting regularly to evaluate it as a whole. Move across the room and squint at your canvas to see it as a simplified abstract pattern of shapes and values. Does the design work? Are there areas that need more attention?
Do not be afraid to rework areas that are not working. This is where experience comes in. If a shape is not right, scrape it down and repaint. If a color is too bright or too dull, adjust it. The goal is a convincing depiction, not a perfect representation.
Step 5: Finishing Touches and Final Review
As you approach completion, step back for an overall evaluation. The detail is good, but check that your painting reads clearly as a complete image. Look at the value structure from a distance. Make sure your focal point is clear and your composition leads the eye properly.
Make final adjustments to your values and color as needed. Clean up any areas that feel muddy or overworked. Add final highlights and strengthen your darkest accents. Sometimes a painting needs only a few small touches to come together.
If you are working in layers, allow adequate drying time between sessions. Oil paint may need several days to a week before it is dry enough to work over without smearing. Acrylics dry faster but benefit from similar patience between major layers.
Consider whether your painting needs a final varnish. For oils, a final varnish protects the surface and adds an even sheen. For acrylics, a gloss or matte medium can unify the surface if needed. This step is optional but can elevate your finished work.
Troubleshooting Common Still Life Painting Mistakes
Even experienced painters encounter problems. Here are solutions to the most common issues that arise when learning how to paint a still life.
Painting Looks Too Flat
If your painting looks flat, check your value range. Objects need clear light and shadow separation to read as three-dimensional. Increase your contrast, especially in the midtone range where many beginners lose form. Make sure your background does not compete with your subject. Push your background to lower values to make your lit subject pop forward.
Also verify that your halftones are present and accurate. These transitional values are where much of the form lives. Without them, objects become disconnected from their three-dimensional nature.
Colors Look Muddy
Muddy colors usually result from over-blending or using too many mixed colors without enough variation. Avoid the temptation to continuously mix and smooth your brushstrokes. Instead, let different colors sit alongside each other.
Make sure your darks are truly dark enough. Adding a little dark to a color can make it more vibrant rather than duller. Too much white or too many warm tones can also make colors feel grayed and lifeless. Check your palette and push your values to their correct intensity.
Light Source Feels Inconsistent
If your painting feels confused about where its light is coming from, review your highlights and shadows. Highlights should all point toward your light source direction. Shadows should all fall away from it. If you find conflicting light directions, pick the strongest one and adjust your painting to follow it consistently.
Oil vs Acrylic: Which Should You Use for Still Life?
Both oils and acrylics work well for still life painting, but they have distinct characteristics that may influence your choice.
Oil Paint Advantages
Oil paint stays wet longer, giving you extended time to blend and rework areas. This makes oils more forgiving for beginners still developing their technique. You can work a single area for hours, refining values and edges as you go. Oil paint also has a richer, more luminous quality that many artists prefer for still life subjects.
The longer drying time does require more patience overall, and you need to work in a well-ventilated space due to the solvents involved. However, the extended working time can be worth it for complex compositions.
Acrylic Paint Advantages
Acrylic paint dries quickly, which means you can build up layers fast without waiting days between sessions. This makes acrylics ideal if you want to complete a painting in one extended session or if you prefer a more immediate working style.
Acrylics clean up with water and have less odor, making them more practical for shared spaces or smaller studios. You can also work them thinly like watercolors or thickly for textured impasto effects. The fast drying time requires some adjustment in technique, but it encourages decisive brushwork.
Making Your Choice
For complete beginners, I recommend acrylics for their convenience and forgiveness. You can always switch to oils later if you prefer their handling characteristics. The techniques in this guide apply to both mediums, so choose based on your practical situation and personal preference.
Frequently Asked Questions
How do you do a still life for beginners?
Start by selecting simple objects like a bowl and fruit. Set up your composition with a strong light source. Begin with blocking-in large shapes, then build up values and colors gradually. Focus on seeing objects as shapes of light and shadow rather than recognizable items.
What is the first step in still life painting?
The first step is setting up your composition. Choose your objects, arrange them thoughtfully with good composition principles, and establish a clear light source. This foundation determines everything that follows in your painting process.
How to paint still life with acrylics?
Acrylics dry quickly, so work in thin layers and keep a spray bottle to keep your paint workable. Start with an underpainting in raw umber, then build up local colors. Use glazing to unify layers and add depth. Acrylics are forgiving work light to dark and you can easily paint over mistakes.
How to paint a still life from life?
Painting from life means working directly from your subject rather than a photo. Position yourself so the light creates clear shadows. Work quickly at first to capture the essence, then slow down for details. Keep your setup consistent across multiple sessions if you need more time.
Start Your Still Life Painting Journey
You now have a complete roadmap for how to paint a still life from start to finish. The process involves setting up a strong composition, blocking in your major shapes, building your color layer, developing your values, and refining details. Each stage builds on the previous one to create a convincing final painting.
Remember that still life painting takes practice. Your first attempts will not match the level of finished work you admire in galleries or online. This is normal and expected. The skills you develop through still life practice transfer directly to every other painting genre you explore. You are building a foundation that will serve you throughout your artistic journey.
Start with a simple arrangement and work through the steps methodically. Do not skip the observation phase before painting. Do not rush the blocking-in stage. Trust the process. With consistent practice, you will see improvement that surprises you.
Pick up your brush, set up your objects, and begin. Your still life painting journey starts with a single stroke.