
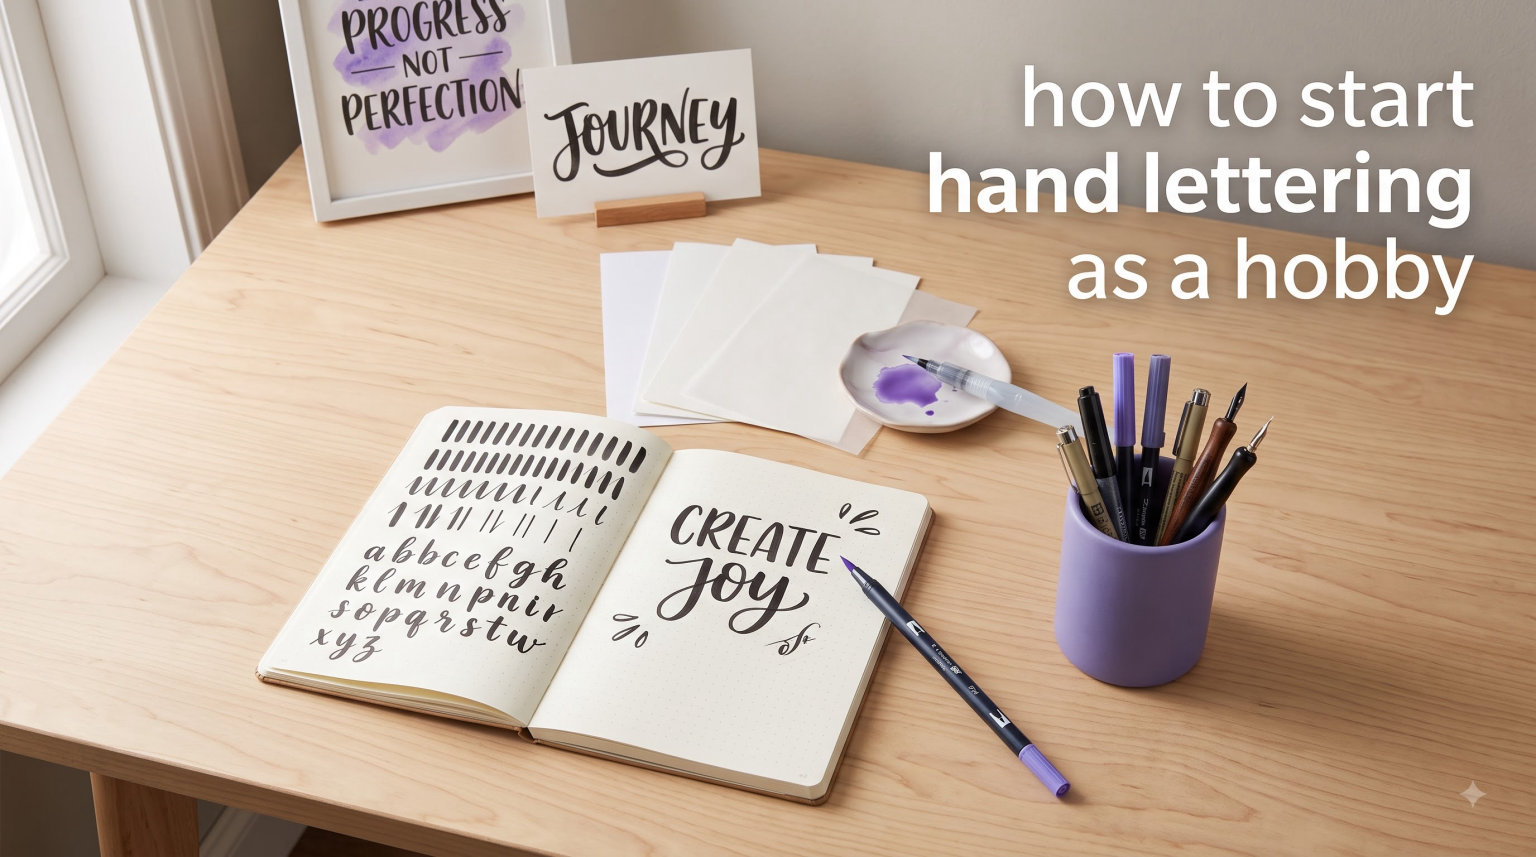
Hand lettering is one of the most accessible creative hobbies you can pick up today. You do not need expensive equipment, formal training, or artistic talent to begin. All you really need is a pen, some paper, and about fifteen minutes of free time. In this guide, I will walk you through exactly how to start hand lettering as a hobby, based on my own experience learning this craft from scratch and the collective wisdom of lettering communities online.
By the end of this article, you will have a clear roadmap for your first month of practice. You will know what supplies actually matter, which mistakes to avoid, and how to build a sustainable practice routine that keeps you motivated.
Table of Contents
What Is Hand Lettering
Hand lettering is the art of drawing letters by hand, rather than writing them in your normal handwriting. It is different from traditional calligraphy, which follows strict rules about stroke order and specific tools. With hand lettering, you have complete creative freedom. You can make letters thick, thin, curly, angular, or any style you imagine.
It is also distinct from typography, which involves designing fonts for computers to use. Hand lettering creates one-of-a-kind pieces. Each word you draw is unique, which is part of what makes this hobby so satisfying.
Modern hand lettering, sometimes called modern calligraphy, has exploded in popularity over the past decade. You see it everywhere now: on wedding invitations, in bullet journals, on signs at coffee shops, and all over social media. The good news is that this popularity means there are more free resources than ever for beginners.
Why Hand Lettering Makes a Great Hobby
Before we dive into the how, let me share why I think hand lettering is worth your time. When I started hand lettering for beginners three years ago, I was looking for something that did not involve screens. I wanted a creative outlet that I could do while listening to podcasts or music.
The relaxation benefits are real. The repetitive motion of drawing strokes and letterforms puts you in a meditative state. Many practitioners report reduced stress and anxiety after lettering sessions. There is something deeply satisfying about watching a word take shape under your hand.
It is also incredibly portable. Unlike painting or sculpture, you can practice hand lettering anywhere. A small notebook and a pen fit in any bag. I have lettered on planes, in coffee shops, and during lunch breaks.
Perhaps most importantly, hand lettering produces usable results. Your practice pieces can become gift tags, birthday cards, wall art, or additions to your planner. You are not just consuming content; you are creating something tangible.
Essential Supplies to Get Started
Here is the truth that many tutorials gloss over: you can learn hand lettering with just a pencil and paper. I started with a cheap ballpoint pen and printer paper. My first hundred hours of practice used nothing fancier.
That said, certain supplies do make the learning process smoother. Brush pens are the most popular tool for modern lettering because they create thick downstrokes and thin upstrokes naturally. When you press down, the brush tip spreads for a bold line. When you pull up lightly, it creates a hairline.
For paper, smooth surfaces work best. Textured paper catches brush tips and creates fuzzy lines. Printer paper works fine for pencil practice. If you use brush pens, consider upgrading to marker paper or a smooth sketch pad to protect your pen tips.
Do not fall into the trap of buying every supply you see on Instagram. Start simple. Master the basics with affordable tools before investing in premium brushes or specialty papers.
How to Start Hand Lettering as a Hobby: Step-by-Step
Now let us get to the actual process. Learning hand lettering is like learning an instrument. You would not start with a complex song. You start with scales. In lettering, those scales are called drills, and they involve practicing basic strokes repeatedly.
Step 1: Master Your Basic Strokes
Every letter in hand lettering is built from a handful of basic strokes. There are two directions that matter most: downstrokes and upstrokes. Downstrokes go from top to bottom and should be thick. Upstrokes go from bottom to top and should be thin.
Practice these five basic strokes until they feel natural:
- The upward thin stroke: light pressure, moving up
- The downward thick stroke: heavy pressure, moving down
- The overturn stroke: thin up, thick down in one motion
- The underturn stroke: thick down, thin up in one motion
- The compound curve: thin up, thick down, thin up
Fill a full page with each stroke before moving on. This builds muscle memory. Your hand needs to learn these motions so your brain can focus on letterforms later.
Step 2: Practice Individual Letterforms
Once strokes feel comfortable, move to individual letters. Start with lowercase alphabet first. It is more forgiving and versatile than uppercase. Write each letter twenty times before moving to the next one.
Focus on consistency, not creativity at this stage. Your letters should sit on an imaginary baseline. They should have consistent x-height (the height of the main body of lowercase letters). Spacing between letters matters more than fancy flourishes.
Trace over printed examples if you need guidance. There is no shame in tracing when learning. It teaches your hand the shapes it needs to know.
Step 3: Connect Letters Into Words
Words are where hand lettering gets interesting. The spacing between letters, called tracking, can make or break a piece. Too tight and words become unreadable. Too loose and they fall apart visually.
Start with short words: joy, create, art, love. Write each word ten times, varying the spacing slightly. Take photos of your work and look at them on your phone. Distance helps you see spacing issues you miss up close.
Step 4: Build Sentences and Quotes
Once words feel natural, try phrases and quotes. Mix letter sizes for visual interest. Make important words larger. Use your thin upstrokes to create bounce lettering, where letters sit at varying heights for a playful look.
Common first phrases that work well: “Practice makes progress,” “Create every day,” or “You got this.” These give you variety in letter shapes without being too long.
Common Beginner Mistakes to Avoid
After teaching several friends to letter and watching my own early struggles, I have identified the mistakes that derail most beginners. Avoid these and your journey will be smoother.
Skipping stroke practice: Everyone wants to jump to pretty quotes. Do not do it. Those hours of drilling basic strokes pay off for years. They are boring but essential.
Buying too many supplies upfront: I know someone who spent two hundred dollars on brush pens before learning a single letter. Start with one or two tools. Master them. Then expand.
Comparing to experienced artists: Instagram shows you the best work from people who have practiced for thousands of hours. Your day three work will not look like their year five work. Compare yourself only to your past self.
Holding the pen wrong: Most beginners grip too tightly. Your hand cramps and your strokes become shaky. Hold the pen loosely, like you are writing normally. Let the tool do the work.
Expecting immediate results: Hand lettering takes time. Your first hundred attempts will look rough. That is normal. The hundred and first will look better. Keep going.
Building a Consistent Practice Routine
The difference between people who stick with hand lettering and those who quit is usually consistency, not talent. Here is how to build a practice routine that lasts.
Start small. Ten to fifteen minutes daily beats two hours once a week. Your brain needs frequent reinforcement to build muscle memory. Set a timer and stop when it goes off. This prevents burnout.
Track your progress visibly. Keep every page you practice on. Flip back through your notebook weekly. Seeing improvement keeps you motivated when daily practice feels stagnant.
Use free resources strategically. There are thousands of free hand lettering worksheets available online. Print a few and work through them systematically. YouTube has excellent tutorials for specific techniques you want to learn.
Join a community for accountability. Instagram hashtags like #handlettering and #letteringcommunity connect you with other beginners. Seeing others practice motivates you to do the same. Share your work, even when it feels imperfect.
Set achievable goals. Instead of “get good at hand lettering,” try “learn five new letter styles this month” or “fill one practice page daily.” Small wins build momentum.
Frequently Asked Questions
How long does it take to learn hand lettering?
Most beginners see noticeable improvement within 30 days of consistent practice. Basic proficiency typically develops over 3 to 6 months. Mastery takes years, but you can create beautiful pieces within your first few months. The key is daily practice rather than total hours.
Can I teach myself hand lettering?
Absolutely. Most hand letterers are self-taught. Free YouTube tutorials, printable worksheets, and practice books provide everything you need. The community is welcoming and shares techniques openly. You do not need formal classes or expensive courses to become skilled.
Is hand lettering hard to learn?
Hand lettering has a gentle learning curve. The basic concepts are simple to understand, though they take time to master physically. Unlike some hobbies requiring expensive equipment or physical strength, anyone can start hand lettering immediately. Progress depends on consistency, not innate talent.
What is the difference between hand lettering and calligraphy?
Hand lettering involves drawing letters as illustrations, giving you complete creative freedom over shape and style. Traditional calligraphy follows strict rules for stroke order and uses specific tools like dip pens and ink. Modern calligraphy blends both, using brush pens with traditional calligraphy principles but allowing more flexibility.
Conclusion: Start Your Hand Lettering Journey Today
Learning how to start hand lettering as a hobby is simpler than most people think. You now have a complete roadmap: understand what hand lettering is, gather basic supplies, practice your strokes, build up to letters and words, avoid common mistakes, and establish a consistent routine.
The most important step is the first one. Grab whatever pen is nearest to you and a piece of paper. Draw ten upstrokes and ten downstrokes right now. That is all it takes to begin.
Hand lettering for beginners is not about perfection. It is about progress, creativity, and finding a peaceful moment in your day. Start today, be patient with yourself, and enjoy watching your skills grow one stroke at a time.