
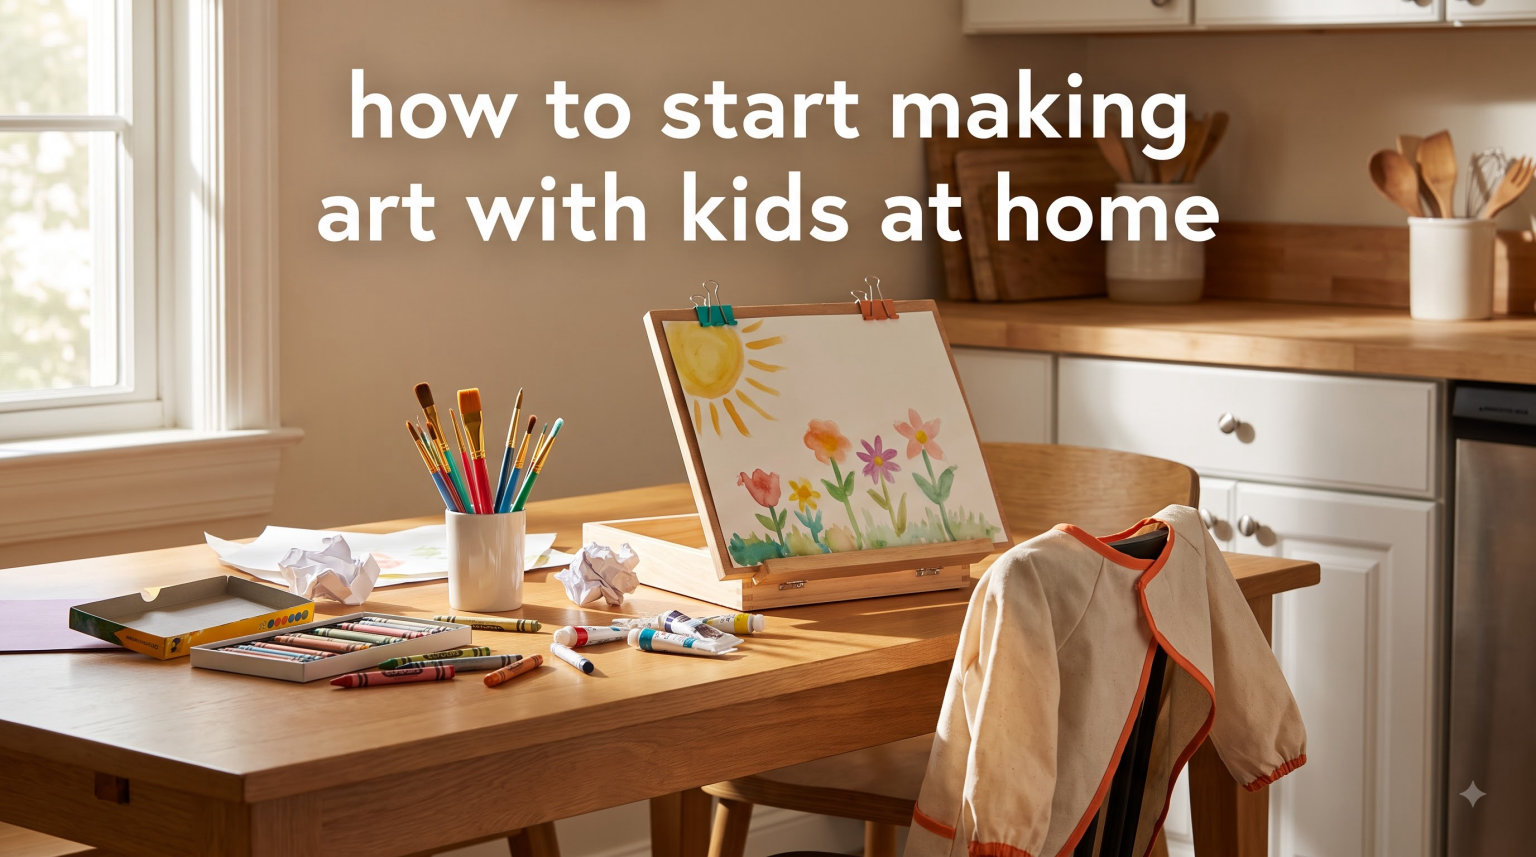
You do not need to know how to draw to help your child create art. This simple truth clicked for me when I watched my neighbor, who described herself as “completely unartistic,” sit on the floor with her five-year-old and spend twenty minutes making squiggles together. Her daughter glowed with excitement. That moment showed me that the best way to start making art with kids at home begins with showing up, not being skilled.
In this guide, you will learn how to set up art activities your children will actually enjoy, understand the difference between process art and product art, find age-appropriate activities that work, and discover tips that make art time relaxed instead of stressful. Whether you have a toddler who just discovered crayons or a school-age child who wants to learn more, this guide covers everything you need to get started.
Table of Contents
Understanding Process Art vs Product Art
Before you gather supplies or set up a space, it helps to understand the difference between process art and product art. Process art focuses on the experience of creating, the exploration of materials, and the sensory discovery that happens along the way. Product art focuses on creating a specific outcome, like a painted picture that looks like something recognizable.
Most child development experts recommend starting with process art because it builds confidence and keeps children interested longer. One parent on a forum described how “pure free play is fun for ten minutes then everything stays very scribbly,” but when they added gentle guidance, their children stayed engaged for thirty minutes or more. The 70/30 rule in art reflects this balance: roughly seventy percent of art time should be open-ended exploration, and about thirty percent can include some guided instruction.
When you understand this distinction, something shifts. You stop worrying about whether your child’s painting looks “correct” and start appreciating the way they smear purple across the entire paper or use a single brushstroke to cover half the canvas. Open-ended art respects children’s natural creative development and removes the pressure that makes some kids quit altogether.
Developmental Stages of Art for Children
Children move through predictable stages as they develop art skills. Understanding these stages helps you set appropriate expectations and choose activities that match where your child actually is, not where you think they should be.
Scribble Stage (Ages 1-3)
Between ages one and three, children make random marks that appear to have no pattern. This scribble stage is not a failure to create something meaningful; it is a necessary phase of fine motor skill development. Your toddler is learning how to grip a crayon, control arm movements, and see the connection between what they do and what appears on the paper.
At this stage, large crayons, chunky paintbrushes, and finger painting work well. Do not expect recognizable images. Instead, celebrate the act of creating. Talk about colors and textures. Ask questions like “What does this feel like?” rather than “What did you make?”
Pre-Representational Stage (Ages 3-5)
Around age three, children begin making enclosed shapes, usually circles first, then other forms. They might tell you their circle is a face or their squiggle is a dog. This pre-representational stage marks an important shift where children start connecting their marks to real things, even if others cannot recognize what they intended.
The 4 8 8 method of drawing describes a common progression: children first draw with single lines, then with two lines for legs, then with eight lines for fingers. This method tracks how children’s fine motor control develops over time, though every child progresses at their own pace. Do not rush this process by asking children to draw “correctly.”
At this stage, provide various art supplies like markers, tempera paints, and simple shape-based activities. Simple collage materials work well too. Let children explore without forcing specific outcomes.
Representational Stage (Ages 5-7)
Between ages five and seven, most children begin creating images that others can recognize. A person might have a round head, stick body, and lines for arms and legs. A house might show walls, roof, and windows. This representational stage signals that your child’s perceptual skills and fine motor control have developed enough to translate ideas into visual form.
School-age children often want more guidance at this point. They might ask “How do I draw a dog?” rather than making random marks. Step-by-step drawing books, like those by Ed Emberley, work well for children in this stage because they break complex shapes into simple steps. Art Hub for Kids on YouTube is another resource parents consistently recommend for building confidence at this age.
At what age do kids start making art? The answer is much earlier than most people expect. Even toddlers around eighteen months can make marks with crayons, though they lack the coordination to do much more. By age two or three, most children are actively creating art regularly, though the art they create looks very different from adult expectations.
Essential Art Supplies to Get Started
You do not need a room full of expensive materials to start making art with kids at home. A few basic supplies used well outperform a closet full of options that overwhelm both you and your children. Start simple and add as you discover what your children enjoy.
The core supplies you need include crayons (start with large ones for toddlers, regular size for older children), washable markers, white sulphite paper (the cheap kind works fine and comes in large quantities), tempera paints, brushes in various sizes, and something to paint on like cardstock or canvas boards. A smock or old t-shirt protects clothing. Newspaper or a plastic tablecloth makes cleanup easier.
For younger children, add process-focused materials like playdough, which builds hand strength, and sensory materials like colored rice or shredded paper for collage. Look around your kitchen too. Egg cartons become sculpture materials. Empty boxes become buildings. Coffee filters become tie-dye canvases. Using everyday materials for art is both budget-friendly and creative.
One practical tip from experienced parents: keep supplies in an accessible cart or bin that children can reach themselves. When kids can get their own paper and choose their own colors without asking, they create more independently and you spend less time managing requests. A well-organized art cart with open-ended supplies keeps children creating constantly, according to one parent who shared her setup online.
If you are looking for gift ideas for young artists, our guide to the best gifts for young artists has specific recommendations for quality materials that hold up to real use.
Setting Up Your Home Art Space
A dedicated art space does not need to be a whole room. Many families use a corner of a kitchen, a section of a playroom, or even a rolling cart that moves between areas. What matters most is having a predictable spot where art supplies live and where your child knows they can create.
Choose a surface that tolerates mess. Tile, linoleum, or covered tables work better than wood floors or nice carpets. Lay down newspaper, a plastic tablecloth, or a dedicated easel mat to contain spills and splatters. Keep a damp cloth or baby wipes handy for quick cleanups.
Storage matters more than location. Containers that let children see what is available encourage independence. Clear bins, baskets, and caddies help children choose materials without digging through a jumbled box. Labeling containers with pictures (not words) helps pre-readers participate fully.
Consider lighting. Natural light works best, but a bright lamp serves fine. Art requires seeing details, and dim lighting makes work harder for small hands and developing eyes. Ventilation matters too, especially with paints and older children who might use solvents. Keep windows open when possible or work in well-ventilated areas.
Some families set up “yes spaces” where art is always allowed and mess is always possible. Others schedule art time intentionally to contain cleanup. Either approach works. Find what fits your family’s rhythm and adjust as children grow and their needs change.
Simple Art Activities to Try First
Starting with the right activities prevents the frustration that makes both parents and children quit. The best first activities require minimal setup, use materials you already have, and allow children to create freely without specific instructions.
Finger painting is an excellent starting point for children under three. It builds sensory exploration, works on fine motor skills, and feels wildly different from using brushes or crayons. Use a large piece of paper, non-toxic washable paint, and let children explore with hands, fingers, and eventually feet. Expect mess. Embrace it. The sensory experience matters more than any resulting image.
Crayon rubbings work for a wide age range. Place leaves, coins, or textured objects under paper and let children color over the surface with crayons. The texture transfers through and creates interesting patterns. This activity builds observation skills and introduces the concept that art can capture real-world objects in creative ways.
Sponge painting works well for toddlers and preschoolers who want to cover space quickly. Cut household sponges into shapes, dip in tempera paint, and press onto paper. The repetition satisfies young children who want to do something repeatedly. Older children can use sponge painting for more controlled projects like backgrounds for drawings.
Collage building uses scraps of paper, fabric, ribbon, and other small materials with glue. This open-ended activity works for all ages since there is no “right” way to collage. Provide varied materials and let children decide what to create. Supervise closely with younger children who might taste materials.
For children who want more structure, try simple step-by-step drawings. Draw the basic shape first, then let them add details. Ed Emberley’s picture books break complex subjects into simple steps that children as young as five can follow. This approach works especially well for school-age children who feel frustrated by their inability to draw what they imagine.
What crafts to do with kids at home? The answer depends on your child’s age and interests. Start with one or two materials at a time rather than offering everything at once. Limiting choices prevents overwhelm and actually increases creative engagement. Rotate materials weekly to keep things fresh without requiring constant new purchases.
Tips for Joining In Without Taking Over
One of the biggest challenges parents face is knowing how much to participate. You want to guide your child, but you also want to let them create independently. The balance requires constant adjustment, and the right approach changes as children grow.
Start by following your child’s lead. When your child picks up a red crayon and starts making long strokes, sit beside them and do the same thing. Do not immediately suggest they draw a house or a person. Copy their movements. Make the same kind of marks. This shows children you are present without directing their choices.
Use open-ended questions instead of instructions. “Tell me about your colors” invites conversation without implying any drawing should look different. “What does this part feel like?” focuses on sensory experience. “What are you thinking about as you work?” shows genuine interest. Questions like these encourage children to keep creating rather than stopping because their art does not match some expectation.
For children who show perfectionist tendencies, explicitly teach that art does not have a “correct” version. Point out that every artist makes lots of pictures and most do not look like they intended. Share your own artistic attempts and laugh about results. Emphasize effort and exploration over outcome.
Some children need more structure to feel comfortable. When this happens, provide gentle guidance like “Would you like to try using both hands?” or “We could add more colors here.” The goal is expanding possibilities without imposing specific results. Finding balance between free play and guided instruction keeps children motivated and builds skills at the same time.
When children ask for specific help, give it. If they want you to draw the outline of a dog so they can color it in, that is fine. Do not force them to do everything independently when they genuinely want guidance. Art is about the experience, not about proving independence at every moment.
Managing Mess and Cleanup
Setup and cleanup time concerns come up constantly in parent forums. One parent described how “setup and cleanup takes longer than actual art time,” and this perception makes some families skip art activities altogether. A few practical adjustments change this equation significantly.
Prepare before children arrive. Lay out supplies, cover surfaces, and have cleanup tools ready. When everything is prepared, the actual art time feels longer because you are not scrambling mid-activity. Two minutes of preparation saves five minutes of scrambling.
Use manageable quantities. A small cup of paint rather than a large tray reduces spills. A few crayons instead of the full box prevents scattered chaos. Limiting materials limits mess without limiting creative potential.
Expect mistakes. Paint will spill. Crayons will roll onto floors. Some art sessions will require significant cleanup. This is normal. Children learn from seeing you handle messes calmly rather than reacting with frustration. Talk through what you are doing as you clean: “I spilled some paint, so I will wipe it up and get back to art.”
Make cleanup part of the art routine from the start. Even toddlers can learn to put supplies back in bins, throw away paper scraps, and wipe their stations. Children who help with cleanup from the beginning expect it as normal routine rather than imposed duty. Building cleanup into every session takes extra time at first but becomes faster as it becomes habit.
Consider timing. Right before bath time or just before a meal when you will be washing hands anyway reduces the stress of messy fingers. After naptime when children are rested but not yet tired works well for many families. Find your rhythm and protect that time consistently.
Frequently Asked Questions
What is the 70/30 rule in art?
The 70/30 rule suggests that roughly 70 percent of art time should be open-ended exploration where children create freely without specific goals, while about 30 percent can include some guided instruction or structured activities. This balance helps children develop creativity and skills simultaneously.
What crafts to do with kids at home?
Simple crafts that work well at home include finger painting, crayon rubbings, sponge painting, collage building, and basic drawing activities. Start with materials you already have like crayons, paper, and household items. Focus on open-ended activities that let children explore rather than forcing specific outcomes.
What is the 4 8 8 method of drawing?
The 4 8 8 method describes how children develop drawing skills over time. They start with single lines, then progress to using two lines for legs, and eventually can draw figures with eight lines for fingers. This method tracks fine motor development and helps parents understand age-appropriate expectations for children’s art.
At what age do kids start making art?
Children start making art very early, typically around 18 months when they can make marks with crayons. By age 2-3, most children are actively creating art regularly. The scribble stage begins around age 1, pre-representational stage around age 3, and representational stage where images become recognizable around age 5-7.
Final Thoughts on Starting Art at Home
Starting to make art with kids at home does not require artistic talent, expensive supplies, or perfect conditions. It requires willingness to show up, try things, and learn alongside your children. The process builds confidence in both parents and children as you discover what works for your family.
The most important thing you can do is begin. Start with one activity, use what you have, and give yourself permission to make mistakes. Your child will not remember whether the painting looked like anything specific. They will remember spending time creating with you, exploring materials, and discovering that art is something they can do.
As your confidence grows, you will find your rhythm. You will learn which activities your children love, how to manage cleanup efficiently, and when to offer guidance versus when to step back. This guide gives you a starting point, but your family’s art journey will take its own shape based on your children’s interests, your available time, and your home environment.
The best way to learn how to start making art with kids at home is to simply start making art with your kids at home. Begin today.