
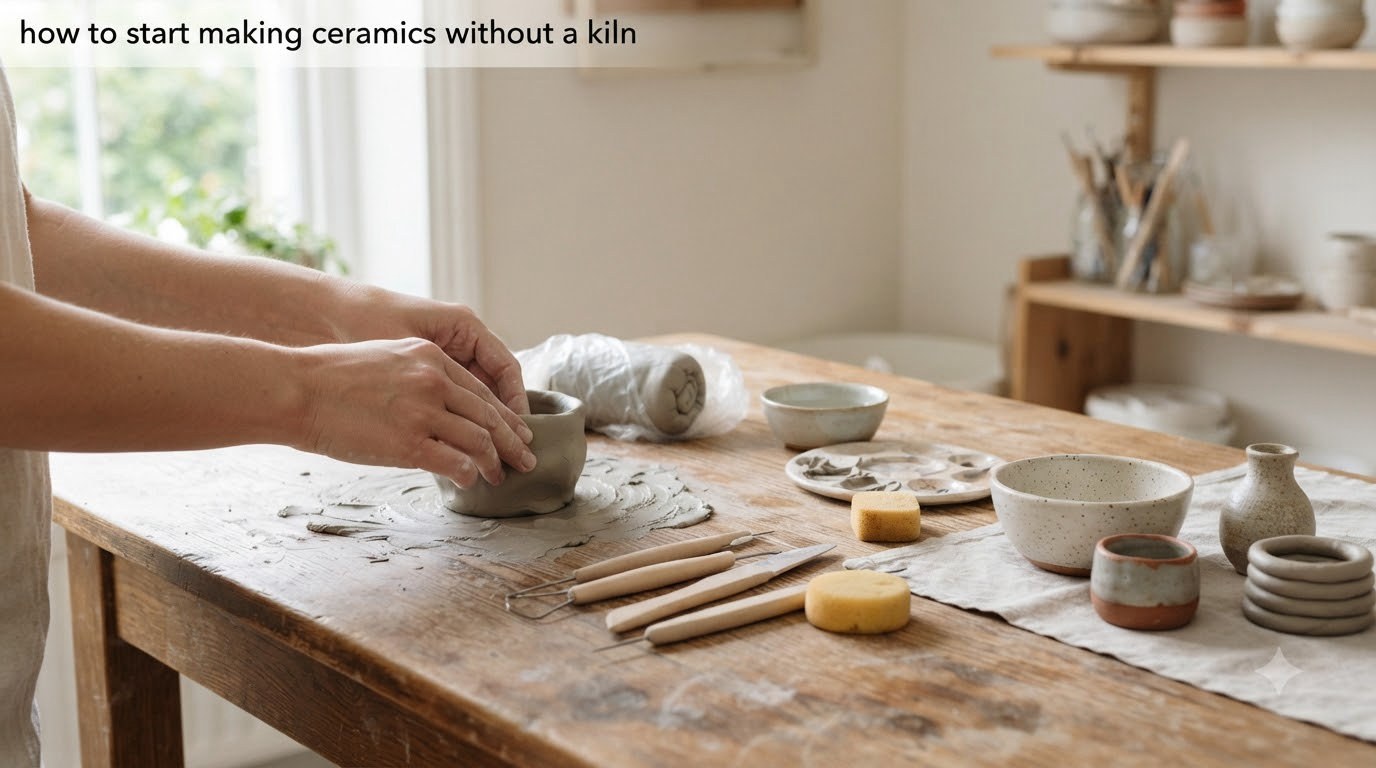
Yes, you can absolutely start making ceramics without owning a kiln. Many beginners feel discouraged thinking they need expensive equipment to begin pottery, but that is not the case. With the right clay type and alternative firing methods like pit firing or raku, you can create beautiful ceramic pieces at temperatures around 1300 degrees Fahrenheit (700 degrees Celsius).
In this guide, I will walk you through everything you need to know to start making ceramics without a kiln. You will learn which clays work best, how to fire your pieces safely outdoors, and what limitations to expect. By the end, you will have the confidence to create your first ceramic piece.
Table of Contents
How to Start Making Ceramics Without a Kiln
Making ceramics without a kiln requires understanding three key elements: choosing the right clay, using an alternative firing method, and following proper safety protocols. Earthenware clay is your best friend here, as it matures at lower temperatures than stoneware or porcelain.
I have seen countless beginners create stunning pieces using nothing more than wild clay, a backyard fire pit, and some patience. The process connects you to thousands of years of ceramic tradition, long before electric kilns existed.
Choosing the Right Clay for Without-Kiln Firing
Not all clays are created equal when it comes to firing without a kiln. The clay you choose will determine whether your piece survives the firing process or crumbles to dust.
Earthenware Clay: The Best Choice for Beginners
Earthenware clay is the ideal choice for beginners starting ceramics without a kiln. It matures at approximately 1300 to 1900 degrees Fahrenheit (700 to 1000 degrees Celsius), which is achievable through pit firing and other alternative methods.
Look for low-fire earthenware clay specifically labeled for temperatures under 2000 degrees Fahrenheit. This type of clay contains natural impurities that help it withstand the thermal shock of outdoor firing methods.
Raku Clay: Another Excellent Option
Raku clay is specially formulated to handle rapid temperature changes and thermal shock. While traditional raku firing uses a kiln for the initial bisque firing, you can adapt raku clay for pit firing methods.
The key advantage of raku clay is its ability to withstand the uneven heating and cooling that comes with outdoor firing. It contains more grog and sand than standard earthenware, making it less likely to crack.
Air-Dry Clay: The No-Fire Alternative
If you want to avoid firing entirely, air-dry clay offers a viable alternative. Brands like DAS, Crayola Model Magic, and homemade paper clay dry hard without any heat application.
However, air-dry clay has significant limitations. It remains water-soluble even after drying, meaning it cannot hold liquids or survive outdoor conditions. Use air-dry clay only for decorative indoor pieces that will not face moisture.
Understanding Temper and Grog
Temper refers to non-plastic materials added to clay to improve its firing properties. Grog is essentially pre-fired clay that has been ground into granular particles.
When firing without a kiln, temper and grog become especially important. They create a skeletal structure in the clay body that prevents cracking during the heating and cooling process. Look for clay with 10 to 20 percent grog content for best results with pit firing.
Clay Types to Avoid
Steer clear of stoneware and porcelain if you are firing without a kiln. These clays require temperatures of 2200 degrees Fahrenheit (1200 degrees Celsius) or higher to mature, which is nearly impossible to achieve with backyard firing methods.
Attempting to fire stoneware or porcelain without proper kiln equipment will result in weak, porous pieces that may disintegrate when exposed to water. Stick to low-fire earthenware for your first projects.
Three Ways to Fire Pottery Without a Kiln
There are several established methods for firing ceramics without a traditional kiln. Each technique produces different aesthetic results and requires varying levels of preparation.
Method 1: Pit Firing
Pit firing is the oldest ceramic firing method, used by humans for over 20,000 years. It involves digging a hole in the ground, placing your pottery inside, covering it with combustible materials, and building a fire on top.
This method typically reaches temperatures between 1400 and 1600 degrees Fahrenheit, sufficient for maturing earthenware clay. The results are unpredictable and beautiful, with smoke patterns and fire clouds creating unique surface effects no kiln can replicate.
You can pit fire in a literal pit dug in your yard, a metal barrel, or even a hole in a beach fire pit. The key is ensuring proper airflow and enough fuel to maintain high temperatures for several hours.
Method 2: Raku Firing
Traditional raku firing requires a kiln for the initial bisque firing, but alternative methods exist for completing the process without one. After bisque firing at a community studio or rental kiln, you can perform the glaze firing using a simple propane-powered raku setup.
The raku process involves heating glazed pieces quickly, removing them from the heat while red-hot, and placing them in combustible materials like sawdust or paper. This creates the characteristic blackened, crackled surfaces raku is famous for.
For beginners without any kiln access, raku may be challenging until you find a way to bisque fire your pieces. Consider this method for your second or third project after establishing community kiln connections.
Method 3: Sawdust Firing
Sawdust firing, also called sawdust smoking, produces subtle earth tones and soft surface effects. You bury your bisque-fired pottery in sawdust inside a metal container, light the sawdust on fire, and let it smolder for hours.
This method reaches lower temperatures than pit firing, around 1100 to 1400 degrees Fahrenheit. It works best for decorative pieces rather than functional ware requiring strength.
Many beginners combine sawdust firing with pit firing techniques, using sawdust as part of their pit firing fuel mixture. This creates varied surface effects while ensuring adequate heat.
How to Start Making Ceramics Without a Kiln: Step-by-Step
Now that you understand your clay options and firing methods, let us walk through the complete process of creating your first ceramic piece without a kiln.
Step 1: Create Your Piece
Start with a simple pinch pot or coil pot. These hand-building techniques require no wheel and are perfect for beginners. Pinch pots involve shaping a ball of clay by pinching and rotating it between your fingers.
Keep your first pieces small, no larger than a coffee cup. Smaller pieces dry more evenly and are less likely to crack during firing. Avoid thin walls or elaborate handles until you gain experience.
Make at least three identical pieces. Your first attempts might crack or break during firing, so having backups ensures you learn from the process regardless of individual piece outcomes.
Step 2: Dry to Leather Hard
After forming your piece, let it dry until it reaches the leather hard stage. At this point, the clay is still damp but firm enough to handle without deforming. You can still carve, trim, and attach additional clay at this stage.
Leather hard typically takes 24 to 48 hours depending on humidity and air circulation. Cover your pieces loosely with plastic to slow drying and prevent cracking.
Once leather hard, you can refine the surface by burnishing with a smooth stone or spoon. Burnishing creates a polished surface that will shine after firing.
Step 3: Dry to Bone Dry
Continue drying until your piece reaches bone dry stage, meaning it contains no moisture whatsoever. The clay will change color, becoming lighter, and feel room temperature rather than cool to the touch.
This stage usually takes 3 to 7 days. Rushing this process causes cracks that will destroy your piece during firing. Place your pottery in a warm, dry area with good air circulation.
Test for bone dryness by pressing your cheek against the clay. If it feels cool, moisture remains. Another test is placing the piece against your wrist; any temperature difference indicates remaining moisture.
Step 4: Prepare Your Firing Site
Choose an outdoor location away from buildings, trees, and anything flammable. Clear a 10-foot radius around your firing area. Check local fire regulations and obtain any necessary permits.
Dig a pit approximately 12 to 18 inches deep and wide enough to accommodate your pottery with space around each piece. Line the bottom with dry sawdust, leaves, or small twigs.
Have water, a fire extinguisher, and sand nearby for emergency suppression. Never leave a firing unattended.
Step 5: Stack and Fire
Place your bone-dry pottery in the pit, spacing pieces several inches apart. Surround and cover them with combustible materials like wood, dry leaves, sawdust, and newspaper.
Build a teepee-shaped fire structure over the pottery using small sticks and gradually larger wood. Light the fire and let it burn steadily for 4 to 6 hours, adding fuel as needed.
The goal is creating a bed of hot coals that surround your pottery with consistent heat. Avoid direct flames touching your pieces, as this causes thermal shock and cracking.
Step 6: Cool Down Properly
Allow the fire to die naturally and cool completely before removing your pottery. This typically takes 12 to 24 hours. Removing pieces while still hot causes thermal shock that cracks even successfully fired work.
Carefully unearth your pottery using tongs or heat-resistant gloves once everything has cooled to air temperature. Brush off ash and debris to reveal your finished piece.
Some pit-fired pottery benefits from waxing or oiling after firing to enhance the surface and provide slight moisture resistance. Use beeswax or linseed oil for this finishing step.
Safety Considerations and Legal Requirements
Firing pottery without a kiln involves open flames and high temperatures. Safety must be your top priority every time you fire.
Fire Safety Checklist
Before lighting any fire, complete this safety checklist. Clear all flammable materials from the firing area. Have a water source, fire extinguisher, and shovel with sand nearby. Check weather conditions, avoiding windy days that could spread embers.
Never use accelerants like gasoline or lighter fluid. These create dangerous flare-ups and can cause explosions. Build your fire gradually using only natural combustibles.
Keep children and pets at least 20 feet away from the firing area. Wear natural fiber clothing rather than synthetic materials that can melt. Protect your eyes with safety glasses when adding fuel to the fire.
Legal and Insurance Considerations
Many municipalities require permits for open burning. Contact your local fire department to understand regulations in your area. Some locations prohibit open fires entirely during dry seasons.
If you rent your home, check your lease agreement before firing pottery outdoors. Some landlords prohibit open flames on the property. Consider informing neighbors about your planned firing to avoid concerned calls to authorities.
Apartment dwellers face additional challenges. Pit firing is generally impossible in apartments. Consider the alternatives section below for options that work in rental situations.
Understanding Food Safety Limitations
Here is something critical: pottery fired without a proper kiln is generally not food-safe. Pit firing and alternative methods do not reach consistent high temperatures throughout the piece, leaving pores that harbor bacteria.
Without glaze fired to maturity, ceramic surfaces remain porous. Even low-fire glazes require kiln temperatures to seal properly. Using unglazed or improperly fired pottery for food can make you sick.
Limit your without-kiln pottery to decorative pieces, planters, succulent pots, and non-food containers. Label any questionable pieces clearly if gifting them to others.
If you want to create food-safe pottery, you must access a proper kiln firing at least once to vitrify the clay and seal any glaze. Community studios and kiln rentals make this possible without owning equipment.
Thermal Shock Prevention
Thermal shock occurs when different parts of a ceramic piece heat or cool at different rates, causing cracks. It is the biggest cause of failure when firing without a kiln.
Prevent thermal shock by using clay with plenty of grog or temper. Dry your pieces slowly and completely before firing. Build fires gradually rather than starting with intense heat. Never place cold pottery in a hot fire or remove hot pottery into cold air.
Even with perfect technique, some pieces will crack. This is normal and expected, especially for beginners. Learn from each firing and adjust your techniques accordingly.
Alternatives to Owning Your Own Kiln
If pit firing seems too risky or impractical for your situation, you have other options for making ceramics without buying a kiln.
Community Center Classes
Most cities offer pottery classes through community centers, parks and recreation departments, or adult education programs. These classes provide kiln access as part of the course fee, typically ranging from $100 to $300 for an 8-week session.
Beyond kiln access, classes offer structured instruction from experienced potters. You will learn proper techniques faster and avoid common beginner mistakes. Many students build community connections that extend beyond the classroom.
Search for “pottery classes near me” or check your local community center website for current offerings. Some studios also offer single-session “try it” classes for $30 to $50.
Kiln Rental Services
Many pottery studios and ceramic supply shops offer kiln rental by the shelf or cubic foot. You drop off your bone-dry pieces, they fire them in their kiln, and you pick up the finished work a week later.
Bisque firing typically costs $15 to $30 per shelf. Glaze firing costs slightly more due to higher temperatures and longer firing times. Some studios offer monthly membership options that include unlimited firing.
Kiln rentals let you work independently at home while accessing professional firing equipment. Make your pieces in your apartment or garage, then bring them to the studio for firing.
Pottery Guilds and Ceramic Clubs
Joining a pottery guild connects you with a community of ceramicists who often share resources. Many guilds maintain community studios with kilns available to members.
Annual membership fees range from $50 to $200 depending on location and facilities. Some guilds operate on a work-exchange model where you earn kiln time by helping maintain the studio.
Guilds also offer workshops, equipment lending libraries, and group purchasing discounts on clay and glazes. The community support accelerates your learning significantly.
Artist Studio Memberships
Many professional potters and ceramic artists rent studio space with shared kiln access. Some offer monthly memberships that include 24/7 studio access, kiln time, and storage space.
These memberships cost $100 to $400 monthly depending on location and amenities. They provide a professional environment with high-quality equipment without the massive investment of building your own studio.
For serious beginners planning to make ceramics a long-term hobby, studio memberships often provide the best value and learning environment.
The Cost Reality of Kiln Ownership
If you are wondering whether you should just buy a kiln, here is the honest breakdown. Small electric kilns start around $800 but require proper electrical wiring that may cost another $500 to $1500 to install.
You will also need kiln shelves, posts, cones, and ventilation equipment. Total initial investment typically runs $2000 to $4000 for a basic home setup. Plus, you need space for the kiln and proper insurance coverage.
For most beginners, community resources make more sense financially. Only invest in a kiln once you have fired enough pieces to know ceramics will remain a lasting passion.
Frequently Asked Questions
Is it possible to make ceramics without a kiln?
Yes, it is absolutely possible to make ceramics without a kiln. You can use alternative firing methods like pit firing, raku firing, or sawdust firing to mature low-fire clays such as earthenware. These methods reach temperatures of 1300 to 1600 degrees Fahrenheit, sufficient for creating ceramic pieces. However, pottery fired without a kiln is generally not food-safe and best suited for decorative items.
What can I use instead of kiln?
Instead of a kiln, you can use pit firing in a hole or metal barrel, raku firing with a propane setup, or sawdust firing in a metal container. Other alternatives include community kiln rentals, pottery classes with kiln access, or joining ceramic guilds with shared firing facilities. Air-dry clay requires no firing at all but has limited durability.
Can I use my oven as a kiln for ceramics?
No, you cannot use a regular home oven as a kiln for ceramics. Standard ovens reach only about 500 degrees Fahrenheit, while clay requires at least 1300 degrees Fahrenheit to mature and become ceramic. Attempting to fire clay in a home oven will not work and may damage your oven. Some specialized microwave kilns exist for small jewelry pieces, but these are not suitable for pottery.
Can you do pottery with arthritis?
Yes, you can absolutely do pottery with arthritis. Hand-building techniques like pinch pots and coil building are gentler on joints than wheel throwing. Working with clay can actually improve hand dexterity and strength. Start with small pieces, take frequent breaks, and use softer clay that requires less pressure. Many potters with arthritis find the therapeutic nature of clay work benefits their condition.
Conclusion
Learning how to start making ceramics without a kiln opens up a world of creative possibilities. You now understand that earthenware clay, pit firing techniques, and proper safety protocols make it entirely possible to create beautiful ceramic pieces without major equipment investment.
Remember the key principles: choose low-fire clay with grog for thermal shock resistance, dry your pieces completely before firing, follow fire safety protocols, and keep expectations realistic about food safety limitations.
Your first pinch pot awaits. Start small, embrace the unpredictable beauty of pit firing, and connect with the ceramic tradition that spans millennia. Whether you continue with community kiln access or invest in your own equipment later, the skills you develop now form the foundation of a rewarding artistic practice.
Happy firing.