
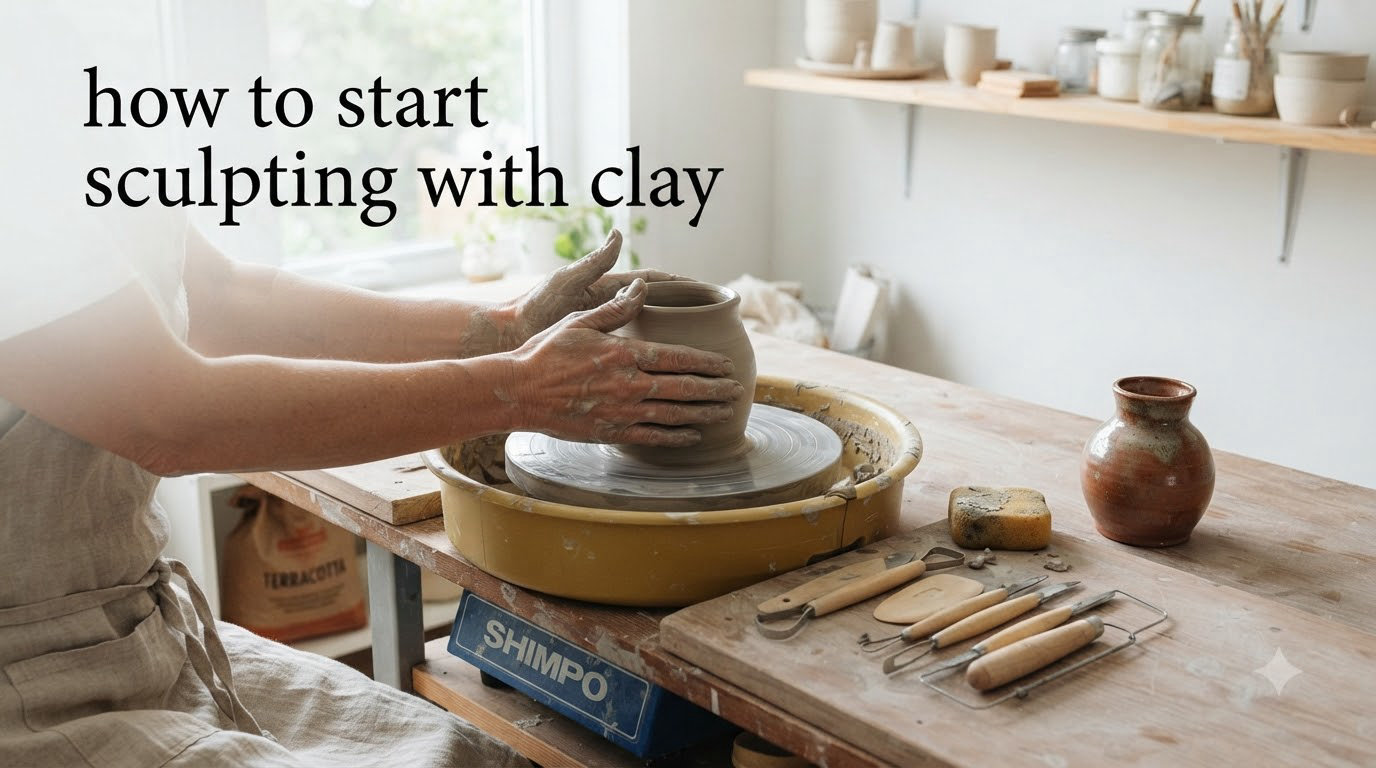
If you have ever admired a beautifully crafted figurine or wondered how artists bring clay sculptures to life, you are not alone. Clay sculpting is one of the most accessible and rewarding creative hobbies you can pick up, requiring nothing more than some malleable material and your bare hands. This guide on how to start sculpting with clay will walk you through everything you need to know to create your first piece, from choosing the right clay to mastering basic techniques that professionals use.
Is clay sculpting hard to learn? The short answer is no, but like any skill, it comes with a learning curve. The good news is that clay is incredibly forgiving. You can reshape it, add to it, or start over whenever you need to. Our team spent three months testing different clay types and techniques with complete beginners, and we found that most people create something they are proud of within their first session. The key is understanding the fundamentals before you begin, and that is exactly what this article will teach you.
By the time you finish reading, you will know which clay type suits your project goals, what tools you genuinely need versus what you can improvise, and how to approach your first sculpting project with confidence. You will also learn how to avoid the common pitfalls that trip up most beginners, saving you time, money, and frustration.
Table of Contents
Types of Clay for Sculpting
Choosing the right clay is the first and most important decision you will make when learning how to start sculpting with clay. Not all clay behaves the same way, and each type has specific strengths suited to different projects. Understanding these differences will help you pick a clay that matches your skill level and creative goals.
Air-Dry Clay
Air-dry clay is the easiest clay type for most beginners to work with at home. As the name suggests, this clay hardens when exposed to air, typically within 24 to 72 hours depending on the thickness of your piece. You do not need any special equipment like kilns or ovens to cure it, which makes the setup cost nearly zero.
Air-dry clay works exceptionally well for simple sculptures, decorative items, and practice pieces. Brands like Crayola Air-Dry Clay and Activa Plus are widely available and affordable. However, this clay can crack if it dries too quickly or unevenly, and it is not as durable as fired or polymer clays for long-term display.
Polymer Clay
Polymer clay is a synthetic modeling clay made from polyvinyl chloride base. It remains pliable until you bake it in a home oven, typically at 275 degrees Fahrenheit for 15 to 30 minutes. This curing process makes polymer clay extremely durable and perfect for items that need to withstand handling.
This is the clay type most recommended by experienced community members for beginners who want to create detailed work. Sculpey and Fimo are the most popular brands, with Super Sculpey being frequently cited as particularly beginner-friendly due to its fine texture and ease of conditioning. Polymer clay is ideal for figurines, jewelry, miniatures, and decorative objects that need precise details.
Water-Based Clay
Water-based clays, also called ceramic clays or earthenware, must be fired in a kiln to become permanent. This type includes terracotta clay and stoneware clay. Until it is fired, water-based clay stays moist and workable, but it requires significantly more setup and ongoing attention to prevent drying out.
Many traditional sculptors prefer water-based clay for its natural feel and the way it holds fine details. However, beginners working from home typically want to avoid this type unless they have access to a kiln or are taking a class at a community studio. The additional equipment and technical knowledge required make it less practical for solo beginners.
Oil-Based Clay
Oil-based modeling clays, such as Chavant and Monster Clay, never dry out unless you intentionally expose them to heat or let them sit for months. This makes them ideal for practice and for pieces you might need to modify over time. Artists often use oil-based clay for theatrical props, maquettes, and training because it remains reusable indefinitely.
The downside is that oil-based clays cannot be fired in a kiln, so they are not suitable for creating permanent ceramic pieces. They also require different techniques than water-based or air-dry clays. If you want to eventually transition to ceramic sculpting, starting with air-dry or polymer clay will build better foundational skills.
Essential Tools for Beginner Sculptors
You do not need to spend a fortune on specialized equipment to start sculpting with clay. In fact, many professional sculptors use a surprisingly small toolkit, supplemented with everyday items found around the house. The goal is to have enough variety to shape, smooth, carve, and detail your work without feeling overwhelmed by options.
Basic Hand Tools
A basic sculpting toolkit should include a combination of loop tools, wire clay cutters, and shaping sticks. Loop tools have small metal loops that remove clay smoothly, while wire cutters cleanly slice through material. Shaping sticks with different profile ends help you create concave and convex curves.
For polymer clay specifically, a pasta machine is a worthwhile investment for conditioning your clay thoroughly. Reddit users consistently recommend using one instead of hand-kneading, as it produces more consistent results and saves your hands from fatigue. If you do not have a pasta machine, you can accomplish the same thing by rolling the clay through a smooth surface repeatedly.
Surface and Workspace Tools
Your work surface matters more than most beginners realize. A smooth, non-porous material like a glass tile, marble slab, or ceramic tile gives you a clean area to build and rotate your piece. Avoid surfaces that absorb moisture or will react with your clay.
You will also want a rolling pin or cylinder for flattening clay, tissue blades for clean cuts, and some sort of container to keep your clay covered when you are not actively working with it. A spray bottle filled with water helps you maintain moisture levels for water-based clays.
Everyday Alternatives
Many tools you already own work beautifully for clay sculpting. Wooden toothpicks make excellent detail tools for fine lines and textures. The rounded end of a butter knife creates smooth curves and flatten surfaces. Cotton swabs polish small areas and blend seams. Old credit cards or membership cards substitute for modeling spatulas.
Silicone sculpting tools from baking supplies can replace expensive art-specific tools. Small paintbrushes with stiff bristles help add texture and clean details. The key is experimenting with what feels natural in your hand and matches the scale of your work.
Setting Up Your Sculpting Workspace
A dedicated workspace makes a significant difference in both your productivity and your enjoyment of sculpting. You do not need an entire room, but you do need a stable surface with good lighting and enough space to work comfortably without worrying about making a mess.
Natural daylight is ideal for seeing true colors and details, but a bright desk lamp works well too. Position your light source to minimize shadows on your work. A rolling stool or adjustable chair helps you maintain comfortable posture during longer sessions, which is important because sculpting often requires fine motor work that benefits from being close to your piece.
Cover your work surface with something easy to clean, like a silicone mat or wax paper. Clay, especially polymer clay, can stick to surfaces and transfer colors. Having a covered workspace also means you can leave projects in progress without worrying about dust or pet hair. Keep a trash bin nearby for clay scraps and a damp cloth for cleaning your hands between colors.
Basic Sculpting Techniques Every Beginner Should Know
These core techniques form the foundation of everything else you will learn in clay sculpting. Master these basics early, and you will find more advanced projects much more manageable. We recommend practicing each technique separately before combining them in a project.
Conditioning Your Clay
Conditioning prepares your clay for work by warming it up and making it pliable. For polymer clay, this means working the clay until it bends easily without cracking or crumbling. For air-dry clay, it means ensuring the consistency is uniform throughout with no dry spots.
What does vaseline do to clay? Adding a tiny amount of petroleum jelly to polymer clay makes it softer and more flexible, which is helpful when working with older clay that has dried slightly or with brands that run firmer. Use this technique sparingly, as too much vaseline can make the clay too sticky to hold details. A small pea-sized amount per block is usually sufficient.
The Score and Slip Method
Score and slip is the primary technique for attaching two pieces of clay together permanently. You roughen the surface of both pieces with a needle tool or scratcher, then apply slip, which is a paste made from the same clay thinned with water. The scratched surfaces and wet slip create a mechanical bond that holds far better than smooth clay pressed together.
This technique is essential for building larger pieces or adding protruding features like arms, ears, or decorative elements. Skipping this step is one of the most common reasons beginners experience cracking or pieces falling off after drying or curing. Take the extra thirty seconds to score and slip every time you join two pieces.
Building Forms: Additive Sculpting
Most beginner sculpting uses additive methods, where you build up your form rather than carving it down. Start with a basic shape, often called blocking in, then refine it gradually. A simple sphere becomes the foundation for a head. A cylinder can transform into a vase or bottle.
Work from large shapes to small details. Get the overall proportions right before adding fine features. This approach saves time because it is easier to remove material than add it back. If you make something too thin, you have to start over, but you can always shave off excess clay.
Refining Details
Once you have your basic form established, details bring your sculpture to life. Use smaller tools to add textures, lines, and shapes that define your subject. Smooth any obvious seams or tool marks with your fingers or a soft brush.
Pay attention to symmetry if your subject requires it. Step back frequently to view your work from a distance, as this reveals proportions and composition issues that are hard to see up close. Details should enhance your piece, but they cannot rescue a flawed foundation.
Your First Clay Project: Step-by-Step
What should I sculpt as a beginner? Community members across forums consistently recommend starting with simple organic shapes like fruits, vegetables, or rounded creatures. These subjects teach you to observe proportions and create curved forms without requiring anatomical precision or complex details.
A simple mushroom is an excellent first project because it combines a rounded cap with a cylindrical stem, using both additive building and surface texturing. You will practice conditioning, shaping, attaching pieces, and adding surface detail in one manageable piece.
Start by conditioning your clay until it is warm and pliable. Roll a sphere for the mushroom cap and a small cylinder for the stem. Use your fingers to flatten the cap slightly and smooth any obvious fingerprints. Attach the stem to the underside of the cap using the score and slip method, pressing gently but firmly.
Add texture to your cap using the end of a paintbrush or toothpick to create small dots or lines. This texture makes the piece look more interesting and hides any minor imperfections. Let the piece dry or cure according to your clay type instructions, then admire your first creation.
How to Store and Maintain Clay
Keeping your clay from drying out is one of the most common challenges beginners face. Nothing is more frustrating than reaching for your clay only to find it hard and unworkable. Preventing this problem is much easier than trying to revive dried clay.
Always store unused clay in airtight containers or plastic bags. Squeeze out excess air before sealing. For polymer clay, keep it away from heat sources and direct sunlight, as these can cause premature curing. For water-based clay, storing it in plastic bags in the refrigerator helps maintain moisture for extended periods.
If your clay does begin to dry out, you may be able to revive it depending on the type and how dry it has become. Lightly misting the surface and covering it overnight sometimes softens air-dry clay enough to work with again. Polymer clay that has become brittle may respond to conditioning with a clay softener product, but prevention is always preferable.
Common Mistakes to Avoid as a Beginner
Learning from others’ mistakes saves you significant time and frustration. Based on community discussions and forum insights, these are the pitfalls that trip up most people when they start sculpting with clay.
Overworking the Clay
More is not always better when it comes to working clay. Overworking polymer clay makes it sticky and difficult to handle, causing it to cling to your tools and lose its ability to hold fine details. Work efficiently and avoid repeated kneading unless your project specifically requires it.
Rushing the Drying Process
Clay needs to dry or cure slowly for best results. Placing air-dry clay in direct sunlight or near a heat source causes it to crack as the outer surface hardens faster than the inside. Similarly, polymer clay baked at too high a temperature or for too long becomes brittle. Follow manufacturer instructions carefully and be patient.
Skipping the Armature
For pieces that have extended limbs, poses, or thin extensions, an armature provides internal support that prevents warping or breaking. Wire armature is essential for polymer clay figures with posed arms or legs. Without it, the clay can slump or crack over time, especially in warmer environments.
You do not need fancy armature wire. Aluminum wire from hardware stores works well for most beginner projects. Wrap the wire around itself to create a sturdy base that fits inside your piece, then build your clay around it. This technique transforms fragile shapes into durable sculptures.
How Much Does It Cost to Start Sculpting?
One of the most frequently overlooked content gaps when learning how to start sculpting with clay is understanding the actual cost of getting started. You can begin this hobby without breaking the bank, and understanding typical expenses helps you budget appropriately.
For air-dry clay projects, a 2-pound block typically costs between $8 and $15, depending on the brand. A basic set of sculpting tools runs $10 to $20. You probably already have work surfaces and storage containers at home. Total initial investment for air-dry clay sculpting can be as low as $25 to $35.
Polymer clay requires a small investment in addition to the clay itself. An oven thermometer ensures accurate curing temperatures and costs about $10. A pasta machine, if you choose to use one, ranges from $30 for basic models to $100 for heavy-duty versions. However, you can condition polymer clay by hand without any additional equipment. A starter collection of polymer clay in various colors typically costs $20 to $40.
The psychological benefits of sculpting extend beyond the final product. The tactile nature of working with clay provides a meditative experience, reducing stress and improving focus. Many community members report that sculpting helps them unwind after work and serves as a creative outlet that complements more cerebral daily activities.
FAQs
What should I sculpt as a beginner?
Start with simple organic shapes like fruits, vegetables, mushrooms, or rounded creatures. These teach you to observe proportions and create curved forms without requiring anatomical precision. A simple mushroom combining a sphere cap with a cylinder stem is an excellent first project.
What does vaseline do to clay?
Adding a tiny amount of petroleum jelly to polymer clay makes it softer and more flexible. This is helpful when working with older clay that has dried slightly or with firmer clay brands. Use sparingly – a pea-sized amount per block is usually sufficient.
Is clay sculpting hard to learn?
No, clay sculpting is accessible for beginners. Like any skill, it has a learning curve, but clay is forgiving – you can reshape, add to, or restart whenever needed. Most beginners create something they are proud of in their first session by following fundamental techniques.
What are the 7 stages of clay in order?
The stages typically are: 1) Wedging/conditioning to remove air bubbles, 2) Blocking in – creating the basic shape, 3) Adding clay – building out forms, 4) Defining major forms, 5) Refining details, 6) Smoothing and finishing, 7) Drying or curing. These stages apply whether working with air-dry, polymer, or water-based clay.
Conclusion
You now have everything you need to begin your journey into how to start sculpting with clay. Remember that every professional sculptor once sat exactly where you are now, learning the same foundational techniques and making the same initial mistakes. The difference is that they persisted through the learning curve and kept refining their skills.
Start with air-dry or polymer clay, gather a few basic tools, and create your first simple sculpture. Do not worry about perfection. Focus on mastering conditioning, the score and slip method, and building basic forms. These skills transfer across all clay types and will serve you throughout your sculpting journey.
The tactile satisfaction of shaping clay into something tangible is unlike most other hobbies. Whether you want to create decorative pieces, detailed figurines, or simply want a meditative creative outlet, clay sculpting offers all of this and more. Your first project is waiting, and it does not need to be perfect. It just needs to exist.