
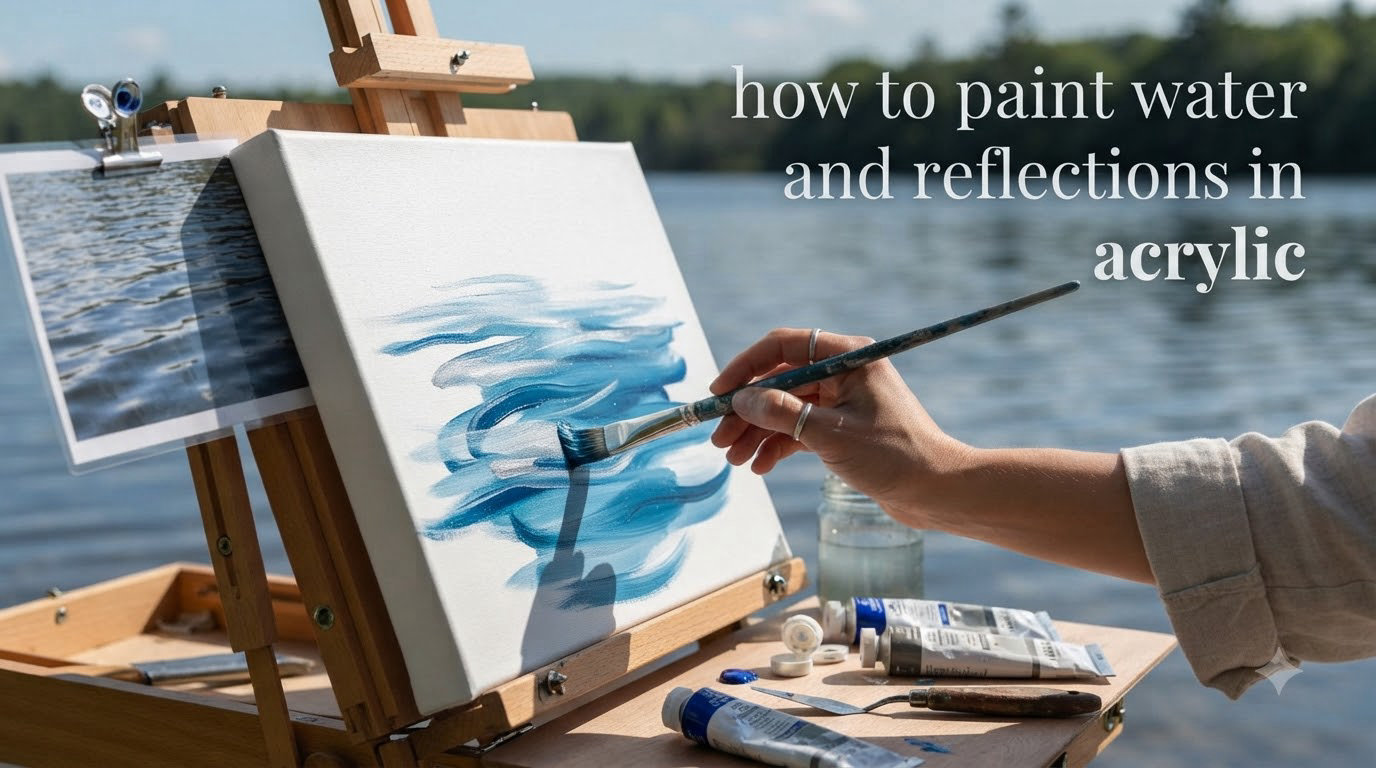
Painting water and reflections in acrylic can feel intimidating at first. The surface shifts, the colors change, and capturing that sense of depth seems to require magic rather than technique.
I have spent years watching beginners struggle with water scenes. They paint the sky and the reflection identically, then wonder why the water looks flat and unnatural. The truth is simple once someone explains it: water follows rules. Horizontal surfaces reflect what is above. Vertical surfaces show what is beneath. Understanding this principle transformed my paintings overnight.
In this guide, you will learn how to paint water and reflections in acrylic using proven techniques that work for beginners and intermediate artists alike. We will cover the fundamentals of reflection theory, color mixing for realistic water, step-by-step painting methods, and troubleshooting common mistakes. By the end, you will have the confidence to paint convincing water in any scene.
Table of Contents
How to Paint Water and Reflections in Acrylic: Core Principles
Water is not just blue paint on canvas. It is a complex interaction of light, reflection, and translucency. Before picking up a brush, you need to understand how water actually behaves.
The Golden Rule of Water Reflections
Here is the principle that will change how you paint water forever. Horizontal surfaces reflect what is above them. Vertical surfaces show what is beneath them. Think of a lake surface as a horizontal plane mirroring the sky, clouds, and trees. Think of a riverbank as a vertical plane revealing stones, sand, and underwater plants.
When you look at still water, you see two distinct visual elements. The flat surface reflects the world above like a slightly imperfect mirror. The shallow edges or vertical banks reveal the underwater environment. Mastering this distinction separates amateur water paintings from professional ones.
Are Reflections Darker or Lighter Than the Original?
Reflections in water are almost always darker than the objects they mirror. This is not a stylistic choice. It is physics. Water absorbs some light before reflecting the rest. The deeper or darker the water, the more pronounced this effect becomes.
When painting a white cloud reflected in water, your reflected cloud should be a light gray, not pure white. When painting a green tree, the reflection should be a deeper, muted green. This value relationship creates believable depth.
Mirror Images and Distortion
Reflections are mirror images flipped upside down. The top of a tree appears at the bottom of its reflection. The bottom of a tree appears at the top of its reflection. Getting this orientation wrong is a common beginner mistake.
Water is rarely perfectly still. Ripples and small waves break reflections into squiggly lines and fragmented shapes. The more movement in the water, the more broken and abstract the reflection becomes. Calm water shows clear mirror images. Choppy water shows pixelated, distorted reflections.
Essential Supplies for Painting Water in Acrylics
You do not need expensive supplies to paint convincing water. A basic acrylic setup with the right colors and brushes will serve you well.
Recommended Acrylic Colors
These colors form the foundation of realistic water:
- Ultramarine Blue: The base for deep water and shadowed reflections
- Phthalo Blue: Intense sky-blue for bright water areas
- Titanium White: For lightening and creating highlights
- Quinacridone Gold or Yellow Ochre: Warmth for shallow water and sun reflections
- Burnt Sienna: Earthy undertones for riverbeds and muddy water
- Payne’s Gray: Deep, neutral dark for shadows and depth
Brushes for Water Techniques
Different water effects require different brushes. A 25mm decorator’s flat brush works beautifully for laying in large water areas with smooth gradations. Medium flat brushes (size 8-12) handle most reflection work. Small rounds (size 2-4) add ripple details and fine lines.
Keep your brushes slightly damp when working wet-into-wet. Dry brushes create hard edges. Wet brushes create soft, blended transitions essential for water.
Surface and Preparation
Canvas works well for water paintings, though some artists prefer canvas panels for their smoother surface. Apply a thin underpainting in a mid-tone blue-gray before starting. This gives you a middle value to work toward both lighter highlights and darker shadows.
Color Mixing for Realistic Water
Water color is never uniform. It shifts with depth, light, and what it reflects. Learning to mix these variations creates paintings with life and dimension.
Creating Your Base Water Color
Start with ultramarine blue and titanium white for a basic sky reflection. The ratio determines depth. More white creates shallower, brighter water. More blue creates deeper, darker water.
Add a touch of quinacridone gold to warm the mixture for sunlit water. Add a hint of phthalo blue for bright, tropical water. Keep your base color slightly darker than the sky it reflects. Remember that water absorbs light.
Mixing Reflection Colors
For object reflections, start with the object’s actual color. Add ultramarine blue and a touch of white to mute and darken it. A green tree becomes a grayed blue-green in reflection. A red roof becomes a muted reddish-gray.
Reflections often pick up sky color at their base. Blend a hint of your sky blue into the bottom edge of reflections. This subtle shift enhances realism.
Gradations and Depth
Water color gradates from foreground to background. Foreground water is typically darker and more detailed. Background water near the horizon line becomes lighter, bluer, and less distinct. Paint these transitions wet-into-wet for smooth results.
Step-by-Step: Painting Calm Water with Reflections
Let me walk you through a complete water painting exercise. We will paint a simple scene with a sky, distant shore, and reflective water.
Step 1: Block In the Sky and Underpainting
Start by painting the sky in the upper half of your canvas. Use a mix of ultramarine blue and white, varying the value from lighter at the horizon to deeper blue at the top. While this is still wet, paint a thin strip of darker blue-gray across the middle of the canvas for the distant shoreline.
Step 2: Establish the Water Base
Immediately below your sky area, begin blocking in the water. Use a slightly darker version of your sky color. Work quickly while the sky paint is still damp. This wet-into-wet technique creates a seamless transition between sky and its reflection.
Step 3: Add the Reflection
Your sky colors should still be workable on your palette. Take a slightly darker version and paint horizontal strokes in the water area. These strokes mirror the sky’s color variations but flipped. Where the sky is light, paint a horizontal stroke of slightly darker light blue. Where the sky is deep blue, paint a darker stroke.
Step 4: Create Soft Edges with Wet Brush Lifting
Here is the technique that makes water look real. Dip your flat brush in clean water and gently drag it horizontally across your wet reflection strokes. This lifts and softens the edges, creating that characteristic water blur. Do not overwork it. A few horizontal passes are enough.
Step 5: Add Subtle Ripples
Let the painting dry slightly until tacky. Mix a slightly lighter version of your water base color. Use a small flat brush to paint thin horizontal lines across the water. These represent small ripples catching light. Vary the spacing and length. Keep them mostly horizontal but not perfectly straight.
Step 6: Final Details and Highlights
Add any object reflections like trees or boats. Remember they are mirror images and darker than the objects. Use horizontal strokes to blend them into the water. Add small bright highlights where light hits wave crests. Stand back and assess. Less detail often reads as more realistic water.
Techniques for Different Water Conditions
Not all water behaves the same way. Calm lakes require different handling than rushing rivers or ocean waves.
Painting Still Water
Still water creates near-perfect mirror reflections. Paint these with soft, blended edges using wet-into-wet techniques. Reflections match the shapes above them closely. Colors are muted but still recognizable. The horizon line often disappears into a seamless blend of sky and water.
Painting Moving Water and Ripples
Moving water breaks reflections into fragments. Paint these with horizontal strokes of varying lengths. Space them closer together for choppier water. Let colors intermingle without over-blending. Reflections become abstract patterns of color rather than clear shapes.
For ripples, think of them as small horizontal cylinders catching light on top and casting shadows beneath. Paint the crests slightly lighter and the troughs slightly darker than the base water color.
Painting Choppy Water and Waves
Choppy water shows almost no clear reflection. Instead, paint broken color patches suggesting movement. Use broken brushstrokes and varied values. Highlights become small, bright spots scattered across the surface. Shadows create depth between wavelets.
Viewing Angle Considerations
The angle from which you view water changes everything. Looking straight down into water, you see through the surface to what lies beneath. Looking across water from shore, you see mostly reflection. Your painting must match the intended viewing perspective.
From above, paint more vertical surface detail and underwater elements. From the side, emphasize horizontal reflections and minimize transparency.
Creating Movement Effects in Water
Movement brings water to life. Ripples, waves, and currents each have distinct visual signatures.
Ripple Patterns and Wave Formations
Ripples create repetitive horizontal patterns. Paint them with quick, confident strokes using the edge of a flat brush. The key is consistency in direction. Even when broken by objects, water ripples remain essentially horizontal.
Wind creates larger patterns than gentle current. Strong wind produces whitecaps and foam. Paint these with dabs of white and light gray, keeping the strokes energetic and varied.
Soft vs Hard Edges
Water requires both soft and hard edges. Calm areas need soft, blended edges. Wave crests and ripple edges need harder definitions. Control this through paint consistency and timing. Thicker paint applied to dry layers creates harder edges. Thinner paint worked wet-into-wet creates softer edges.
Distortion Techniques
Distorted reflections add realism. Paint vertical elements like trees as wavy vertical lines rather than straight ones. Reflections stretch vertically when viewed from an angle. They compress and fragment in rough water. Study reference photos to understand these distortions.
Common Mistakes to Avoid When Painting Water
Beginners make predictable mistakes when learning water painting. Recognizing them saves frustration.
Mistake 1: Reflections Too Light
This is the most common error. Remember that reflections are darker than the objects they mirror. If your water reflections look too bright and cheerful, darken them. Add blue or gray to reflection colors. Compare values directly by holding your painting next to your reference.
Mistake 2: Perfect Mirror Images
Unless you are painting absolutely still water, reflections should not be perfect copies. Add subtle waves. Break up large reflection areas. Introduce small variations that suggest movement and life.
Mistake 3: Acrylics Drying Too Fast
Acrylics dry quickly, making wet-into-wet blending challenging. Use a stay-wet palette to extend working time. Mist your palette lightly with water. Work in smaller sections if needed. For extended blending, consider adding a slow-drying medium to your paint.
Mistake 4: Overworking the Surface
Water looks best when painted with confidence. Over-blending creates muddy colors. Too many details destroy the illusion. Paint your statement, make your marks, and leave it alone. Fresh, decisive brushwork beats fussy perfection.
Quick Tips for Time-Constrained Painting Sessions
Sometimes you only have an hour to paint. Here are strategies for productive short sessions.
Prepare your palette before starting. Have water colors pre-mixed. Set up reference photos in advance. Work on smaller canvases for faster completion. Focus on one element per session, perhaps just the water study.
Use a wet palette to keep acrylics workable between sessions. Cover your painting with a damp cloth if interrupted. Take reference photos of your setup so you can recreate lighting conditions later.
Simplify complex scenes. Paint just the water and sky without distant shore details. Add complexity in subsequent sessions after the base layers dry.
Frequently Asked Questions
How to paint reflections in water for beginners?
Start by understanding that reflections are mirror images that are darker than the original objects. Paint your sky first, then use a darker version of those colors for the water reflection. Keep brushstrokes horizontal and use wet-into-wet techniques for soft edges. Remember that horizontal surfaces reflect what is above while vertical surfaces show what is beneath.
How to make reflective paint with acrylic paint?
Create reflective effects by mixing your base water color with interference paints or iridescent mediums. For subtle shimmer, mix a small amount of iridescent medium into your water colors. For stronger effects, paint thin glazes of interference blue or pearl over dried water areas. These additives catch light and mimic water’s natural reflectivity.
How to make water ripples with paint?
Paint water ripples using thin horizontal strokes of slightly lighter value than your base water color. Use the edge of a flat brush for crisp lines. Space strokes irregularly for natural appearance. Remember ripples are essentially small cylinders catching light on top and showing shadow underneath. Vary stroke length and spacing to suggest different ripple sizes.
What are common mistakes in acrylic painting?
Common mistakes include making reflections too light instead of darker than the original, overworking the paint surface creating muddy colors, not accounting for acrylics fast drying time, painting perfect mirror images instead of slightly broken reflections, and using too much detail which destroys the water illusion. Keep edges soft, values darker, and brushwork confident.
Are reflections in water darker or lighter?
Reflections in water are almost always darker than the objects they mirror. Water absorbs some light before reflecting the rest, creating darker values. A white cloud reflects as light gray. A green tree reflects as muted blue-green. This value relationship is essential for realistic water paintings.
Conclusion
Learning how to paint water and reflections in acrylic comes down to understanding a few core principles. Horizontal surfaces reflect what is above. Vertical surfaces show what is beneath. Reflections are darker than their sources. Water color varies with depth and movement.
The techniques in this guide give you a solid foundation. Start with calm water scenes to master the basics of reflection and gradation. Then challenge yourself with movement and waves. Remember that confidence matters more than perfection. Water should look fluid and alive, not fussed over.
Practice the step-by-step exercise regularly. Study real water and reference photos. Each painting teaches you something new about how light plays across the surface. Before long, you will paint water that draws viewers in and holds their attention.
Now pick up your brush and paint some water. The best way to learn is by doing.