
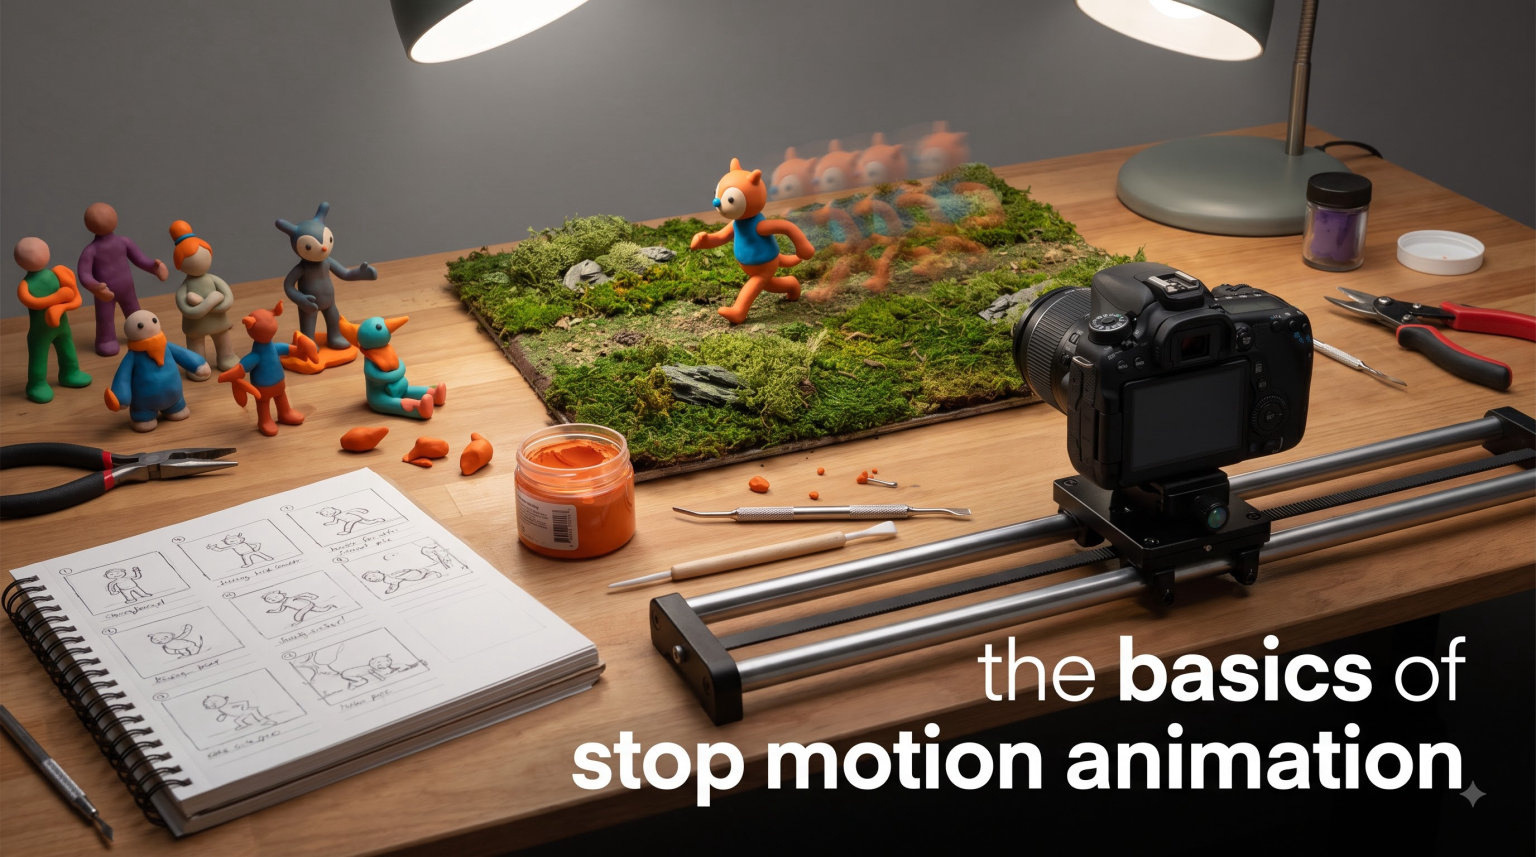
If you have ever watched a clay character shuffle across the screen or seen everyday objects come alive in a video, you have witnessed the basics of stop motion animation in action. This guide breaks down everything you need to know about stop motion animation, from what it is and how it works to the equipment, techniques, and step-by-step process you need to start creating your own animated films in 2026.
Stop motion animation is a filmmaking technique where physical objects are photographed one frame at a time, with tiny movements made between each shot. When these individual frames play back in sequence at speed, the objects appear to move on their own, creating the illusion of continuous motion.
Whether you are a complete beginner picking up a smartphone for the first time or someone who has dabbled in animation and wants to level up, this guide covers the foundations. I have spent years experimenting with stop motion techniques, and I will walk you through the concepts that matter most.
Table of Contents
What Is Stop Motion Animation?
Stop motion animation (also called stop frame animation) is one of the oldest and most hands-on forms of animation in filmmaking. At its core, it works by capturing individual still photographs of real, physical objects. Between each photograph, the animator moves the subject by a tiny amount. When you play those photographs back rapidly, the brain connects the incremental changes into smooth, fluid movement.
This is the same principle behind a flipbook. Each page shows a slightly different drawing, and flipping through the pages fast enough creates the illusion of motion. Stop motion applies this concept to real-world objects instead of drawings.
The technique relies on a phenomenon called persistence of vision. When the human eye sees a rapid sequence of slightly different images, it blends them together into continuous movement. For stop motion, this typically means capturing between 12 and 24 individual frames for every single second of finished footage.
What makes stop frame animation unique is its physical, tactile quality. Unlike computer-generated animation, everything you see on screen actually existed in front of the camera. The textures, shadows, and imperfections are real, and that authenticity gives stop motion a charm that audiences connect with immediately.
Types of Stop Motion Animation
Stop motion is not a single technique. Over more than a century of experimentation, animators have developed several distinct styles, each with its own tools, materials, and visual personality. Here are the six main types you should know.
Claymation
Claymation (short for clay animation) uses sculptable materials like plasticine or oil-based clay to build characters and sets. The animator reshapes or repositions the clay figures between each frame. Because clay is so malleable, animators can create expressive facial changes and fluid body movements that feel organic and alive.
This is one of the most popular and recognizable forms of stop motion animation. Films like “Wallace and Gromit” and “Corpse Bride” showcase the warm, handmade aesthetic that claymation produces. For beginners, clay is affordable and forgiving, making it an excellent starting material.
Cutout Animation
Cutout animation uses flat characters and props cut from paper, card, fabric, or photographs. The animator moves these two-dimensional pieces around a flat surface, capturing each new position. Because the pieces are flat, you can create complex scenes quickly without sculpting or building three-dimensional sets.
This technique has a distinctive collage-like visual style. Early episodes of “South Park” were made using physical paper cutouts before the show transitioned to digital animation. Cutout motion works well for stylized, graphic storytelling and is one of the fastest forms of physical animation to produce.
Puppet Animation
Puppet animation involves articulated figures built around internal skeletons called armatures. These metal or wire frames hold the puppet in position between frames while allowing precise movement at each joint. The outer layer might be foam, silicone, fabric, or other materials.
This approach gives animators fine control over character poses and allows for consistent, repeatable movements across hundreds of frames. Professional studios like Laika (“Coraline,” “Kubo and the Two Strings”) use machined metal armatures with replaceable parts. On a budget, armature wire and foil can produce surprisingly good results.
Object Animation
Object animation brings everyday items to life. You take real household objects, toys, food, or office supplies and move them frame by frame to tell a story. No sculpting, building, or modifying needed. The objects simply move as they are.
This is the most accessible form of stop motion for beginners because it requires zero materials preparation. You can start with a phone, a stack of books, a handful of Lego bricks, or whatever sits on your desk right now. The creative challenge is finding interesting ways to make ordinary things behave in extraordinary ways.
Pixilation
Pixilation applies the stop motion technique to live human beings instead of objects. People pose for individual frames, and the animator captures each pose as a single photograph. When played back, the people appear to glide, float, teleport, or move in physically impossible ways.
Because real humans are the animated subjects, pixilation creates a surreal effect that sits somewhere between live-action film and animation. Pioneering filmmaker Norman McLaren used pixilation extensively in the 1952 short “Neighbours.” It remains one of the most playful and experimental forms of stop motion you can try.
Silhouette Animation
Silhouette animation uses flat, jointed figures filmed against a backlit surface so that only their dark outlines are visible. The result looks like animated shadows moving across a luminous background. This style has a striking, graphic quality that sets it apart from other forms.
Lotte Reiniger created the first feature-length animated film, “The Adventures of Prince Achmed” in 1926, using this technique. Silhouette animation is one of the less common types today, but its distinctive look makes it valuable for stylized storytelling, music videos, and experimental projects.
A Brief History of Stop Motion
Stop motion animation dates back to the earliest days of cinema. In 1898, Albert E. Smith and J. Stuart Blackton created “The Humpty Dumpty Circus,” widely regarded as the first stop motion film. They used toy circus animals, repositioning them frame by frame to create the illusion of movement.
The technique evolved through the work of Willis O’Brien, who brought “The Lost World” (1925) and “King Kong” (1933) to life with miniature models and painstaking frame-by-frame photography. His protege Ray Harryhausen elevated the craft further with films like “Jason and the Argonauts” (1963), featuring the iconic skeleton sword fight that required months of single-frame photography.
In more recent decades, studios like Aardman Animations (“Wallace and Gromit,” “Chicken Run”) and Laika (“Coraline,” “ParaNorman”) have pushed the medium to new heights with sophisticated puppets, 3D printing for facial expressions, and hybrid techniques. And to answer the question you may have heard: “The Thief and the Cobbler” by Richard Williams famously spent roughly 30 years in production, making it one of the longest-animated film projects in history.
Equipment You Need to Get Started
One of the best things about learning stop motion animation is that you can start with very little gear. Here is what you need, from the absolute basics to more advanced setups.
Camera
A smartphone camera is enough to produce your first stop motion films. Modern phones capture high-resolution still images and can run dedicated stop motion apps like Stop Motion Studio (available free on iOS and Android). If you want more control over focus, exposure, and image quality, a DSLR or mirrorless camera gives you manual settings and interchangeable lenses. Many professional animators work with Canon or Nikon DSLRs connected to their computer via USB.
Tripod or Camera Mount
A sturdy, stable camera mount is non-negotiable. Even the slightest camera movement between frames will create visible jitter in your final animation. A standard photography tripod works well for most setups. If you are shooting small tabletop scenes, a copy stand or a bracket-mounted arm gives you overhead angles without wobble.
Lighting
Consistent lighting matters more than expensive lighting. The goal is to eliminate variation between frames caused by flickering or shifting light. Window light changes constantly as clouds pass and the sun moves, so it is unreliable for stop motion work. Instead, use desk lamps, LED panels, or softboxes positioned to illuminate your scene evenly. Keep the room dark except for your controlled lights to maintain consistency across hundreds or thousands of frames.
Stop Motion Software
Software helps you capture frames efficiently and preview your animation as you build it. Here are the main options:
Stop Motion Studio is a free app for phones and tablets that handles capture, playback, and basic editing. It includes onion skinning, which overlays a ghost of your previous frame so you can see exactly how much you have moved your subject. Dragonframe is the professional standard for desktop stop motion production. It connects to your DSLR or mirrorless camera and provides advanced tools like timeline editing, audio sync, and programmable camera moves. For editing your final frames and adding sound, DaVinci Resolve (free) or Adobe Premiere Pro give you full post-production control.
The Stop Motion Animation Process: Step by Step
Understanding the basics of stop motion animation means understanding the full workflow from idea to finished film. Here is the process broken into five clear steps.
Step 1: Plan and Storyboard
Every good animation starts with a plan. Write down your idea in a few sentences. What happens in your film? Who are the characters? Where does it take place? Then create a storyboard, which is a series of rough sketches showing the key moments of your animation in order.
A storyboard does not need to be polished artwork. Stick figures work fine. The purpose is to map out the action so you know what to build, how to frame your shots, and roughly how long each section will take. Planning at this stage saves enormous amounts of time when you start shooting.
Step 2: Build Your Set and Characters
Your set is the world your animation takes place in, and your characters are the subjects that move through it. For your first project, keep both simple. A tabletop, some construction paper, and a handful of small objects are enough to tell a story.
Secure your set to the table so nothing shifts during shooting. Use tape, clay, or sticky tack to hold props and backdrops in place. If you are using puppets, make sure they can stand on their own or attach to the set at fixed anchor points. Unwanted movement between frames is the enemy of clean animation.
Step 3: Set Up Your Camera and Lighting
Position your camera on your tripod or mount so it frames your scene exactly the way you want. Lock everything down tight. Take a test shot and check focus, exposure, and white balance. Once you start shooting, you do not want to change these settings.
Set up your lights and turn off any ambient light sources that could introduce variation. Take several test frames and compare them side by side. If the exposure or color shifts between frames, adjust your setup before you begin the real shoot. This preparation step prevents hours of frustration later.
Step 4: Capture Your Frames
This is where the actual animation happens. Move your subject slightly, take a photo, move it again, take another photo. Repeat this process hundreds or thousands of times. The size of each movement determines the speed of the action in your final film. Smaller movements create slower, smoother motion. Larger movements create faster, snappier action.
Use the onion skinning feature in your software to see a translucent overlay of your previous frame. This lets you track exactly how far you have moved your subject and avoid accidental jumps or stutters. Work slowly and check your progress frequently by playing back the frames you have captured so far.
Step 5: Edit and Add Sound
Once you have captured all your frames, import them into your editing software. Adjust the playback speed, trim unwanted frames, and add transitions if needed. Color correction can help even out any remaining exposure inconsistencies between frames.
Sound design brings your animation to life. Add a music track, record voiceovers, and layer in sound effects. Even a simple animation feels complete and professional with well-timed audio. Free sound libraries like Freesound.org offer thousands of effects you can use without licensing concerns.
Understanding Frame Rate and Timing
Frame rate is one of the most important technical concepts in stop motion animation. It determines how smooth your animation looks and how many photos you need to capture for a given length of footage.
Frame rate is measured in frames per second (fps). Professional film uses 24 fps, meaning 24 individual photographs play every second. Many stop motion animators work at 12 fps instead, shooting on “twos” where each photograph is held for two frames. This cuts your workload in half while still producing smooth enough motion for most purposes.
So how many frames do you actually need? Here is a quick reference:
At 12 fps, you need 12 frames per second of footage. A 10-second clip requires 120 frames. A 30-second clip requires 360 frames. A full 2-minute animation requires 1,440 individual photographs. At 24 fps, those numbers double: 2,880 frames for 2 minutes of footage.
This answers a common question directly: a 2-minute stop motion animation at 12 fps requires 1,440 frames. Depending on the complexity of your scene and how quickly you work, capturing those frames could take anywhere from a few hours to several days. Professional stop motion feature films shoot roughly 1 to 3 seconds of usable footage per day.
The 12 Principles of Animation and Stop Motion
In the 1930s, Disney animators Frank Thomas and Ollie Johnston defined 12 fundamental principles of animation. These guidelines were created for hand-drawn animation, but they apply directly to stop motion work. Understanding these principles will improve the quality of your animations.
The 12 principles are: squash and stretch, anticipation, staging, straight ahead and pose to pose, follow through and overlapping action, slow in and slow out, arcs, secondary action, timing, exaggeration, solid drawing (or solid posing for 3D), and appeal.
For stop motion, the most impactful principles are timing (how many frames you spend on each movement), anticipation (a small movement before the main action that signals what is about to happen), and follow through (parts of a character continuing to move after the main body has stopped). These three alone will make your animations feel far more natural and polished.
Slow in and slow out is another principle that translates directly. Objects in the real world do not start and stop instantly. They accelerate and decelerate. In stop motion, you can achieve this by spacing your movements closer together at the start and end of an action, with wider spacing in the middle.
Tips for Beginners
After years of making stop motion animations, these are the lessons I wish someone had shared with me when I started.
Start small and finish something. Your first animation does not need to be a masterpiece. A 10-second clip of a toy walking across a desk teaches you more than a 5-minute epic that you abandon halfway through. Complete short projects so you experience the full workflow from planning to sharing.
Lock everything down. I cannot stress this enough. Camera shake, set movement, and accidental bumps between frames are the biggest sources of frustration for new animators. Tape your set to the table, weigh down your tripod, and avoid touching anything near your scene during shooting.
Use manual focus and manual exposure. If your camera refocuses or re-exposes between frames, your footage will flicker. Set both once at the beginning and leave them alone. On a smartphone, tap and hold to lock focus and exposure before your first frame.
Be patient with yourself. Stop motion is inherently slow work. Shooting 12 frames for a single second of footage means you will spend a lot of time on very short outputs. That is normal. The pace improves with practice, but patience is the real skill you are building.
Watch behind-the-scenes footage from professional stop motion studios. Seeing how teams at Laika or Aardman approach the same challenges you face, just at a larger scale, gives you practical insights and keeps you motivated to continue learning.
FAQs
What is the basic of stop motion animation?
The basic of stop motion animation is capturing individual photographs of physical objects, moving those objects slightly between each shot, and then playing the sequence of photos back at speed to create the illusion of movement. It works on the same principle as a flipbook, but with real objects instead of drawings.
What are the 12 basics of animation?
The 12 principles of animation are squash and stretch, anticipation, staging, straight ahead and pose to pose, follow through and overlapping action, slow in and slow out, arcs, secondary action, timing, exaggeration, solid drawing (or solid posing), and appeal. These were defined by Disney animators Frank Thomas and Ollie Johnston and apply to stop motion as well as drawn and digital animation.
How long does a 2 minute stop motion take?
A 2-minute stop motion animation at 12 fps requires 1,440 individual frames. At 24 fps, that doubles to 2,880 frames. Depending on scene complexity, a beginner might spend 10 to 40 hours capturing footage for a 2-minute animation. Professional feature-length stop motion films typically produce only 1 to 3 seconds of usable footage per day of shooting.
What film took 30 years to make?
The Thief and the Cobbler, directed by Richard Williams, is the animated film famously associated with a roughly 30-year production timeline. Williams began working on the project in the 1960s, and it went through multiple versions and studios before an incomplete version was released in 1993. It is not strictly a stop motion film but is often cited in animation history discussions about long production timelines.
Conclusion
Learning the basics of stop motion animation opens up a creative medium that has captivated audiences for over 125 years. From understanding what stop motion is and how it works to exploring the six major types of the craft, you now have a solid foundation to build on.
Remember that the most important step is simply starting. Grab your phone, set up a few objects on a table, and begin capturing frames. Your first animation will not be perfect, and that is exactly the point. Every frame you shoot teaches you something about timing, spacing, and the unique rhythm of stop frame animation.
The equipment does not need to be expensive, the software can be free, and your first project can be under 30 seconds long. What matters is that you experience the full process from planning to final playback. Once you do, the stop motion animation basics covered in this guide will start making sense in practice, and your skills will grow with every project you complete.